* I was given a free Waterpik shower head in exchange for my review. All opinions expressed I this post are my own.
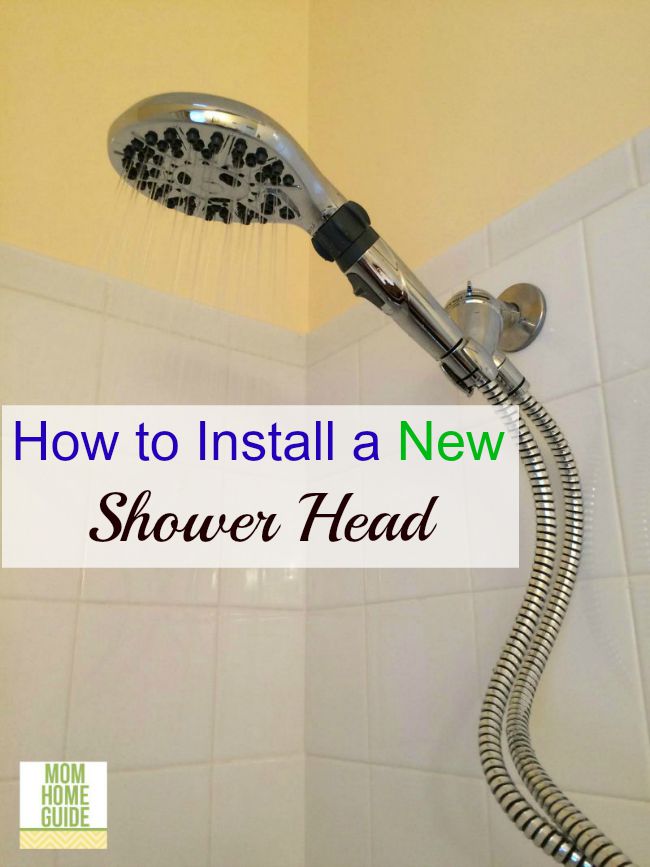
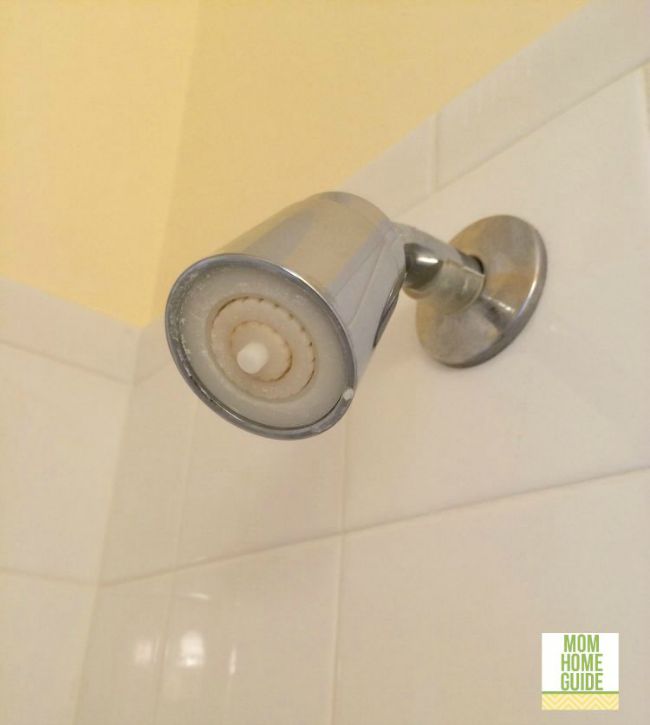
Ever since my husband and I moved into our new home, the downstairs bathroom sported the same old, paltry shower head that the builder had installed. It was so ugly and unexciting!
The shower head was small and over the years got caked with mineral deposits. I really wanted to install a new one, but wasn’t sure if I knew how!
After reading a few online tutorials, I decided to give it a try! It turns out that it’s not so hard to install a new shower head! The shower head I decided to install is an EasySelect Shower Head from Waterpik. The shower head is so much bigger and more luxurious than my bathroom’s old shower head! Plus, the shower head has self-cleaning nozzles to help prevent mineral deposit buildup!
Materials Needed
To install a new shower head, you don’t need many materials or tools – take it from me. I am a beginner DIYer, and this DIY job was an easy one! This is what you will need:
Old Rag
Teflon Tape
Instructions
I am really glad that I switched out my bathroom’s old shower head — it wasn’t much to look at!
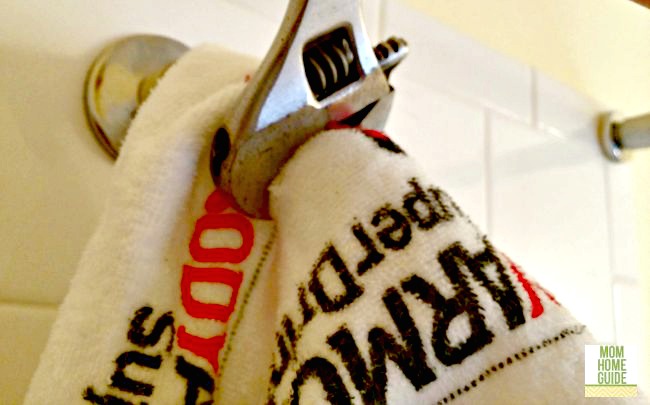
To remove your old shower head, all you have to do is unscrew it to the left (lefty loosey). If you need extra help like I did, grab an adjustable wrench and use it to unscrew the old shower head. You can use an old rag to avoid scratching the shower head or the pipe.
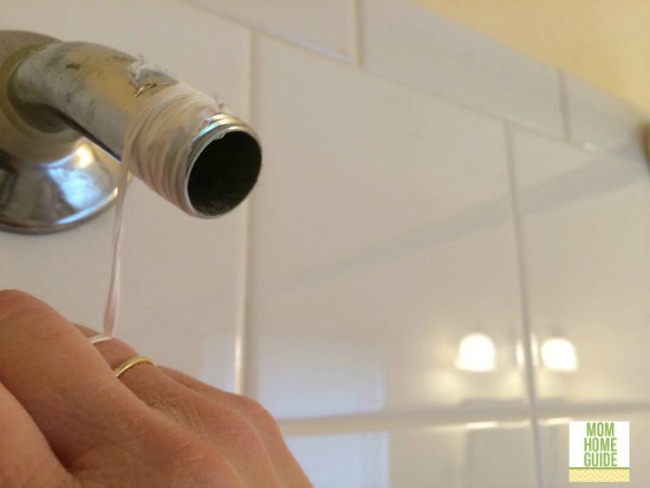
Once the old shower head is off, wrap the shower pipe with Teflon tape to prevent any leaking from your new shower head. Teflon tape is inexpensive and easy to use! Wrap the tape on clockwise, so it won’t tear off when you screw on your new shower head.
Hand screw your new shower head on (righty tighty) and hand tighten it. Don’t screw your new shower head on too tightly! Some parts of your new shower head may be plastic and can easily crack.
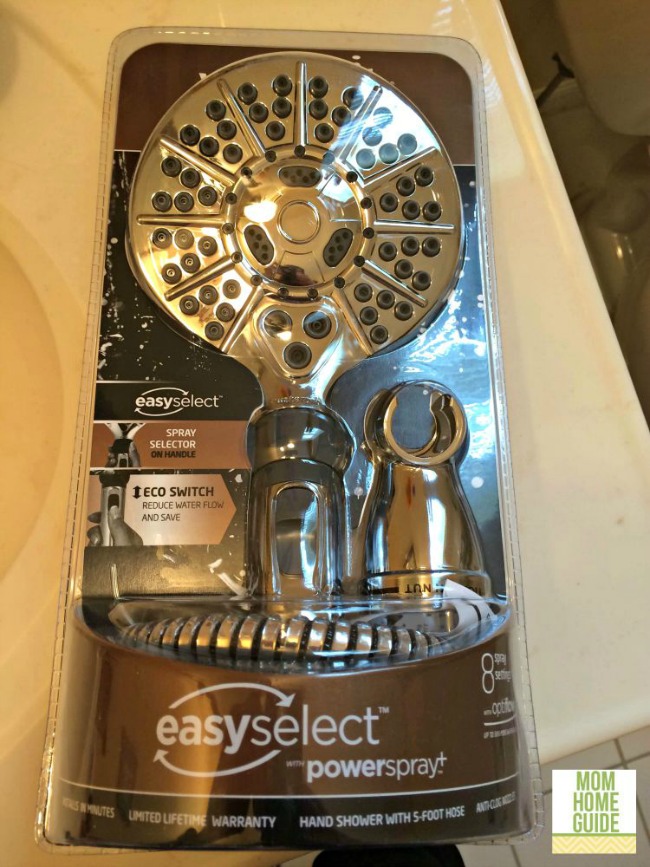
Turn on the water (make sure the shower head isn’t pointing toward you first!) and check for leaks. If your shower head leaks, re-tighten it. (Mine leaked at first, but all I had to do was screw the shower head on a little more tightly.)
(If your new shower head has a hose like mine does, follow the directions on the packaging to attach the hose.)
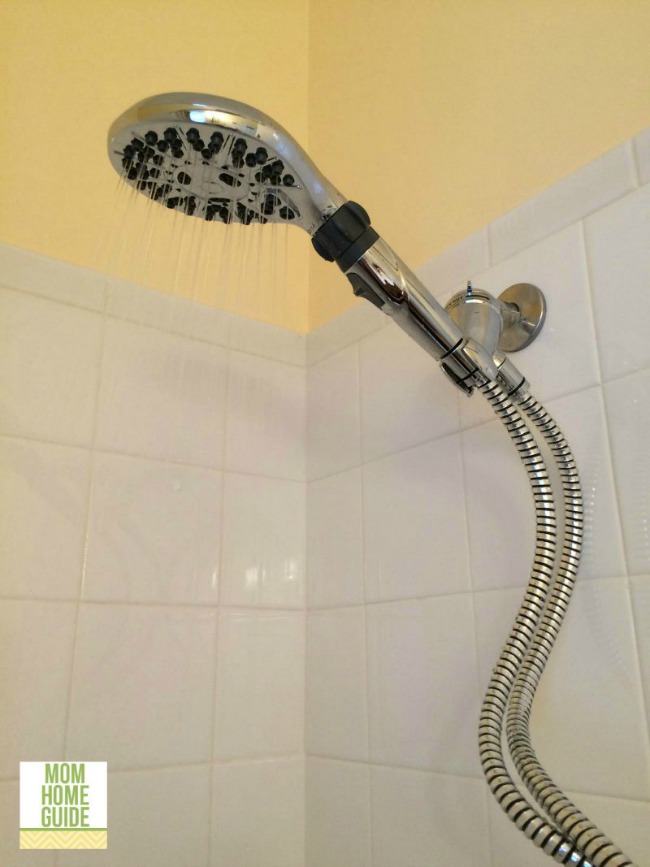
Enjoy your new shower head! This project was so easy that I also installed a new shower head in my master bathroom! I am soon going to install a new shower head in the kids’ bathroom, too!
*Disclaimer: I was given a free Waterpik shower head in exchange for my review. I completely love my new Waterpik shower head!
This post was shared at Creative Corner Link Up Party
This is something I have never tried, although I’d probably ask my husband to do it… however, your directions make it sound so easy I am sure I could. All of our shower heads are the original ones (I’m embarrassed to admit!).
Carrie
curlycraftymom.com
Carrie @ Curly Crafty Mom recently posted…The Creative Corner Link Up Party – 10/25/15 (and Meal Plan 83)
Hi, Carrie! I only just installed mine. (After 10-plus years in our house!) I waited for my husband to install our new shower heads, but then installed them myself! It was surprisingly easy! I installed two new shower heads so far … I have one more left to go! (It’s for my kids’ bathroom, and I honestly wish that this one was going in the master bath … it’s much bigger than the one I installed in the master bath. But, both new shower heads are awesome and much better than the builder-grade ones!)
If it’s that easy to install and that good I’ll surely would have to change our shower head with it. Thanks for the honest review. 🙂
Lux recently posted…Taking Gifting to the Next Level
You are welcome, Lux! You should totally install a new one in your home — it was a lot easier than I expected!