Thanks to HomeRight for providing me with a PaintStick EZ-Twist.
This post contains Amazon affiliate links for your shopping convenience. If you click on a product link, it will bring you to an Amazon page where you can purchase the product. Mom Home Guide will earn a small commission if you make a purchase. Thanks!

Mom Home Guide is participating in the HomeRight Refresh Your Walls Blogger Challenge. In the challenge, bloggers are sharing how we refreshed a “wall” with HomeRight’s PaintStick EZ-Twist. For the contest, you don’t actually have to paint a wall. So I decided to paint one of the hardest things to paint — a ceiling!
One thing I used to dread is painting ceilings. Painting a ceiling is usually messy. Paint tends to drip and splatter while painting over one’s head. Then there are all those trips up and down the ladder to refill the roller with paint.
Painting a Bathroom Ceiling
The ceiling I decided to paint for the HomeRight Refresh Your Walls Blogger Challenge is the one in my daughter’s bathroom. I’m hoping to remake that space for them as part of the One Room Challenge (ORC) next spring. If all goes well, I’ll be sharing the newly painted walls in this space this week or next.
The last time I painted the bathroom was 10 years ago, but I never painted the ceiling. All this time, the ceiling has had the cheap off-white flat paint the builder painted our entire home with when it was built in 16 years ago. Since the room is a small space, I figure a coat of white ceiling paint would really brighten the room.
I found that painting a ceiling with the HomeRight PaintStick EZ-Twist really simplified the process of painting a ceiling!

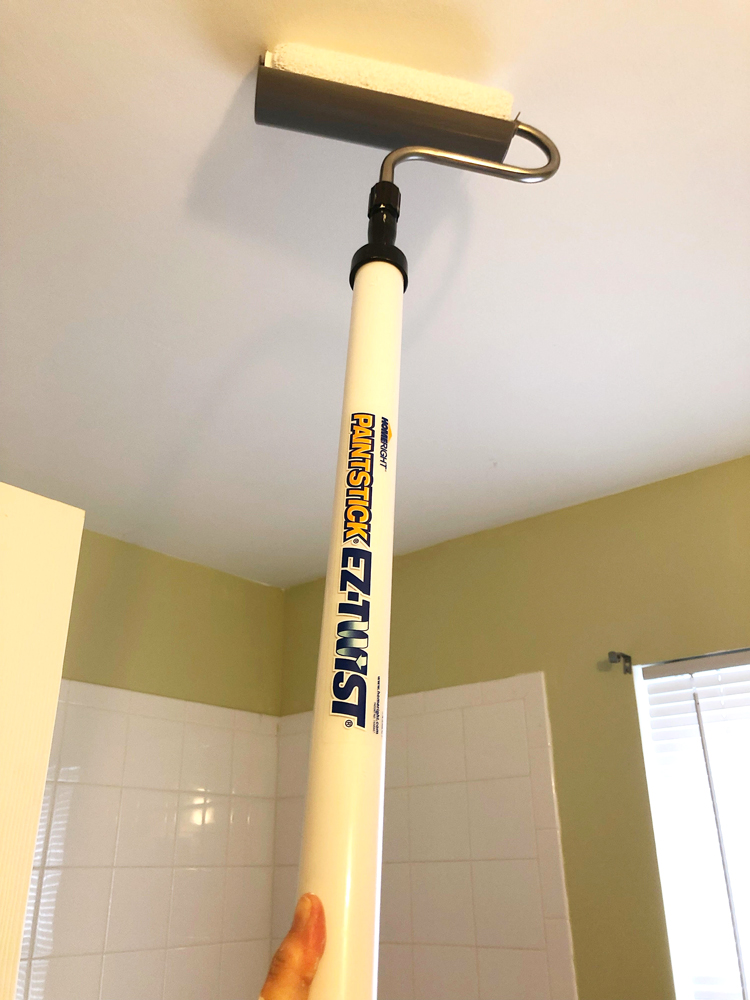
Once I had my HomeRight PaintStick EZ-Twist filled up with paint, I was ready to go! The spatter shield on the HomeRight PaintStick EZ-Twist kept paint from splattering on me.
(I was so confident that I even let my Shih Tzu puppy, Mochi, hang out in the room with me while I was painting. I am happy to say he emerged splatter free.)
The Easy Way to Paint a Ceiling
While painting my daughters’ ceiling, I picked up a few other techniques that really helped speed up the process of painting the ceiling. So I’m sharing them here to make it easier the next time you paint a ceiling!
Get the Best Tools
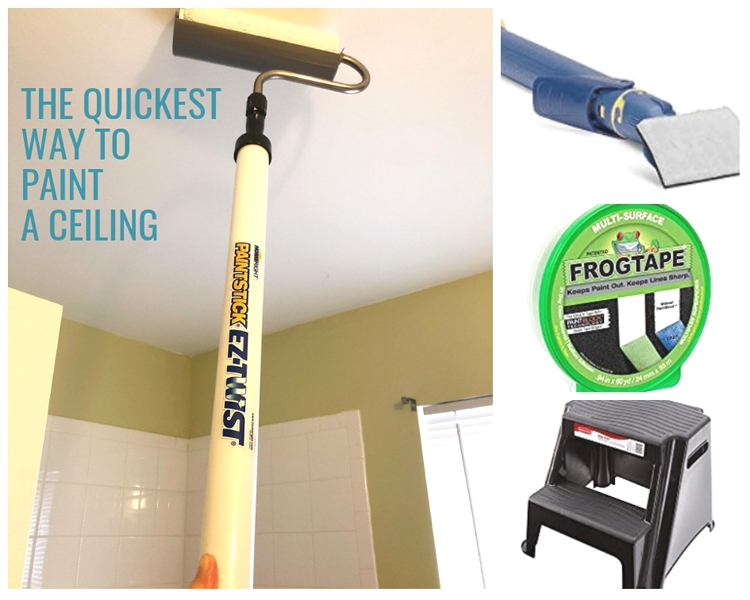
It’s important to get your tools prepped and ready in your space before you start painting. My main tool for painting the bathroom ceiling was the HomeRight PaintStick EZ-Twist.
What I love the most about the HomeRight PaintStick EZ-Twist is that with the included fill tube, the paint stick draws paint directly from the paint can. (The paint is stored in the paint stick.) There’s no need for a traditional roller tray! With its long handle, the paint stick provides an extra 64 inches of reach. When I painted the bathroom ceiling, I didn’t need a ladder. Awesome!
You’ll also want to use the HomeRight Quick Painter Pad Edger. The HomeRight Quick Painter Pad Edger holds paint in the handle, so you don’t have to keep refilling up with paint. The edger makes painting around baseboards, window trim, the bathroom vanity and doors easy. With the edger, it’s a snap to paint the edges of the ceiling without getting paint on the walls.
You’ll also need a painter’s tape like FrogTape
. When painting the ceiling, it’s helpful to tape off the tops of the walls so you don’t get any paint there. You’ll also get a sharper line.
If you are 5’5″ or so like me, you probably won’t need a ladder when using the HomeRight PaintStick EZ-Twist, to paint an average-height ceiling. You’ll just need a step stool. You can get most of the paint up with the HomeRight PaintStick EZ-Twist, but it’s helpful to use the step stool when taping off the tops of the walls or painting the edges of the ceiling with the HomeRight Quick Painter Pad Edger.
I love the Rubbermaid Plastic Stool with Non-Slip Step Treads. The step stool is easy to go and down. It gives me an extra 18″ of height — enough for me to paint the ceiling with my HomeRight paint sticks without a ladder.
Even if you are a neat painter, you should put a drop cloth
down before painting. You can buy a quality canvas drop cloth
that you can re-use. Or you can buy a cheap plastic drop cloth
for just one project. (I used an inexpensive plastic tarp.)
You’ll need a wooden paint stick to stir your paint. (I always pick up a few of these at the paint desk of my local home improvement store for free when I purchase my paint.)
A paint can opener is handy for opening up a can of paint. I bought a new one for this project, since I misplaced my other one.
You’ll need a can of paint, of course. A gallon of white ceiling paint was more than enough for my small bathroom.
Prep Your Space
Once I had my tools and supplies, all that was left to do was prepare my space, and paint. I used painter’s tape to tape off the tops of the walls. I taped newspaper over the bathroom mirror and counter, put my drop cloth down, and I was ready to paint!
Painting with the HomeRight PaintStick EZ-Twist
Once I got to painting, it took me less than 30 minutes to edge and paint my ceiling. I was surprised how quickly I got the job done, since I’m a slow painter.
You can find a HomeRight PaintStick EZ-Twist on a wire rack by the paint desk at Lowe’s Home Improvement.
I’m painting the bathroom walls a beautiful shade of blue from Benjamin Moore called “Yarsmouth Blue.” The blue combines the blue that my daughters preferred with just a hint of green for me. Perfect!
Pin this image if you’d like to try this project!


Great post and very informative about the tools and how to use them! So excited you’ve entered the challenge, too!
Thanks, Julie! I love how you painted and styled your room!
I need to try these products out when I start on Nathan’s bedroom! Wow! They make it look so much easier and mess free! 🙂
Carrie
curlycraftymom.com
I need this product in my life. It seems sooooo much easier than the old paint bucket and roller brush method. This was a great explanation, too. I love that Mochi escaped splatter free! Ha!
Thanks, Crissy! I honestly love this product. I usually get paint everywhere when I paint, but not with this product. lol Thanks for visiting!
I always dread painting ceilings. These are great tips! Prepping is the most important step!
Jill – Doused in Pink
Thanks for the amazing tips.I am very handy so i will consider using the painter pad edgers on my next painting project.
Lauren, thank you for the article! I just wish I knew this before I painted the bedroom. But well..
I totally agree that painting a ceiling is SO messy. That’s why you have to cover everything from furniture (if you still have them in a room) to the floor. I used some painting tools from previous owners but I must say – it’s better to buy new tools than suffer 😀 I guess the paint stick you suggested would do a much better job. But at least I’ll know it now.. Thanks
John recently posted…Best Programmable Thermostat Under $50 – Complete Reviews with Comparison
I like the fact you shared the tools you have used! Great post!