Thanks to DecoArt for providing me with the stencil and the Americana Chalky Finish Paints that I used to create my DIY stenciled table runner. This post contains Amazon affiliate links.
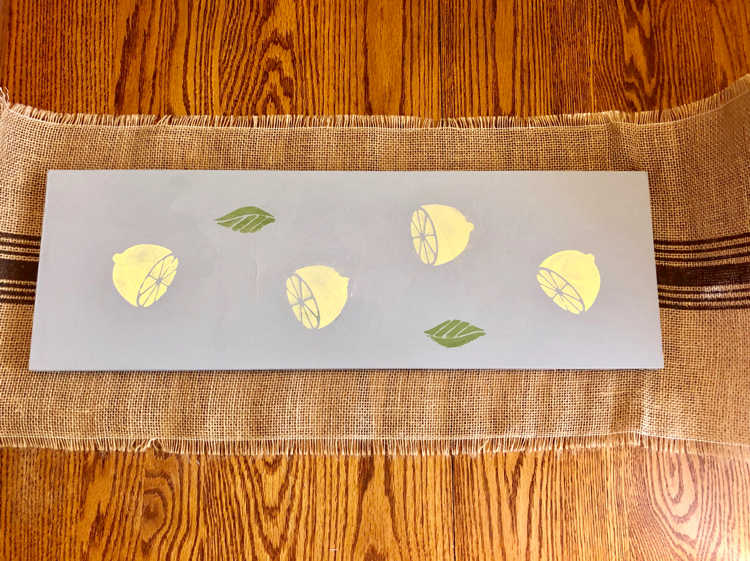
Welcome to the third week of the $100 Room Challenge, hosted by Erin of Lemons, Lavender and Laundry. In the challenge, bloggers like myself challenge ourselves to update a room in our homes with just $100 in only a month. We share the results of our $100 room challenge every Wednesday — next Wednesday we all will be sharing our final room reveals!

This week I worked on making a DIY wooden stenciled table runner for my home’s kitchen table. I have a wooden farmhouse-style table in my kitchen. I am always worrying that during our meals, warm plates will damage the wood. The table runner will give me a place to put down serving plates, etc., so the kitchen table will be protected. Plus, I’d like to add a little extra style to my family’s kitchen table.
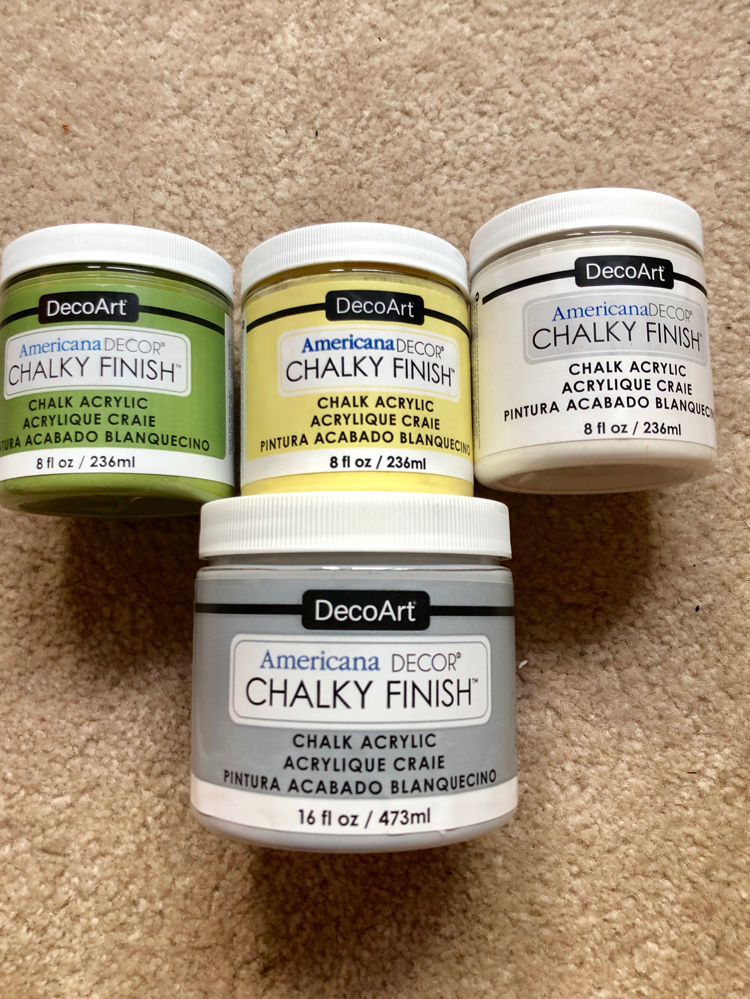
For this project, I opted to work with Chalky Finish Paints from DecArt. These paints are easy to work with — they go on very smoothly, have a nice finish and are perfect for giving a new look to upcycled furniture or materials — like the wooden shelf that I used this week to create my wooden stenciled table runner.
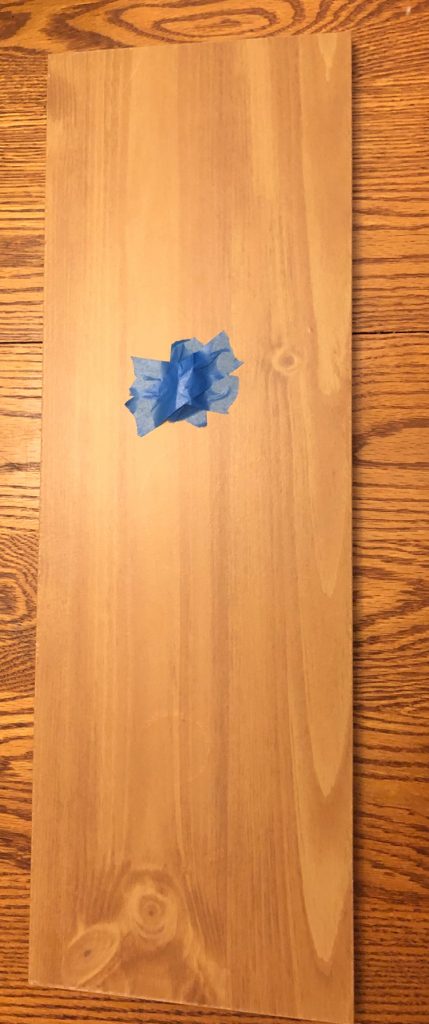
The shelf was originally in my daughters’ bathroom. I removed the shelf when I updated their bathroom as part of the One Room Challenge. I love that I found a new purpose for that piece of wood!
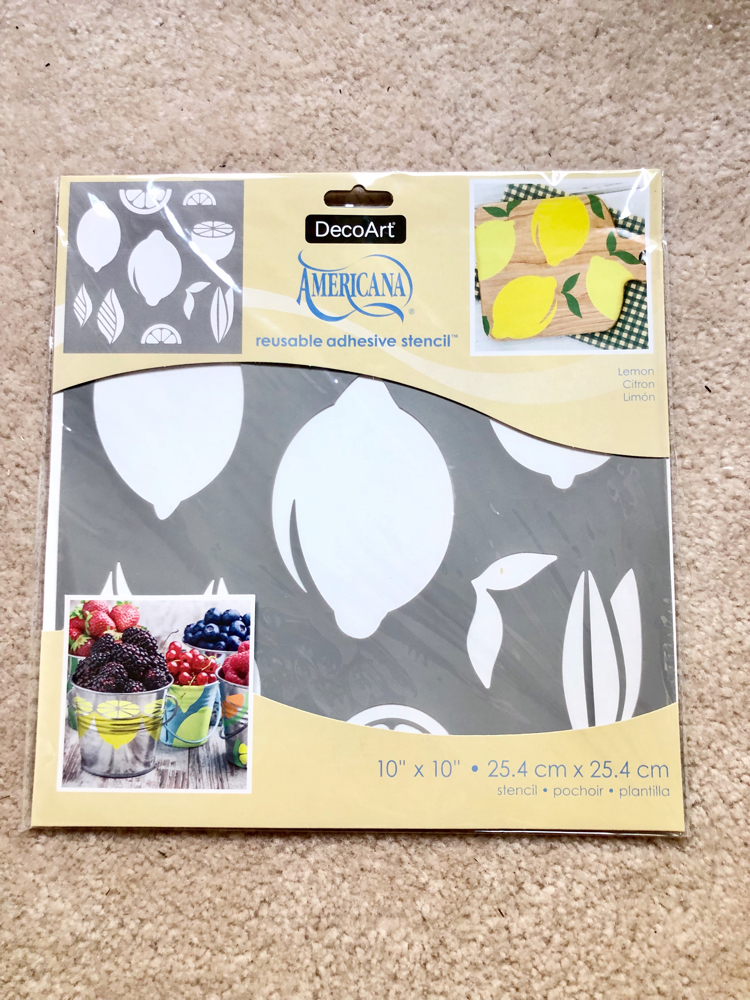
I used a very pretty lemon stencil from DecoArt’s Americana line to stencil my DIY wooden table runner.
Materials
DecoArt Americana Chalky Finish Paint, Yesteryear
DecoArt Americana Chalky Finish Paint, Delicate
DecoArt Americana Chalky Finish Paint, New Life
Length of wood (I am using an old wood shelf)
How to Stencil A DIY Wooden Table Runner
To create my DIY stenciled wooden table runner, I first painted both sides of my wooden shelf with DecoArt Americana Chalky Finish Paint, Yesteryear – a gray paint.
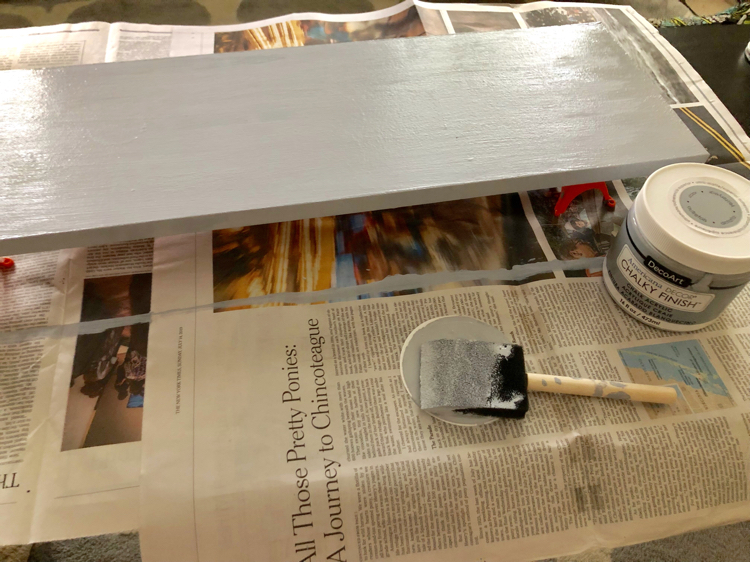
I actually had a little mishap when I was stenciling my DIY stenciled wooden table runner. When I began stenciling, I first stirred my paints and then dipped my foam brushes into each paint pot to get paint to apply to the stencils.
It turns out that working that way wasn’t the best — my paint turned out to be too runny, and when I pulled back the stencil, I had a very uneven, messy design, as you can see below.
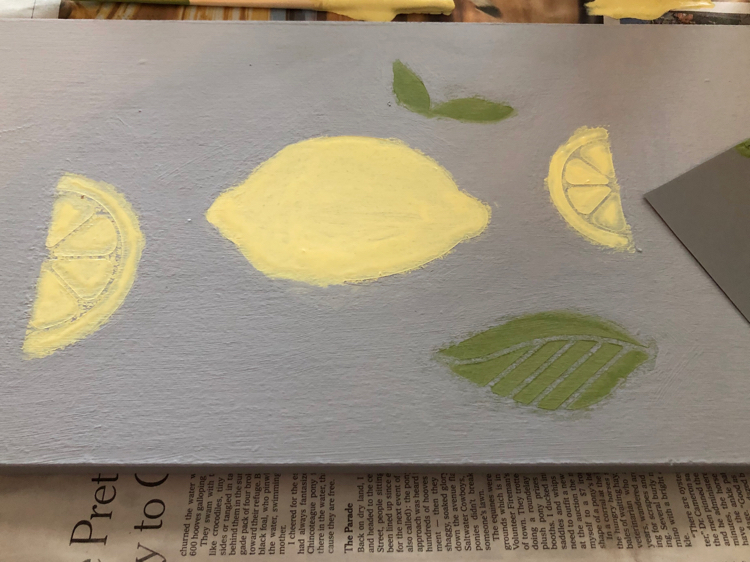
Luckily, I was able to wipe off my stenciled paint with a wet paper towel. I then applied a new coat of the gray DecoArt Americana Chalky Finish Paint, Yesteryear to the board.
I got out two paper plates. I used one for the yellow DecoArt Americana Chalky Finish Paint, Delicate and one for the green DecoArt Americana Chalky Finish Paint, New Life. I made sure my paint was the right consistency before applying it to my foam brush — I think I probably didn’t mix the paints well enough when I painted directly from the paint pots!
Using my second paint method, I had no problems. I am happy with how my stenciled table runner has turned out. I really enjoy working with the DecoArt Americana Chalky Finish Paints. The below is a closeup of my stenciled wooden table runner.
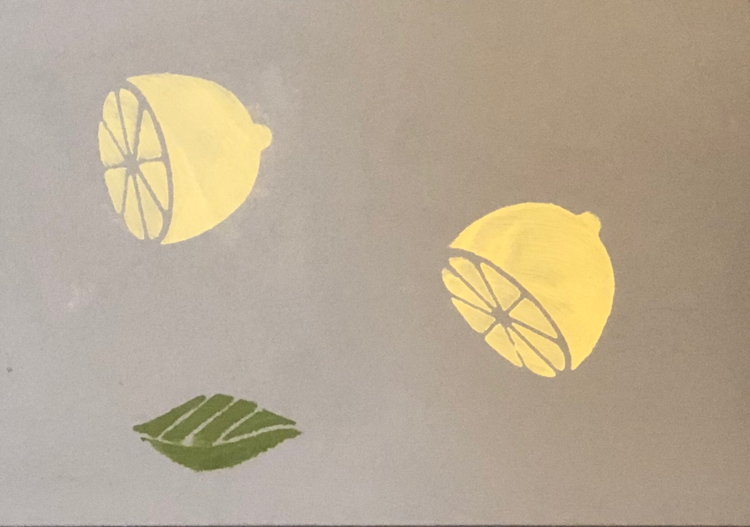
This is another look at my DIY stenciled table runner.
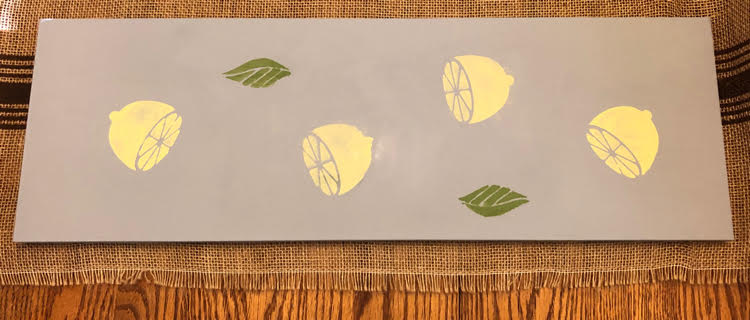
Next week is the final week of the $100 Room Challenge. I am not sure if I will get everything done! I spent a lot of last week putting together DIY String Light Planter Posts for my backyard for a get-together my daughters hosted. So I didn’t have a lot of time for my kitchen project!
I have a busy week and weekend coming up, so we will see how much I can get done!
Budget: I received my paints and stencil for free from DecoArt. But if I had to purchase them, they would have cost about $22. I upcycled the board for my table runner, so there is no cost to that. I have $78 left to spend!
Be sure to check out my friends’ $100 Room Challenge below! (If you can’t see the photos of my friends’ $100 Room Challenge Projects below, click on the blue button below.)
What a cute and clever project. You could use so many different themes.
what a pretty table runner. Great idea. Love the lemon stencil. can’t wait to see your reveal.
I have been looking forward to seeing this project since you first mentioned it. The runner looks amazing!
I love the lemons and a good stencil project! They make painting fun and interesting. Great tips too!
What a great idea, so cute and functional! I need one of these for my farmhouse table. Don’t you just love DecoArt?!
That table runner is so cute!!! What a fun stencil!! I cannot wait to see the reveal next week!!
You are mighty crafty. Can’t go wrong with lemons! Two thumbs up. 🙂
cindy@countyroad407 recently posted…Making a Decorative Curtain For a Shower
This turned out so cute, Lauren! Looks like you’re getting your home Fall ready!
Carrie
curlycraftymom.com
Love the runner Lauren! Can’t wait to see the reveal!
Rebecca recently posted…Celebrate Your Story! #199
What a great DIY! Your runner is so cute! Love how it turned out!
Jill – Doused in Pink
Jill recently posted…What’s Up Wednesday {September 25, 2019}