I’ve seen a lot of do-it-yourself picture frame jewelry organizers on Pinterest and on other blogs, and I love them. So, when I was at the dollar store the other day and saw the materials I needed to make one of my own, I snapped them up.
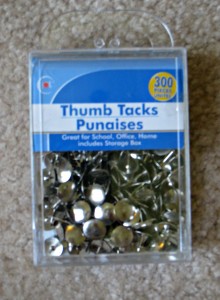
First, I picked up a simple $1 black document frame with silver trim. Then, I found some silver thumbtacks, also for $1. I figured that the thumbtacks would add a little bling to my DIY picture frame jewelry hanger.
Putting It Together
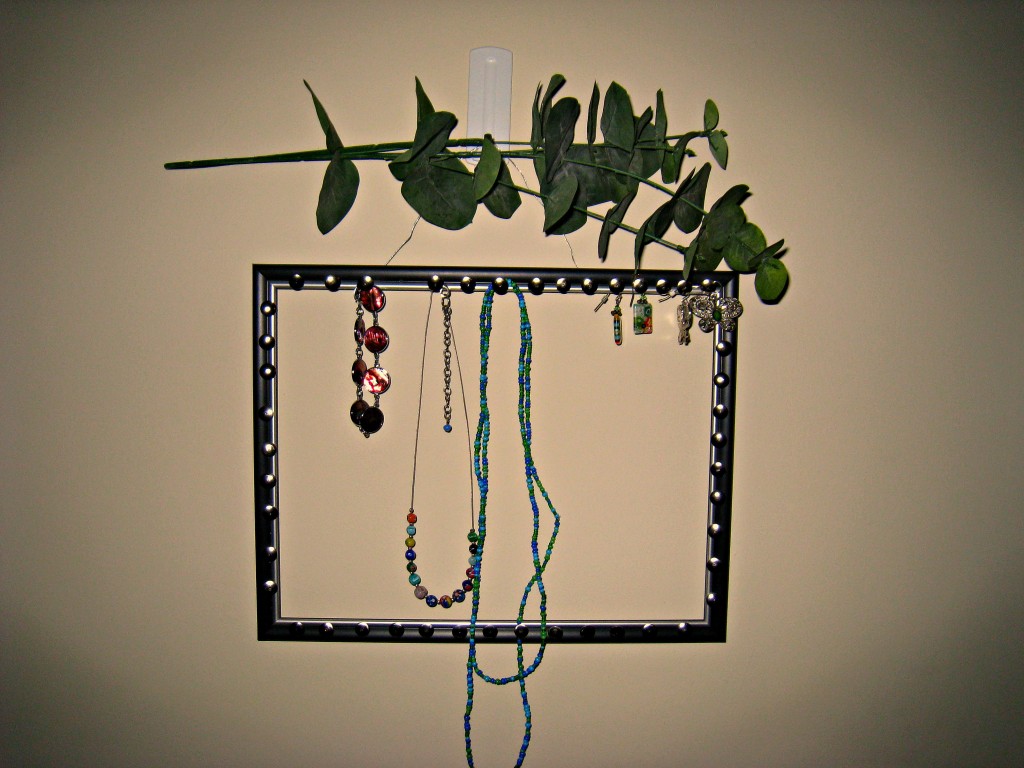
Later that day, while catching some TV with one of my daughters, I decided to get started on my picture frame jewelry organizer. First, I removed the glass panel and cardboard backing from the frame and stored them to use for another craft. Then, I opened the thumbtacks and carefully pinned them along the perimeter of the frame — the tacks serve as a spot where to hang my necklaces, earring and other bangles, and add some bling to my jewelry organizer.
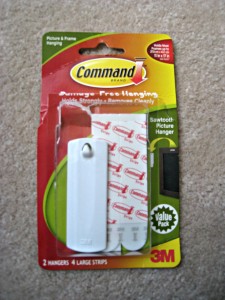
I then took some leftover picture wire that I already had and strung it from the metal tabs that were already on the back of the frame. (The ones that once held the frame’s cardboard backing in place.) I found some Command Adhesive Hooks and used one to hang my picture frame jewelry organizer on my bedroom wall — since I wasn’t in the mood to go find a hammer or put another hole in the wall. To disguise the Command hook, I hung some faux eucalyptus branchs that I already had, on the hook.
The Result
Not only does the jewelry organizer dress up what once was a blank wall, it gives me a place to hang some of my most frequently worn jewelry — I no longer have to search for them on my disorganized dresser. The best part is that I only put about $2 into the project, and the project only took about 20 minutes to complete!


