I am a Decorart blogger and received free product for the completion of this project. All opinions expressed in this post are 100% my own.
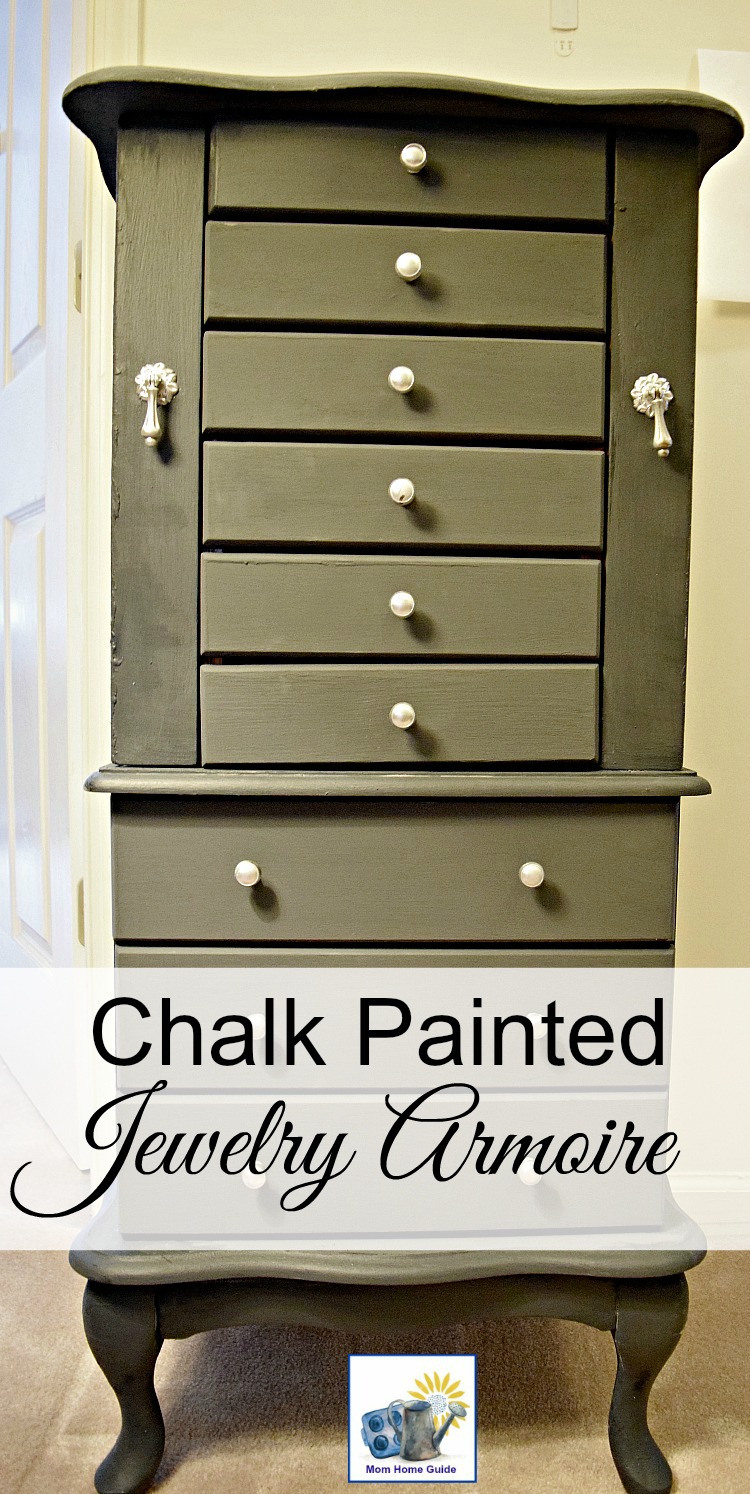
As I plan out my projects for 2018, I thought I’d take the time to share one of my favorite past projects — my chalk painted jewelry armoire. The jewelry chest belonged to my grandmother, and now that it has been repainted, it holds a place of honor in my home’s upstairs hallway.
Updating Furniture with Chalk Paint
I never thought I’d refinish furniture — I am more of an artsy craftsy person. But after using Americana Decor® Chalky Finish™ Paint to makeover a never-used baby changing table into an outdoor beverage cart, I was hooked! I love how the beverage cart turned out. The cart is a really useful item for summer entertaining at my house — I first used it at my sister’s wedding shower.
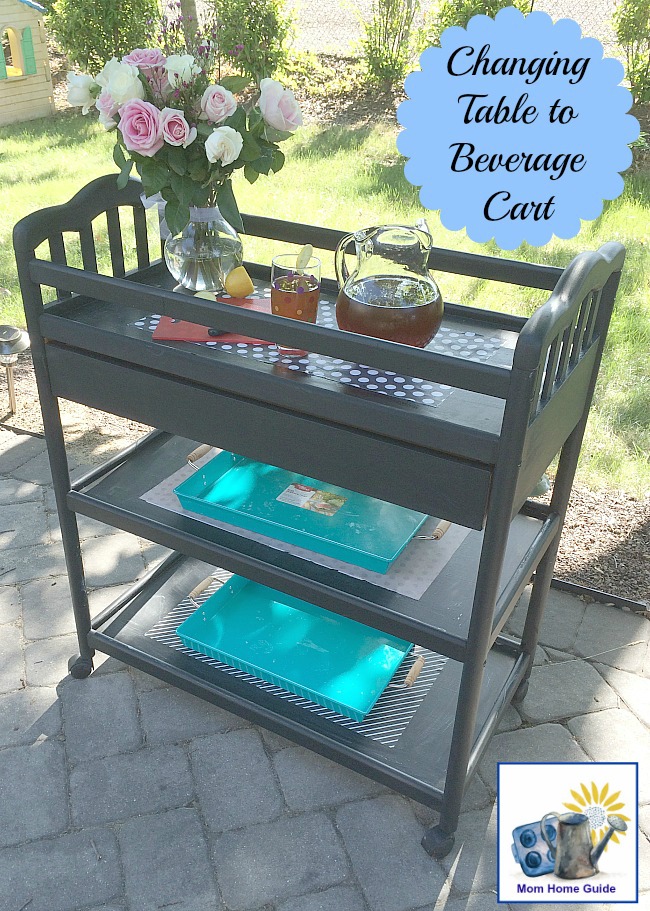
Working with the American Decor Chalky Finish Paint was a great experience. It goes on quickly, hides oak grain well and creates a strong, durable finish. So I knew that I wanted to use American Decor Chalky Finish Paint again!
Oak Jewelry Chest Makeover
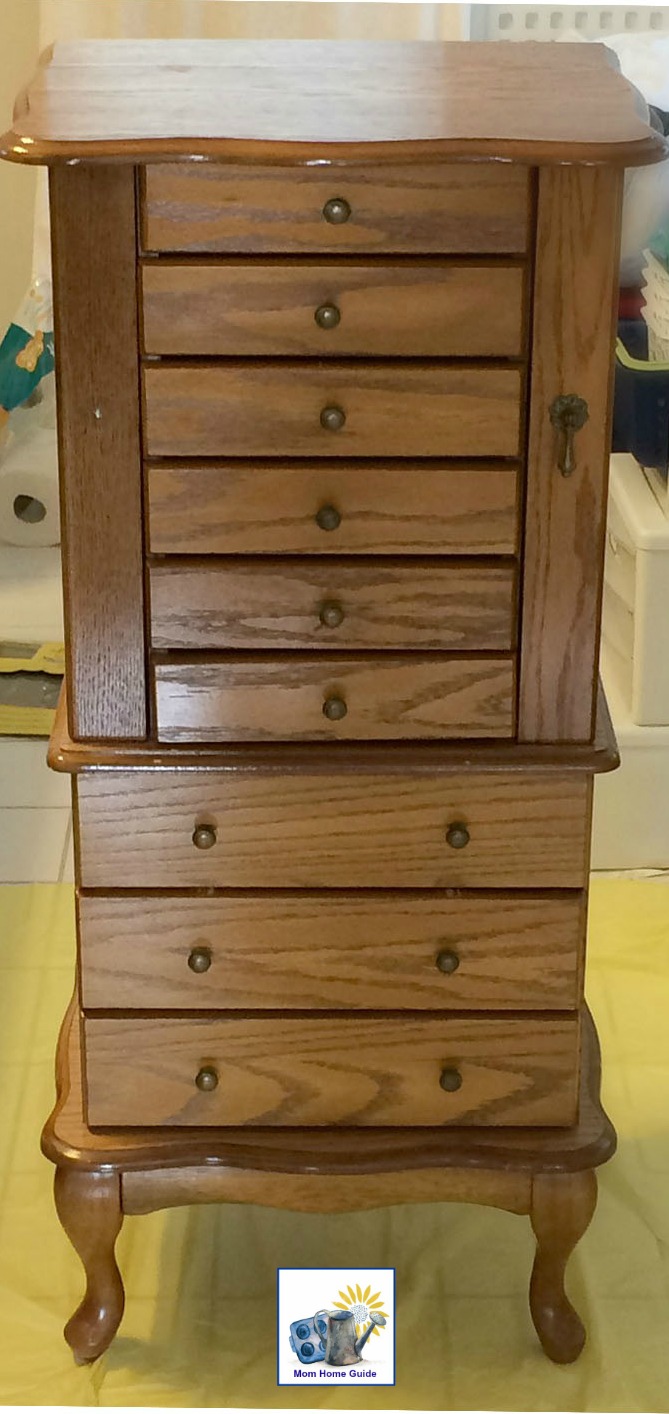
For a while, now, I have been keeping an old, oak jewelry cabinet in my master bedroom’s walk-in closet. The jewelry chest was just too ugly to keep out. But as my husband’s and my walk-in closet got more and more crowded, I knew that I had to get that jewelry armoire out of there — it was taking up too much valuable closet space! The below photo shows the jewelry armoire in all its glory before it was painted.
 How to Chalk Paint Furniture
To start out my project, I lightly sanded the jewelry chest. The jewelry chest is quite old, so I worked to remove years of junk and gunk. I also wanted to make the surface more easy for the chalk paint to adhere to. After sanding, I wiped the chest down with a wet rag to remove any dirt and dust. There really isn’t much prep work required for using chalk paint, but I figured it wouldn’t hurt to sand the piece a little.
I removed the drawers before painting the chest — I figured it would be best to paint those separately, so the drawers wouldn’t stick. I also unscrewed all of the jewelry armoire’s brass-colored hardware/knobs so I can spray paint them later.
The jewelry chest is fairly heavy, so I painted it right in the middle of my home’s master bathroom. For my tarp, I used an old dollar store plastic tablecloth left over from a birthday party. (Dollar store tablecloths work quite well as tarps!) I ran a small plug-in fan to help air out the room and to keep me cool!
For my paint color, I used Americana Decor® Chalky Finish™ Paint in Relic. I love the gray (with a hint of blue) look of this paint color. I applied a first coat, let it dry, and then applied a second coat. When the paint had dried, I coated the jewelry armoire with Americana DuraClear Ultra Matte varnish. I had used the same varnish on my DIY outdoor beverage cart, and the varnish has given the cart a really durable finish.
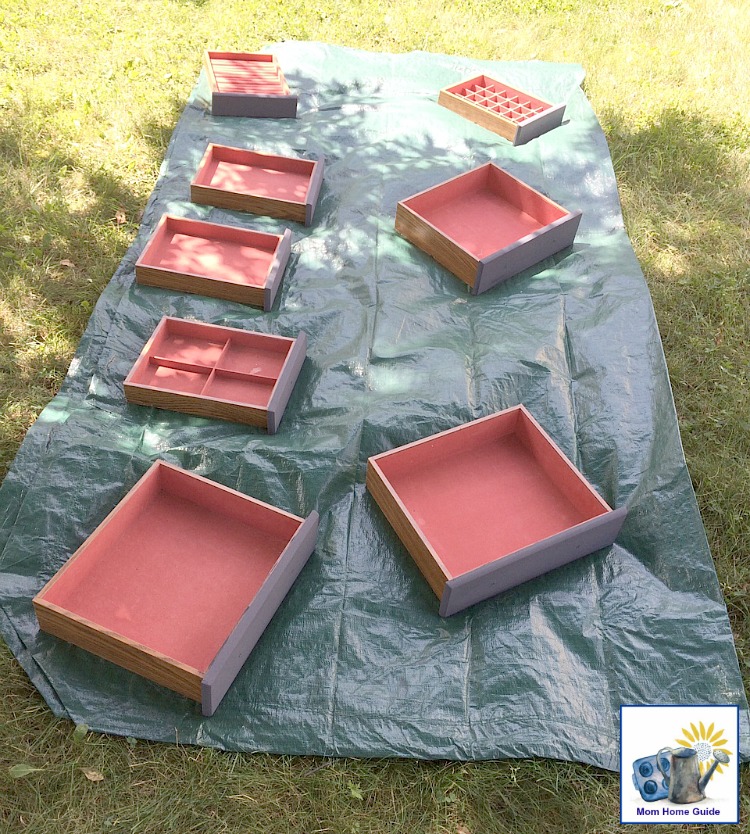
Once I had painted the body of the jewelry armoire, I painted the fronts of the jewelry chest’s drawers. For my work space, I laid out a tarp on the lawn, and sat on a portable gardening stool while I painted. I decided against painting the sides of the drawers, so they wouldn’t stick.
Spray Painting Cabinet Hardware
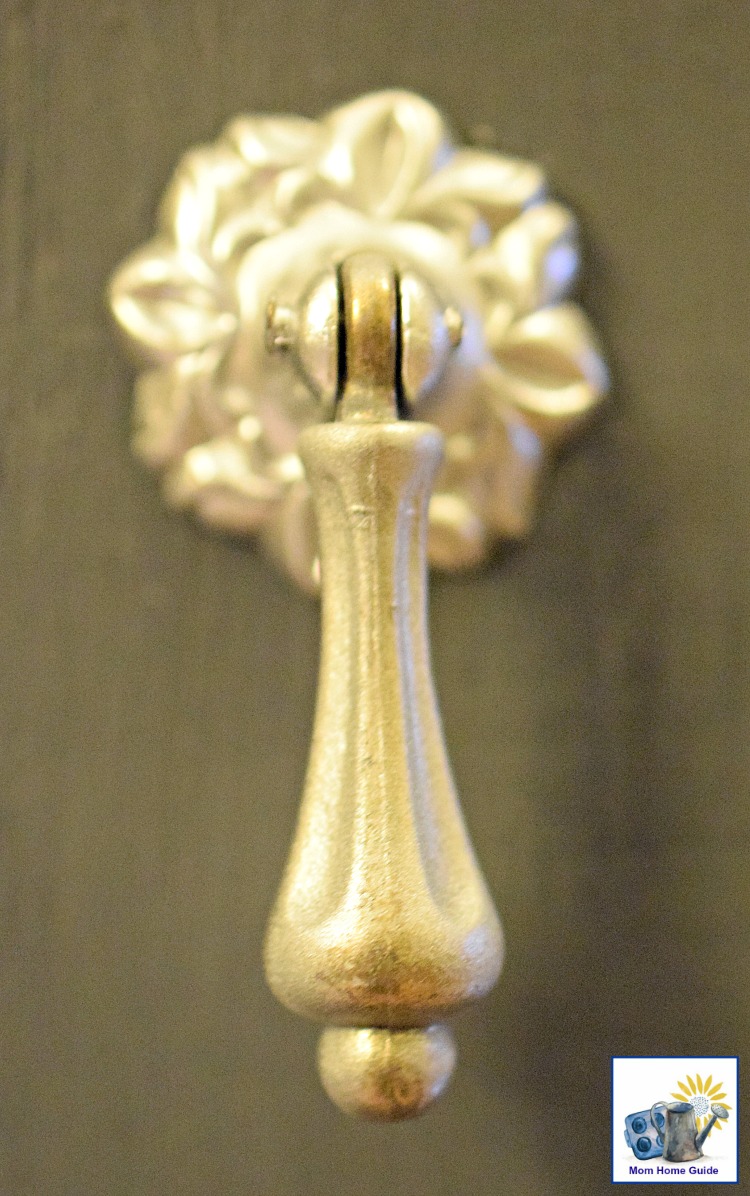
I thought my newly painted gray jewelry armoire would look great with modern silver knobs. So I gathered up the jewelry cabinet’s brass-colored knobs and laid them on a paper bag on my home’s front lawn. Then I simply spray painted them with Krylon Aluminum/Metallic Maxx spray paint — only one simple coat of spray paint was needed!
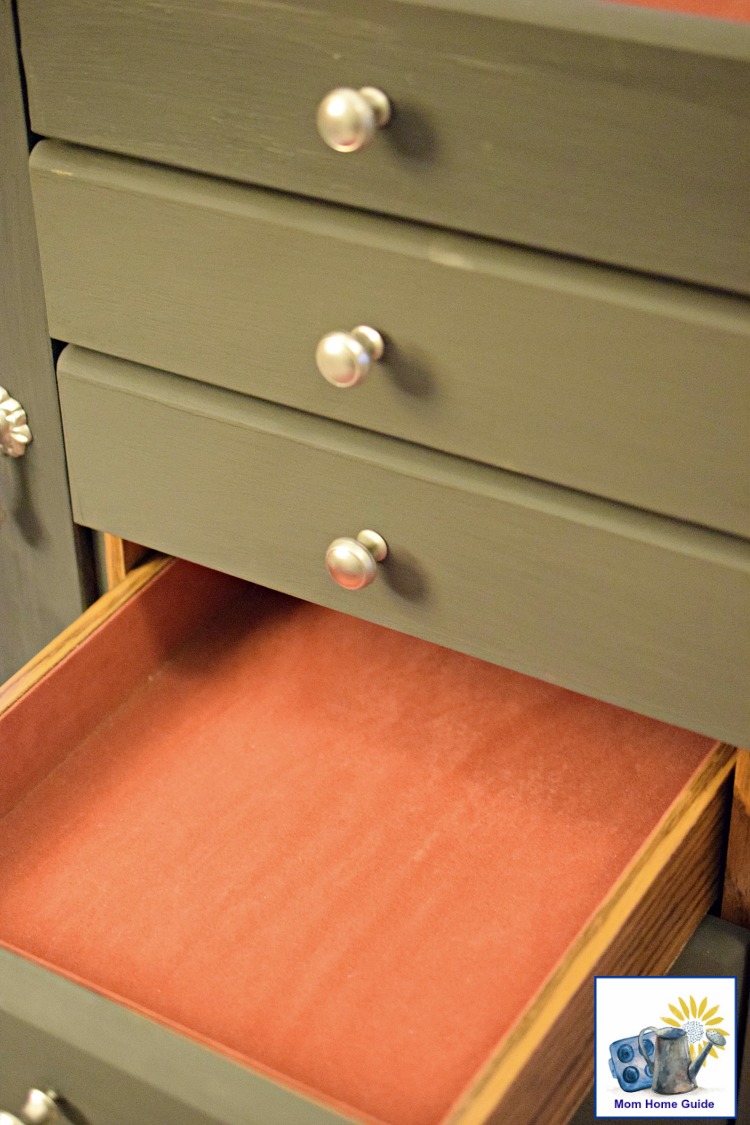
Once the spray paint on the knobs and the chalk paint on the jewelry chest’s drawer fronts had dried, I carried everything back inside. I screwed the knobs back onto the jewelry chest, and inserted the drawers. I was happy with the final results.
I discovered that the jewelry cabinet’s hardware, which looked quite ugly before, looks beautiful now with their new metallic finish.
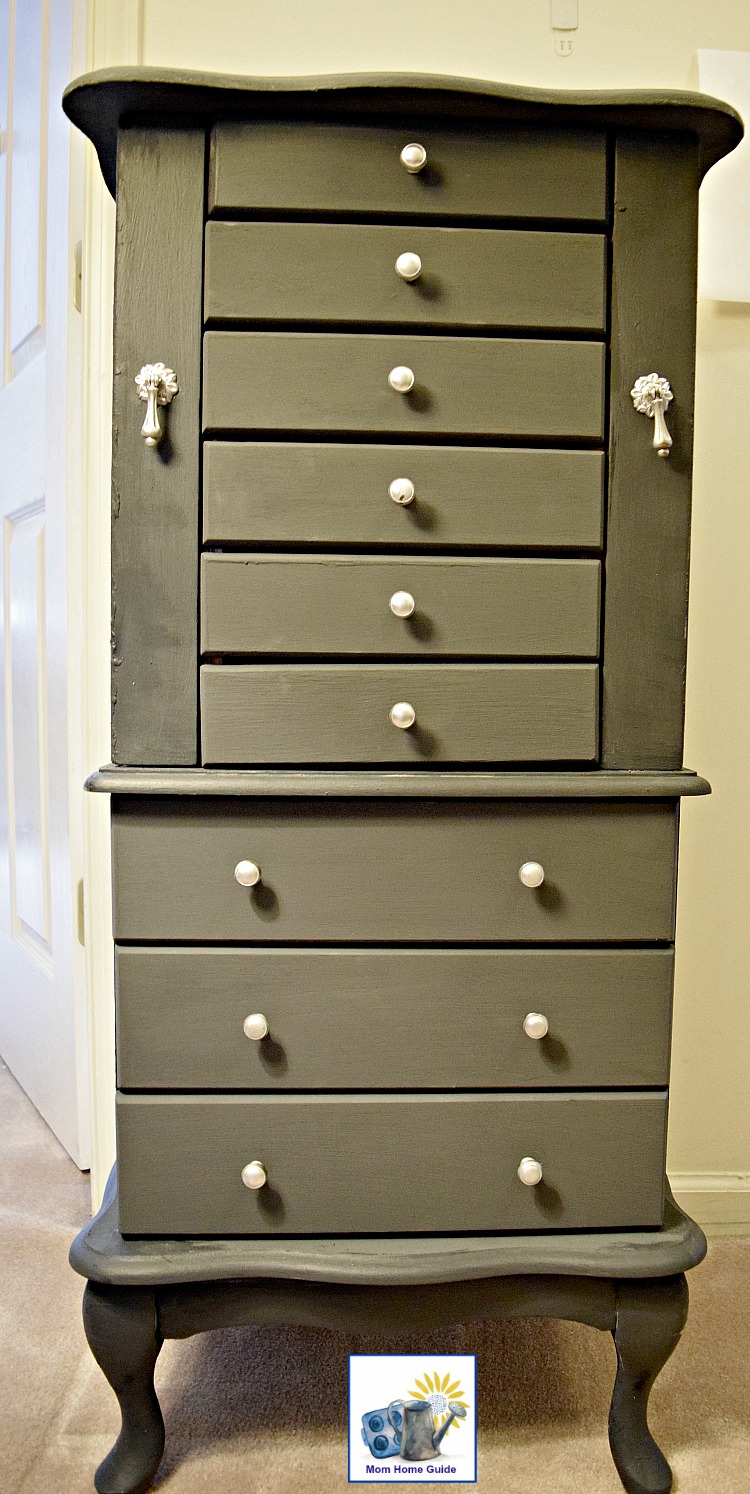
Then I moved the chest to it’s new home — the wide second-floor hallway of my home. I love how the newly painted jewelry armoire dresses up the otherwise not decorated hallway space.
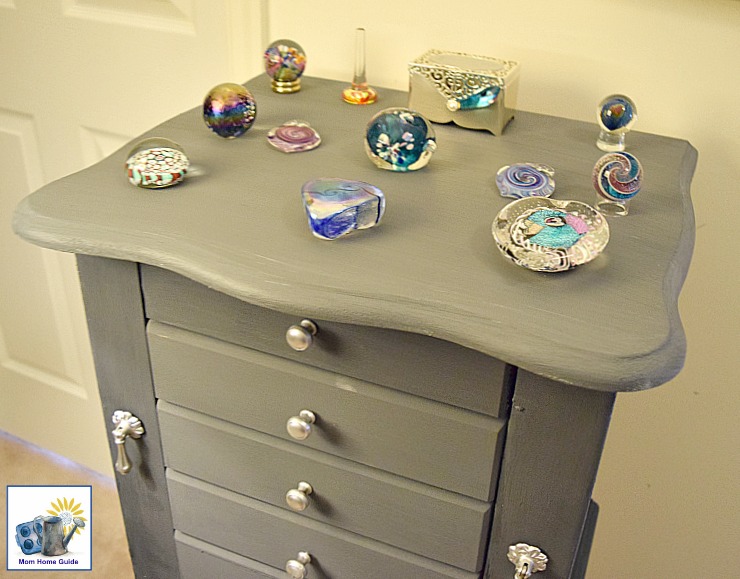
I promptly found a use for the top of the newly beautiful jewelry chest — it’s a great spot to decorate all the beautiful paperweights my husband has given me over the years!
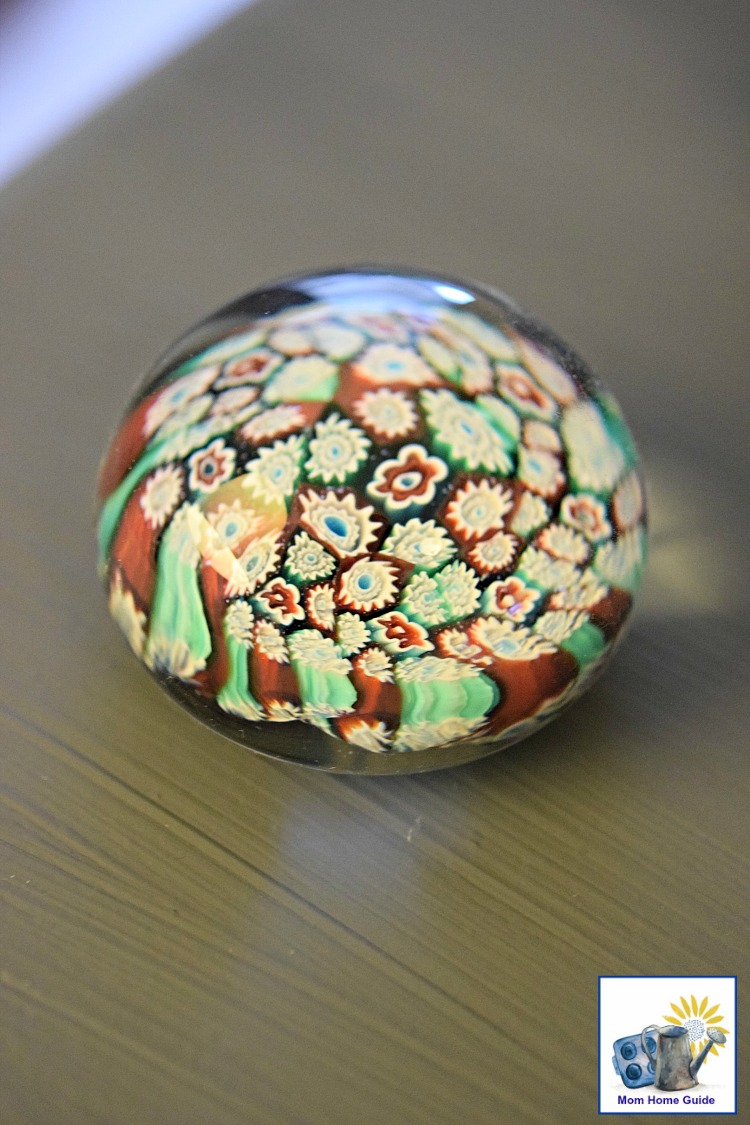
The below Murano glass paperweight is one of my favorites!
Chalk painting the jewelry armoire has been a great decision! The armoire looks great in its new home, the new location makes it so much easier for me to get to my jewelry, and I love having a display area for my paperweight collection.
What’s next: Now I need to find the time to re-line the drawers of the jewelry armoire. I cleaned the fabric interior with a lint brush, but I would really like to replace the fabric with a prettier and more modern fabric.
I remember that beverage cart and just loved it. I also love this jewelry armoire. I have one in my bedroom, too and if we ever get different furniture in the bedroom I’ll need to paint it again.
Carrie
curlycraftymom.com
Carrie @ Curly Crafty Mom recently posted…Embellished Picks