Now that spring is almost here, I thought I’d share a past project here on Mom Home Guide that is a great way to update your space for spring — easy envelope pillow covers. With minimal sewing skills and just a little cash, you can update the throw pillows in your living room family room. This post contains Amazon affiliate links.
I got my new living room sofa a few years ago (before then, the room was nearly a blank room), and since then, I love dressing it up! With spring around the corner, I just had to make new spring envelope pillow covers for my sofa’s throw pillows!
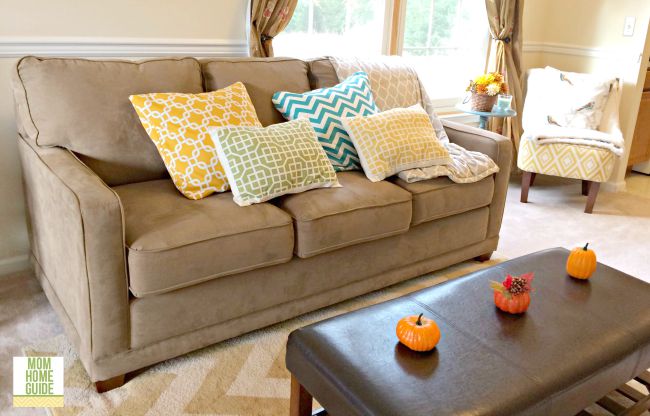
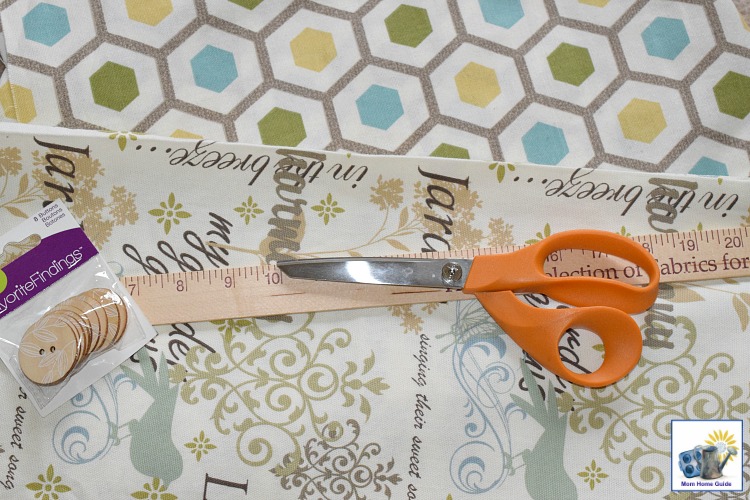
The above photo shows how I dressed up my living room for the fall. I like the colorful envelope pillows I made for my fall living room, but wanted to have a lighter look for spring. So I used a coupon at my local craft store and purchased some fabric at a discount and some leaf-accented wooden buttons to make new envelope pillow covers. In all, I think I spent about $12 for the fabric and buttons.
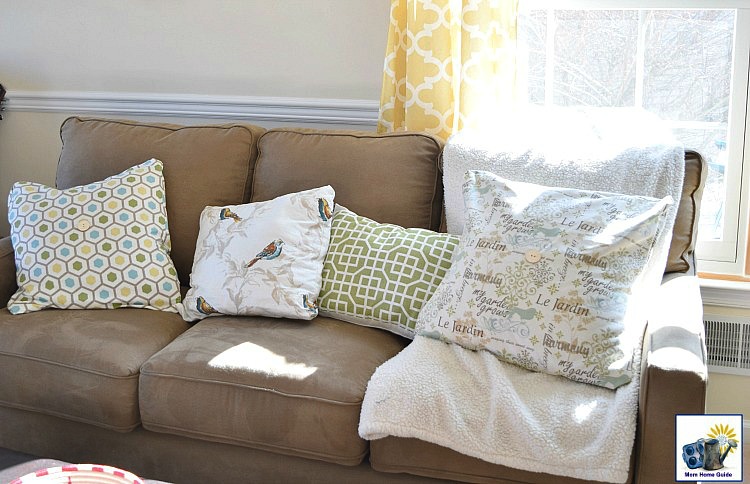
It took me only 2-3 hours to make new envelope pillow covers for my sofa’s throw pillows. This is what my sofa looks like now!
Envelope Pillow Tutorial
The below list are the materials you’ll need for your envelope pillow covers.
Materials (List includes affiliate links)
Fabric – The amount of fabric you’ll need depends on the size of your pillow.
Pillow form or pillow– For my recent project, I covered the two large pillows that came with my sofa. Or you can purchase pillows forms of various sizes on Amazon or at your local craft store.
Fiskars Fabric Shears
Hand Needle or
Sewing Machine
– for sewing the fabric together.
Thread that matches your fabric.
Straight Pins
Decorative Buttons
Instructions
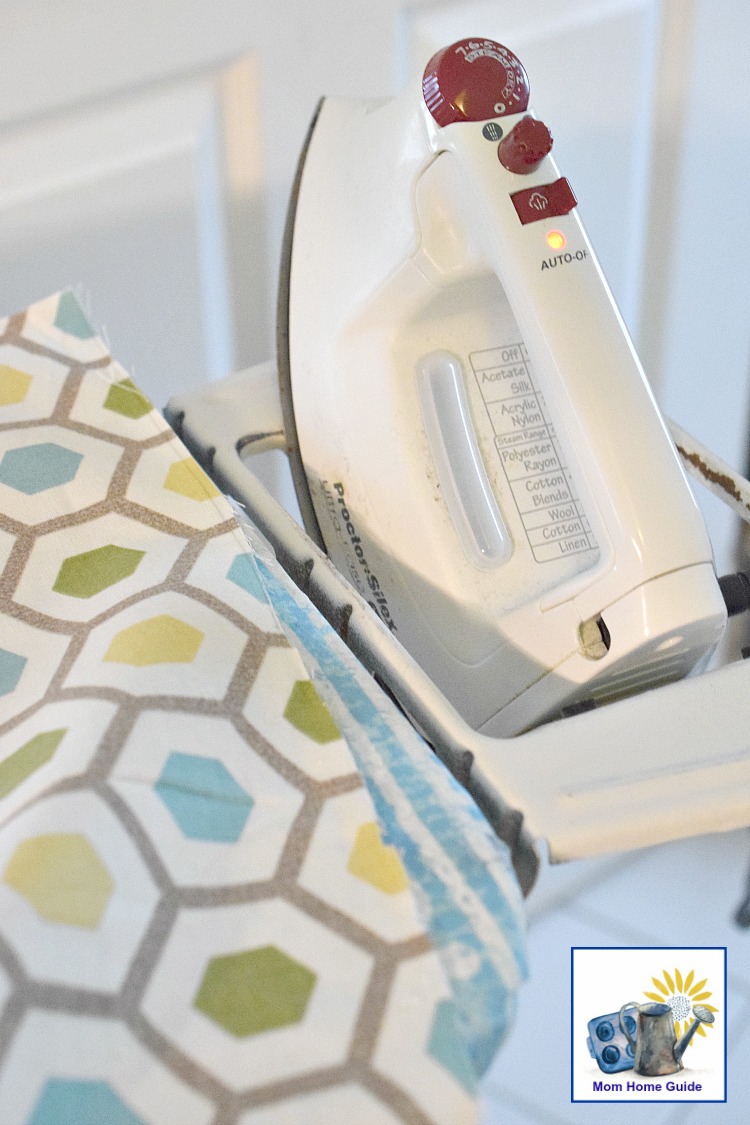
Wash and iron your fabric.
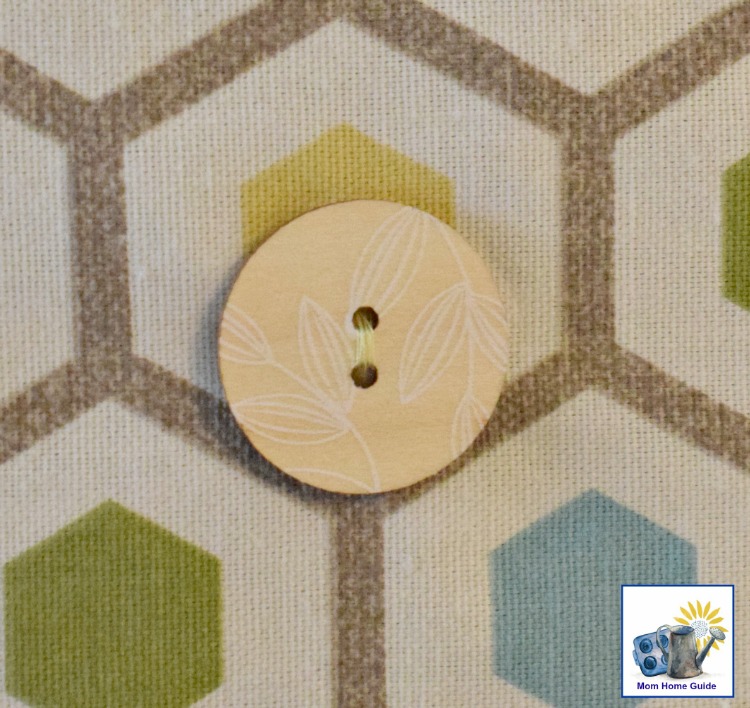
Cut the front fabric piece of fabric for your pillow cover the same size as your pillow or pillow form, but an 1 extra inch for both the length and width. If you like, sew a button on the middle of the front piece for decoration.
Cut a piece of fabric for the back of the pillow cover. Make the width the same size as your pillow or pillow form, plus 1 extra inch. The length should be the size of pillow form, plus an extra 6 inches. Cut the back piece of fabric in half.
Fold under the flap edge of each back piece 1/2 inch and the again 1/4 inch to make a hem for the flaps.
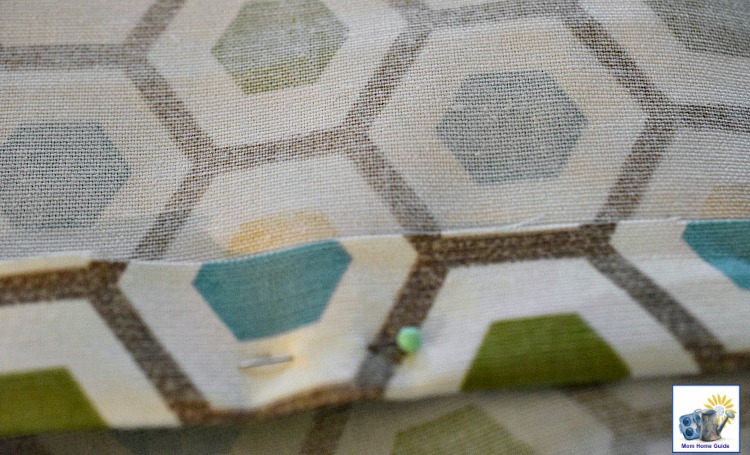
Sew the hems for the flaps.
Line up and pin the front and back sides of the envelope pillow cover right sides together. Make sure the back pieces overlap to form the flap on the back side of the pillow.
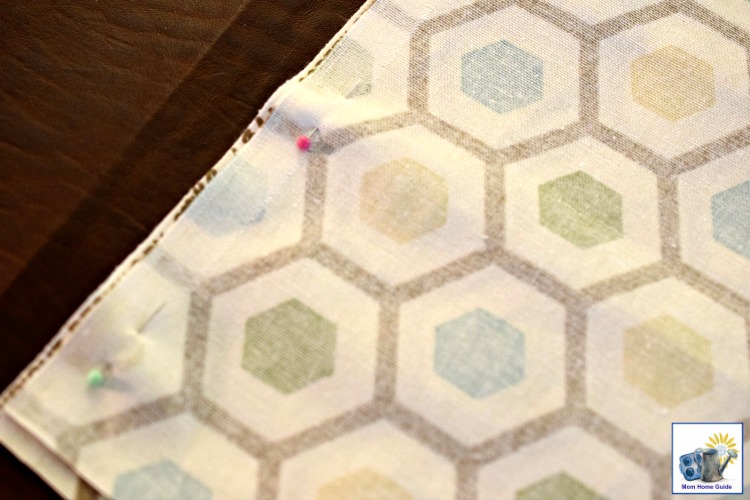
Sew around all four sides of your pillow cover.
Turn your pillow cover right sides out. Push the corners of your pillow cover out.
Insert your pillow or pillow form.
Envelope Pillow Covers
This is a closeup of the geometric print envelope pillow cover that I made.
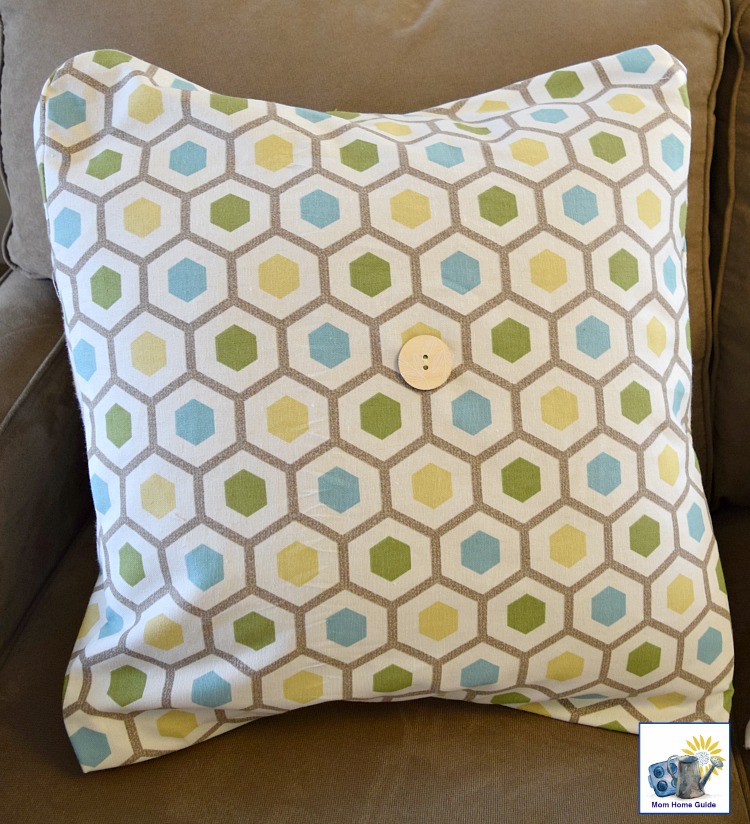
This is how my pillow cover with the French/garden print turned out.
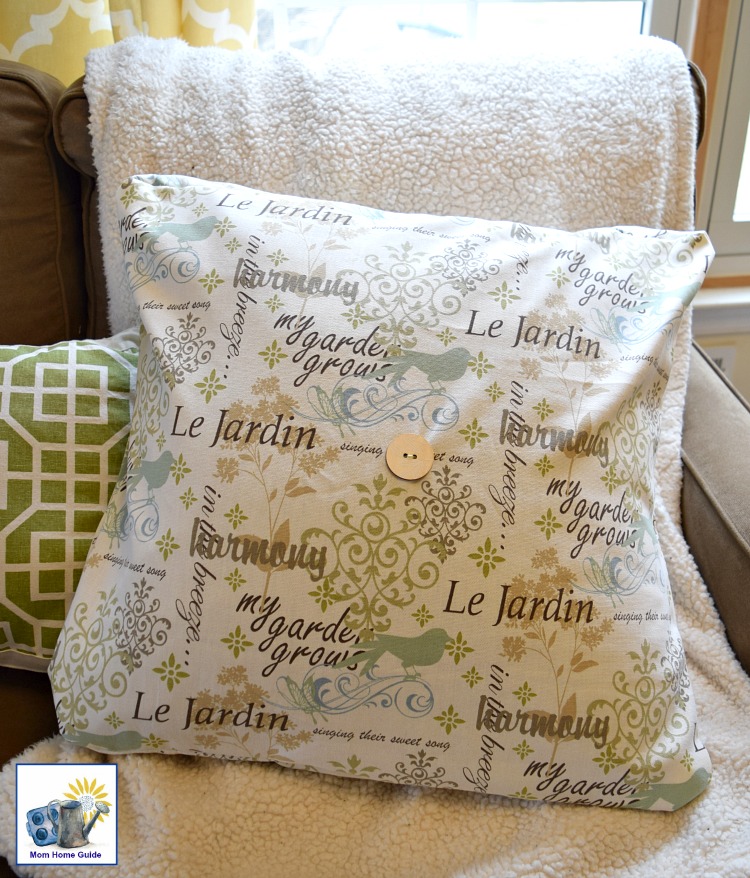
I love how my envelope pillow covers look in my new spring living room!

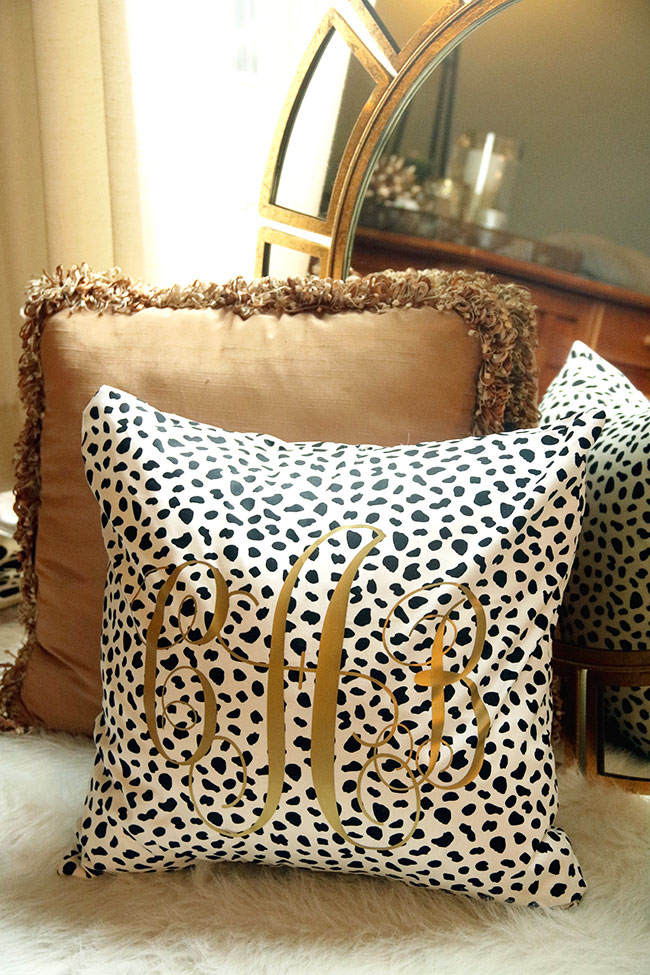
By the way, my friend, Carrie from Curly Crafty Mom, recently made some really glam and gorgeous monogrammed envelope pillow covers using her Silhouette machine! You should check out her tutorial! I just love how her envelope pillow covers came out!
[…] the new year, I decided to add some spring-themed throw pillow covers I made. (Check out my tutorial for this quick project on my home page.) Even though groundhog Punxsutawney Phil has predicted a […]