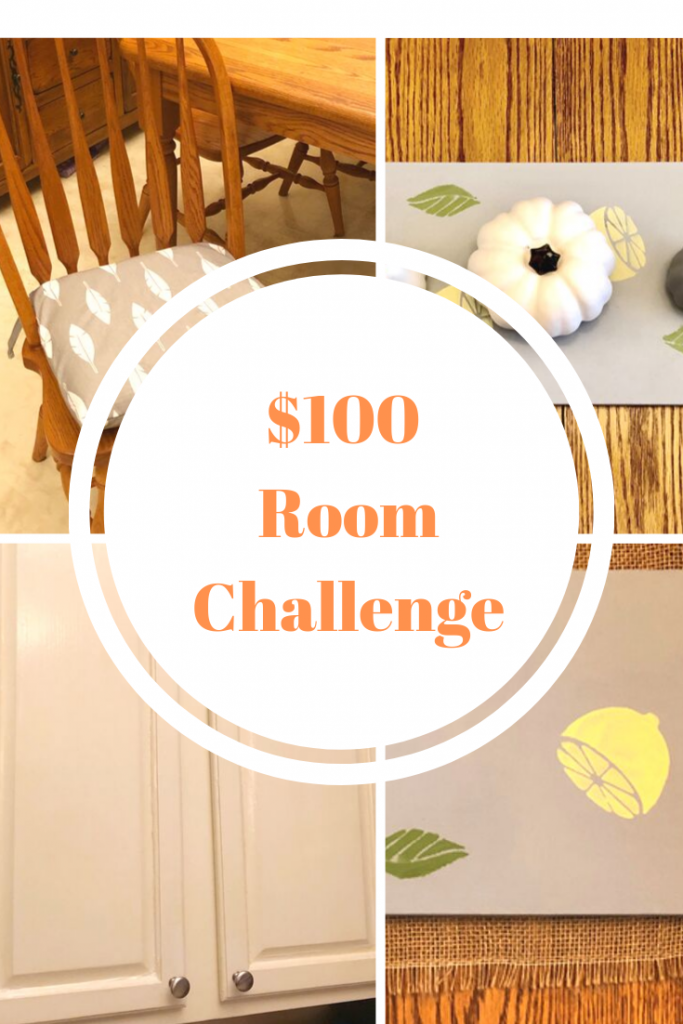
Thanks to DecoArt for providing me with the stencil and the Americana Chalky Finish Paints that I used to create my DIY stenciled table runner. This post contains Amazon affiliate links.
Welcome to the $100 Room Challenge, hosted by Erin of Lemons, Lavender and Laundry. In the challenge, bloggers like myself aim to update a room for no more than $100. I love this kind of challenge — I am always working to update my home without spending a lot!
The room I decided to update is my home’s kitchen. My plan was to add new nickel knobs to my DIY-painted kitchen cabinets (I previously painted the oak cabinets white), make a DIY wooden table runner for my kitchen table and sew cushions for the kitchen chairs.
I have to admit that I only got some of my planned updates done! I have installed some of the knobs (but not all), made two chair cushions — I need to make 4 more — and painted and stenciled my DIY table runner.
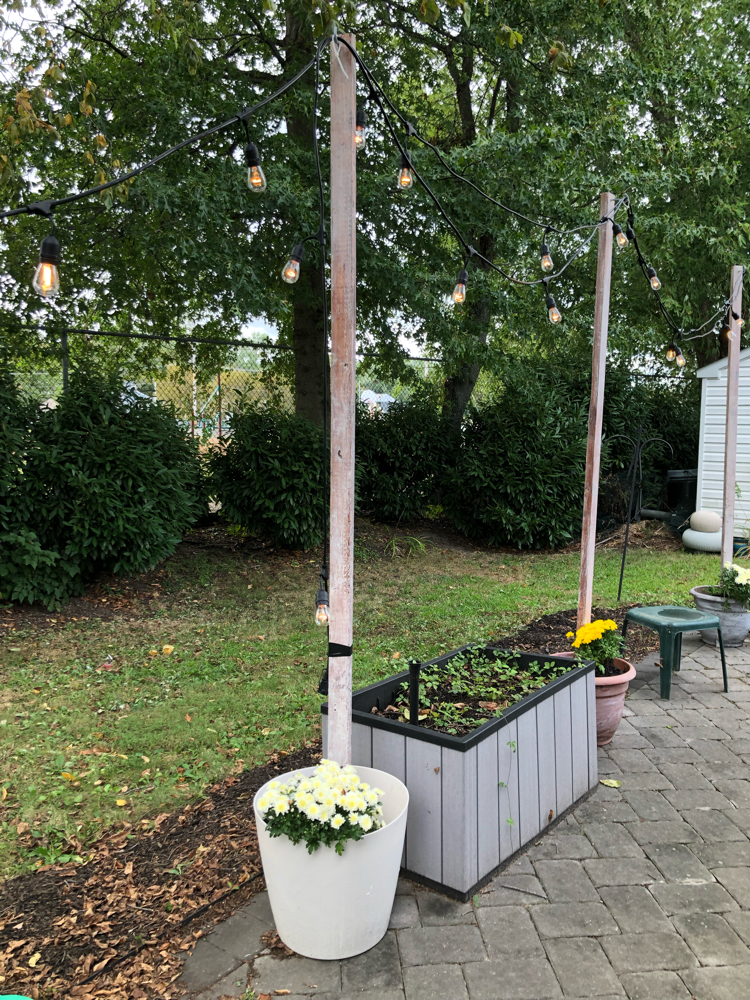
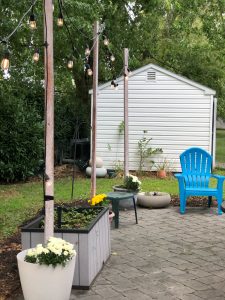
What happened? Another project got in the way. My daughters hosted a dinner party for some of their friends at our house. They were in need of lighting on our patio, so I made DIY string light planter posts and installed some string lights! Staining and painting the posts, sinking them in cement in planters and planting the planters with seasonal mums (plus preparing for the party), ate up a week of my time. Check out my tutorial for DIY string light planter posts here.
Kitchen Plans
To sum up, for my $100 Room Challenge, I wanted to add a few elements to my home’s kitchen — namely, new cabinet knobs (my kitchen cabinets have never had knobs), a DIY painted and stenciled table runner, and new chair cushions with DIY envelope cushion covers.
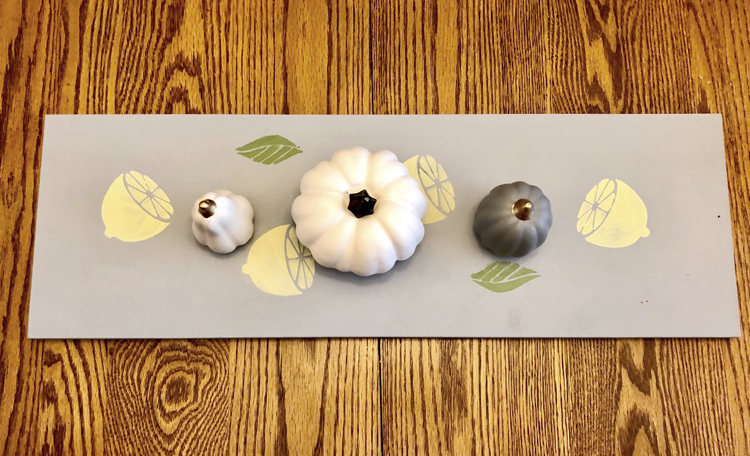
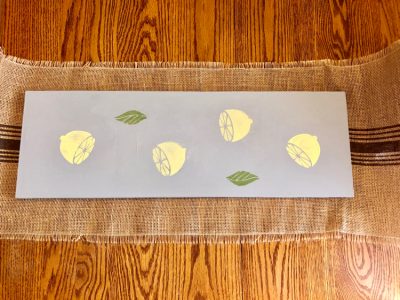
I’m happy with my DIY stenciled table runner. The runner didn’t cost much, since I upcycled an old shelf for the project. I used a pretty lemon stencil from DecoArt and Americana Decor Chalky Finish Paints, which made the project super easy! Check out my DIY stenciled table runner post for the full details on how I painted and stenciled my new table runner!
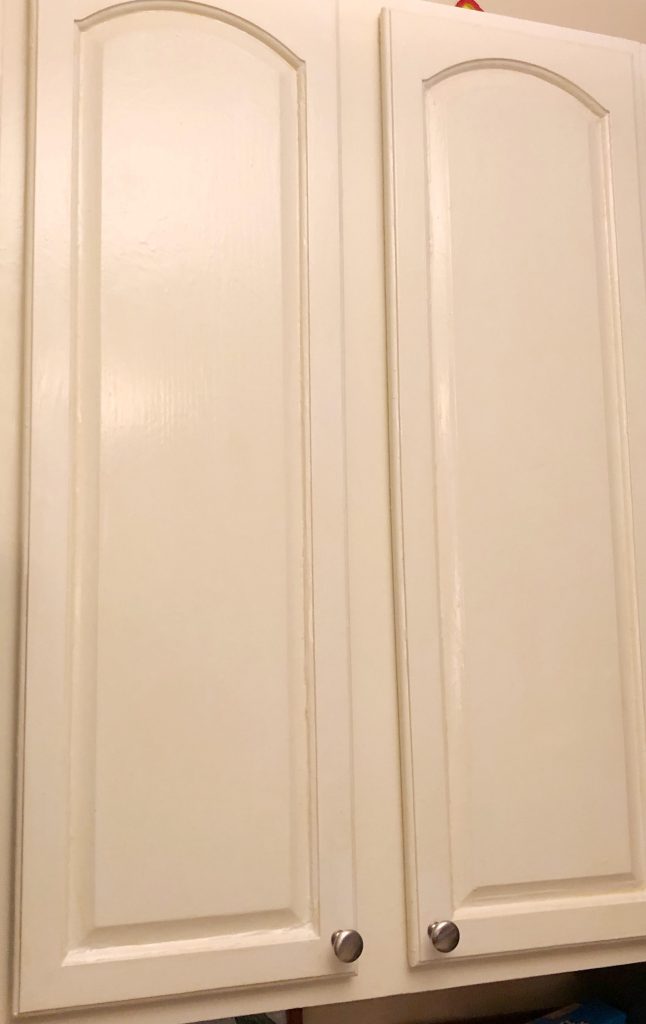
For my kitchen cabinet knobs, I chose Satin Nickel Amerock Cabinet Knobs to match the stainless steel appliances in my kitchen. (I got the knobs in a value pack of 25 from Amazon. The knobs would have cost more had I purchased them individually from my local home improvement store.) I like the knobs that I chose — they are sturdy and look nice.
Installing the knobs is fairly easy. But for the most part. I was hesitant to start this project (I don’t often work with a drill) so I now have to get moving on getting the rest of the knobs installed.
I got slowed up at first because my drill jumped up a tad when I was drilling for one knob. So the first two knobs I installed were a little uneven at first.
To fix my goof, I got some wood putty, filled in the wrongly drilled hole and painted the spot that I had filled with putty. I then drilled a new hole. Now the knob on that door looks level with the knob on the adjoining door. (You can see those knobs below.) Hooray!
DIY Covered Chair Cushions
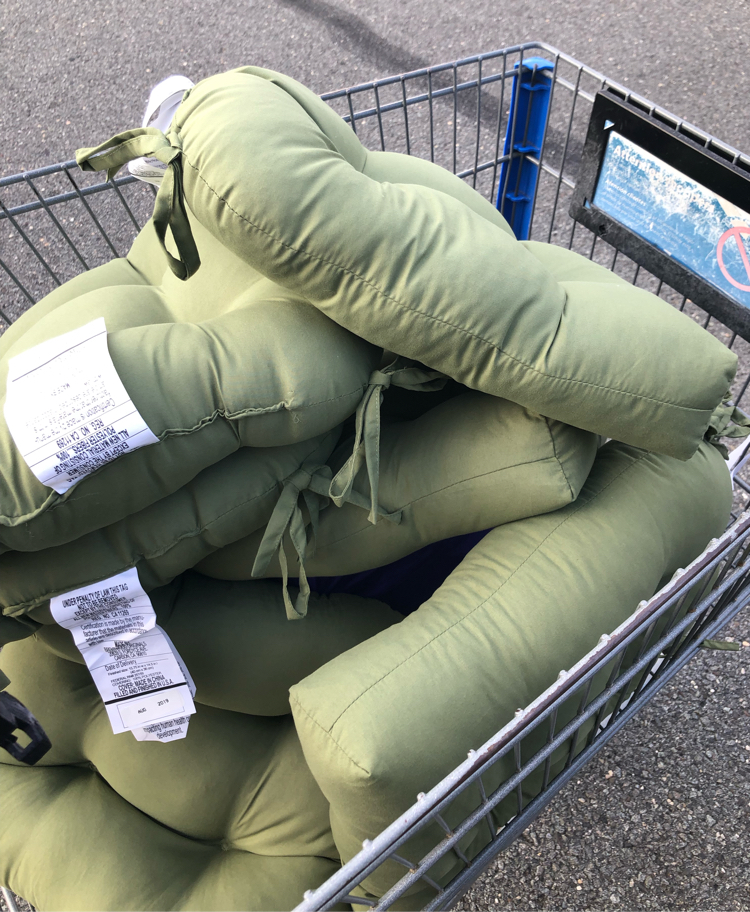
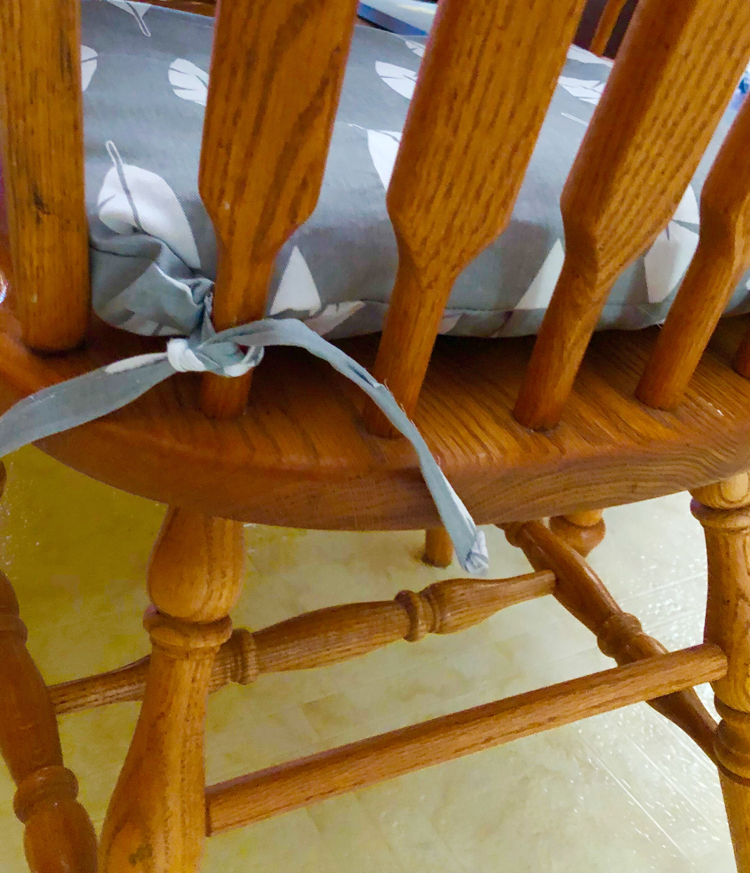
For the chairs at the farmhouse-style table in my kitchen, I decided to add cushions with homemade cushion covers. I started out with these cushions that I got for $5 each at my local Walmart. I didn’t exactly like the puke-green color – ugh! I guess that’s why they were so inexpensive.
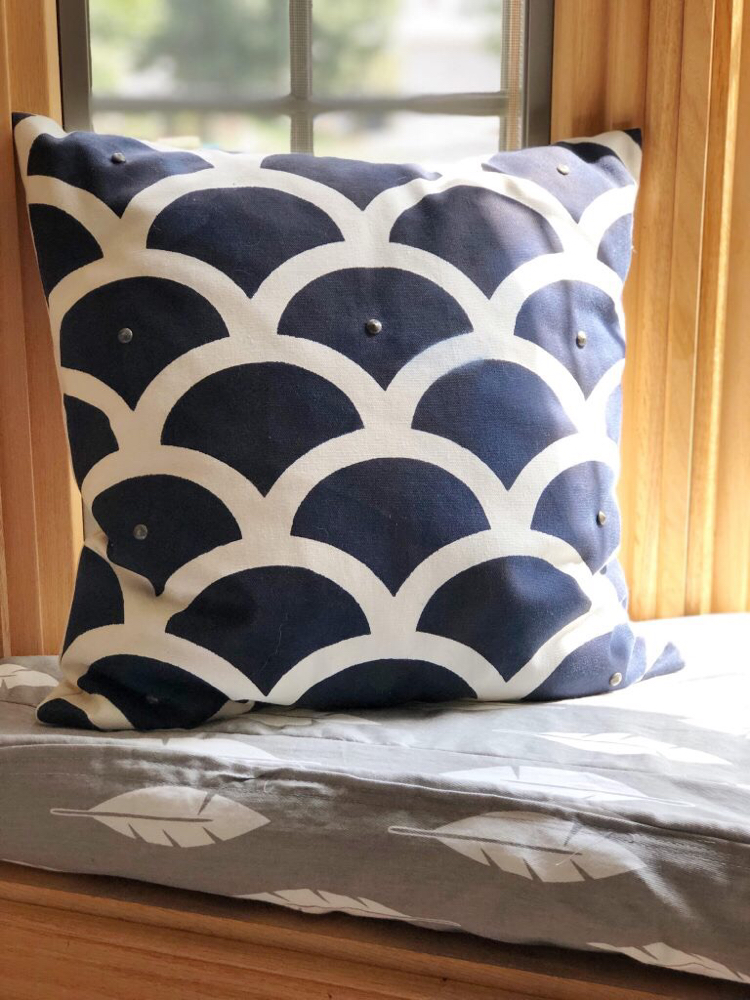
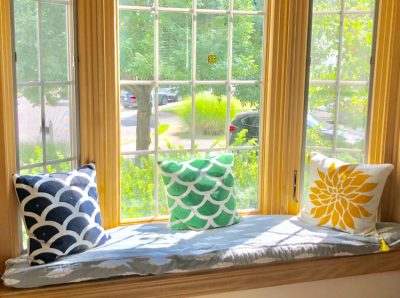
I decided to cover the cushions with the same fabric that I used for the DIY window seat box cushion that I made for my home’s living room a few weeks ago. (You can see the cushion I made for the living room bay window below.) The fabric goes well with they gray, white and gold curtains in my home’s kitchen. Plus, I had some fabric leftover from my window seat box cushion project.The fabric I used is Premier Prints Feather Silhouette Twill, Storm.
I decided to make envelope cushion covers for my kitchen chairs. An envelope cushion cover is one that has an opening in the back that allows a cushion to be easily slipped in and out. (By making the covers this way, I didn’t have to go to the added expense or trouble of adding a zipper enclosure or Velcro to each cushion cover.)
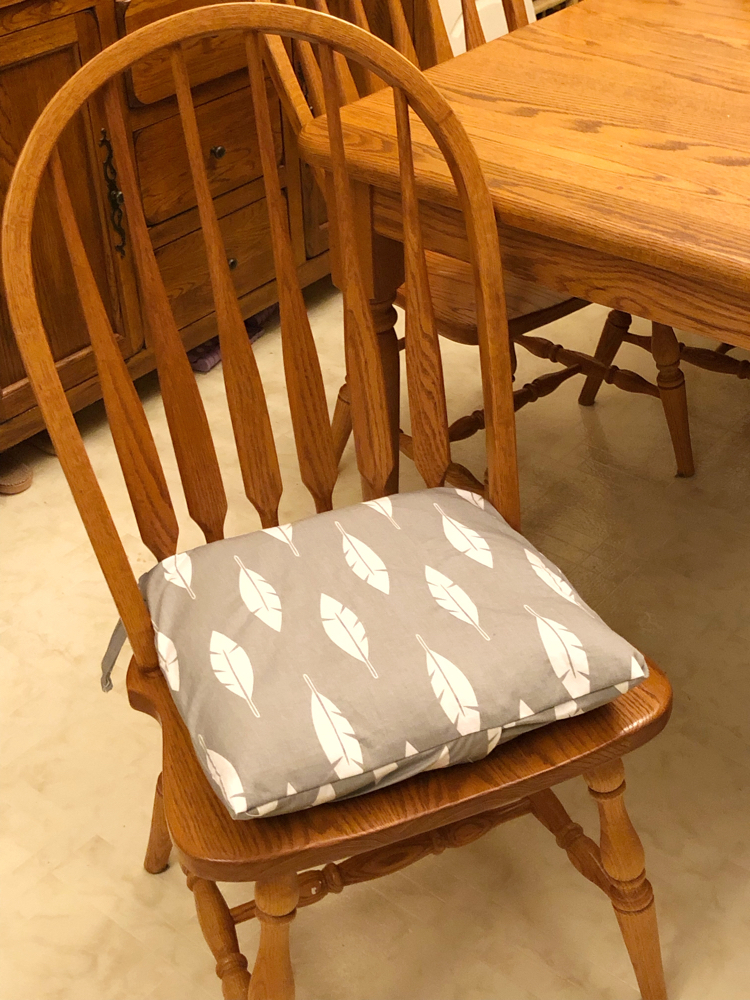
Sewing the envelope covers is relatively easy — I just ran out of time to get them all done! (I only have two completed so far.) I decided to make ties out of the same fabric for securing the cushions to the chairs.
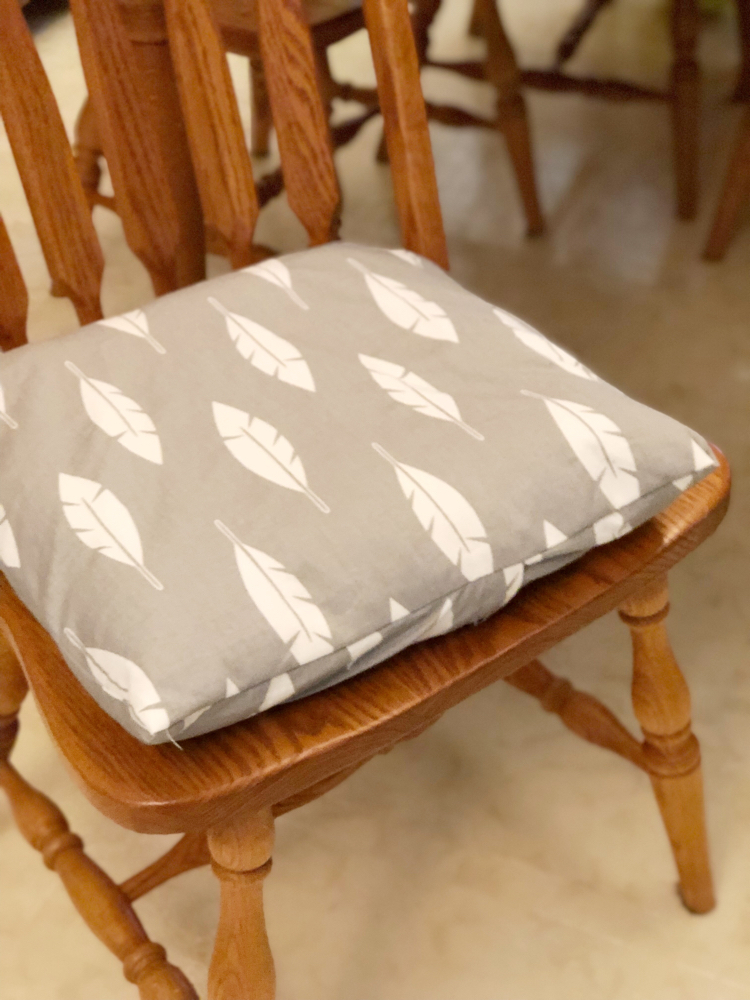
Each cushion requires 4 ties. So with 4 more cushions to go, that’s 16 more ties alone to sew!
Kitchen Update Budget
How much did I spend on this project? This is the breakdown:
Fabric: $25.94
Cushions – $30
Wood for table runner – free
Stencil: $6 (estimated value — DecoArt provided me with the stencil)
Knobs: $17
Paint: $21 (estimated value — DecoArt provided me with the paints)
Total: $99.94
Once the cushions are completed, I plan to share a tutorial on how to make easy envelope cushion covers (with chair ties) here on the blog. Be sure to check back for that!
You might also enjoy these posts on Mom Home Guide:
DIY Stenciled Wooden Table Runner
My Painted Kitchen Cabinets – A Year Later
DIY String Light Planter Posts
Look below to see my friends’ $100 Room Challenge reveals! I can’t wait to check out everyone’s rooms!
[…] To update the kitchen for the challenge, I’ve added some satin nickel cabinet knobs. I also made custom covered cushions for the kitchen chairs and a DIY wooden table runner. Check out my $100 Room Challenge reveal post to see how it all turned out! […]