Thanks to General Finishes for sponsoring this post. General Finishes provided me with the stain blocker, paint and topcoat that I used to paint my kitchen cabinets. This post contains Amazon affiliate links. If you click on a link and make a purchase, I earn a small commission that helps to run this blog. Thanks!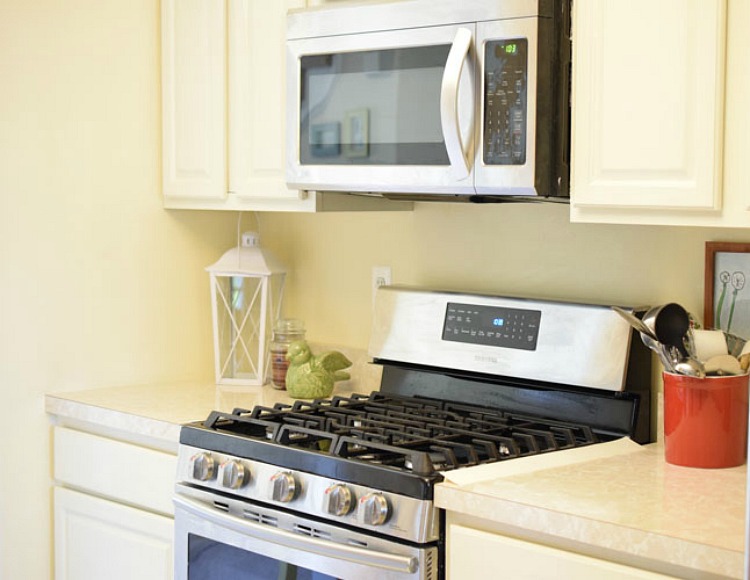
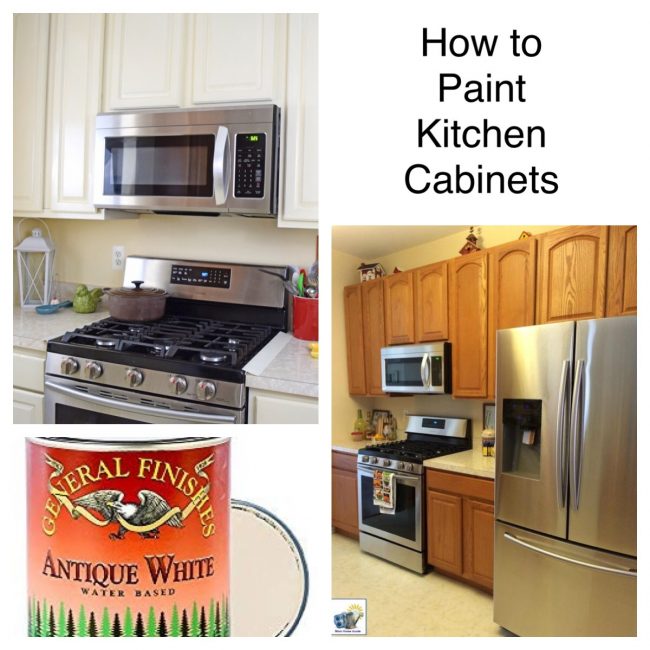
It’s been about two years since I painted my oak kitchen cabinets white with General Finishes Milk Paint. I am glad that I painted the cabinets! My kitchen looks much more modern and bright since I painted the oak cabinets. Plus, painting the oak cabinets white was a fairly simple job!
Since painting the cabinets, I’ve seen only about two small nicks on the cabinets. (Both of them are on interior sides of cabinet doors.)
Painting is when you keep all your existing doors, unlike cabinet refacing, where you replace all your doors and drawers with new and laminate the existing cabinet boxes in the new color and material. While cabinet refacing is more expensive than painting, it’s still another affordable option over replacing all your cabinetry”, states Linda Fennessy, marketing manager with www.kitchenmagic.com. “Both processes will update your kitchen with a fresh new look.”
I painted my cabinets with General Finishes Milk Paint in Antique White, General Finishes Stain Blocker (Water Based) and their High Performance Polyurethane Water Based Topcoat.
Materials for Painting Cabinets
General Finishes Stain Blocking Primer
General Finishes Milk Paint, Antique White
General Finishes High Performance Water Based Topcoat
(For a good primer on how much paint you need, check out this milk paint guide from Restyle Junkie.)
How to Paint Your Oak Cabinets White
To prepare my kitchen cabinets for painting, I first removed the kitchen doors from one side of my home’s kitchen. I carefully numbered each door (with a piece of painting tape with a number written on it), and stuck the same number inside the cabinet the door came from. I stored each cabinet’s door hardware in the corresponding cabinet in a plastic sandwich bag. It’s imperative to keep track of all the door hardware!
I then scrubbed both sides of the doors and the cabinet framing with a Scotch-Brite sponge and a 50/50 mix of denatured alcohol and water to remove any grime. After the cabinets were clean and dry, I sanded all the surfaces with 120 grit sandpaper. I wiped down the cabinet doors and the framing for the cabinets with a tack cloth to pick up all the dust.
I gave each surface two coats of primer, two coats of Antique White paint and two coats of High Performance Water Based Topcoat, waiting for each coat to dry in between each step. I found that I got a better finish when using foam sponge brushes to apply the primer, paint and top coat. This is what my cabinets looked like in the middle of the painting process.
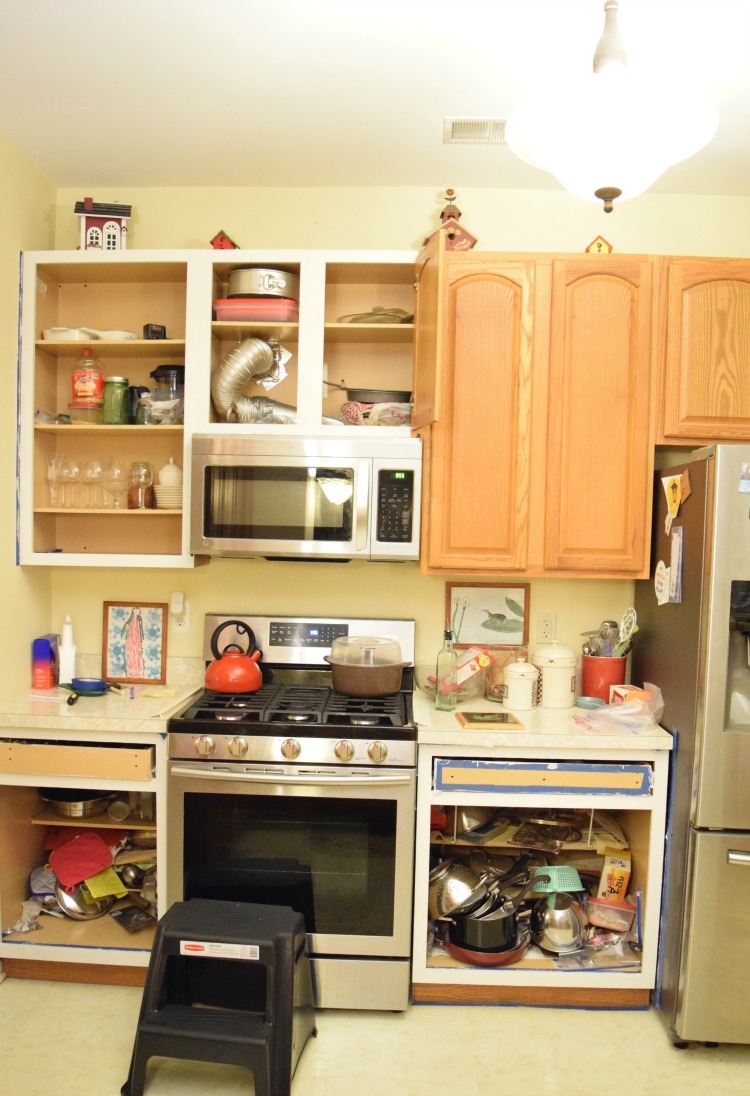
At first I set up a station for painting the cabinet doors in the basement, but I found that I painted better in the kitchen. I worked so much better in the kitchen where I was more comfortable and there is better lighting! I simply set a white kitchen trash bag underneath each cabinet door as I painted.
I can’t wait to share my complete kitchen — I’d like to add some new hardware to the cabinet doors, too. Maybe some day down the line, I’ll add a new kitchen countertop and a tile backsplash. I need to shop for some deals!
Interested in this project? Pin it for later!


You are saving so much money by just painting your cabinets!! And, they look like new!!
Carrie
curlycraftymom.com
Carrie @ Curly Crafty Mom recently posted…TBB Asks – Vacation Edition
Nice! I have always wondered how those white painted cabinet DIYs stood the test of time! Thanks for sharing, glad I found this blog 😉
This is a very handy tip to have, will bookmark it so that I can read it from time to time, thank you for this.
Christian Alcantara recently posted…(Re)painting Ideas: Starting the Year with a Blank Canvas
How much it cost you for making the whole?
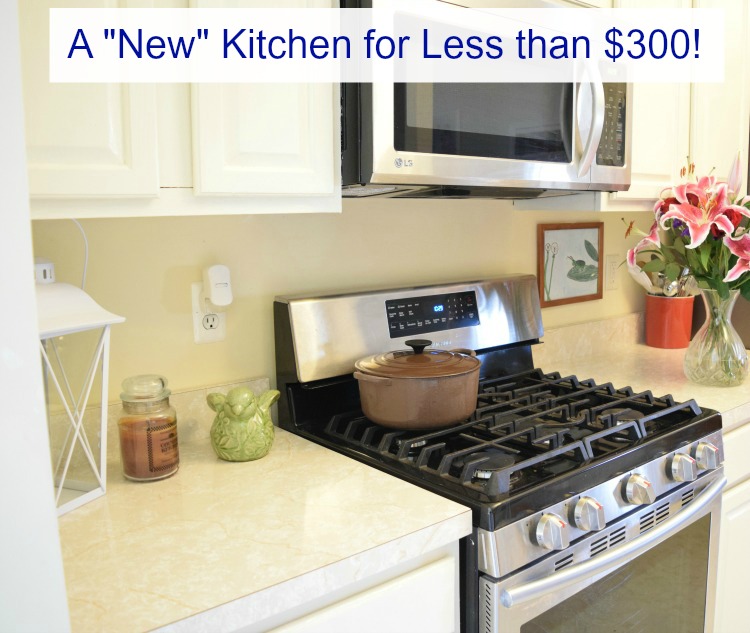
Hi! I got the paint for free from General Finishes, but I figure if I purchased it myself, it would have cost less than $300.
Really amazing painting. Your kitchen is now looking like new. I wish I can do it.
Tareque Sarker recently posted…Different Types of Paint Sprayers: Which will be the Right Pick?