This post contains Amazon affiliate links. These links don’t cost you anything, but they may earn a small commission that helps to fund this blog.
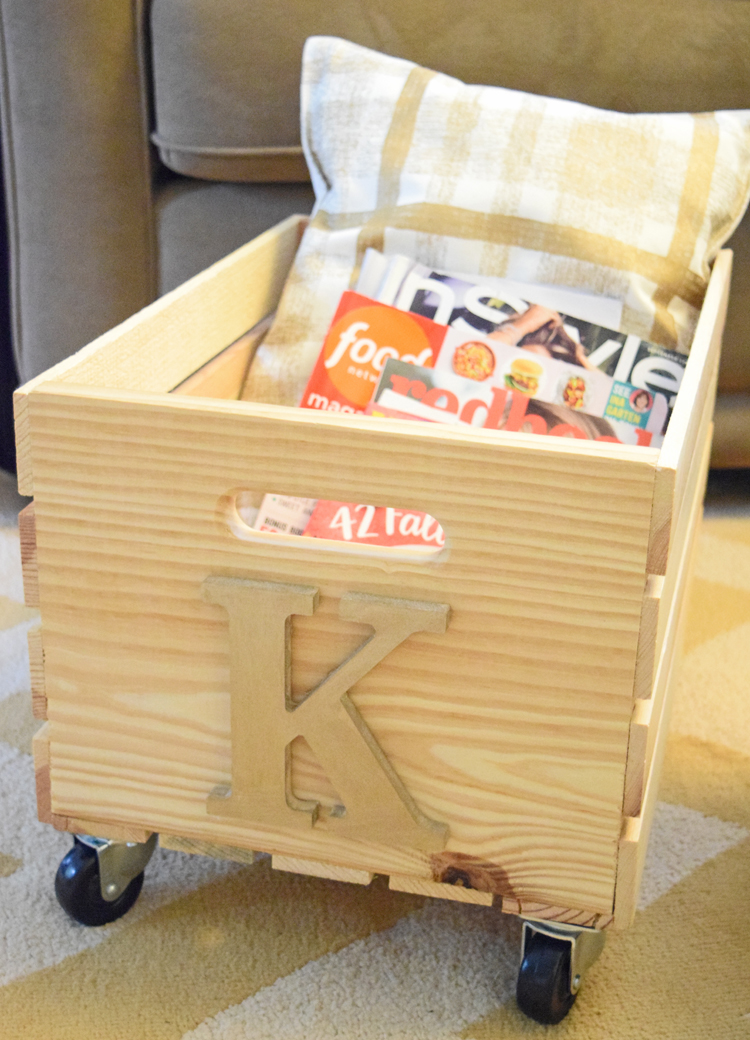
Hi, everyone! Today I’m revealing my newest project and sharing it in the Pinterest Challenge Blog Hop! Once a month I get together with some blogging friends, and we all share our latest projects that were inspired by projects we’ve pinned on Pinterest. The Pinterest Challenge Blog Hop is hosted by My Pinterventures is lots of fun and I love seeing everyone’s projects!
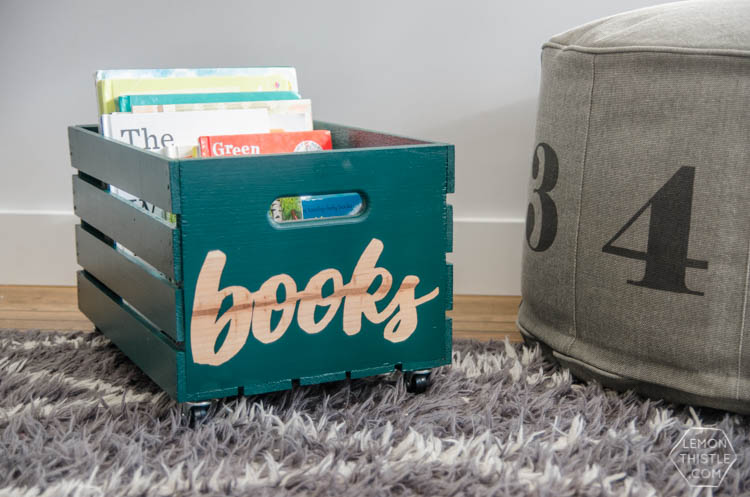
The pin that inspired me for this month’s blog Pinterest Challenge Blog Hop is the rolling book crate by Lemon Thistle.
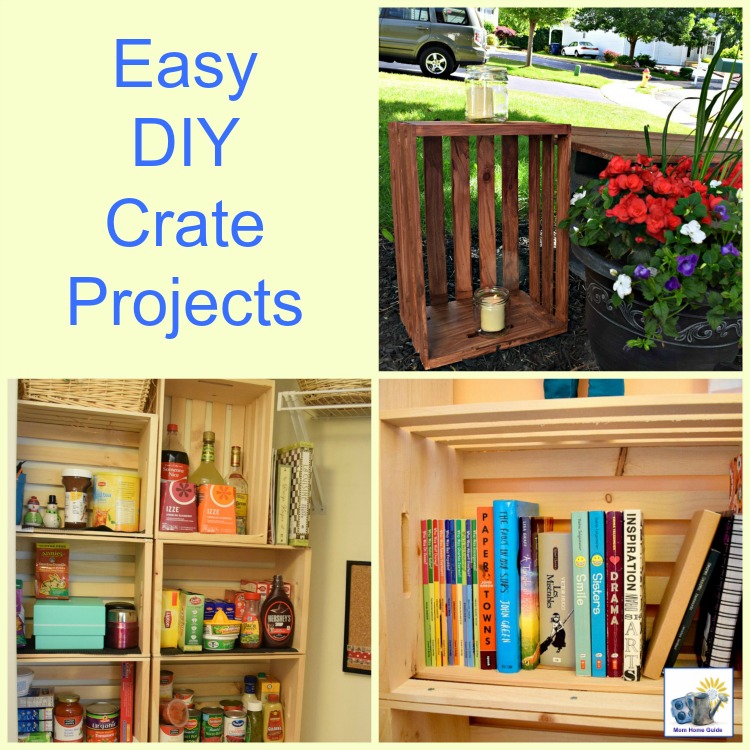
I love the ease and practicality of making useful things for the home out of wooden crates. (Check out my four easy crate projects.)
I decided to make a rolling wood crate to hold magazines. My husband and daughters got me a gift subscription to HGTV Magazine a few years ago. Since getting that subscription, a few other magazines offered me trial magazine subscriptions. I now get at least 6 magazines in the mail a month!
Rolling Crate Materials
I decided to keep my crate simple, so I needed very few supplies for my cart. I like the natural wood look, so I decided not to paint my crate. (I decided to paint a small wooded letter to add to my crate instead.)
Large wood crate (1)
Caster wheels (4)
#6 1/2″wood screws (16)
Drill
Unfinished wood letter
Glue gun and glue sticks
Craft acrylic paint
Foam brush
How to Make a Rolling Crate
To make my rolling crate, I simply picked up a large wood crate, a tall wood craft letter, some wood screws and 4 caster wheels. (I already had a drill, glue gun and glue, and craft paint at home.)
Once I got my supplies home, the first thing I did was screw on the caster wheels to the bottom of the crate. (Each wheel took 4 screws.)
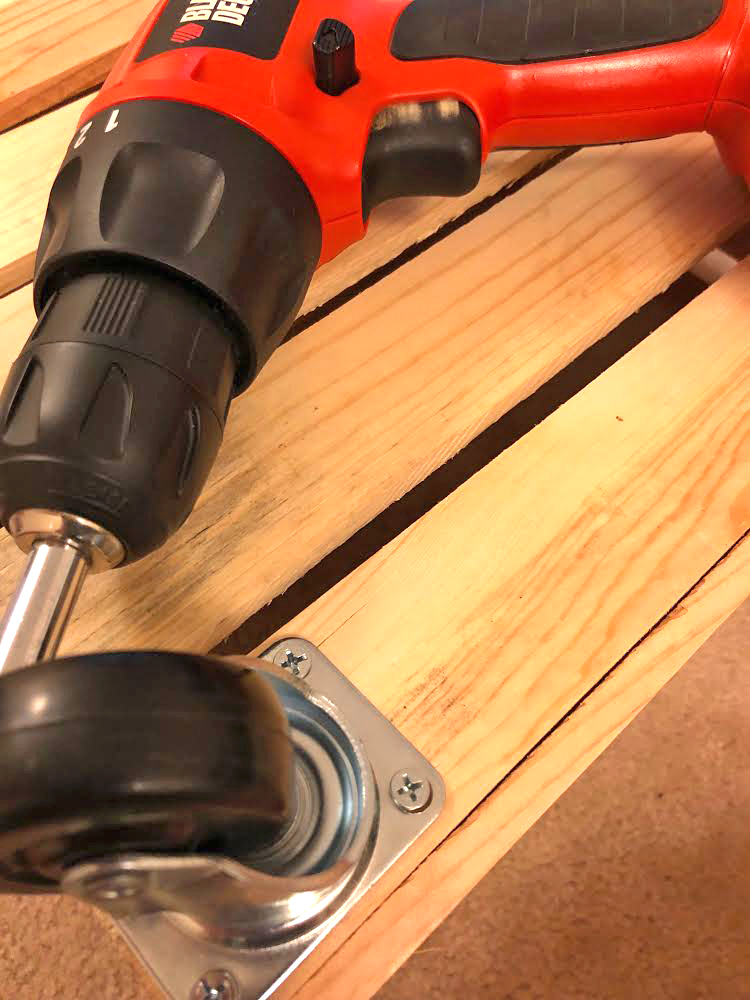
At first I used a regular screw driver to screw on the wheels. But I eventually switched to an electric drill, since it’s a lot faster.
Once I secured the wheels onto the crate, I painted my craft letter. I used an inexpensive foam brush and some craft paint in a metallic copper color that I already had on hand.
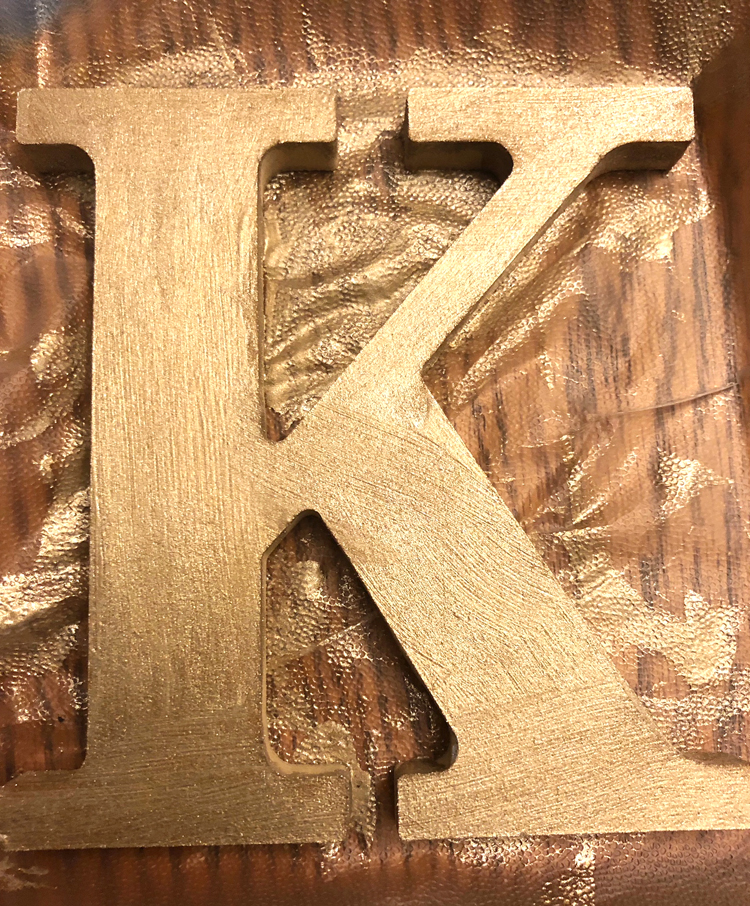
I then used my glue gun and some hot glue to glue the painted letter onto the crate.

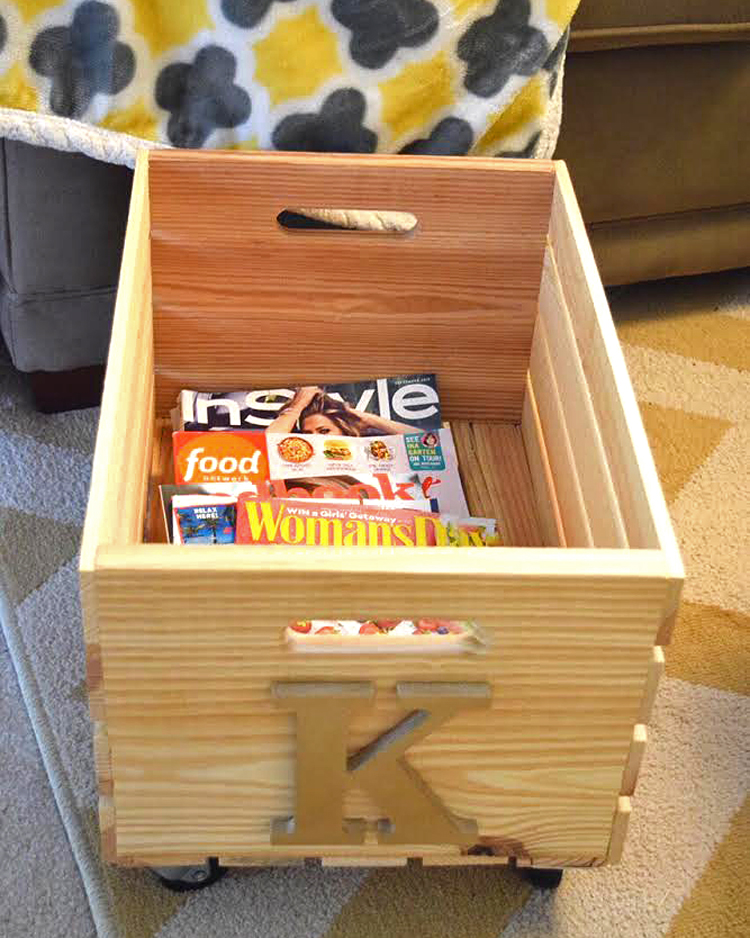
This was a simple project, and I loved how it turned out! It’s great to finally have a place to stash my magazines!
To join next month’s #pinterestchallenge, click here to sign-up ? September Pinterest Challenge.
Now let’s see what other things Pinterest inspired! Head over and visit the other hosts to see what they crafted, cooked, built, or tried!

Erlene – My Pinterventures • Jenny – Cookies Coffee and Crafts
Alexandra – EyeLoveKnots • Joanne – Our Unschooling Journey
Chelc – Inside The Fox Den • Erin – The Usual Mayhem
Beverly – Across the Boulevard • Lynne – My Family Thyme
Laurie – My Husband Has Too Many Hobbies • Lydia – Lydia’s Flexitarian Kitchen
Leslie – Once Upon a Time & Happily Ever After
Lauren – Mom Home Guide • Emily – Domestic Deadline
Debra – Shoppe No. 5 • Roseann – This Autoimmune Life
Terri – Our Good Life • Lisa – Blogghetti
Kelli – The Olympic Nest • Rebecca – Hello Central Avenue
Bri – Halfpint Design • Cherryl – Farm Girl Reformed
Julie – Sum of their Stories


What a fun and functional little piece! Love it. I could use about 10,000 little crates around my house! @halfpint party design
Turned out great! It’s always nice to have a cute place to stash things.
Hi, I am really happy to to see your home project. I love it. It’s always nice to have a cute place to stash things.Thanks for the sharing this.
These are beautiful! Pinning for a weekend job for my hubby.