This shop is part of a social shopper marketing insight campaign with Pollinate Media Group® and Office Depot, but all my opinions are my own. #pmedia #inspirestudents http://my-disclosur.es/OBsstV
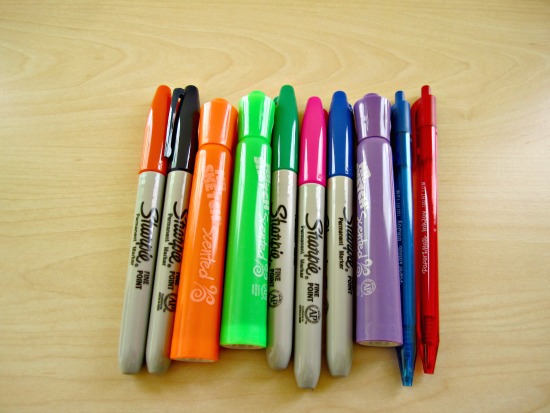
My kids moved up to middle school this year, which means buying a lot more school supplies! My daughters and I visited our local Office Depot and stocked up on everything we needed before school started. I picked up some Sharpies, Papermate pens and scented Mr. Sketch markers. The pens, Sharpies and markers will be great for a back-to-school teacher gift! I know teachers have to cart a lot of school supplies around, so I thought it would be nice to make a pen and marker roll up as a back to school gift.
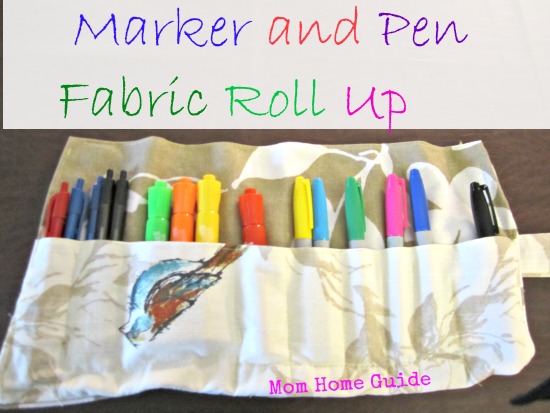
I adore office supplies, and really like the colors available in the Sharpies, Mr. Sketch markers and Papermate pens. I found a crayon roll up tutorial at Make-it and Love-it and adapted it to fit my fabric’s size and my office supplies for my pen and marker fabric roll up teacher gift. For my fabric, I used fabric cloth napkins that I had left over from my cloth napkin pillow project. (I recently made really great inexpensive pillows for my new living room sofa.)
Fabric Roll Up Materials
Two 17.5 x 17.5 cloth cloth napkins; one trimmed to 17.5 x 9 inches
21-inch ribbon (or you can use the fabric left over from your trimmed napkin)
Coordinating thread
Pen & Marker Roll Up Tutorial
Fold both pieces of fabric in half lengthwise and iron. Using sharp fabric shears, trim your second piece of fabric to 17.5 inches x 9 inches. Sew a 1-inch hem on the raw edge of your cut fabric.
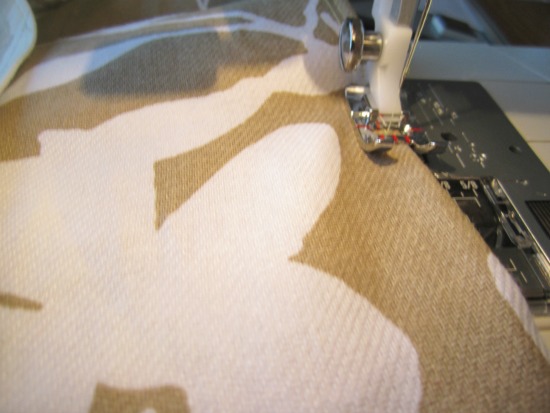
Take the smaller piece of folded fabric and sew a seam close to the folded edge. Open the large piece of fabric and put the smaller one on top. Match the two raw edges of the smaller piece of fabric with the long raw edge (opposite the fold) of the big piece of fabric. Sew along that long (17.5 inch )raw edge.
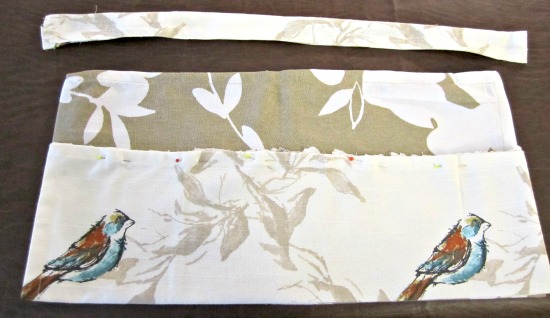
Fold the empty half of the big piece of fabric over the smaller piece that you just sewed on and pin it along the 17.5 inch edge and the two sides. (Fold in half where you ironed the fold on the large piece of fabric, but in the opposite way.) All the four raw edges of fabric are now pinned together.
Sew along all three sides (not the fold). Leave at least 4 inches open at the bottom, so you can turn your roll up right side out. Trim all four corners of your roll up, and then turn your fabric right side out.
Iron your roll up flat and sew around all the sides, close to the edge.
Now you need to sew the compartments in your top pocket for your markers and pens. What I did was lay out my markers and pens along the pocket, and pinned where I wanted each compartment to be.
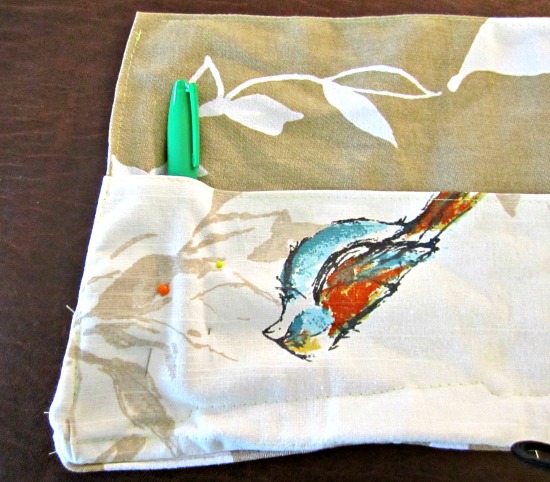
Sew in each compartment seam. Turn your marker and pen roll up over, and pin on your ribbon.
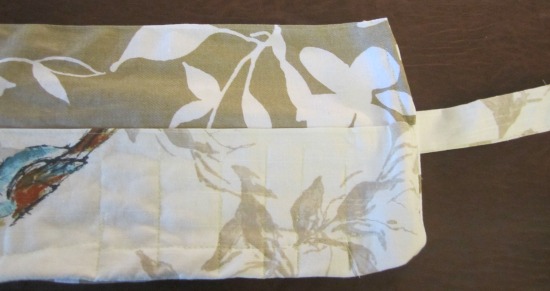
Fabric roll up with ribbon
Sew on the ribbon, making sure you don’t stitch any of your compartments closed.
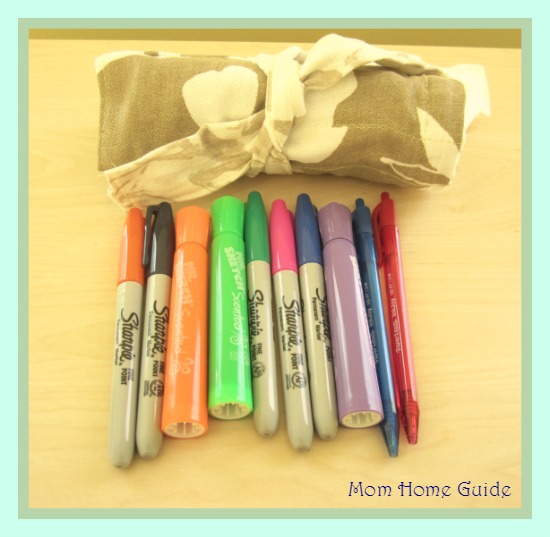
Your pen and marker fabric roll up is complete!
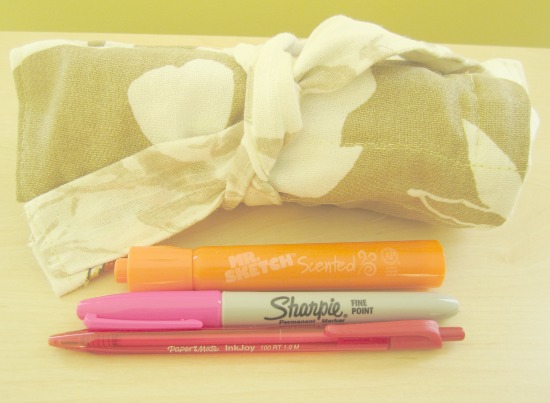
I really like how the pen and marker fabric roll up came out, and think it’s really handy for carrying pens and markers in a purse, briefcase or backpack.
Are you interested in making your own pen and marker fabric roll up? Now is a great time to head out and get your supplies, because Office Depot and Office Max will allow you to save $5 Off your purchase of $20 or more on Select Newell Rubbermaid Brands (PaperMate, Expo Neon Window Markers, Sharpie, Uni-Ball, & Mr. Sketch), while supplies last. That’s a good deal!
Do you have a great back to school teacher gift idea? I would love to see it! Tag me on Facebook, Twitter, Google+, Pinterest, Instagram and use the hashtags #InspireStudents #TeachersChangeLives #pmedia.
I am linking this project up at Pin Junkie Pin Party, Be Awesome Link Party #12 , Moonlight and Mason Jars # 71 , Work It Wednesday and Inspire Me Monday (24).
