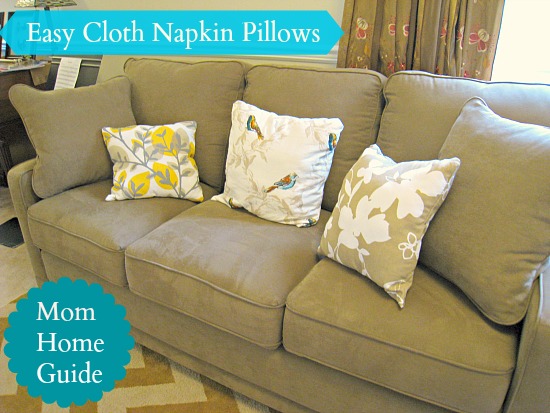
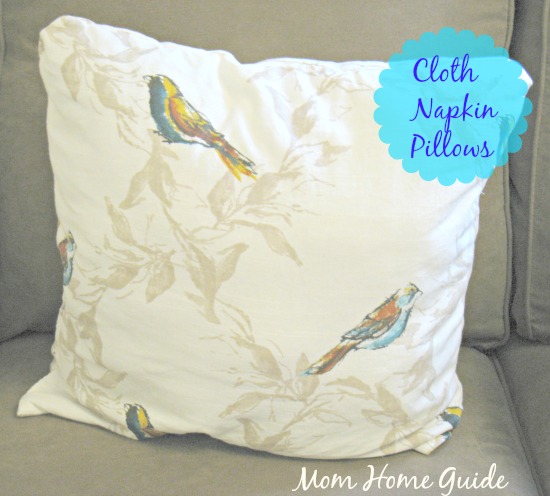
Hello! I am back talking about easy DIY pillows again. (I last posted about my cloth placemat pillows.) As you probably know, I am in LOVE with my new Mohawk Home area rug, and my La-Z-Boy sofa, which I adore dressing up and making look pretty. So, when I found 4-packs of cloth napkins on sale at Target for less than $3 a pack, I had to snag them! I just love the pretty prints. I knew I could transform the cloth napkins into DIY cloth napkin pillows for my new La-Z-Boy sofa!
![]()
I bought three packs of the cloth napkins. Since four napkins are in each pack, I could make six cloth napkin pillows in all if I wanted to. (I need two napkins per pillow.) Since I saved by buying a big bag of Poly-Fil, I doubt that each pillow cost me more than $4 each. That’s a great deal!

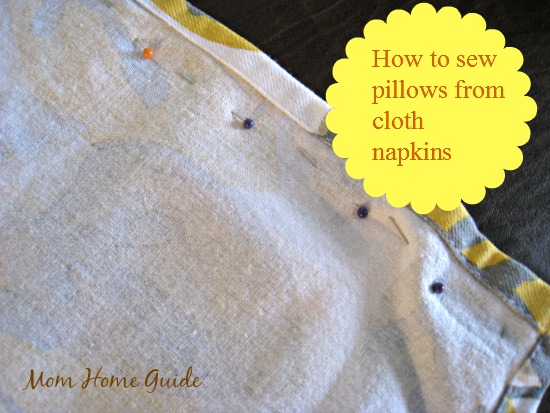
I got started by carefully pinning two like napkins (of the same print) together, with the print side facing in. I made sure to pin each napkin together with the pattern running the same way.
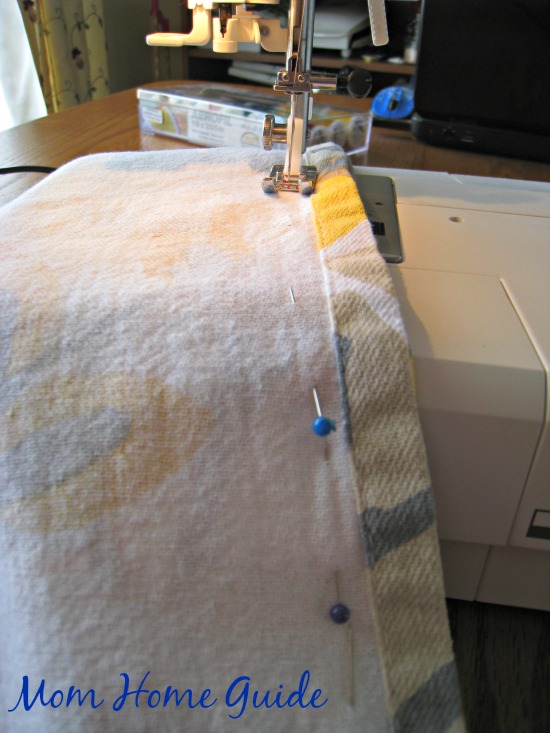
I am not the best sewer, so if I can make these pillows, you can, too! (My Husqvarna Viking sewing machine is set to one stitch — I am not even sure which one — and I just always use that stitch!) LOL. When stitching my cloth napkin pillows together, I made sure to leave an opening of about three inches on each pillow, so I could easily stuff each pillow. It took me only about 30 minutes or less to sew up all three of my pillows.
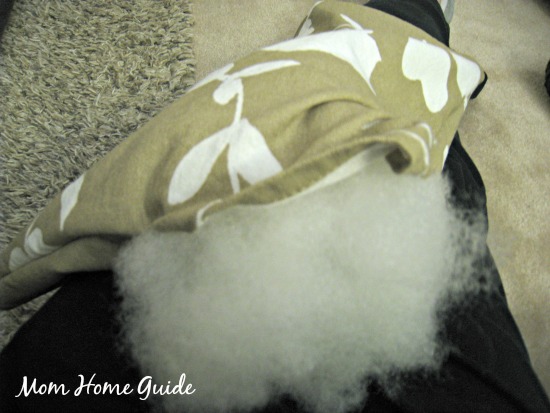
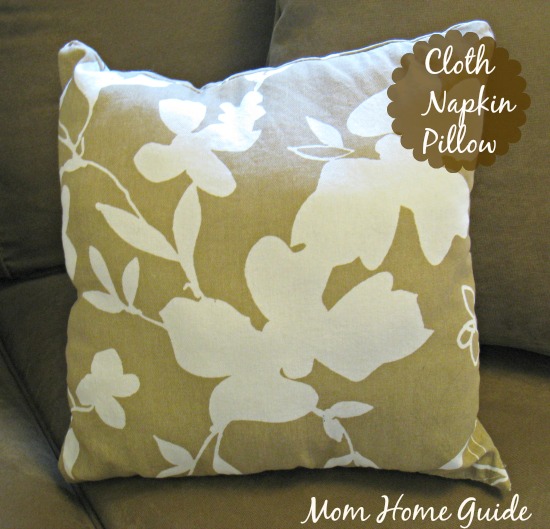
After I stitched together all three cloth napkin pillows, I reached my hand in each pillow and pulled the right side out, so the print was on the outside of each pillow, where it should be! I then stuffed each pillow and hand-stitched each pillow’s opening closed.
I am quite happy with how my new cloth napkin pillows turned out! For the price of one pillow at home decor stores, I now have three beautiful pillows for my new sofa!
![]()
I adore my cloth napkin pillows so much that I will be checking out my Target for more napkin clearances — there is a clearance section in my local Target store that I haunt frequently!
More to Come
I am not done with my living room yet! Check back here to see what I will be adding next. I will be revealing a Target find that I got on sale and got on further discount with my REDcard and a Target gift card, as well as new DIY decor that I will be adding!
*Editor’s note: This post contains affiliate links.
What gorgeous napkins you found! I totally understand how you wanted to show them off the way you did… They look great!!!


“hugs” Crystelle
Crystelle Boutique
Crystelle recently posted…Tall Tales ~ A New Feature for Tall Girls’ Clothing
Easy and quick tutorial for fashionable pillows! I made a few for my guest room using the envelope style cover with an old pillow. This is sweet and your napkins choices are wonderful.
Thanks, Diana! I need to find an envelope-style pillow tutorial!
This is so awesome!!!
oh! that is really awesome!
Laura recently posted…NATU Managing Mist
Wow these turned out so nicely! We are moving right now but once we get settled I’d love to work on a project like this one!
Justina recently posted…L’occitane Néroli & Orchidée Review
Thanks, Justina! Nice of you to stop by!