*This post contains Amazon.com affiliate links. If you purchase through these links, you’ll help support Mom Home Guide (at no extra cost to you) and you’ll end up with some really great baking supplies!
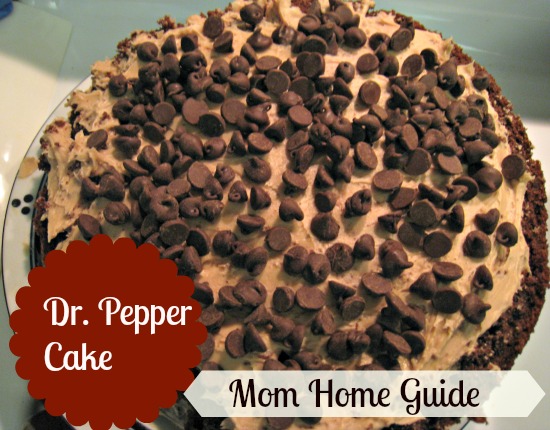
My daughters head off to middle school in the fall – time has flown by so quickly! I have been trying to savor every moment with them this summer. So this week, that meant baking an easy Dr. Pepper chocolate cake recipe together with chocolate buttercream icing!
I found Kirsten Oliphant’s Dr. Pepper cake recipe on Pinterest, so I had to try it. My kids and I all love Dr. Pepper, so trying this recipe was a no brainer! Since I am not much of a baker, the first thing I did was head out to my local Target and buy two Kitchenaid Springform Cake Pans. (I didn’t have any!) The rest of the recipe was easy – I already had everything I made to make the easy Dr. Pepper Chocolate Cake! (I didn’t have to buy any eggs, which was great!)
I love that this cake has so few ingredients — the fact that you don’t need eggs makes it a recipe that you can whip together just about any time!
Dr. Pepper Chocolate Cake Recipe

Cake Ingredients
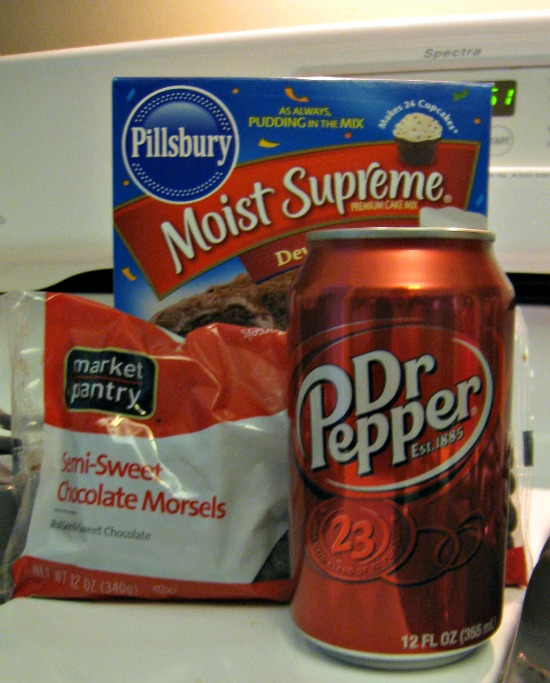
1 box chocolate cake mix (I used Pillsbury)
1 12 oz. can Dr. Pepper
½ 10-ounce bag of chocolate chips (use the other half to decorate the cake once the cake is iced)
Icing Ingredients
4 room-temperature sticks of butter
6 cups confectioner’s sugar
3 tablespoons cocoa (I used Hershey’s) — add this for chocolate buttercream icing. Leave the cocoa out if you want classic buttercream icing.)
I modified Kirsten’s recipe a little — she added 6 tablespoons of Dr. Pepper to her icing, but my kids and I opted to leave Dr. Pepper out of our icing, so the Dr. Pepper taste wouldn’t be overpowering. We also left the Dr. Pepper out of our icing because we like buttercream icing as-is!
Supplies Used
2 greased KitchenAid Nonstick 9-Inch Springform Cake Pans
1 KitchenAid 5-Quart Stand Mixer
1 Spatula
Cake Instructions
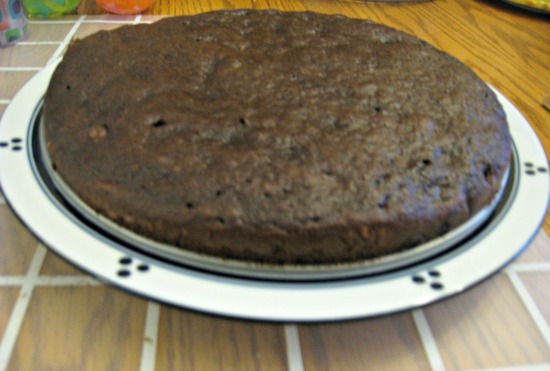
Preheat oven to 350 degrees. In mixing bowl, gently mix together cake mix, Dr. Pepper soda and ½ bag of chocolate chips. Pour half of the mixture in one greased springform cake pan, and the other half in another greased springform pan. This will allow you to have a two-layer cake.
Bake for 20 to 30 minutes — your cake is done when a toothpick comes out clean when inserted into the cake.
Prepare your icing while your cake is baking. Take 4 sticks of room-temperature butter and gently mix in your mixer with the confectioner’s sugar and the cocoa.

When your cake is baked through and cooled, gently remove your first layer of cake from the springform pan. Lightly ice the first layer and then add your second cake layer on top and add icing to the tops and sides of your cake. Top with chocolate chips if you like!
This is when you can lick your spatula and your mixing bowl! Or, if you really can’t wait to taste the Dr. Pepper Chocolate cake, cut yourself a slice and enjoy!
My kids and I really liked this Dr. Pepper chocolate cake — we will probably be baking this cake a few more times this summer!
I am linking this post up at Fiesta Friday.
Thanks for sharing! Glad you guys liked it. I found that even with the Dr Pepper in the buttercream, we couldn’t taste it. In fact, I’m not sure it really tasted Dr Pepper-y as a whole, but it sure was easy and delicious!
Kirsten Oliphant recently posted…Shaving My Hubby’s Mane with Gillette Fusion Proglide
You’re welcome — we just loved your cake! It was a great cake that I could make with the kids, and they thought that it was just delicious! Great cake!