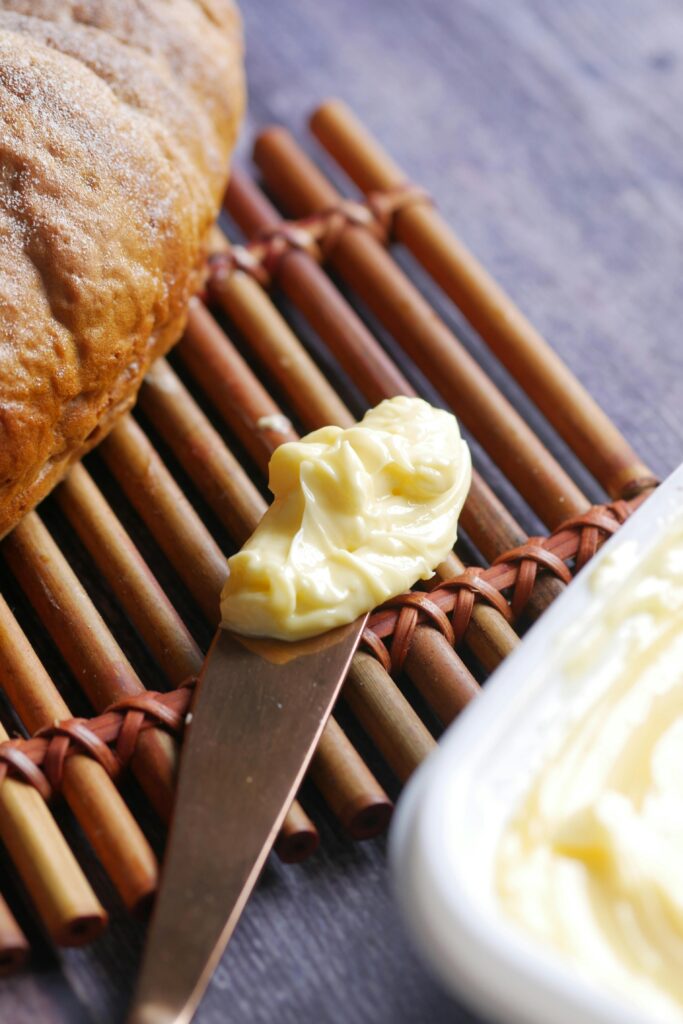
If you want to make good homemade butter, start with well-prepared cream. Chill fresh heavy cream, check its fat content, and—if using raw cream—consider pasteurizing and allowing a short ripening period to develop flavor; these steps will give you more predictable texture and faster, cleaner separation during churning.
Use cold, high-fat cream that’s been handled and, if necessary, pasteurized and gently ripened—this produces the best yield, texture, and flavor when you churn.
You’ll also explore how temperature, cream type, and small processing steps like standardization or aging change how long churning takes and how the final butter tastes, so you can tailor preparation to the exact butter you want.
Optimal Preparation of Cream for Churning
Prepare cream with attention to fat content, temperature, and resting time to ensure consistent butterfat aggregation and easy separation during churning. Choose cream with sufficient fat, cool it properly, and allow it to age slightly for better flavor and yield.
Selecting the Right Type of Cream
To create the best butter recipe, pick cream labeled heavy whipping cream or heavy cream with at least 36% milk fat for best butter yield and firm curds. Avoid light creams (under 30% fat); they produce weak, watery results and require much longer churning. If you use pasteurized but non-ultra-pasteurized cream, you retain more flavor complexity; ultra-pasteurized works but may reduce culture development if you plan to make cultured butter.
If you intend to churn frequently at home, consider equipment compatibility—an automatic butter making machine for home use handles heavy cream most reliably. For small batches, buy local cream or separate whole milk; local raw cream can give richer flavor but must be handled carefully for safety.
Adjusting Cream Temperature
Chill cream to 45°F (7°C) before churning for steady fat crystallization; colder temperatures (around 40°F / 4–5°C) firm the fat and shorten churn time. If cream is too warm (>55°F / 13°C) you’ll get a greasy, soft butter and longer processing. Let refrigerated cream sit at room temperature 10–20 minutes if it’s overly stiff, but never exceed 60 minutes total at room temperature.
Pre-chill your churn or bowl and beaters for 10–15 minutes to stabilize the environment. When making cultured butter, keep the base at culturing temperature before cooling to the churning range to ensure proper acid development without over-warming the fat.
Resting and Aging Cream
Age cream in the refrigerator 12–48 hours to develop subtle tang and improve butter texture; cultured cream (inoculated with starter cultures) benefits from 18–24 hours at 70°F (21°C) then cooling to 40°F for maturation. Short aging (under 6 hours) gives neutral flavor and slightly lower yield, while extended aging past 72 hours risks off-flavors.
When you plan to use an automatic butter making machine for home use, follow the manufacturer’s prep guidelines for resting times and temperatures. If you culture your own, strain any whey or skim off excess liquid before churning to avoid splatter and ensure consistent butter formation.
Factors Influencing Cream Quality Before Churning
Fat proportion, acidity, and strict hygiene determine how efficiently cream will churn and the texture and flavor of the resulting butter. Each factor requires specific control steps you can apply before churning.
Controlling Fat Content
You should target a consistent fat percentage for predictable churning and yield. Commercial butter typically uses cream standardized to 35–40% fat; lower fat slows coalescence and increases churning time, while much higher fat can produce dense, underworked butter.
Standardize by blending separated cream with skim or adding cream from a separator to reach your target. Use a calibrated milk analyzer or centrifuge-based method to measure fat and adjust in 0.5–1% increments. Record batch fat levels so you can repeat successful runs.
Keep temperature stable during standardization; warm cream holds fat differently and can give inconsistent readings. After adjustment, cool the cream to the planned ripening temperature to avoid fat redistribution before fermentation or churning.
Ensuring Proper Acidity Levels
Acidity (pH and titratable acidity) directly affects butter flavor and the ease with which fat globules aggregate. For cultured butter you typically aim for a titratable acidity around 0.15–0.25% lactic acid (pH ~4.6–4.8); sweet cream butter should remain near neutral (pH 6.6–6.8) before churning.
Measure acidity with a pH meter and titration kit. If acidity is too low for cultured butter, you can ripen with a starter culture at 18–22°C until target acidity is reached. If acidity is too high, blend with fresher cream to dilute or shorten ripening time to prevent off-flavors and poor texture.
Track both pH and titratable acidity because pH alone can mask buffering from salts. Adjustments should be gradual; sudden changes can destabilize fat globule membranes and increase buttermilk losses during churning.
Hygienic Handling and Storage
You must minimize microbial contamination to prevent spoilage and off-flavors. Start with sanitized separators, utensils, and storage tanks; perform rapid cooling to 4°C after pasteurization or separation if you plan sweet cream butter.
Store cream in sealed, food-grade containers and avoid repeated temperature fluctuations. Hold temperatures between 4–8°C for short-term storage, and maintain 0–4°C for longer storage. Label containers with production date and fat percentage to prevent misuse.
Always practice clean sampling techniques when testing fat or acidity. Regularly inspect cream for visual defects, sour odors, or excessive viscosity—signs that microbial growth or enzymatic activity may compromise churning efficiency.
Conclusion
Prepare your cream with attention to temperature, fat content, and acidity to improve churn time and butter quality.
Cold cream slows churning for firmer butter; slightly warm or ripened cream can speed separation and add flavor when desired.
Standardize and test fat and acidity if you aim for consistent results, and pasteurize or ripen according to whether you want sweet or cultured butter.
Small adjustments—time, temperature, and handling—give you predictable texture and taste.
Follow these practical steps and your churning will be more efficient, yielding better butter with the texture and flavor you expect.
Discover more from momhomeguide.com
Subscribe to get the latest posts sent to your email.
Leave a Reply