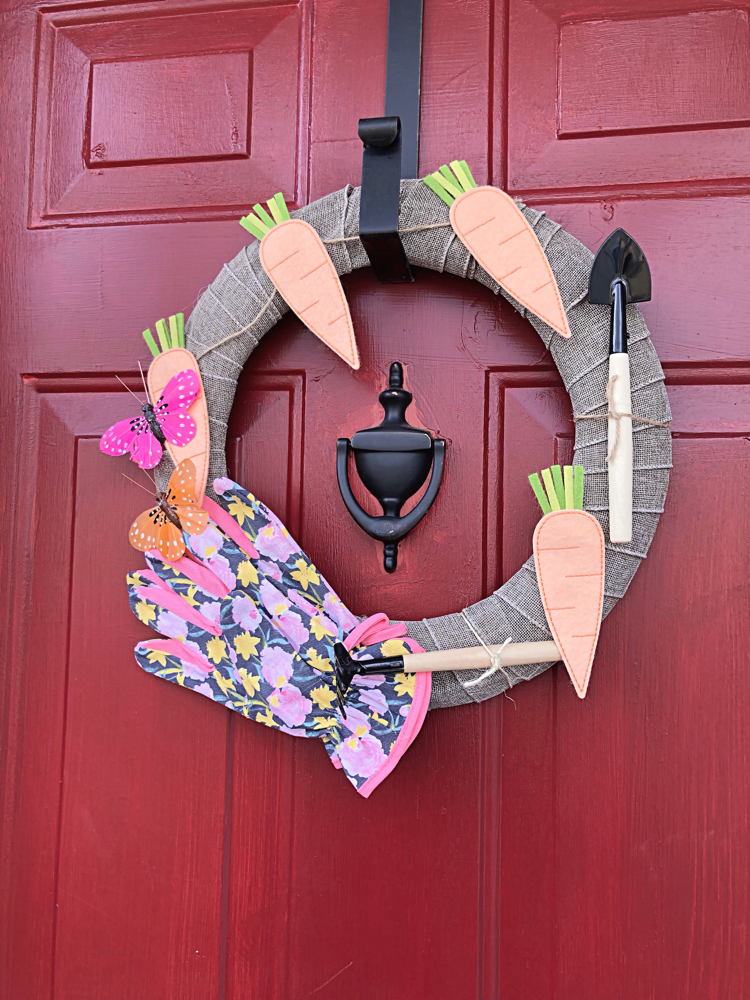
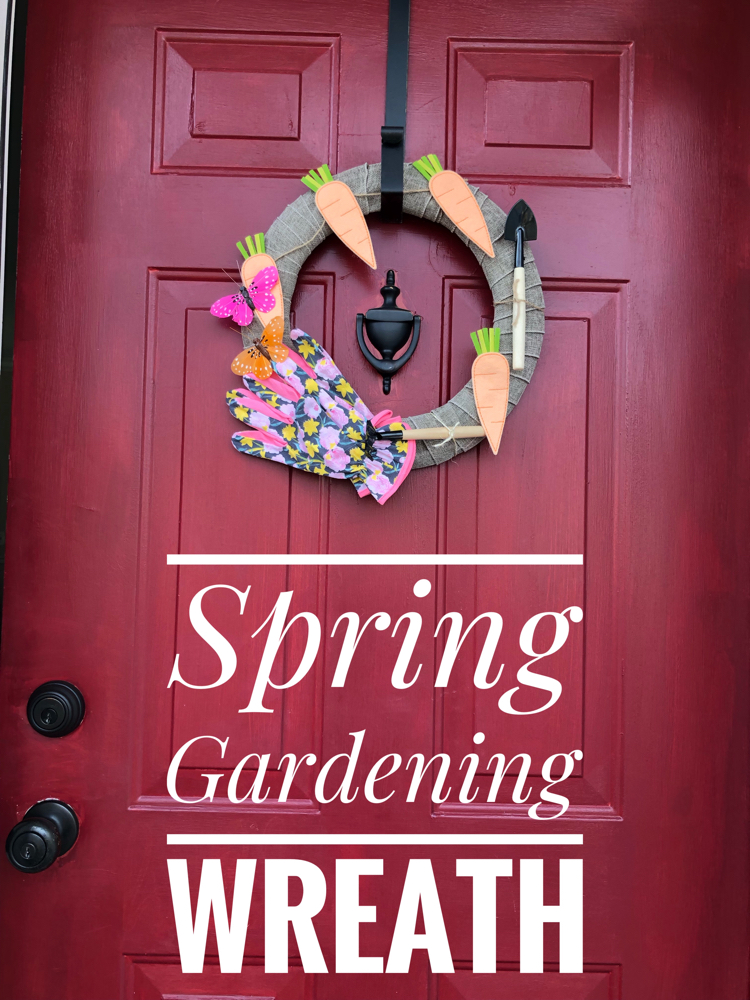
 The first day of spring is Wednesday — I am so excited! Today I am sharing an easy and inexpensive spring gardening wreath that I crafted for my home’s front door just last week. This wreath is so simple to put together — it only took me about 30 minutes tops to make it. Seeing my new garden wreath on my front door really puts a smile on my face. I can’t wait to start digging in the dirt!
Monthly Craft DeStash Challenge
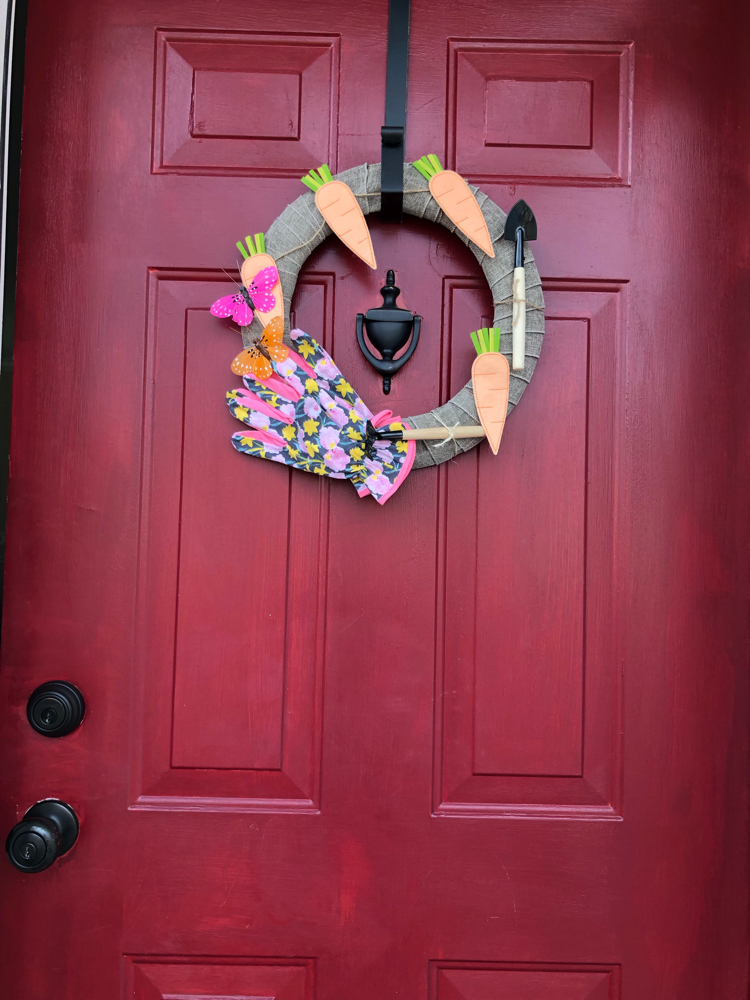
I am sharing this wreath as part of the Monthly Craft Destash Challenge. The challenge, hosted monthly, challenges my blogging friends and me to use some of those craft supplies piling up in our craft rooms! The saved materials that I used for this craft include a metal wreath form (this form was once the base for my pom pom wreath), some burlap ribbon and some twine. The dollar spot at Target was my inspiration for my spring gardening wreath. I regularly browse the dollar spot for craft supplies when I shop my local Target. At the spot I found cute mini gardening tools, floral gardening gloves and a carrot garland that I used for my wreath. I was going to hang the sweet gardening bag in the center of the wreath, but it turns out I like the wreath better on its own.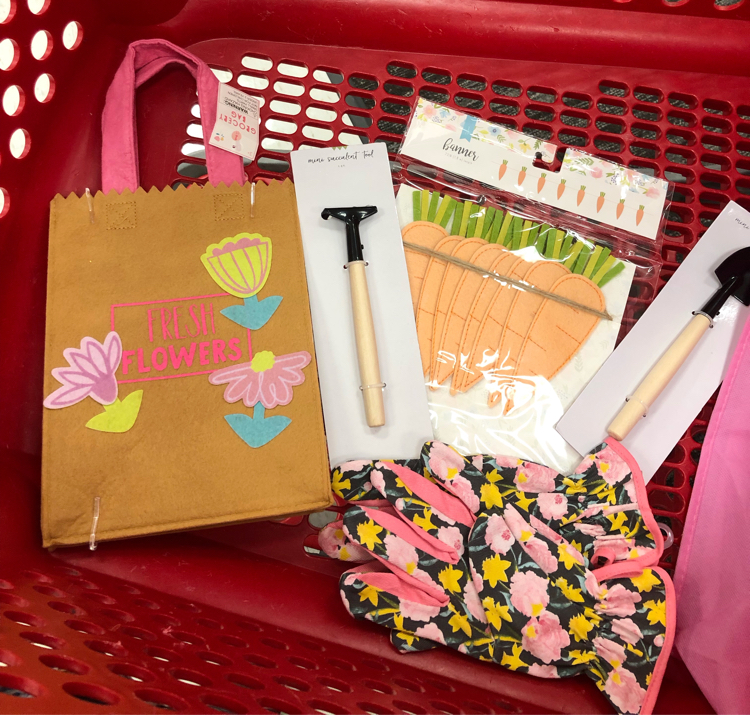
Easy Spring Gardening Wreath
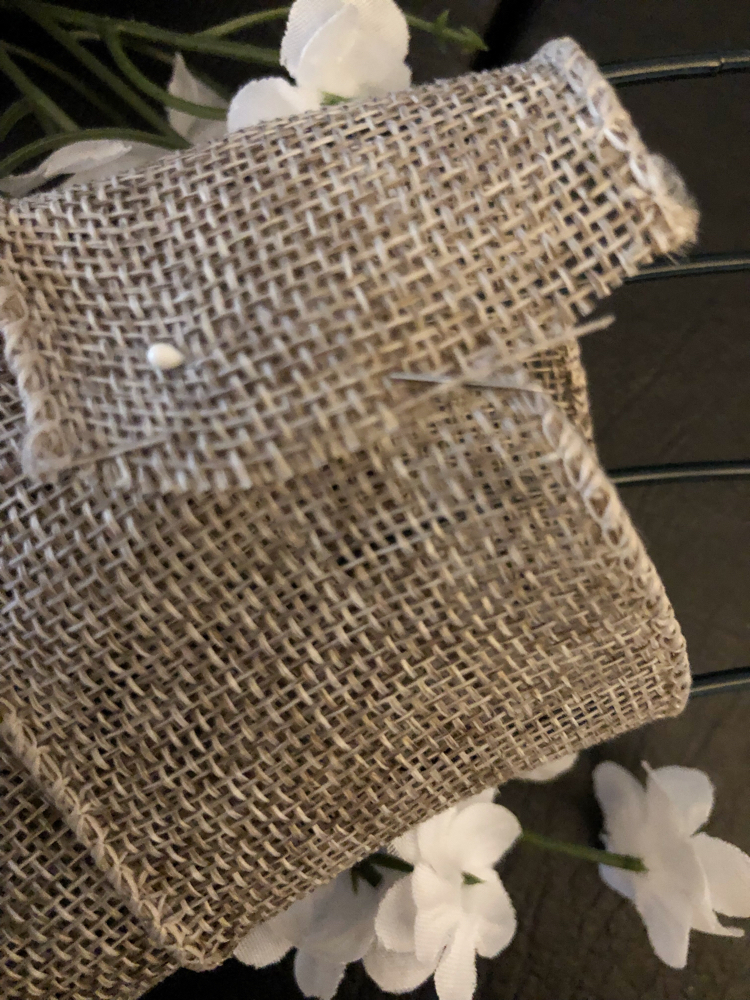
To get my wreath started, I simply wrapped a spool of wired burlap ribbon around the wreath.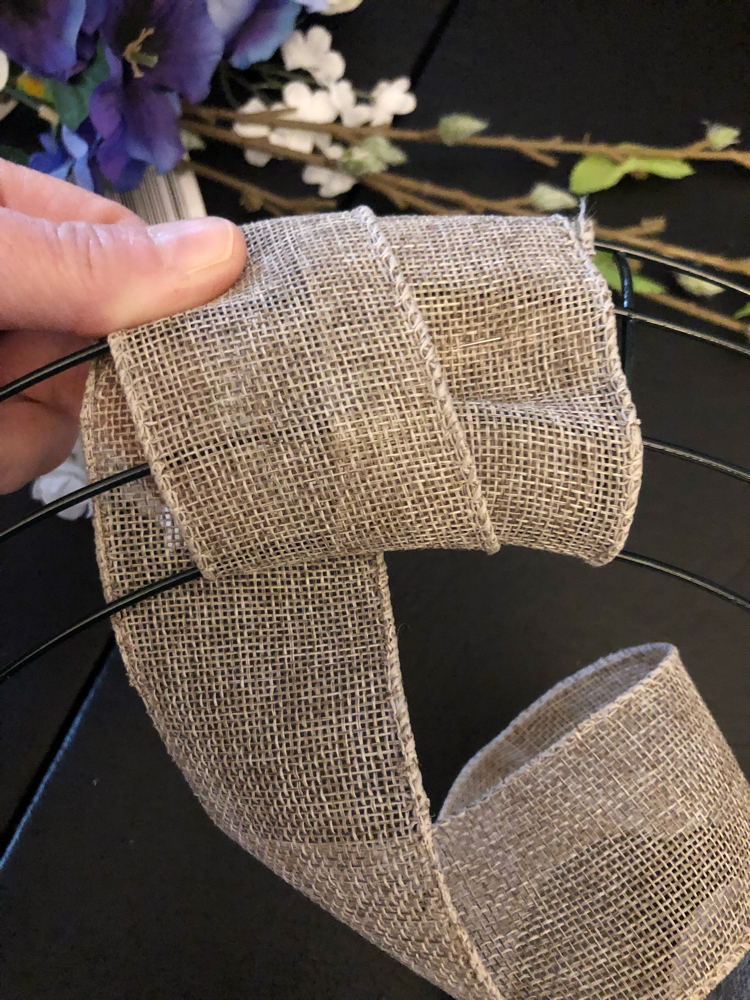 I sometimes like to reuse my wire wreaths forms, so I pinned the ribbon in back to make it easier to take the wreath apart later. (Instead of hot gluing the ribbon on.)
 After I had the metal wreath form wrapped in the wired burlap ribbon, all that was left to do was hot glue on the decorative elements. I hot glued the gloves on the bottom of the wreath to serve as a pseudo bow.
The butterflies — which I got at the dollar store — were on long picks, so I simply slipped those in between the folds of the burlap to secure them.
I hot glued the garden tools on, but I also secured them with some twine because of their weight. I shortened the carrot banner and hot glued it across the top of the wreath. I hot glued an additional carrot onto the bottom of the wreath. My wreath was complete!
After I had the metal wreath form wrapped in the wired burlap ribbon, all that was left to do was hot glue on the decorative elements. I hot glued the gloves on the bottom of the wreath to serve as a pseudo bow.
The butterflies — which I got at the dollar store — were on long picks, so I simply slipped those in between the folds of the burlap to secure them.
I hot glued the garden tools on, but I also secured them with some twine because of their weight. I shortened the carrot banner and hot glued it across the top of the wreath. I hot glued an additional carrot onto the bottom of the wreath. My wreath was complete!
 Be sure to check out my friends’ Craft Destash projects below!

Every month a group of bloggers are challenged by C’mon Get Crafty to create a new craft or project from their own stash of goodies! Check out some awesome creations you might be able to make from your own stash! Everyone is allowed a $10 max to create a new craft utilizing mostly their own stash of craft supplies! #CraftRoomDestashChallenge
If you’d like to join in the Craft Room De-Stash Challenge, you can request to join our Facebook group here!
Let’s Meet the Hosts!!
C’mon Get Crafty | Purple Hues and Me | Craftify My Love
EyeLoveKnots | Stone Cottage Adventures | Across the Blvd
Domestic Deadline | Shoppe No 5 | Modern on Monticello | Love Jaime
Salvage Sister and Mister | Love My Little Cottage | Sew Crafty Crochet
This Autoimmune Life | The Inspiration Vault | Mom Home Guide
This post was shared at Homestyle Gathering.