Thanks to Book Nook World for providing me with the beautiful Butterfly House book nook kit to review. The opinions expressed in this post are 100% my own.
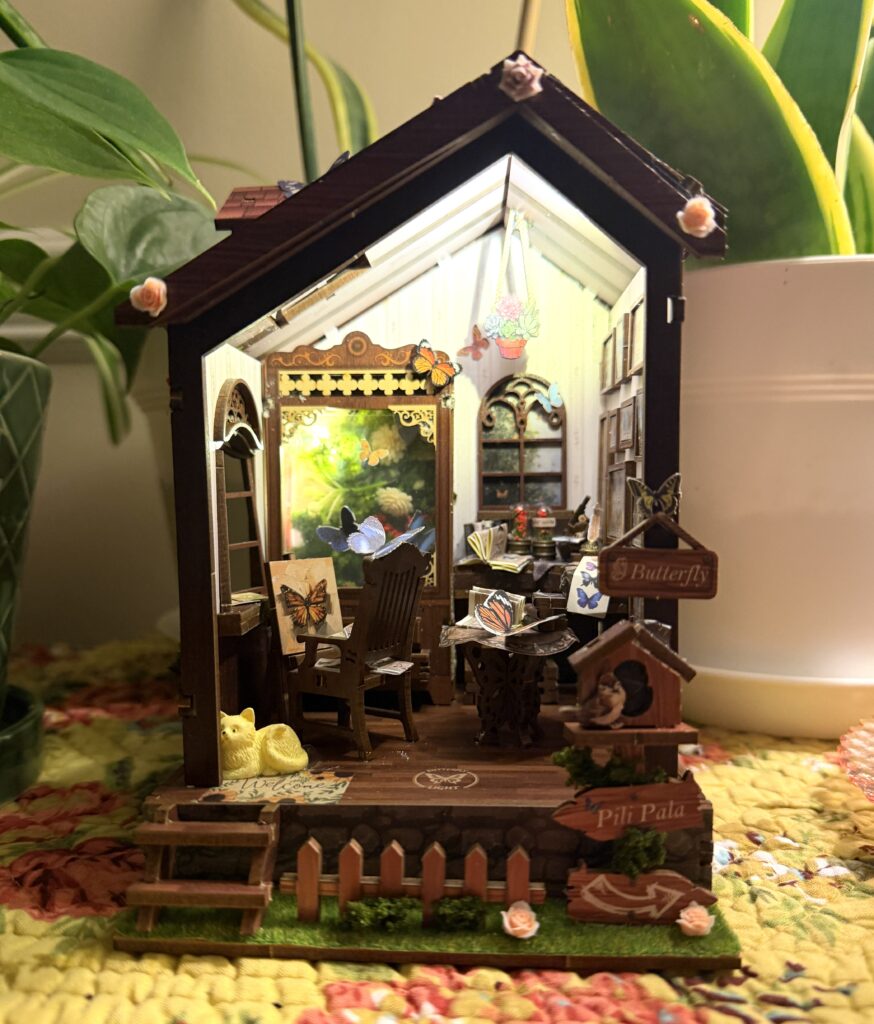
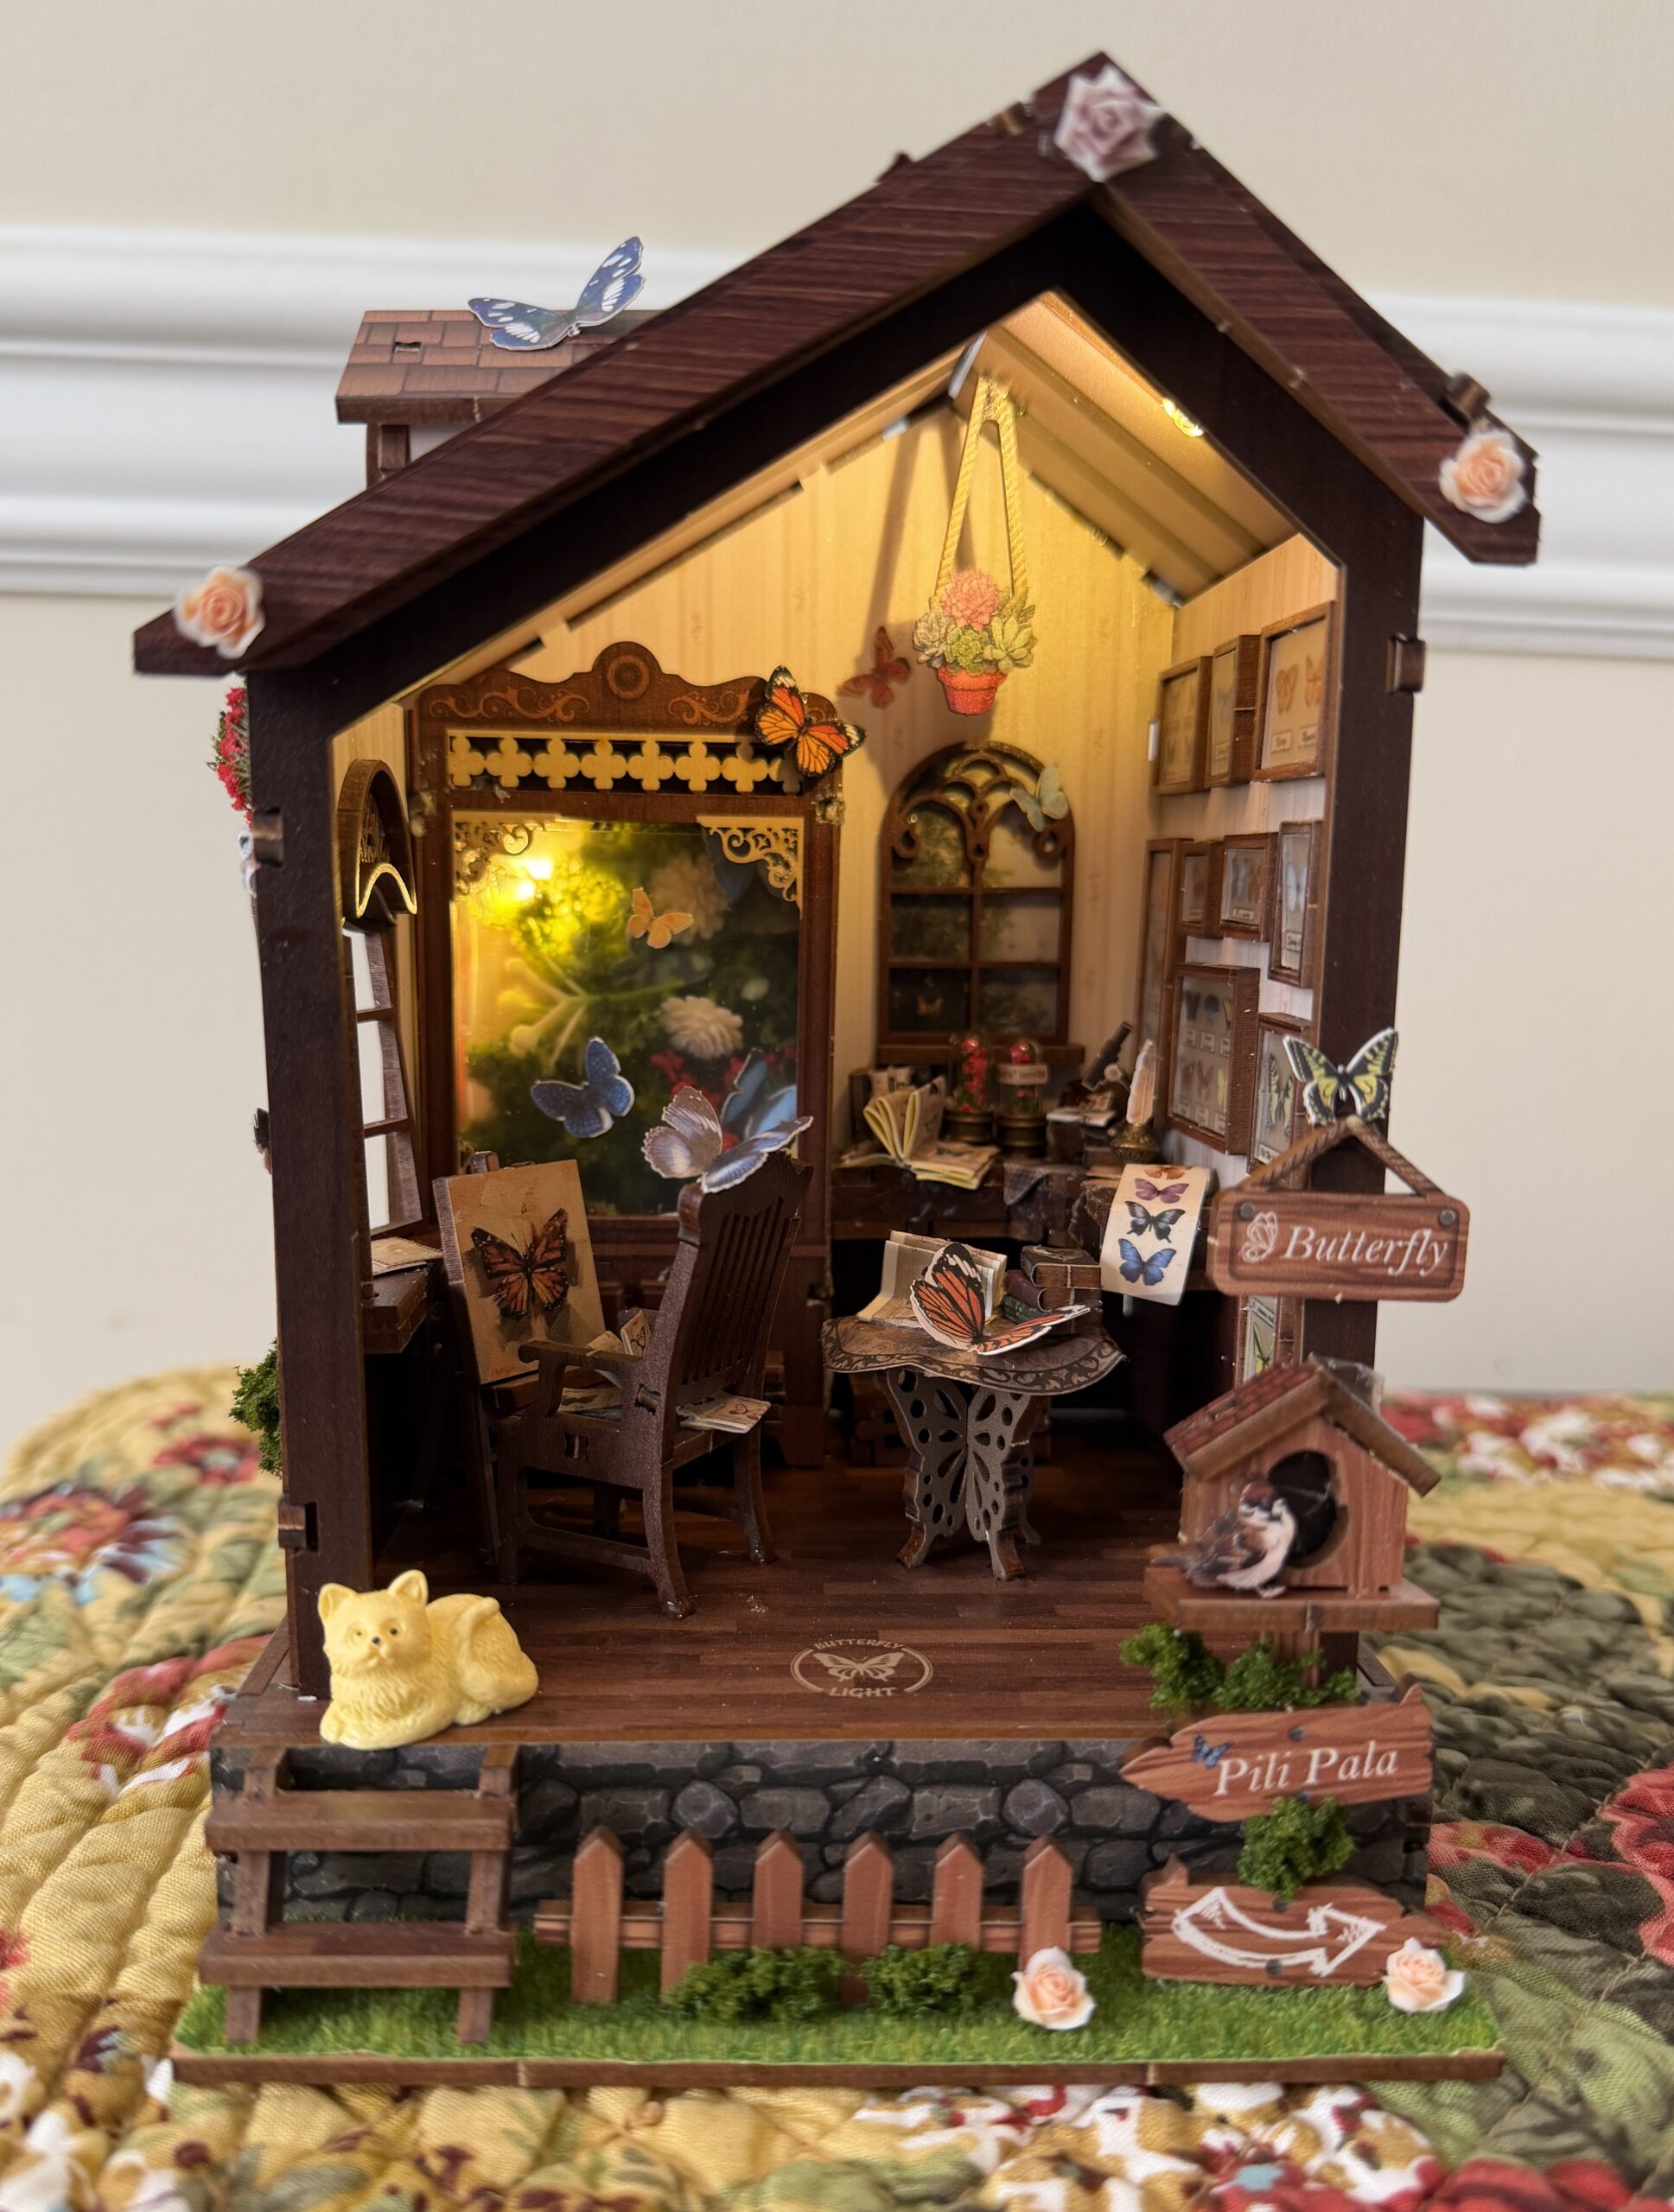
Book nooks are charming little worlds that are as fun to build as they are to display. I recently assembled the Butterfly House kit ($59.90) from Book Nook World, and it brought together so many things I love: butterflies, books, artwork, plants, an adorable kitty, and even a birdhouse with a cute, little bird.
This was the first book-nook kit I’ve ever assembled, so it was a learning experience for me. Although the kit has just 150 pieces and is estimated to take about two to three hours to complete, I think it took me at least 6! However, I usually worked on the kit in the evenings while watching TV with my husband, so I was more than a little bit distracted.
What’s in the Box
Most of the pieces for this kit could easily be popped out from its wooden sheets. All the components were well marked and not hard to find, and the kit included a very detailed instruction manual that clearly guided me through the build.
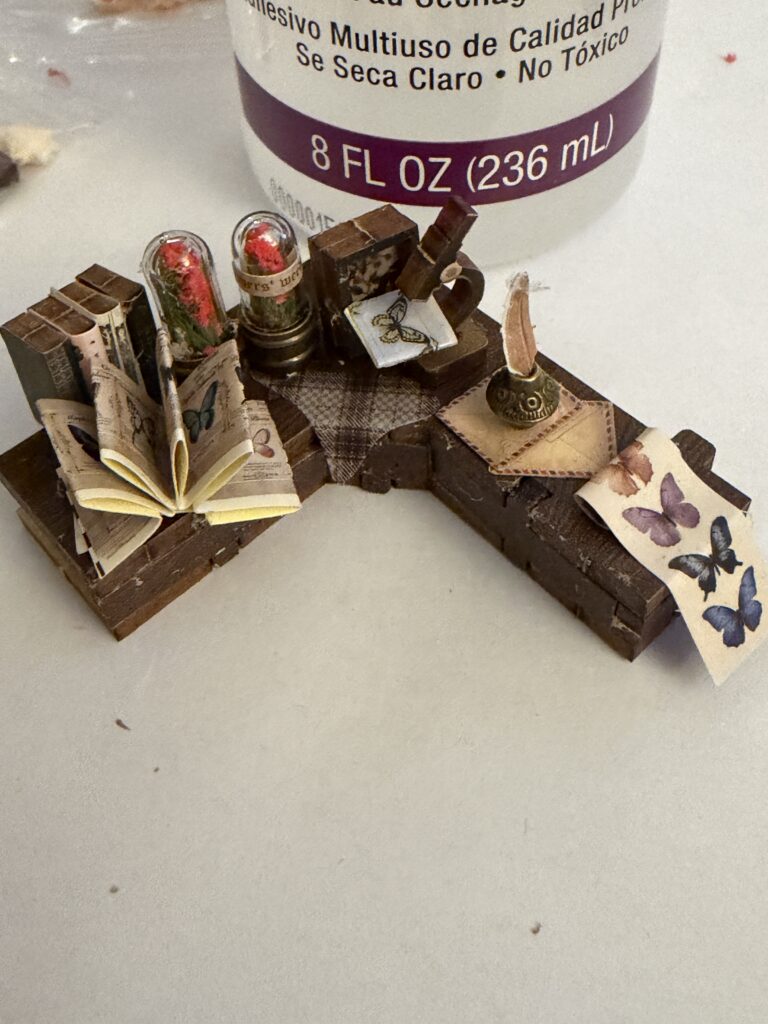
In the beginning of my build, I carefully assembled the decor and furniture items for the room, including a curio cabinet, rocking chair, artist easel, and a desk filled with various items like botanical specimens, books, detailed butterfly prints and a microscope.
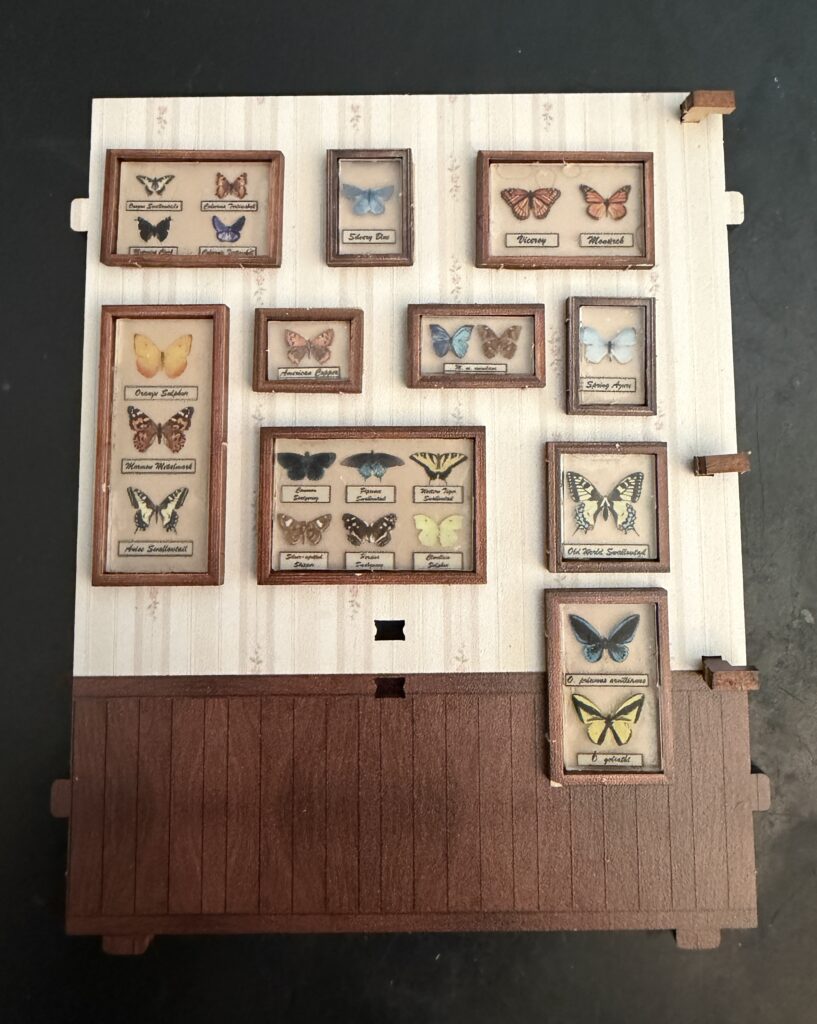
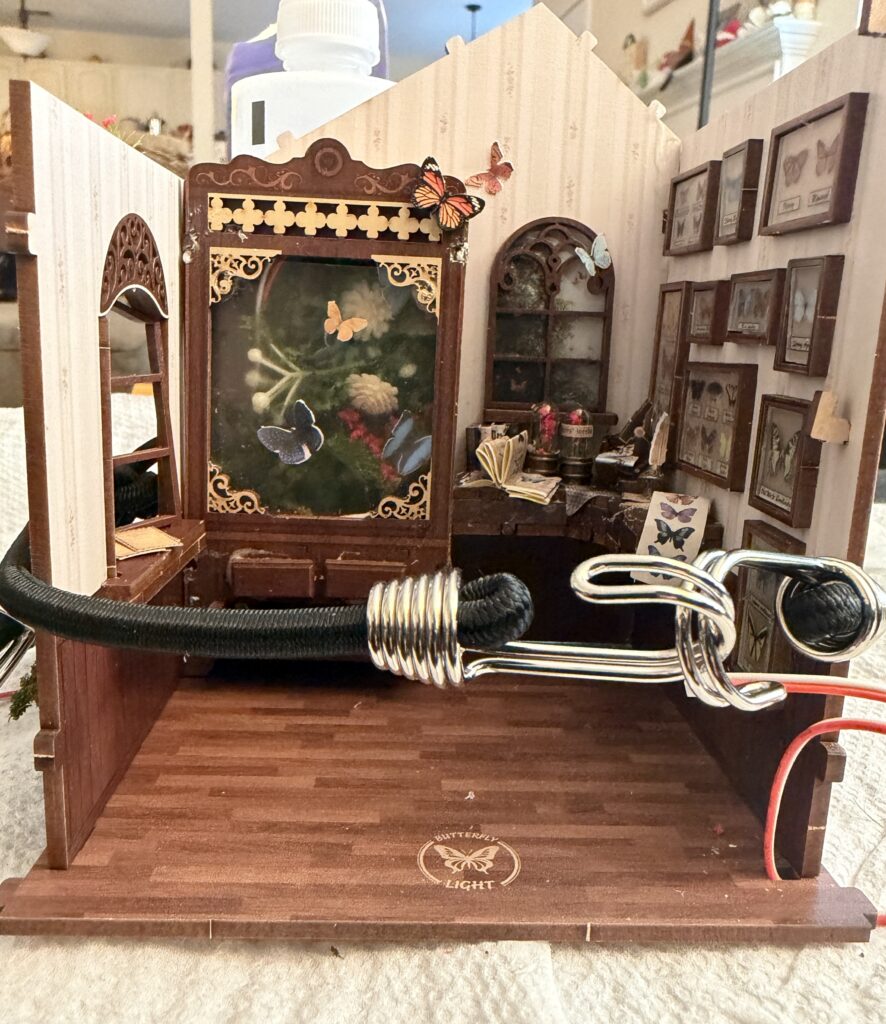
My favorite part of the kit was the clear, glass-like panels, each with a butterfly—or a few—mounted behind it.
As a part of the build, I glued each panel into its frame and then adhered the frames to their designated spots on the butterfly house’s gallery walls, creating a stunning collection of butterfly specimens.
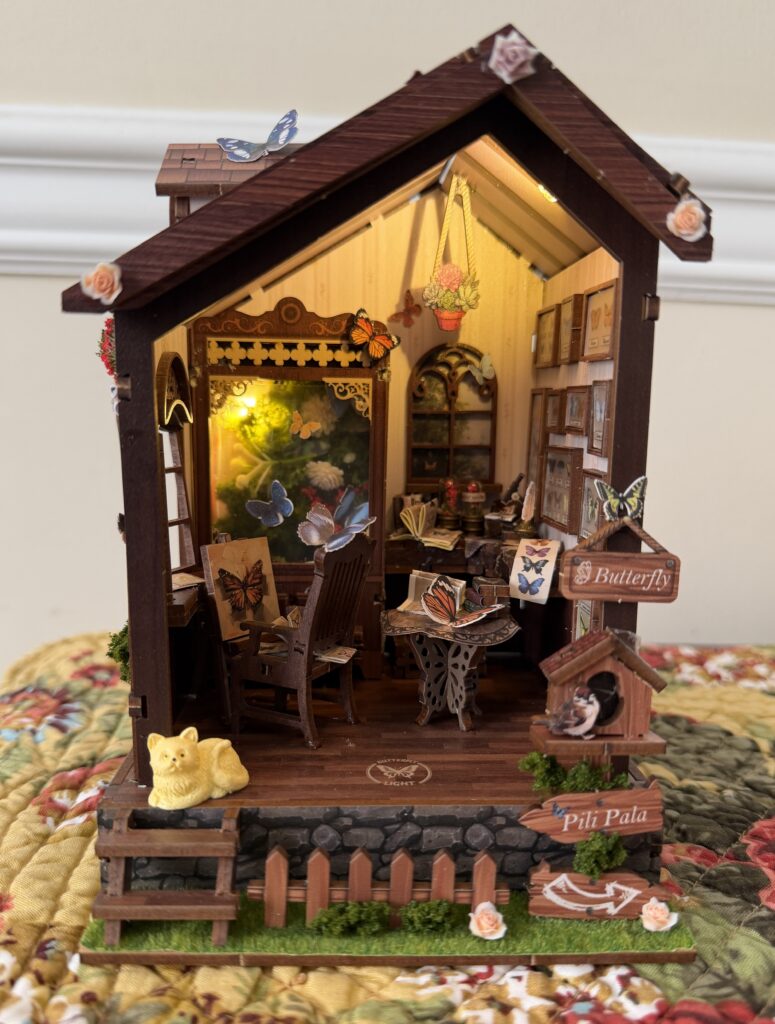
Now that I’ve finished assembling the butterfly house book nook, it’s easy to imagine it as an artistic butterfly enthusiast’s study—or a charming garden retreat.
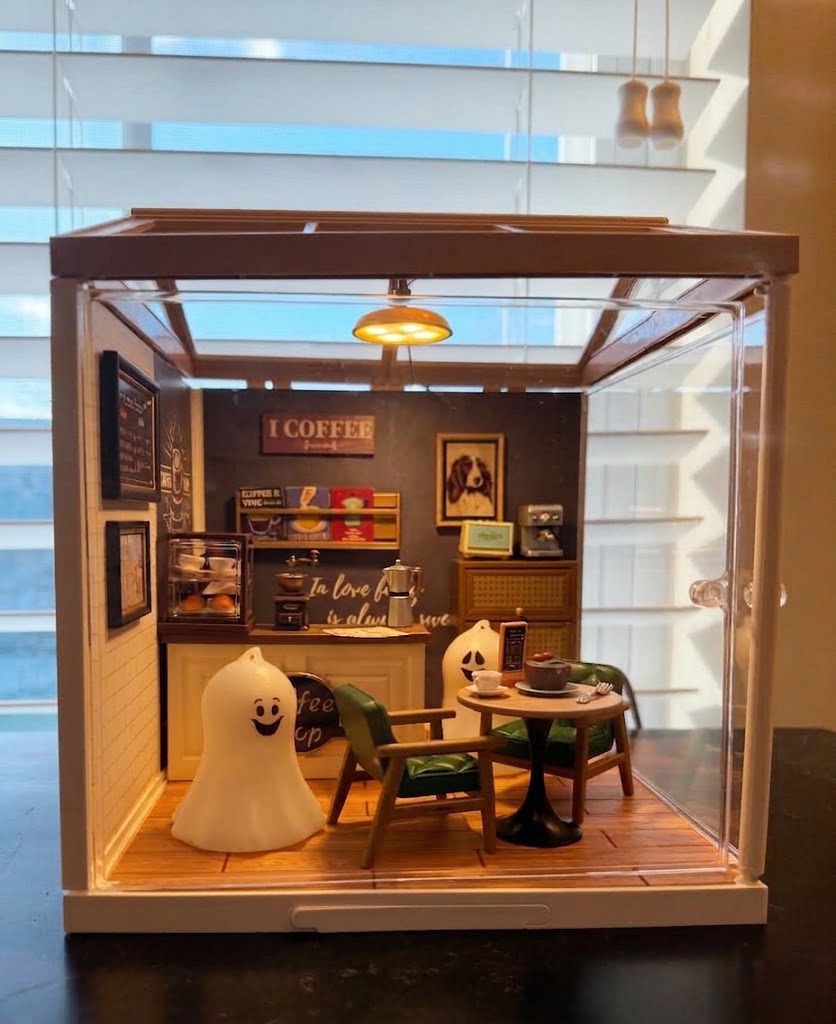
One surprise was that the butterfly house kit didn’t include any adhesive. I’d just assembled two Rolife Super Creator kits—the Cozy Living Lounge and the Daily Inspiration Cafe—and neither required glue to hold the pieces together. For small decorative details that needed extra support, the kits included adhesive dots. But Super Creator kits are a different kind of craft project, not necessarily book nooks, so I shouldn’t have expected this kit to work the same way!
Pinpointing the Best Glue for the Job
One thing that slowed me down in the beginning of my build was figuring out which adhesive would work best for assembling my kit.
I had to experiment to find a glue suitable for my build. My favorite turned out to be Aleene’s Clear Gel Tacky Glue, which I happened to have on hand from another craft project. It dries quickly and clear. I applied it with a craft paintbrush left over from a custom paint by number kit I recently completed, which let me place the glue precisely where I wanted it.
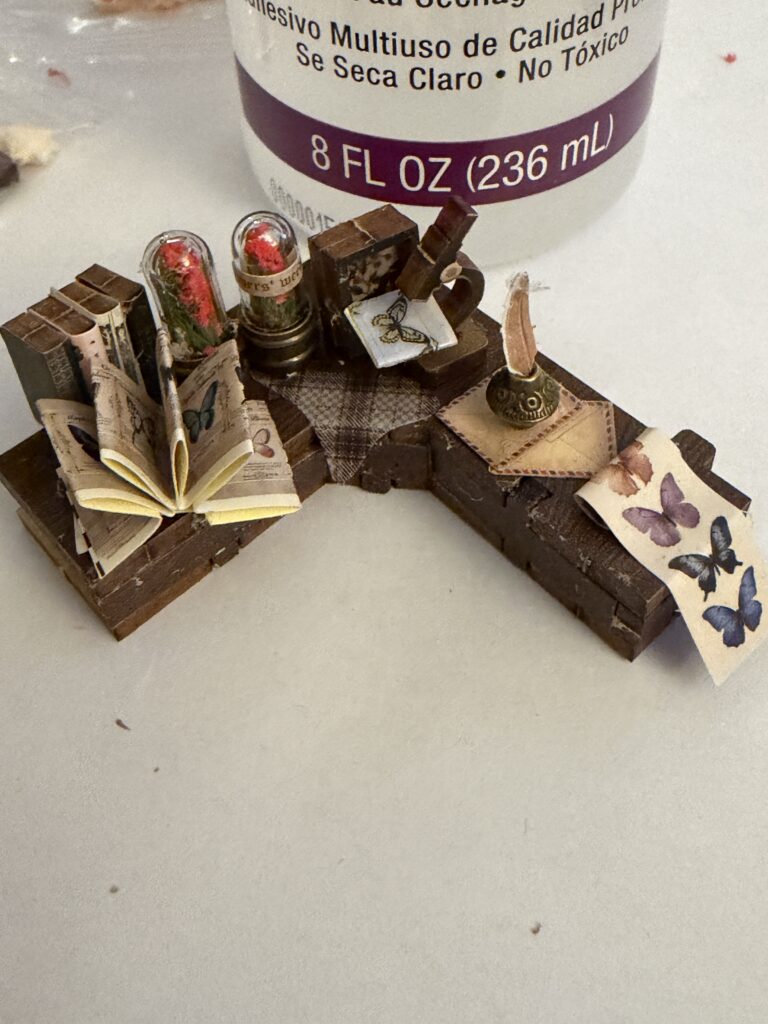
At first, I considered hot glue, but an AI search warned that it can set too quickly for precise assembly.. I also tried Gorilla Glue, but quickly discovered that it doesn’t always dry cleanly and sometimes even expanded as it cured, leaving unsightly blobs, which I had to scrape off.
When I began fitting the butterfly house’s walls and roof together, I was dismayed to discover that the pieces didn’t align neatly or stay in place! This may have been due to my book-nook assembly inexperience! So after gluing the house into place, I used mini bungee cords to hold everything securely until the glue dried, and I was happy to discover that it worked!
I am happy to report that the finished house looks wonderful and has been gracing my plant-filled console table for a few days now!
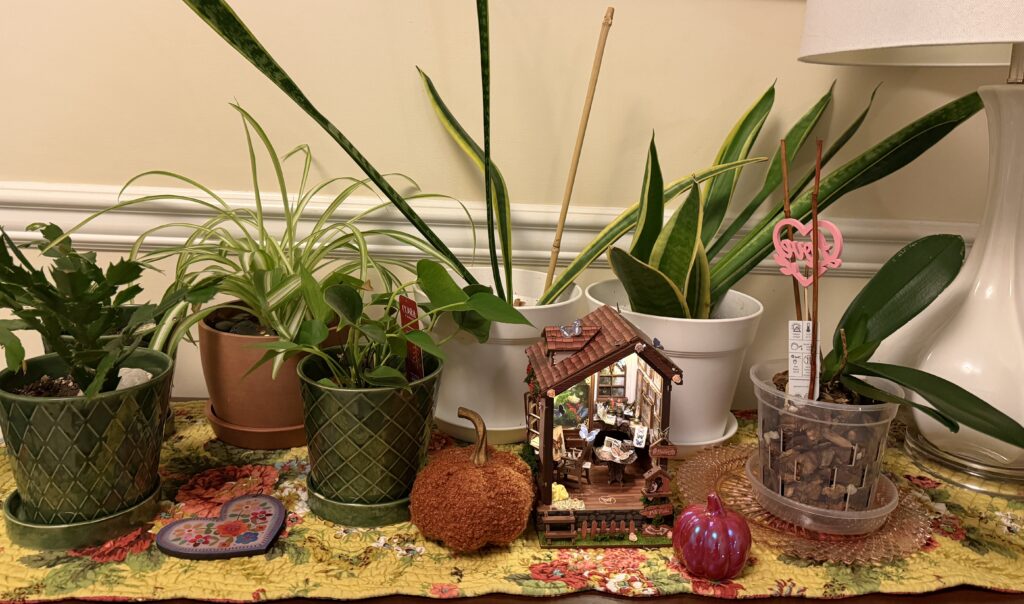
As a newcomer to book nooks and glue-assembled kits, I found this project a little challenging, but the extra effort was well worth it. I love turning the butterfly house’s lights on with a simple touch to its floor, and the finished piece adds a touch of whimsy to my living room. It makes me smile every time I see it!