This post contains Amazon affiliate links. Thanks to DecoArt and HomeRight for providing products used in my bathroom makeover.

Last week marked the beginning of this spring’s One Room Challenge (ORC), hosted by Linda of Calling It Home. In the challenge, 20 design bloggers and hundreds of guest participants (like me) work to transform a room or space in the span of six weeks.

The challenge takes place in April and September. It’s a fun way to get the motivation to complete a full room makeover. The challenge is also a good source of design inspiration. I’ve been wanting to join this challenge for a while. I am looking forward to working and sharing with all the other bloggers! The final reveal of the design bloggers’ rooms will be on May 8. The final reveal of my room – and of the rooms of all the guest bloggers – will be on May 9!
Bathroom Makeover
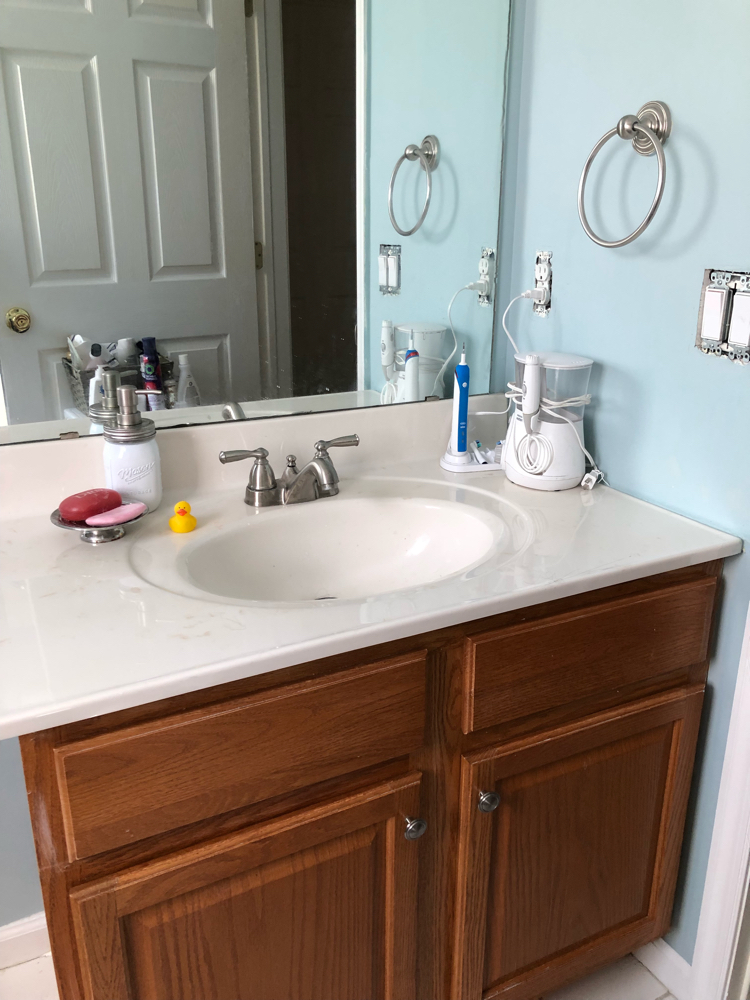
Last week I shared my plans to make over my daughters’ hall bathroom. I am hoping to give the room, which has gone through many stages through their tot, to tween to teen years, a more mature look. The bathroom will get a new paint color, new decor, more organization and a painted vanity and a DIY framed vanity mirror.
The bathroom was a sage green — I painted it that color when my daughters were about 4 years old. My daughters picked out the new color for the bathroom, Yarsmouth Blue by Benjamin Moore, on their own. I really like the color — it seems classic and modern at the same time.

Now that I’ve entered the One Room Challenge and shared my plans, I have a lot of work to do! There is so much to do before the 6-week deadline!
Thanks to DecoArt for being a sponsor of my spring 2019 guest participation in the One Room Challenge! I will be using their easy to use, yet durable Americana Decor Satin Enamels paint to update the vanity in my daughters’ bathroom. I will also use their product to paint a DIY frame for the existing mirror in the space.

Also thanks to HomeRight for being a sponsor of my spring 2019 guest participation in the One Room Challenge! They provided me with a HomeRight PaintStick EZ-Twist
and a HomeRight Quick Painter Pad Edger
. Both painting tools made painting the room so much easier and quicker for me!

I got a head start on the room when I painted the ceiling with a new bright white coat of ceiling paint in November. Until November, the ceiling still sported the flat off-white paint the walls and ceilings had when my husband and I moved into our new home more than 15 years ago.

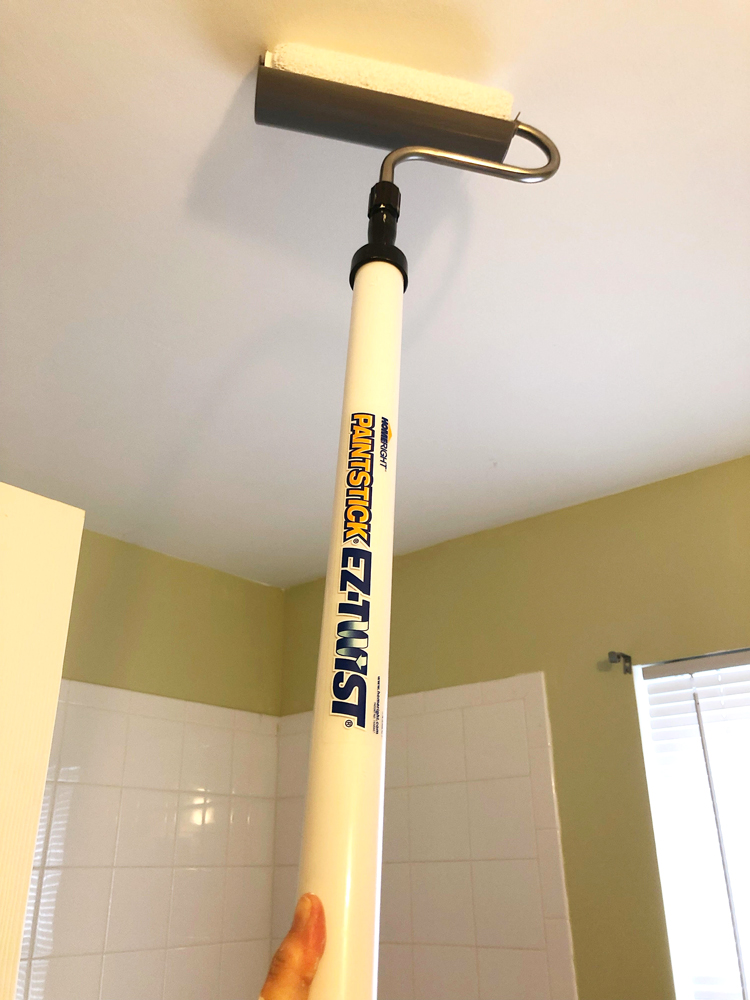
I used the HomeRight PaintStick EZ-Twist to paint the ceiling. The PaintStick EZ-Twist made painting the ceiling so easy! The PaintStick EZ-Twist has a long handle (perfect for painting a ceiling). The reservoir in the stick’s handle held enough paint for me to get an entire first coat up on the ceiling. I didn’t need to refill the stick or get up on a ladder or step stool!
Prepping a Room for Painting
Getting the bathroom walls ready for paint took a lot of effort! When I updated my daughter’s bathroom a few years ago, I added a shelf above the toilet and some inexpensive mirrored decor to the walls.
When I took the shelf down before painting the walls, the shelf left several large holes in the drywall. Toggle bolts sure do leave big holes in a wall! I wasn’t happy to see those holes.

A few years ago I also added some mirrored decor to the walls of the bathroom — the mirrored shapes were self-stick and had their own adhesive on the back. I had no idea how strong the adhesive was!

I had to scrape the mirrored shapes of the wall. The mirrored decor took some of the bathroom’s dry wall with it!

I also took artwork I had on the walls down.
This is what the room looked like before I took the shelves and the decor down.

Once I had the shelves down and the mirrored decor off the walls, I had a lot of patching to do! I used spackle/wallboard joint compound to fill the holes. Once the holes were filled and the sparkle had dried, I sanded the spackle smooth.

Painting the Walls
Once I had the spackle on the walls smooth, it was time to lay down some painter’s tape. I put painter’s tape where the walls meet the ceiling and the floor trim. I didn’t want to ruin my ceiling paint job or get hard to cover blue paint on the white trim.
I used FrogTape Multi-Surface Painting Tape. Since I don’t have the steadiest of painting hands, I like how thick the Frog Tape is. Typical blue painter’s tape (which isn’t as wide) makes it easier for me to mess up and get paint where I don’t want it.
I also taped some newspaper over the mirror above the vanity and across the vanity’s counter — I can be a very messy painter at times! I taped a plastic tablecloth from the dollar store to the floor to prevent any splatters.
Once I had my Frog Tape up, it was time to paint! I used a HomeRight Quick Painter Pad Edger.to cut in where the walls met the ceiling, vanity and floor trim. What’s great is that the HomeRight Quick Painter Pad Edger holds the paint in its own reservoir in the handle. I didn’t have to constantly fill up the edger with paint.
I used the HomeRight PaintStick EZ-Twist to get most of the paint up on the walls. I was able to paint the bathroom far quicker than any of my other painting projects! The HomeRight products really made painting much easier for me.
I made sure to pull up the Frog Tape immediately after painting. In past projects, I left the painter’s tape up too long — it is difficult to remove any kind of painter’s tape after the paint dries.

Painting Trim
Once the walls were painted, I painted the bathroom trim and the door with a bright white trim and door paint. I love the contrast of the white against the blue.
Pretty Blue Bathroom
I really like the new color of the bathroom!

Just seeing the blue when I pass the room makes me smile.

The next step in my One Room Challenge is painting the bathroom’s oak vanity with DecoArt Décor Americana Decor Satin Enamels paint. Check back next Wednesday to see what color I chose for the vanity!
Be sure to visit the One Room Challenge to see how everyone else’s One Room Challenge project is coming along!
Discover more from momhomeguide.com
Subscribe to get the latest posts sent to your email.
Hi Lauren. I’m excited to see what you do with this bathroom. I used the EZ Paint stick to paint my Guest Bathroom ceiling and it was amazing! Also, our daughter’s picked out similar paint colors for the spaces. Great minds think alike I suppose.
Such a pretty color! I am a huge fan of blue anyway but just love that shade. It’s amazing what a little paint does for transforming a room.
That Homeright paint stick looks like a life saver! You made awesome progress this week! I can’t wait to get to painting this week. So glad to be doing this ORC with you! We got this!!
Making progress, Lauren! Love the paint color. I can’t wait to see how the cabinet looks all painted! Xo
Man what a difference a color makes. I’m doing a bathroom too and I can’t wait to change that nasty beige. It looks so nice and bright in your restroom now. So excited to see the vanity transform.