Thanks to DecoArt for providing me with the Chalky Finish Paint and Americana® DuraClear™ Polyurethane Satin Varnish used to create my DIY wood slice ornament. This post contains Amazon affiliate links.
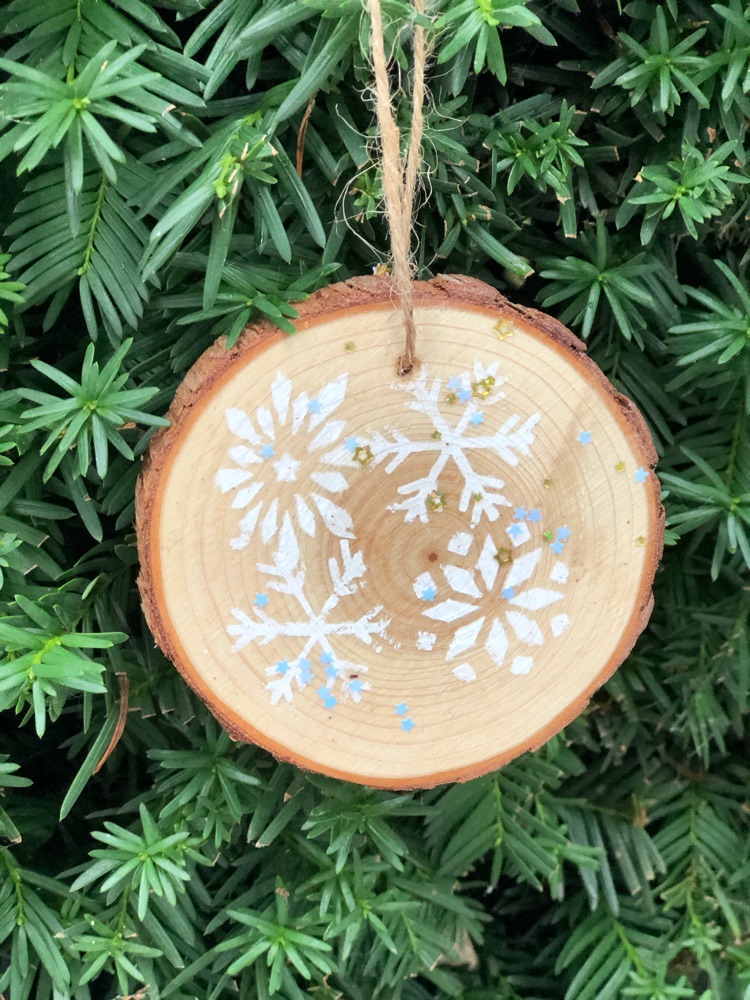
Today I am joining 37 other bloggers for the 2019 Ornament Exchange Link Party! For the party, we were all assigned another blogger, for whom we crafted a holiday ornament. I made a DIY stenciled wood slice ornament for Nicole, a paper craft blogger at PixelMavensRetreat.com. She is a really talented crafter!
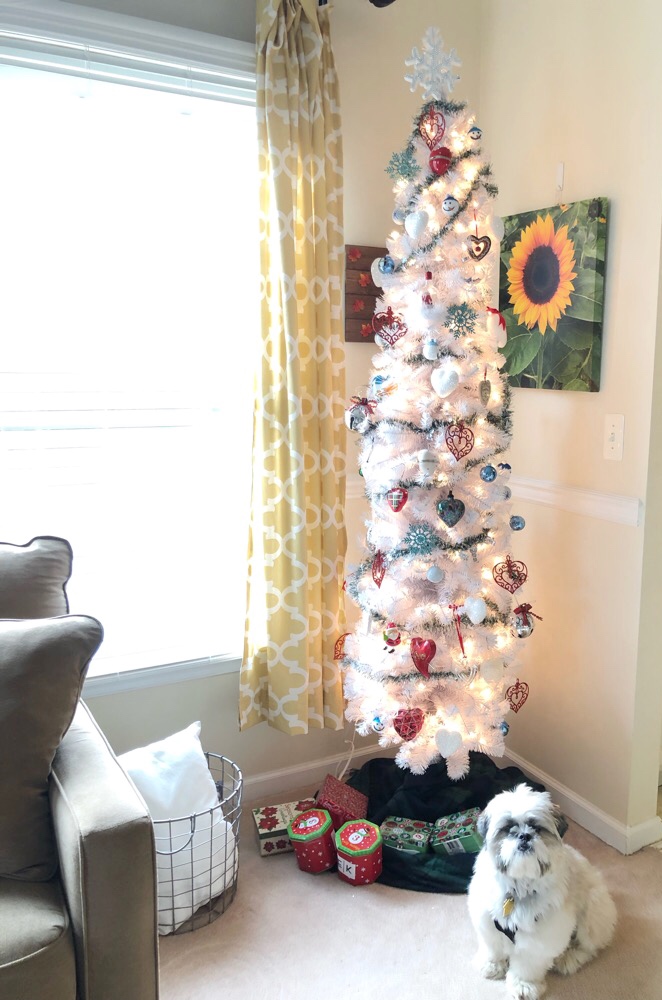
I told Nicole that I like snowmen ornaments. (I have a Christmas tree that I often decorate with snowman ornaments, among others.) You can see my tree below.
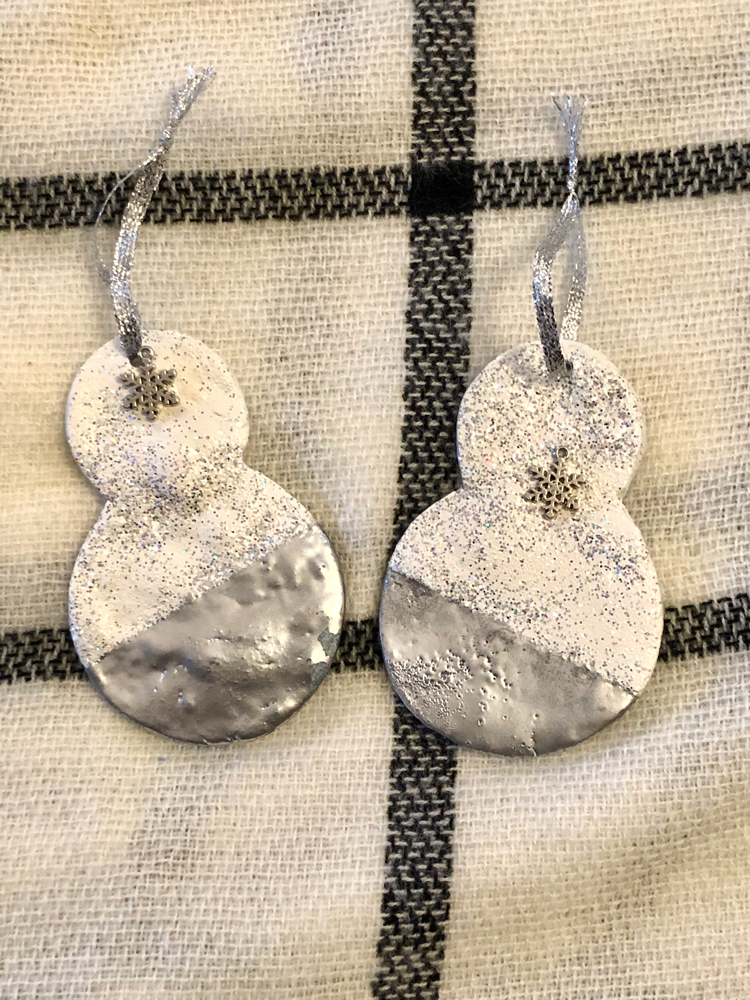
Nicole made me TWO beautiful snowmen ornaments! (I lucked out.)
Nicole is a paper crafts expert, and made me a beautiful card to go along with my ornaments.
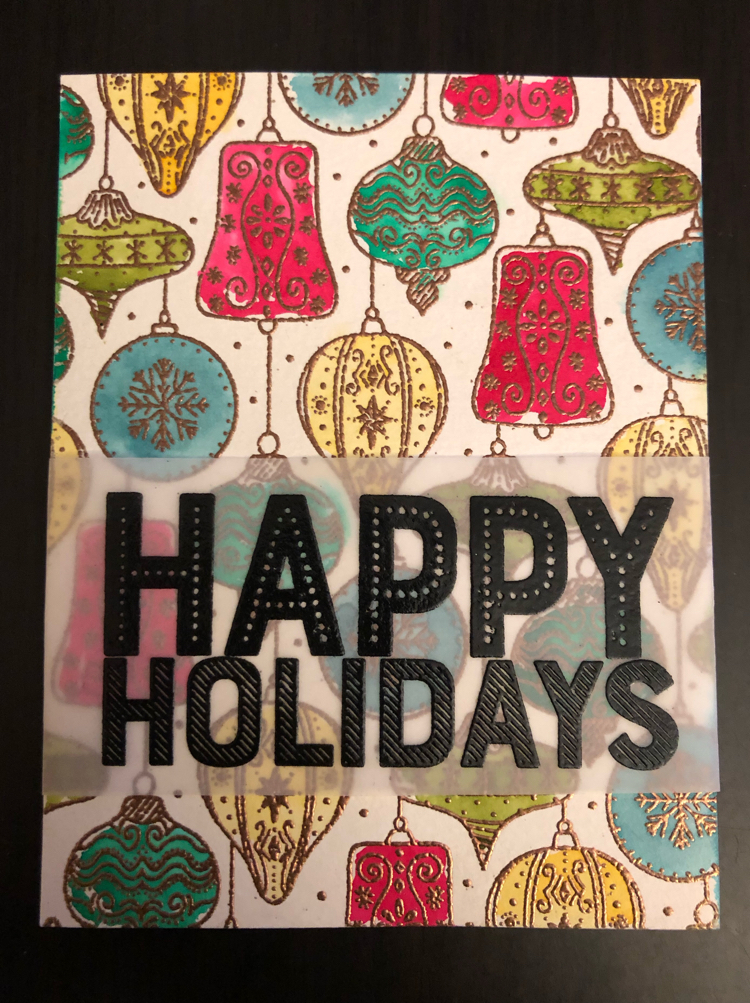
Thanks, Nicole!
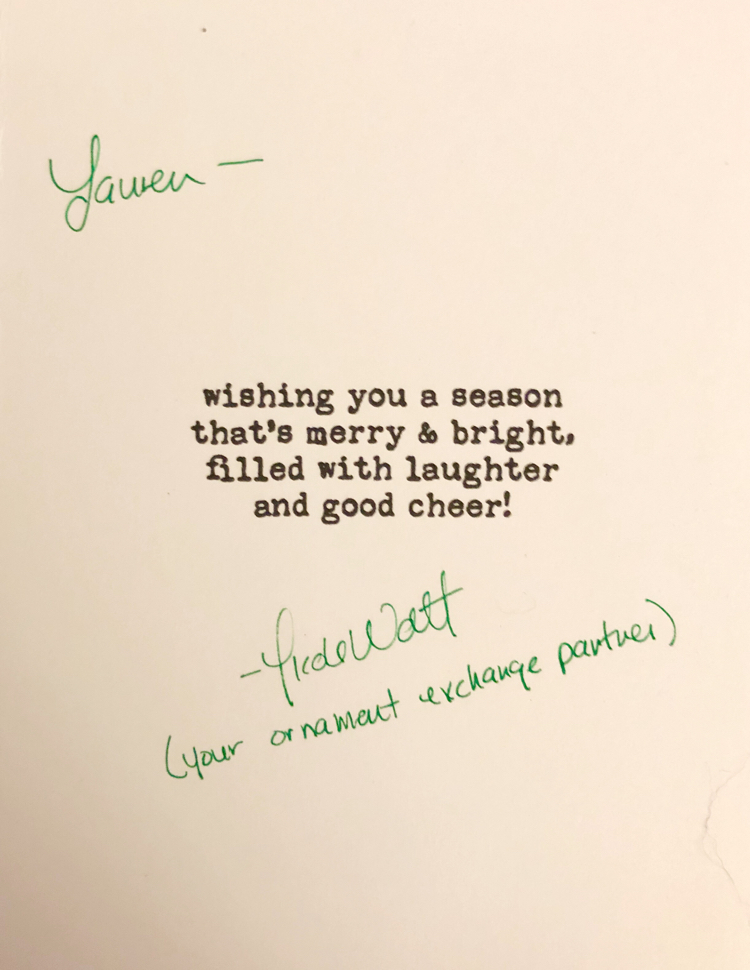
Be sure to stop by the 2019 Ornament Exchange Link Party to see all the ornaments that my blogging friends and I have created! Feel free to link up your own handcrafted ornaments, too! If you are looking to make your own Christmas or holiday ornaments this year, you will find lots of inspiration at the link party!
Stenciled Snowflake Wood Slice Ornament
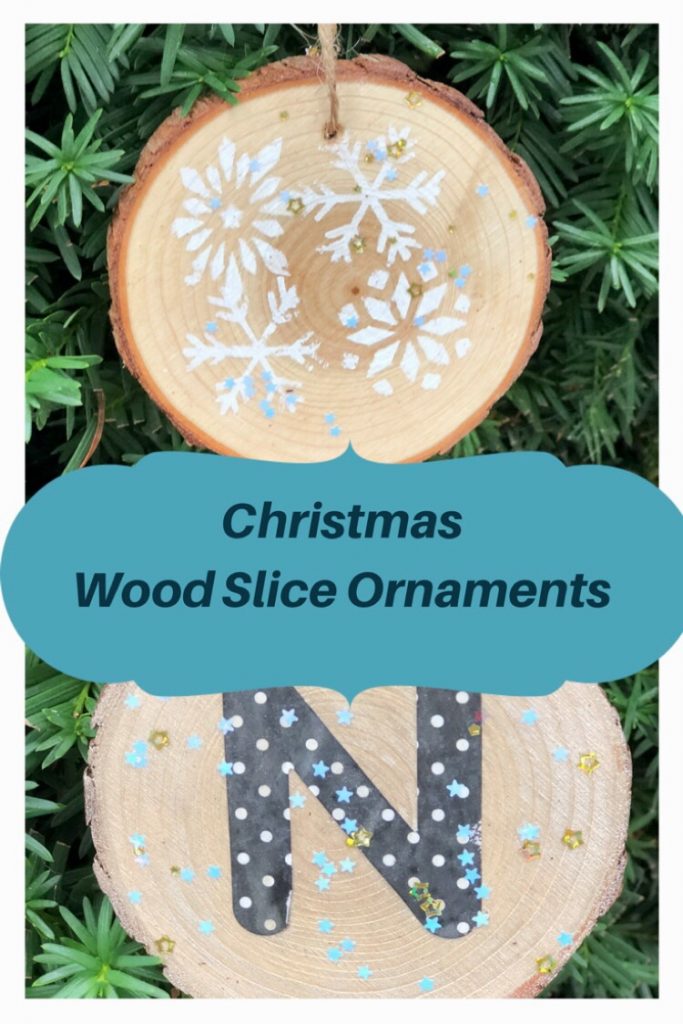
I found out from Nicole that she prefers simple and understated ornaments with a natural theme. I am more of a home decorator/DIYer than a crafter, so I decided to make an easy (but hopefully) beautiful wood slice ornament for Nicole. Making the ornament was really quite fun!
DIY Wood Slice Ornament Supplies

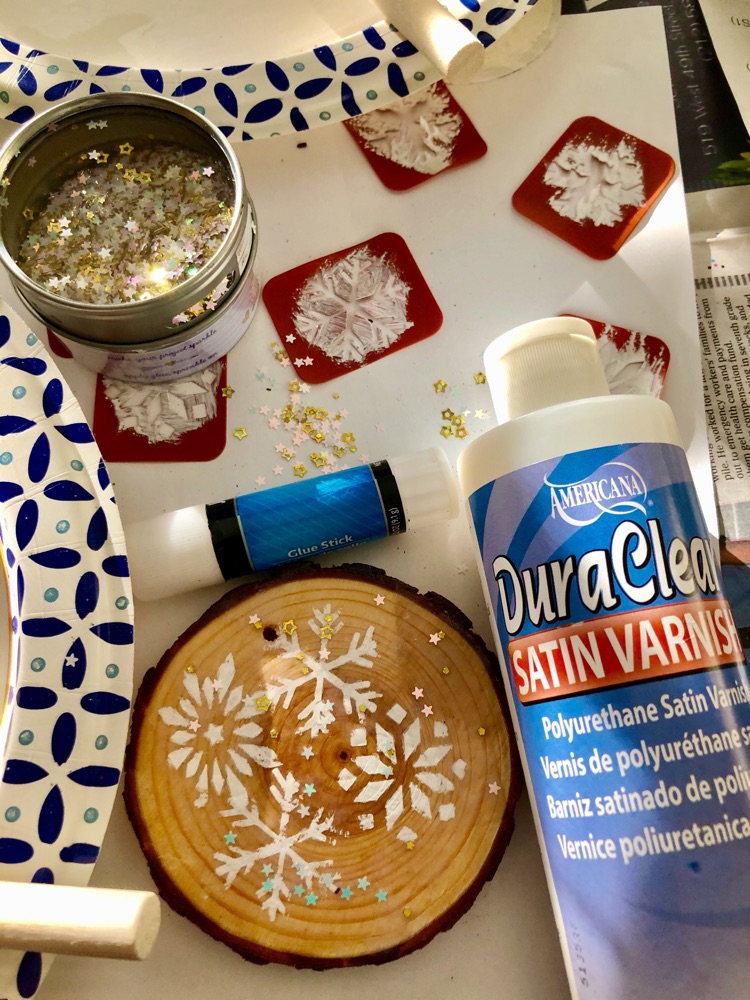
Americana Décor Acrylic Chalky Finish Paint: Everlasting White

Pre-Drilled Natural Wood Slices with Twine


DIY Wood Slice Ornament Instructions
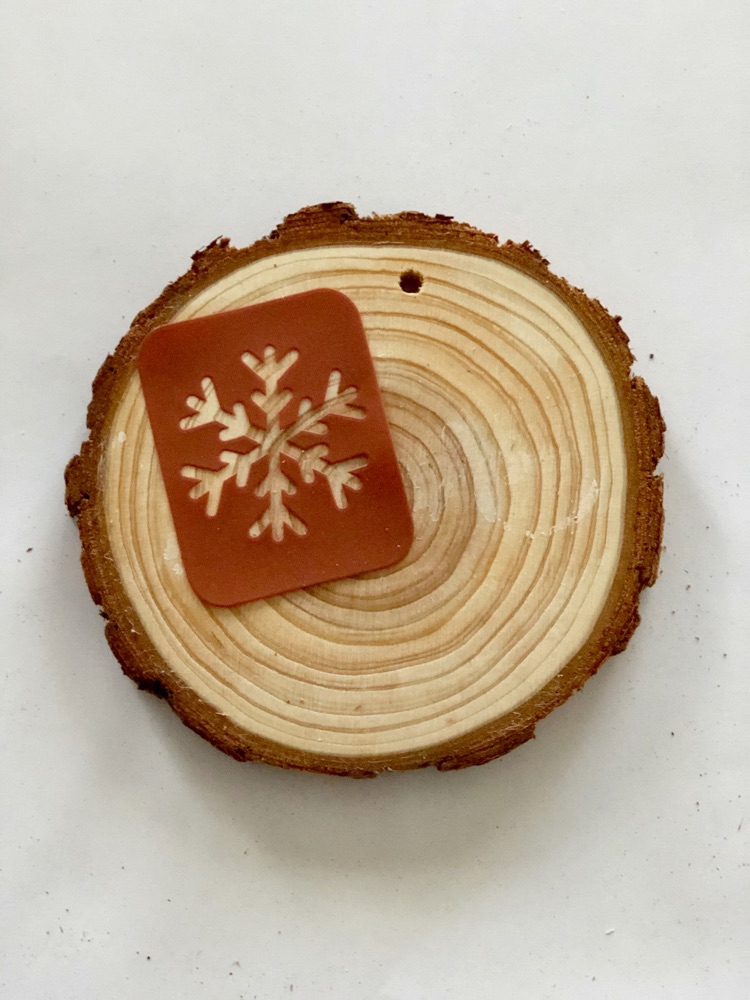
To start my ornament, I poured a small amount of Americana Décor Acrylic Chalky Finish Paint: Everlasting White onto a paper plate. I then chose a few of my self-stick Snowflakes Stencils and stuck them onto a pre-drilled wood slice.
I wiped my Foam Craft Brush on the plate to get a small amount of Americana Décor Acrylic Chalky Finish Paint: Everlasting White onto the brush. (When stenciling, it’s best for the brush to have only a little bit of paint on it and to be slightly dry.) I applied the white paint over the stencils. When I lifted the stencils, I had pretty white snowflakes on my wood slice.
When the paint was dry, I rubbed a glue stick lightly over the wood slice. I then sprinkled some Tiny Stars Glitter Confetti on the wood slice.
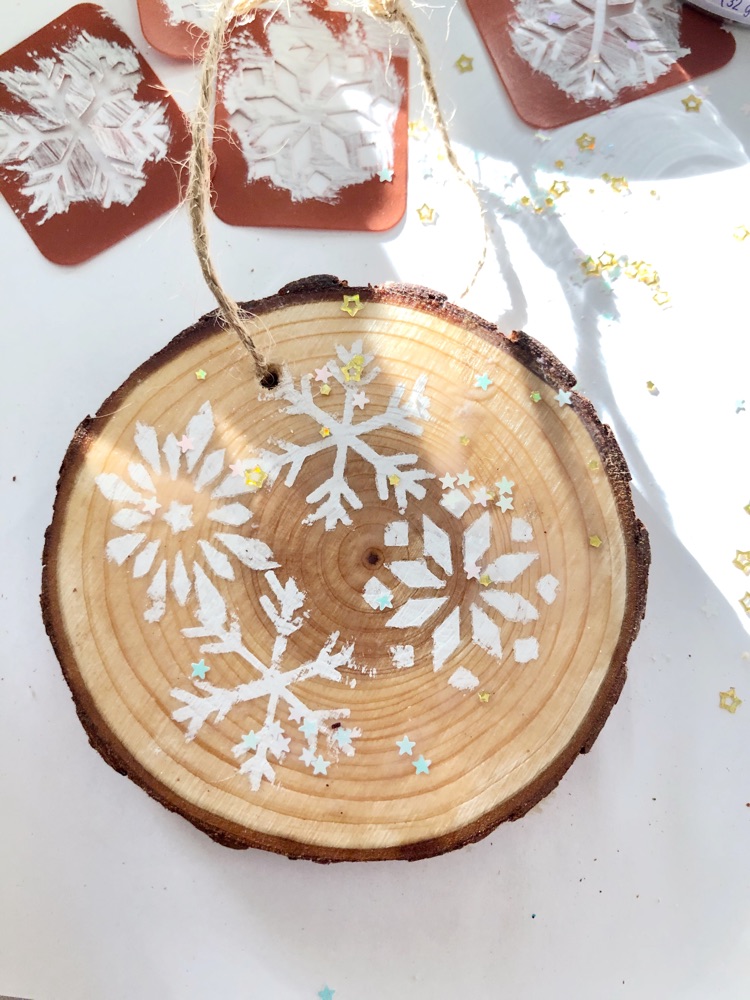
I painted some DecoArt American DuraClear Gloss Varnish on top of the wood slice. The varnish helps to secure the glitter confetti and gives the wood slice a more durable finish.
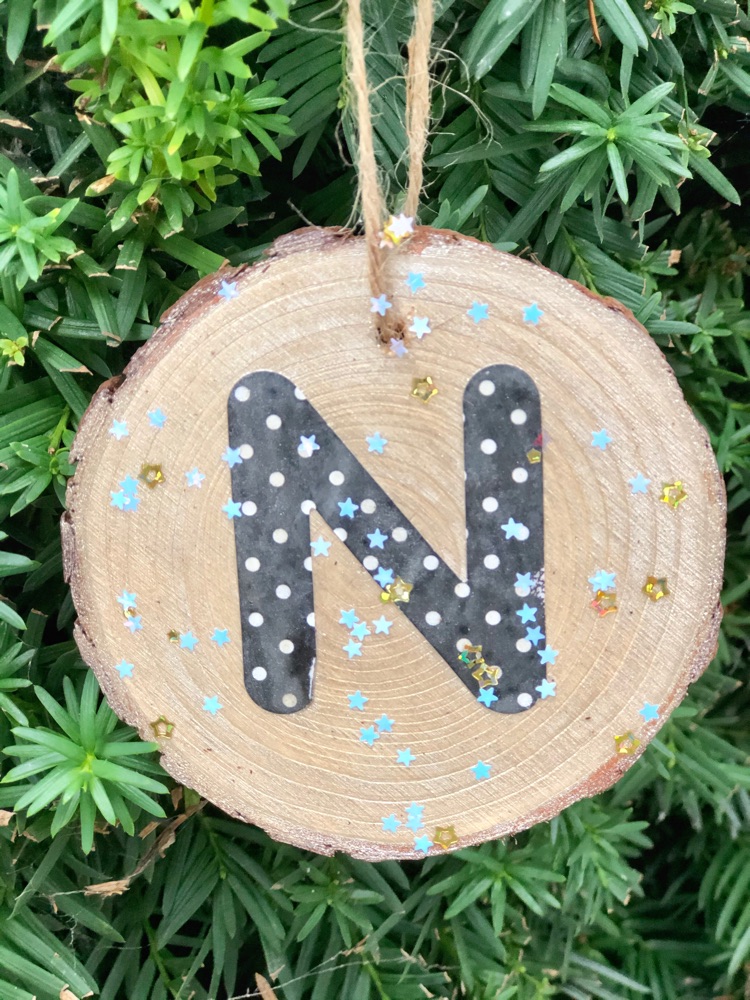
After my wood slice ornament was dry and complete, I decided to decorate the other side as well. I figure it’s fun to have two looks for the ornament!

For the other side, I simply applied a letter sticker to the center of the wood slice. I then added some glitter confetti and covered that side with varnish as well.
I am hoping that Nicole enjoys her ornament!
Be sure to check out the 2019 Ornament Exchange Link Party for more handcrafted ornament ideas and to see the ornaments that my blogging friends have made! If you like, share your own DIY ornaments at the link party, too!
Discover more from momhomeguide.com
Subscribe to get the latest posts sent to your email.
These are so cool! I picked up a package of wood slices to make some ornaments this year. Now I have some inspiration!
Thanks for stopping by, Cherryl! Have fun making your ornaments!
I really like the letter ornament. Simple with a bit of a fun twist. Pinned.
I really like how you personalized the ornament for your exchange partner, and how you listed the products you used from your sponsor in the beginning of the post.
Your ornament is very pretty. I don’t ever think of adding stickers or other paper products, but those are good ideas. Your dog is quite adorable as well.