Thanks to DecoArt for sponsoring this post by providing the post used for my DIY Wood Slice Photo Christmas Ornaments. This post contains Amazon affiliate links. These affiliate links cost you nothing but may earn a small commission to help fund this blog. Thanks!
Welcome to the 8th day of the 5th annual 12 Days of Holiday Ideas event, hosted by Shirley of Intelligent Domestications and Erlene of My Pinterventures.
Between Nov. 11th and December 6th there will be hundreds of new ideas shared by over 55 Co-host bloggers! Go here to see our kick-off collection of Holiday ideas as well as all of this year’s talented participating DIY and Foodie Blogs. Download this years November and December calendars with all of the topics and dates so you can make plans to watch for ideas!
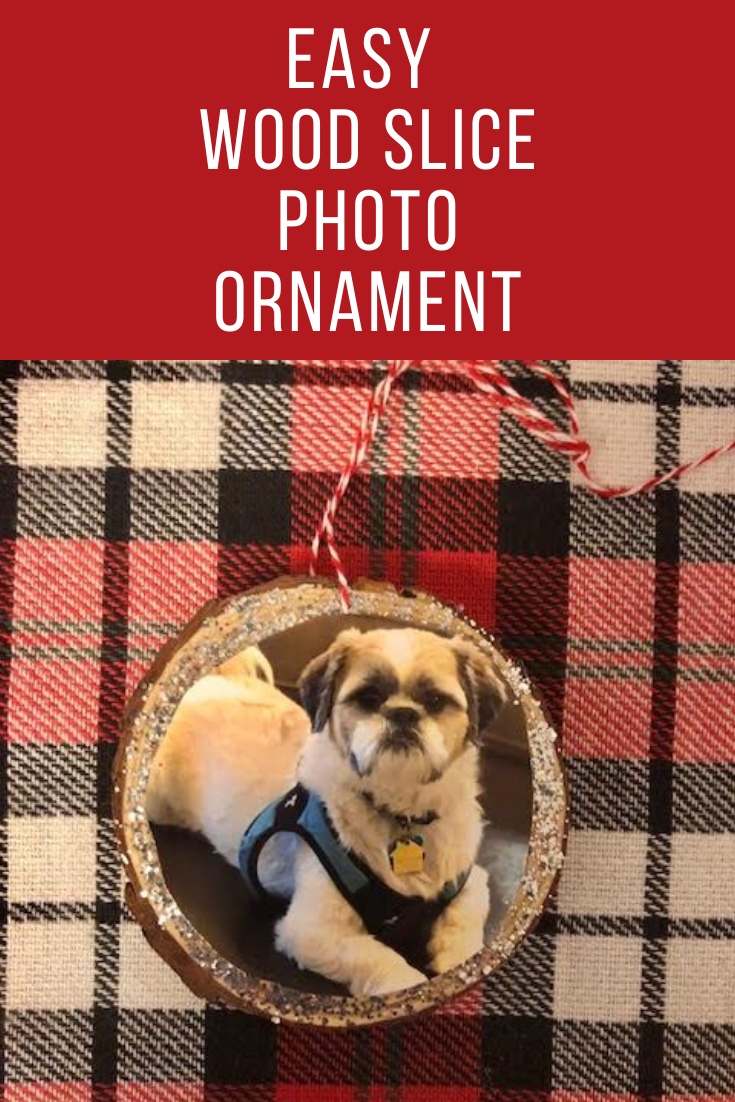
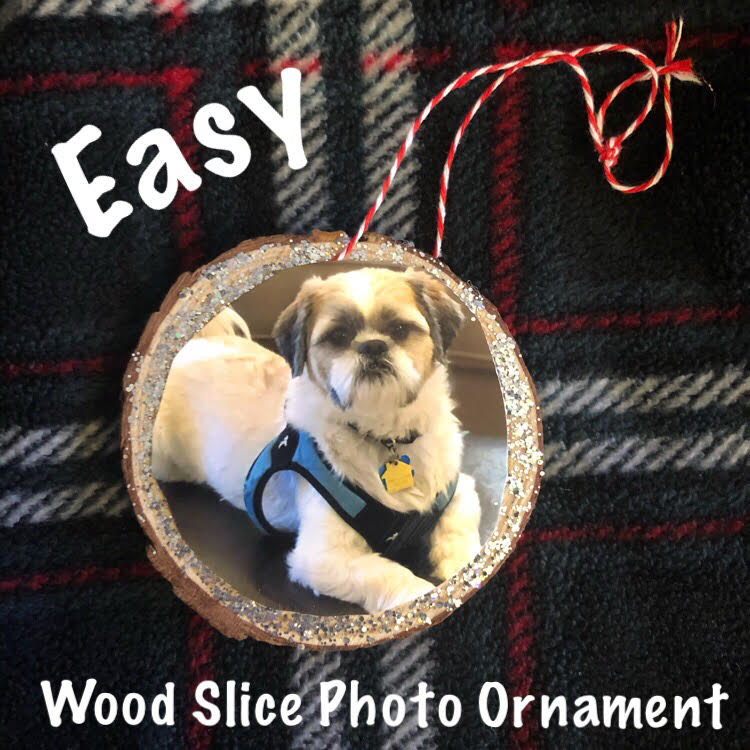
Today we are featuring DIY holiday ornaments! Every year I usually buy a picture frame ornament with the year marked on it for each of my daughters. I put a photo of them in it from the current year as a keepsake item. This year I’ve decided to make my own. I’m enthralled with rustic wood slices recently, so this year I will make rustic wood slice photo ornaments! (You can see my tutorial on how to make these simple ornaments below.)
These are such easy ornaments to make that your youngest kids can make their own photo ornaments this year!
For my rustic photo wood slice ornaments, I was inspired by this project by The Sweetest Occasion. I like the sweet look of the ornaments – and how easy they are to create. With my DIY photo ornaments this year, I’m glad that I won’t have to purchase the photo frame ornaments that I usually do. For Christmas this year, I am making one of these of my puppy, and one each for my husband and kids. (Because I don’t show my kids’ photos online, I’ll just be sharing an ornament I made for myself and one for my puppy.)
Easy Rustic Wood Slice Photo Ornament
Supplies
(Photos)


Easy DIY Photo Ornament Instructions
Print out photos to use for your photo ornament. Make sure that the people (or pets) to be featured on the ornament are in the center of the photo with a good amount of scenery or background around them. (This is important so you can cut the photo to size.)
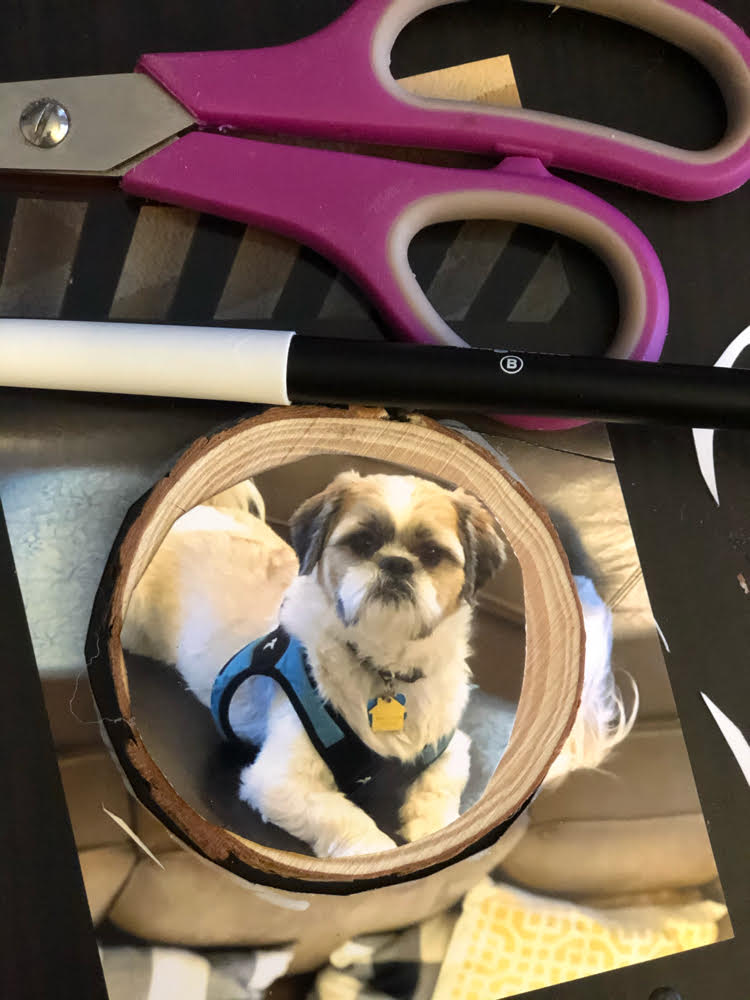
Trace one of the wood slices on the photo so that the part of the photo you want on the ornament falls within the circle.
Cut out the circular portion of the photo that you are keeping. If you like you can then trim the circle so that some of the wood slice will show around the edges of the photo.
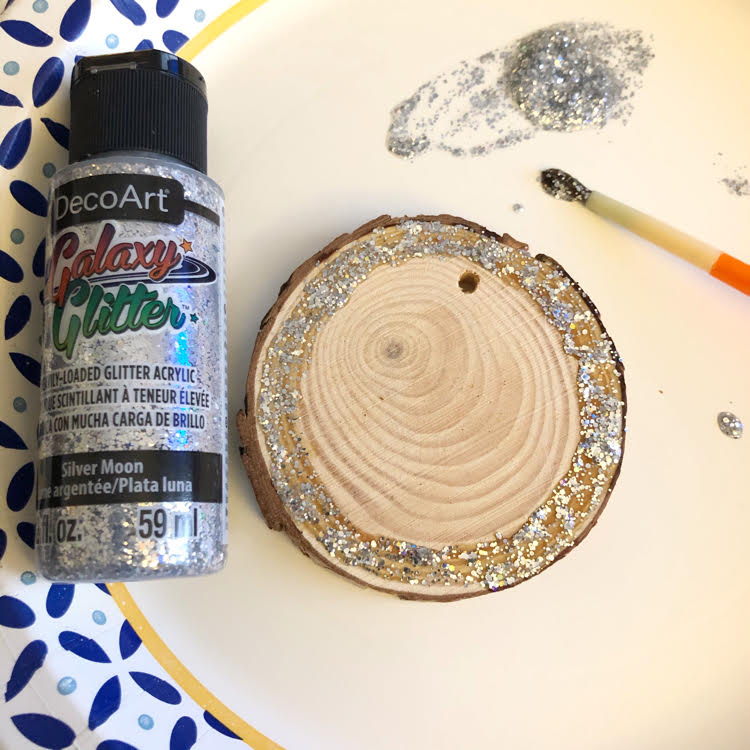
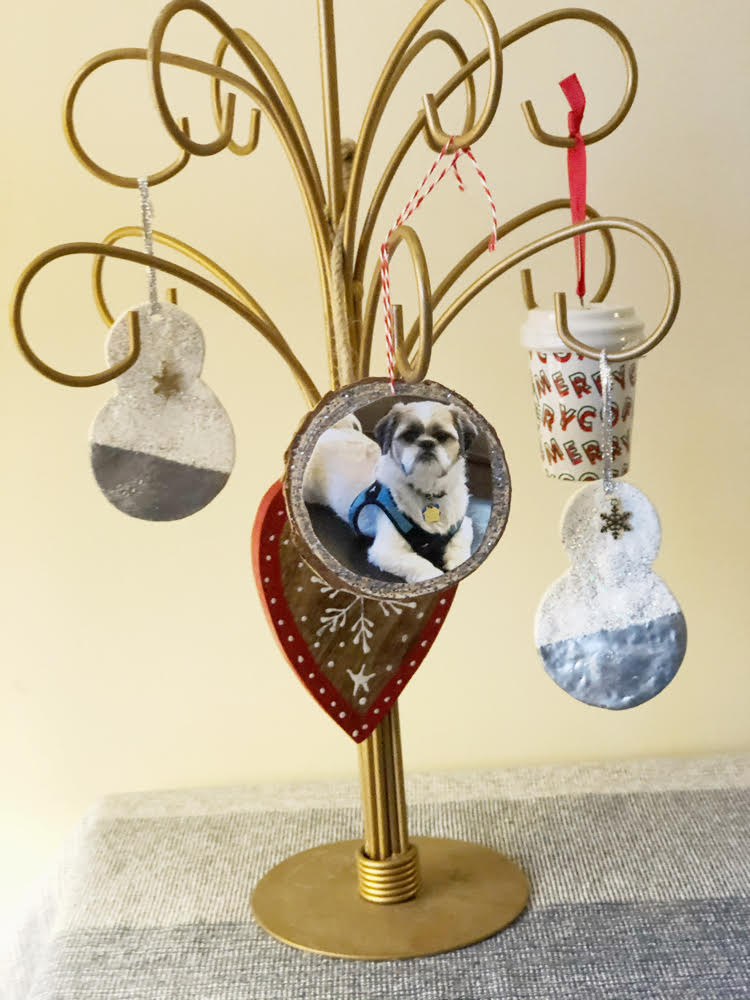
If you like, paint on DecoArt Galaxy Glitter Acrylic Paint (I used moon-silver ) to add a glittery effect to the edge of the ornament. I have used DecoArt paints (e.g., acrylic and chalk paints) and have found them to be very reliable and easy to work with.
I like the sparkle that the Galaxy Ornament adds to the ornament.
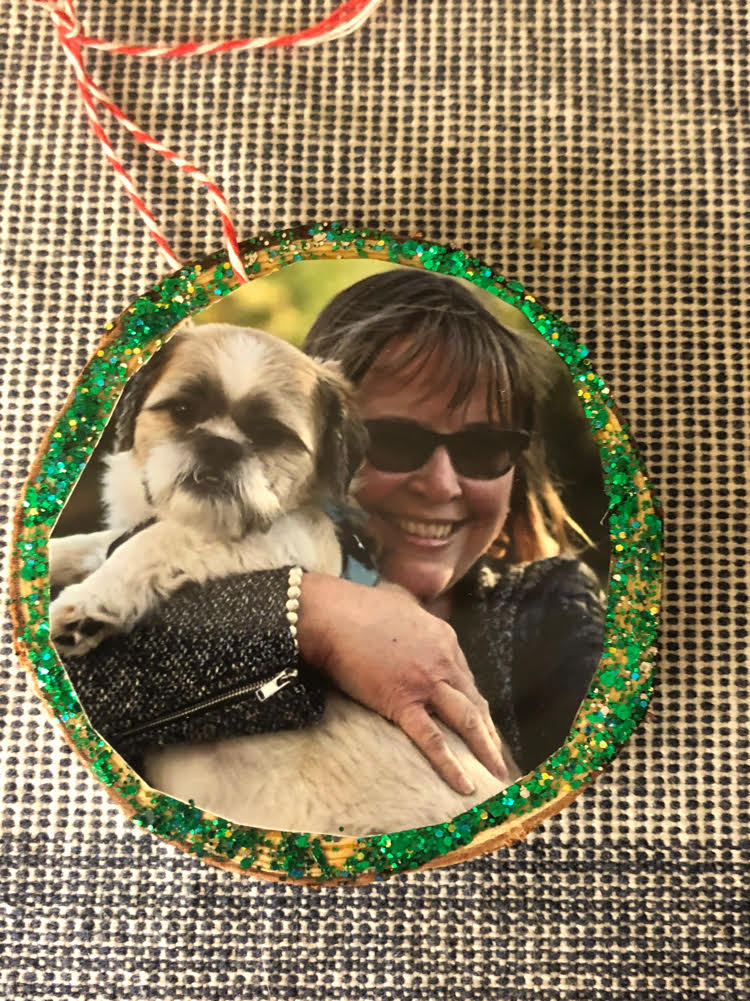
I used DecoArt Galaxy Glitter Acrylic Paint -Aurora Borealis – Green on my second DIY wood slice photo ornament. (The Galaxy Glitter comes in red and a lot of other fun colors, too!)

Slip a strand of ribbon or twine into the drilled hole of the wood slice and knot. Then glue the photo onto the wood slice. Your ornament is complete!
For my second ornament, I made one of me with my sweet puppy. This Christmas will be the second Christmas my family has spent with our puppy!
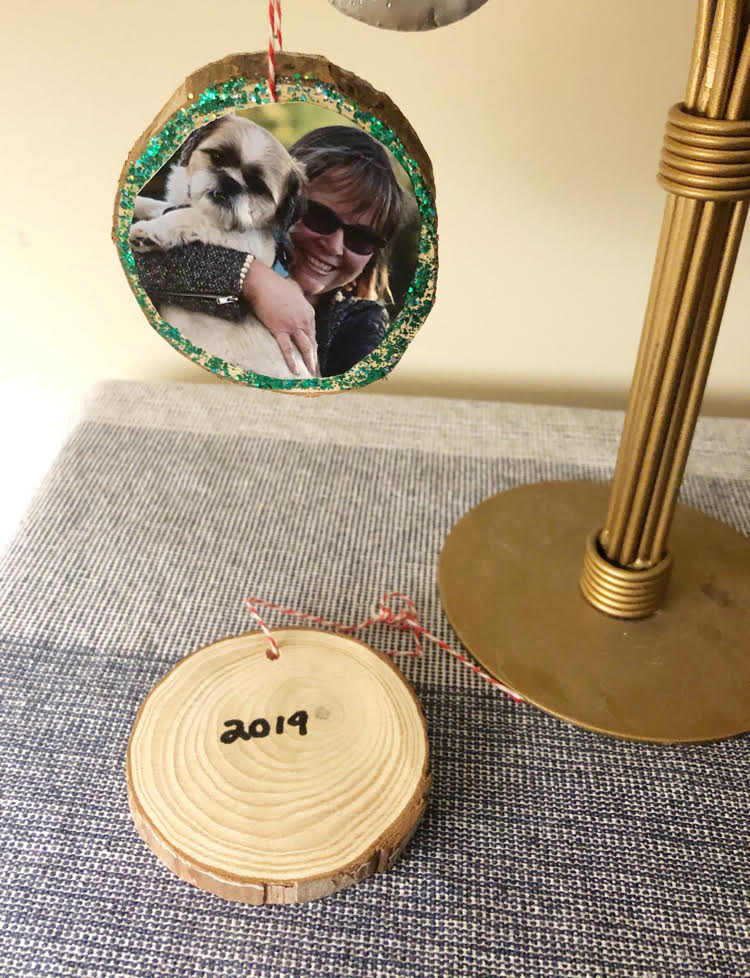
I used a simple Sharpie to add the year onto the back of the ornaments.
I added the ornaments I made to a sweet ornament stand my husband bought me a few months ago in the Poconos. On the stand are also the adorable DIY snowman ornaments I received from the 2019 Ornament Exchange blog hop. (Stop by the Ornament Exchange blog hop to get the tutorial for these cute snowman ornaments.)
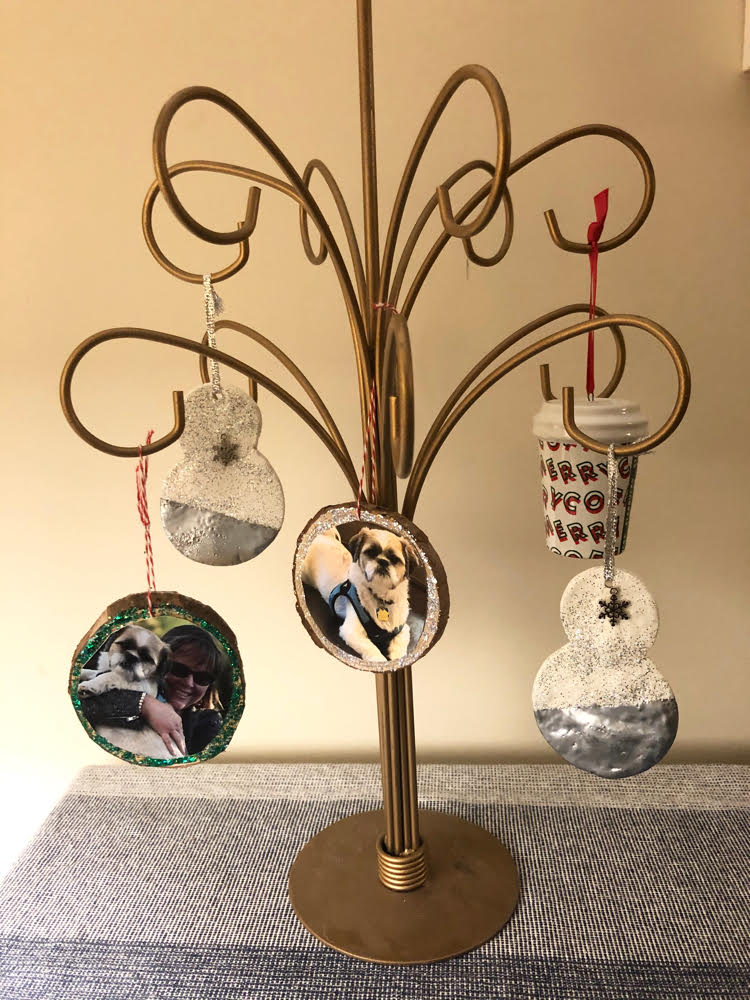
Thanks for checking out my simple DIY wood slice photo ornaments.
Be sure to check out my friends’ DIY holiday ornaments above. We are also hosting a BIG GIVEAWAY with lots of great gifts for the holidays! Scroll down to the bottom of this post to enter!
MEET OUR GIVEAWAY SPONSORS WHO HAVE GENEROUSLY DONATED FABULOUS PRIZES FOR THE BIG CHRISTMAS GIVEAWAY!
DecoArt winner will receive a prize package valued at $100! Dixie Crystals/Imperial Sugar winner will receive a Keurig Coffee Maker valued at $100! Oriental Trading winner will receive an OrientalTrading.com gift card valued at $200! Cabot Cheese winner will receive a gift basket of Cabot products valued at $75! Burlap Fabric winner will receive a prize pack of products valued at $50! Zulay Kitchen winner will receive one Milk Frother and a Lemon Squeezer valued at $21 It’s Home To You winner will receive one wooden Santa sign valued at $65

Discover more from momhomeguide.com
Subscribe to get the latest posts sent to your email.
You’ve been coming up with a lot of great wood slice crafts for the holidays! Mochi is so cute on the glittery ornament!
Carrie
curlycraftymom.com
Wonderful keepsake ornament idea! My daughter made ornaments just like these with our grandson’s baby photo and I will cherish it always.
Hi, Marie! Sounds like a sweet ornament!
Very sweet, love that the whole family can be on these ornaments.
How cute and unique, thanks for sharing.
What a great DIY! Such a cute ornament and I love how easy it is to make!
Jill – Doused in Pink
What great keepsakes these ornaments will be. Thanks for sharing how you made them.
What a cute idea. That galaxy glitter paint is awesome and the colors are so pretty.
How cute – love how it’s accented with the glitter paint!
This ornament is darling Lauren! I love your doggo and he definitely deserves a spot front and center on the tree!