*This post contains affiliate links.
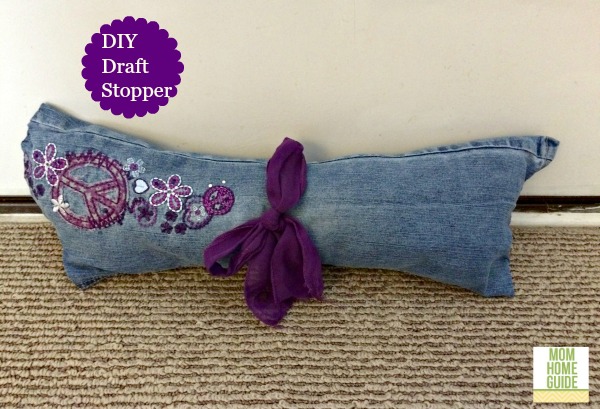
Now that colder temperatures are setting in, I am looking for ways to stay warm! I am on the lookout for simple DIY projects and steps that I can take to save on heating costs! That’s why I am happy to share my DIY draft stopper craft, plus money and energy savings tips from PG&E — and PG&E’s $100 Home Depot Gift card giveaway!
During the winter months, I do what I can to keep warm without jacking up the heat and hurting my wallet! So in the winter, you’ll usually see me snuggled under a warm throw wearing a pair of fluffy slippers!
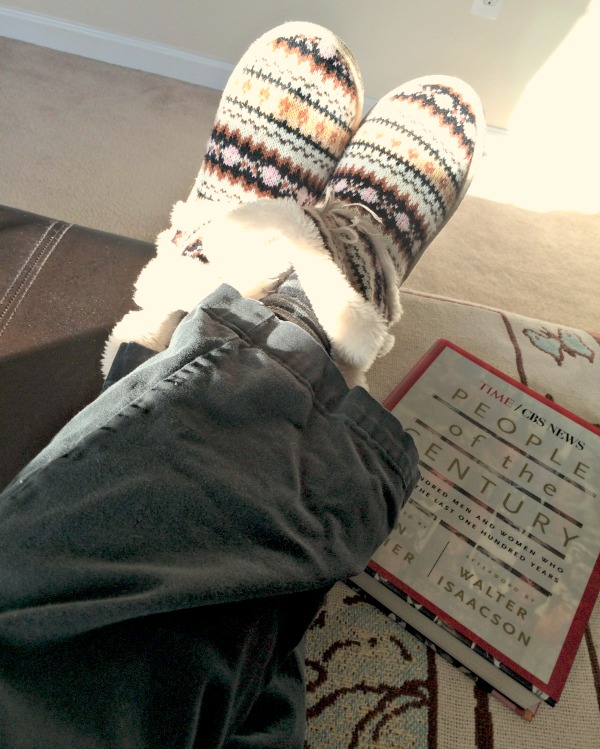
(Me with a warm pair of slippers on, with the Pooh Bear throw my hubby gave me years ago on the ready should it get chilly!)
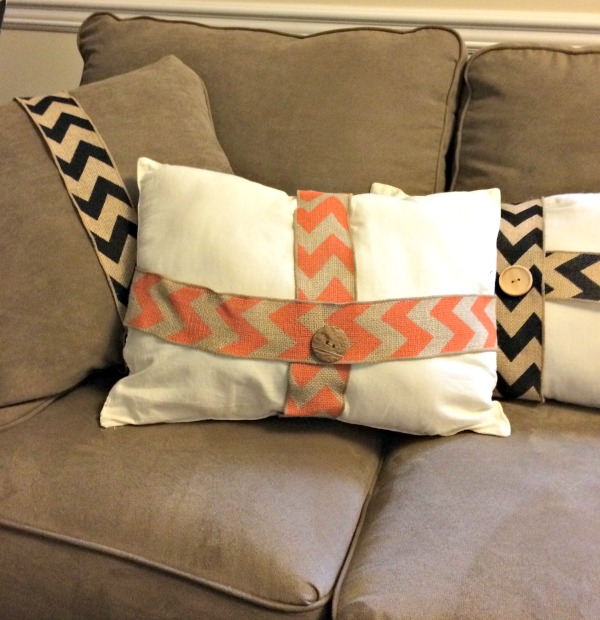
There are always lots of throw pillows on the couch in the winter to make the couch more comfy!
While I am often all about comfort, I also focus on saving energy in the winter. I like to do what I can so there is less strain on the Earth’s natural resources. I follow PG&E’s Energy Savings Tips, like closing my home’s curtains at night and when we are away. That way, I can help prevent warm air from escaping the house. I also keep the thermostat set at 68°F or lower when my family and I are at home. (I set the thermostat even lower when we are away.)
DIY Draft Stopper Tutorial
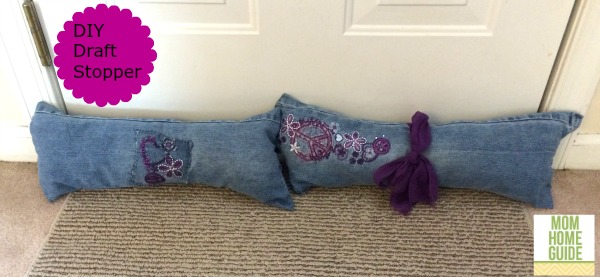
I took my energy-saving steps a bit further recently by creating a simple DIY draft stopper! The back door to my home is in the family room, and it can sometimes let in a draft! So, I decided to make an easy DIY draft stopper to keep the cold air from coming in!
Materials
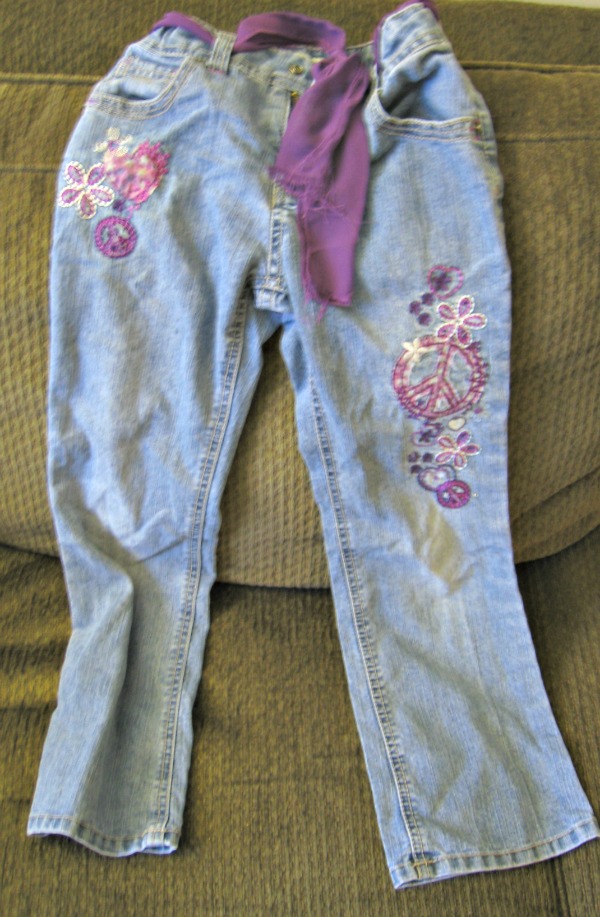
1 old pair of jeans
Poly-Fil pillow stuffing
Scissors
Needle and Thread
How I Made Draft Stoppers from Jeans
For my draft stopper, I took an old pair of my daughter’s jeans that I had been saving. The 60’s-style jeans has cute embroidery on it, and I thought they were a good fit for my daughter’s warm and fun personality!
I decided to make two draft stoppers out of the jeans by using both its legs. (If you use an adult-sized pair of jeans for your draft stopper, you will only need one jean leg, and will need to trim it to size.)
I cut off each leg of the jeans. (You would most likely will want to cut yours pant legs off in a straight line at the top, but I angled mine to save the embroidery!)
I then turned each leg inside out, so the good side of the jeans was on the inside. I then stitched one side of each pant leg completely closed with my needle and thread.
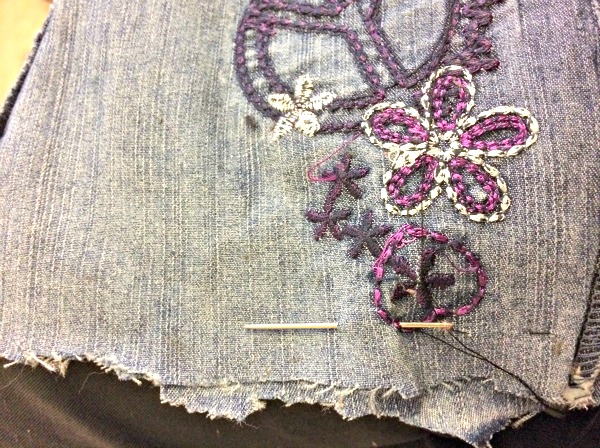
Then I stitched the other open side of the each leg closed, leaving enough room (maybe 4 inches or so) to allow me to stuff the pant legs with the Poly-Fil. I then turned the pant legs right-side out.
I then stuffed each pant leg with Poly-Fil and hand stitched the small openings that I left closed. Easy!
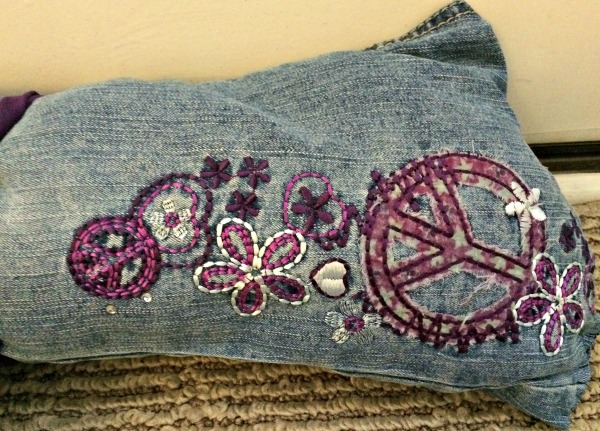
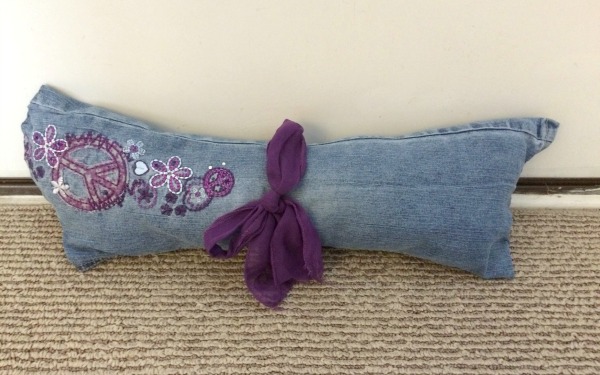
I decorated one of my draft stoppers by tying the ribbon that was the jean’s belt around the center. I completed my project during just one of HGTV’s “Love It or List It” episodes, so in all, my project only took about 30 minutes! (And that includes the time my eyes were glued to the TV! LOL.)
#PGEhome Instagram Photo Challenge Contest
From November 17-23, PG&E is holding its #PGEhome Instagram Photo Challenge Contest! Enter the contest for a chance to win one of seven $100 Home Depot gift cards! A $100 gift card could help in paying some heating costs, or can go toward some DIY projects for making your home more energy efficient!
In fact, I just entered the contest by submitting a photo of my home’s new Nest thermostat (which makes tracking how much energy is being used to heat or cool my home) with the hashtags #PGEhome and #PhotoChallenge. Keep up to date on the contest by following these hashtags!
Good luck!
This post was shared at the Pin Junkie Pin Party.
I was selected for this opportunity as a member of Clever Girls and the content and opinions expressed here are all my own.
How creative! I would have never thought to do this, but do need something like this to keep the cold draft from coming into our home this winter!
sarah recently posted…Mama’s Cranberry and Apple Dish: A Thanksgiving and Christmas Tradition
Love this idea!! I just mentioned to my husband last night now that its super cold I could feel a draft coming from the door! Your tutorial makes it look so easy that even this non-crafter could do it!! thank you for sharing!
paula H recently posted…Pull-Ups Big Kid Academy: Graduating has never been easier!!
Oh my those are so awesome. I love them and they look super cute.
becca recently posted…Hosting a @crowdtappers #HiddenValleyRanchers Party
Yep, I need to go make some of these right now! Thanks for a great tutorial.
Jen @ Simple Nails and Beauty recently posted…How to Apply Jamberry Nail Wraps with Full Review + Online Party!
Great idea! Super thrifty way to save $ on energy bills!
Carissa recently posted…Buttery Pasta Primavera