Mold is a common household issue that thrives in damp, poorly ventilated areas, and once it takes hold, it can be surprisingly difficult to fully eliminate. Still, with the right preventative steps and consistent upkeep, it can be effectively managed and kept under control.
Why Mold Grows on Walls in the First Place
Mold is a sign that moisture is lingering and that a surface is cool enough for condensation to settle. Daily life adds plenty of humidity through showers and cooking — even breathing can contribute to its buildup. If that moisture meets a cold wall, especially behind furniture or on poorly insulated corners, spores can find a foothold, where it could take root and expand. Leaks from roofs, gutters, or plumbing can create a hidden supply that keeps feeding growth. Before you reach for a cleaner to eradicate it, look for the cause. Condensation can leave scattered black dots on external walls, while windows can reveal daily misting. Meanwhile, a leak may show brown staining, bubbling paint, or a persistent musty smell.
Safety First and When DIY is Appropriate
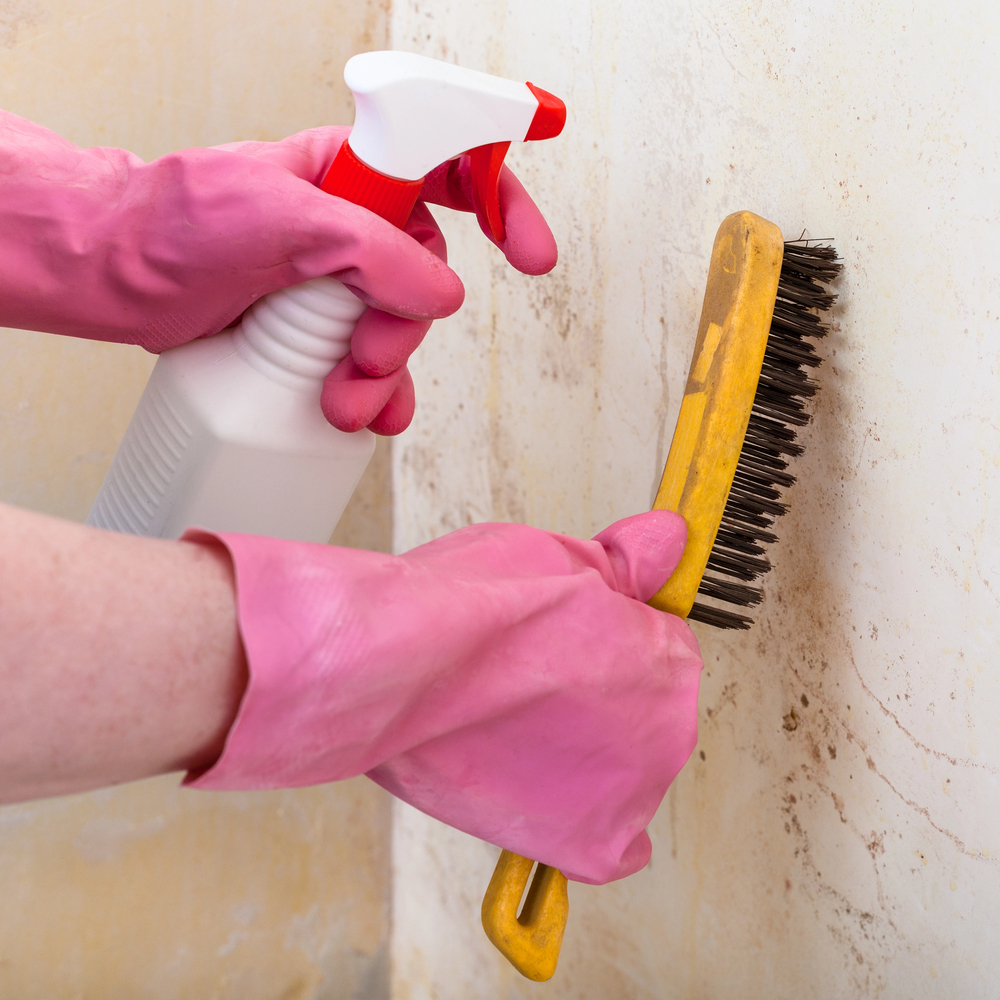
Treat small, contained patches (under approximately 39 inches or 1 meter) promptly. Wear gloves, goggles, and a snug mask rated FFP2 or N95, and keep the room well ventilated. People with asthma, mold allergies, or compromised immunity should avoid exposure, and any widespread or recurring growth needs professional mold remediation services. Porous materials like soaked plasterboard or wallpaper often need removal because mold threads can grow below the surface. If you prefer a clear walkthrough, this guide shows how to remove mould from walls while protecting your health and your home.
Step-by-Step Cleaning that Actually Works

Prepare the Area and Contain Spores
To effectively remove mold, it’s important to follow a proper cleaning regimen. Open a window, close the door to the rest of the home, and lay a plastic sheet under the work area. Lightly mist the moldy surface with clean water to reduce airborne spores. Avoid dry brushing. Remove nearby soft furnishings and launder what you can on a hot cycle. Keep pets and children away until the area is cleaned and dry. If the wall is flaking or crumbling, stop and consider repair or replacement because surface cleaning will not reach embedded growth.
Choose an Effective Cleaner
Use a mold-specific cleaner or a hydrogen peroxide solution at 3 percent for painted walls and grout. Oxygen-based options are less likely to discolor surfaces and usually have milder odor. Bleach can lighten stains but does not always penetrate porous materials, and it can damage some finishes, so test a hidden spot first. Never mix chemicals, especially bleach with vinegar or ammonia. For natural finishes like lime plaster or bare brick, consult the manufacturer’s care guidance to avoid etching or salt deposits.
Clean Methodically, Then Dry Thoroughly
Apply the cleaner evenly and allow the full contact time on the label. Wipe gently with a non-scratch pad, then rinse with clean water and a sponge. Work from the outside of the patch toward the center to avoid spreading spores. Repeat if staining lingers, then dry the area quickly with airflow and gentle heat. Seal used cloths and disposable pads in a bag before throwing them out. Wash reusable tools in hot, soapy water and then let them dry completely.
Common Mistakes that Make Mold Come Back
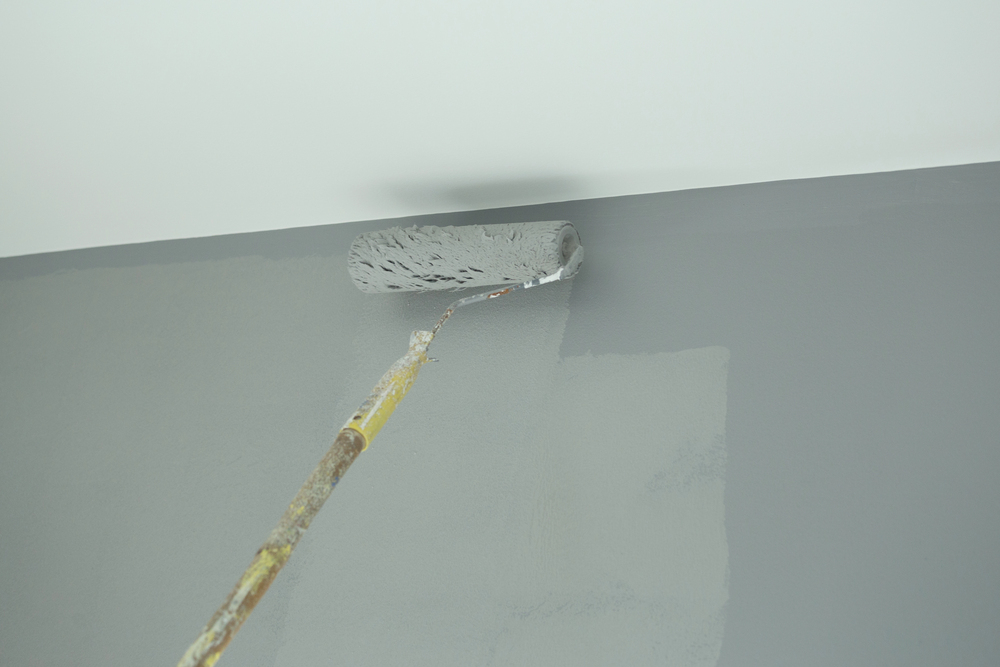
Painting over mold traps moisture and guarantees a return of the black spots. Scrubbing too aggressively can damage paint and even push spores deeper into the plaster. Not allowing a cleaner enough contact time can leave active growth behind. And relying on dehumidifiers alone—without addressing cold surfaces or poor ventilation—treats only the symptoms, not the cause. Finally, placing a dresser flush against a cold wall can recreate the perfect condensation zone, so leave at least a finger’s-width gap for airflow.
Simple Habits That Keep Walls Clean Longer
Ventilate at the Right Moments
Use exhaust or extractor fans during showers and cooking, and let them run for about twenty minutes afterward to clear lingering moisture. Opening trickle vents and giving your home a five-minute window purge each morning can help release overnight humidity. And when generating steam, keep interior doors closed so the moisture doesn’t drift into cooler rooms, where it’s more likely to condense on walls.
Reduce Moisture and Warm Cold Spots
Dry laundry outdoors or in a room with the door closed and a fan running. Fix roof, gutter, or plumbing leaks promptly. Keep steady background heat in cooler months to reduce cold wall surfaces. If a particular corner always sweats, consider insulating internally with a breathable board or adding thermal lining paper after curing the mould.
Monitor and Adjust
A small digital hygrometer will help you learn your home’s patterns. Aim for 40 to 60 percent relative humidity. If levels spike overnight in bedrooms, move large furniture slightly off external walls, lift items off floors, and clear clutter from skirting lines so air can circulate. In wardrobes, use louvered doors or add discreet vents.
When the Problem Persists
Bathrooms and Kitchens
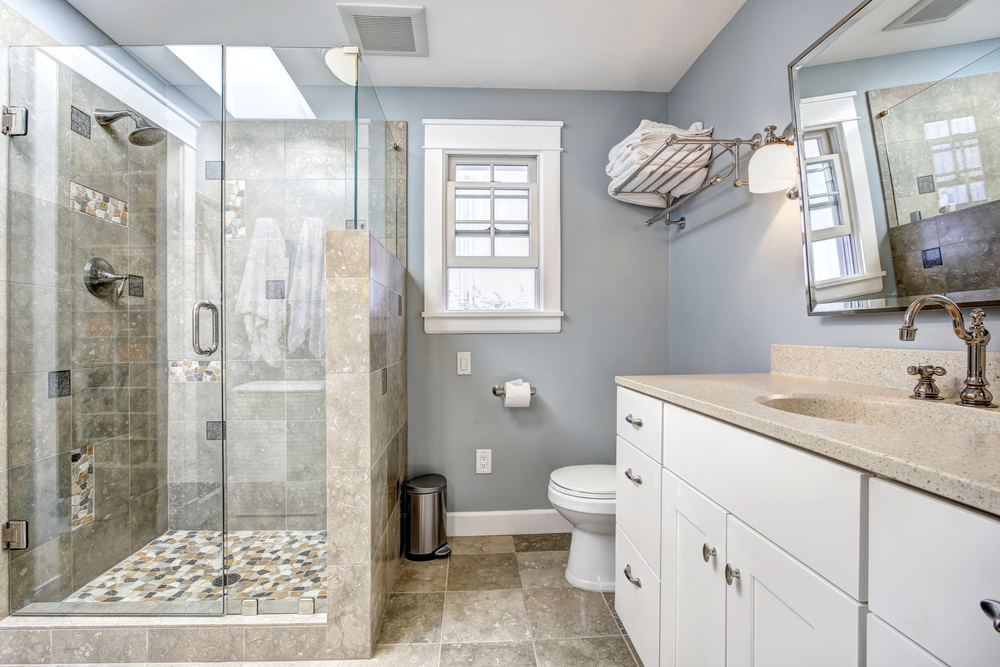
Recurring mold near the ceiling often indicates that the exhaust fan is underpowered or not running long enough. Upgrade to a humidistat fan that continues until moisture drops, reseal tired grout and silicone, and check for slow leaks under sinks and behind bath panels that keep cavities damp.
Bedrooms, Bay Windows, and Basements
Cold bridges at lintels and bay windows can encourage black spots to form along edges. Thermal imaging—or even a basic surface thermometer—can help you identify these cool areas. In basements or partially submerged rooms, check for signs of rising damp or groundwater pressure, which may require specialist membranes rather than surface cleaning alone. When in doubt, take photos, record humidity levels, and consult a qualified surveyor to pinpoint the root cause.
Discover more from momhomeguide.com
Subscribe to get the latest posts sent to your email.
[…] once the problem gets bad enough, it can be nearly impossible to deal with. Normally, signs of damp and mold start off small, like surface mold that you can wipe off walls. This often means you have a […]