*Thanks to Premier Prints for supplying the fabric for this project! This post contains affiliate links.
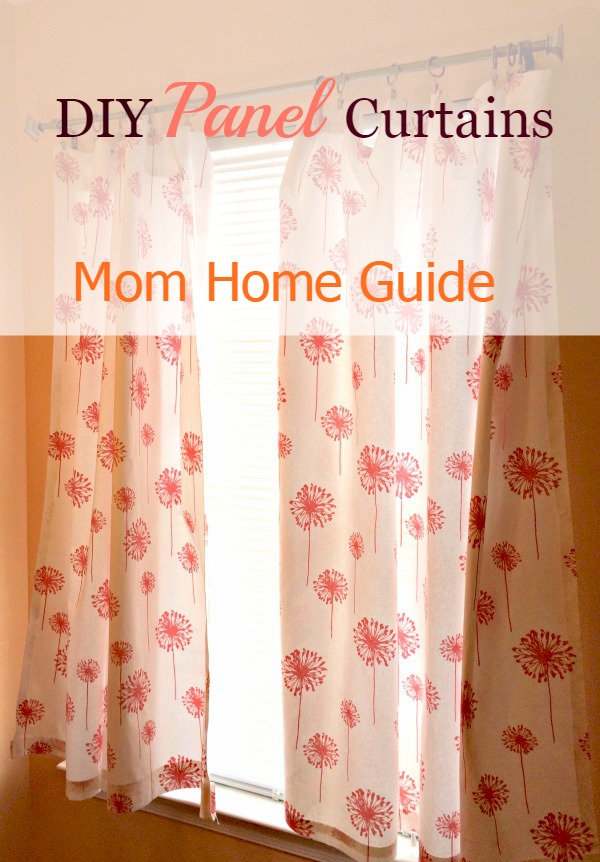
I have always found it difficult to find the perfect curtains to fit my style and my space. Not to mention trying to fit my daughters’ styles! So, when my daughters’ both got new bedrooms this past summer, I decided that I would make custom curtains for each of their rooms. (My kids had been sharing a room until then, and are excited about decorating their new rooms!)
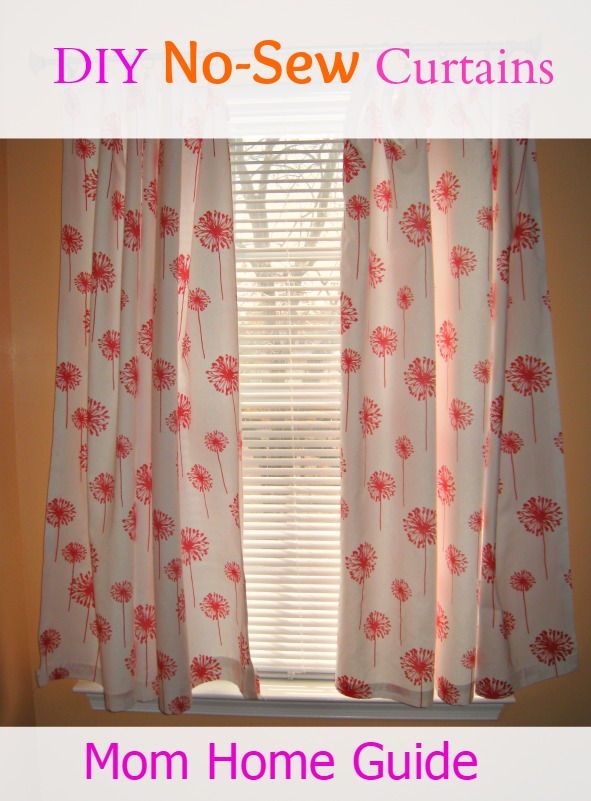
One of my daughters picked a coral and pink color scheme for her room. She has a beautiful warm soothing orange color on her walls, with bright fuchsia bedding. She picked out a cute white and coral dandelion print from Premier Prints for her curtains. Since Premier Prints was so gracious to provide me with the fabric for my project, I completed this daughter’s curtains first! (I will be sharing the room reveals for both daughter’s rooms soon — stay tuned!)
DIY Curtain Supplies
Water
A white clean, damp cloth (I used a handkerchief)
Steam Iron
Desired length of home decor fabric (I used Dandelion White Coral from Premier Prints — this fabric is 54″ wide)
Levolor Classic Square Curtain Rod Set
Cutting Mat
No-Sew Curtain Instructions
Measure the height of your window to determine the length of fabric you will need for each curtain panel. (You will need two panels per window.) The width doesn’t matter, unless you have really wide or really narrow windows!
I wanted my curtain to just touch the top of the windowsill, so I measured from the bottom of the curtain rod to the top of the window sill for my measurement. I added 8 extra inches to my measurement, so I could add 4-inch hems to the top and bottom of my panels. I used this equation to determine the length of each panel:
Desired Length of Curtain (in inches) + 8 Inches
The measurement I took for my daughter’s windows from the bottom of the curtain rod to the top of the windowsill was 54″, so these were my calculations:
54″ +8″=62″
(I multiplied this measurement by 2 so I could have enough fabric for two panels per window, and then by the number of windows I wanted to cover.)
There are two windows in my daughter’s room, so my calculations were:
(62″ x 2) x 2=248″
Next, I converted my measurement into yards, since fabric is usually sold by the yard. I used this online inches to yards calculator to make sure I was making my calculations correctly. (I can be math challenged at times!) I needed at least 248″ or about 7 yards for my project.
Working With Printed Fabric
If you are using a printed fabric like I did, you’ll want to order enough fabric so the print on each curtain panel will start and end in the same place on each panel. This will mean that you will be ordering more fabric, but your curtains will look much better if the pattern matches up on each curtain panel. To get the correct amount of fabric, you’ll need to know the vertical repeat for your fabric — most fabric retailers provide this information. You will need to figure out how many vertical repeats of fabric you need per panel. Addicted 2 Decorating has a great tutorial on how to measure the amount of fabric you’ll need to make a curtain panel with a print fabric — her fabric yardage tutorial is what I used.
Cutting and Assembling Your Curtains
Measure and cut your panels. If you are using a cutting mat, you most likely will have to fold your fabric so you can make your cuts in a straight line. I actually don’t have a cutting mat, so I just used a clean cutting board from my kitchen!
After your panels are cut, lay your fabric with the print side down. Fold and pin a 1-inch “hem” on each side of your panel. Iron your hems.
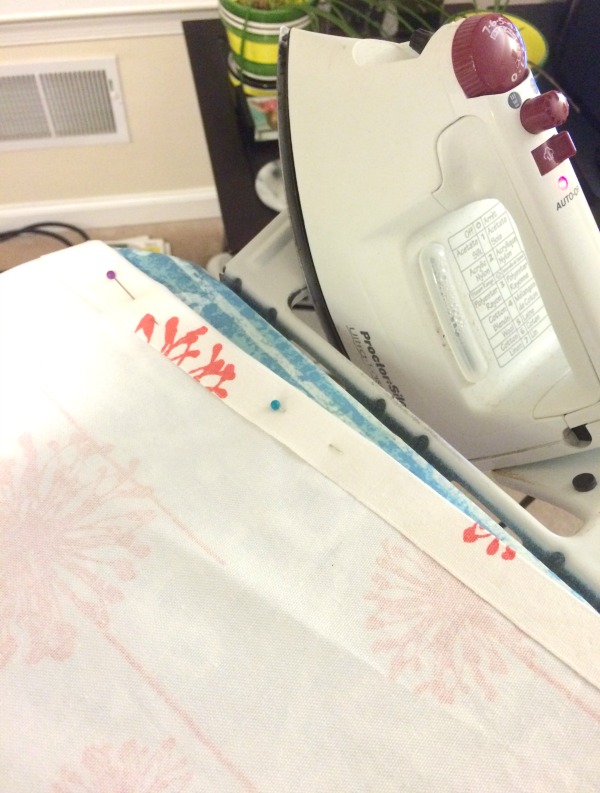
Apply a strip of Stitch Witchery, fusible tape under your hems. Wet a clean, white cloth with water, and iron your hems. The steam from the iron will help fuse the fabric together. Remove the pins.
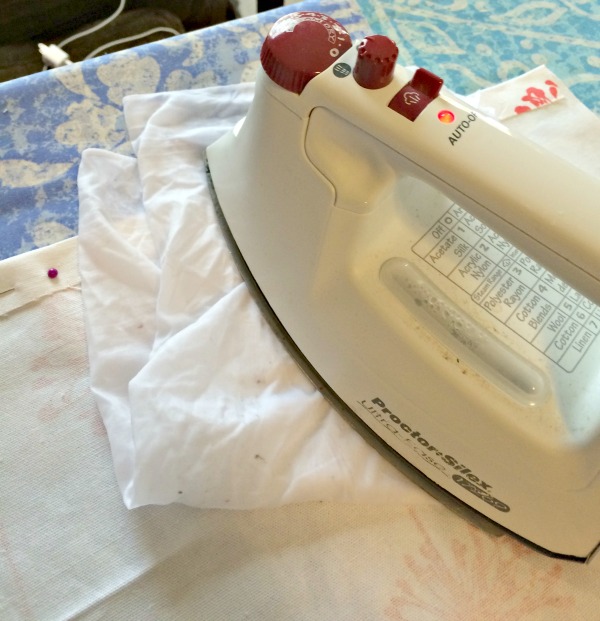
To get a clean edge for your hems, fold and pin the sides over 1 inch again, and iron again using the Stitch Witchery. Remove the pins.
Now, you will create the top and bottom hems for your panels. With the print-side of your fabric down, fold and pin a 2-inch hem on the top and bottom of your panels. Iron your hems.
Apply a strip of Stitch Witchery, fusible tape under your hems. Wet a clean, white cloth with water, and iron the top of your hems. The steam from the iron will help fuse the fabric together. Remove the pins.
Fold and pin the top and bottom of your panels over 2 inches again, and iron in place using the Stitch Witchery. Remove the pins.
I ironed my panels before hanging them — if your fabric is wrinkled, you may want to iron them before hanging them, too. To hang the panels, all you need to do is clip on your clip curtain rings and slide them over your curtain rods, and replace the rod. You now have brand-new, custom curtains!
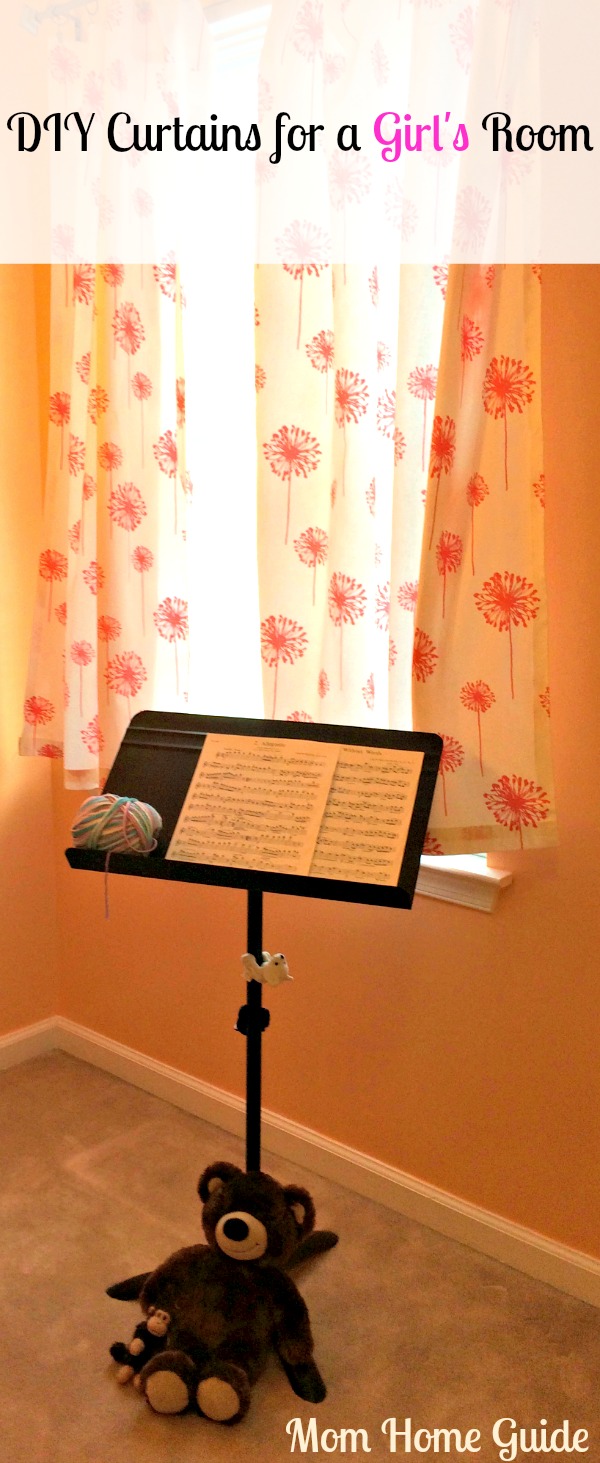
My daughter absolutely loves her new curtains and the adorable dandelion pattern from Premier Prints. The print on the Premier Prints fabric suits her and her room perfectly, and the fabric is just heavy enough that it provides privacy while still letting the light through. Perfect!
I shared this project at Small Victories Sunday Linkup.
Related articles across the web

I love this! Pinning for later. My daughters room needs curtains.
Is it possible to make these in a blackout version without sewing?
mj recently posted…Toddler Gift Guide: No Toys Allowed
MJ: You could probably use the Stitch Witchery to fuse blackout fabric to your curtain fabric. Or, if you use the cafe curtain clips, you could hang the curtains and the blackout curtains (as long as they are the same length) with the same clips. Hope this helps! Thanks for visiting!
I love No Sew anything! This tutorial looks like something I could possibly do.
Such a good idea. I want to make curtains for the bedroom and can’t sew. This I can do!
Inspiring Kitchen recently posted…Best Cooking Tools and Tips for Thanksgiving
I love the pattern, curtains are on my to do list after the new year and since I can’t so this tutorial is great!
Rebecca recently posted…Eat. Create. Party! No. 49
Love this idea! So simple and useful. Thanks for sharing 🙂
https://www.facebook.com/skinnybelle
Robyn recently posted…PUMPKIN PIE GRANOLA
Super cute! And I love easy, no-sew projects like this. Thanks for sharing!