*This post contains affiliate links.
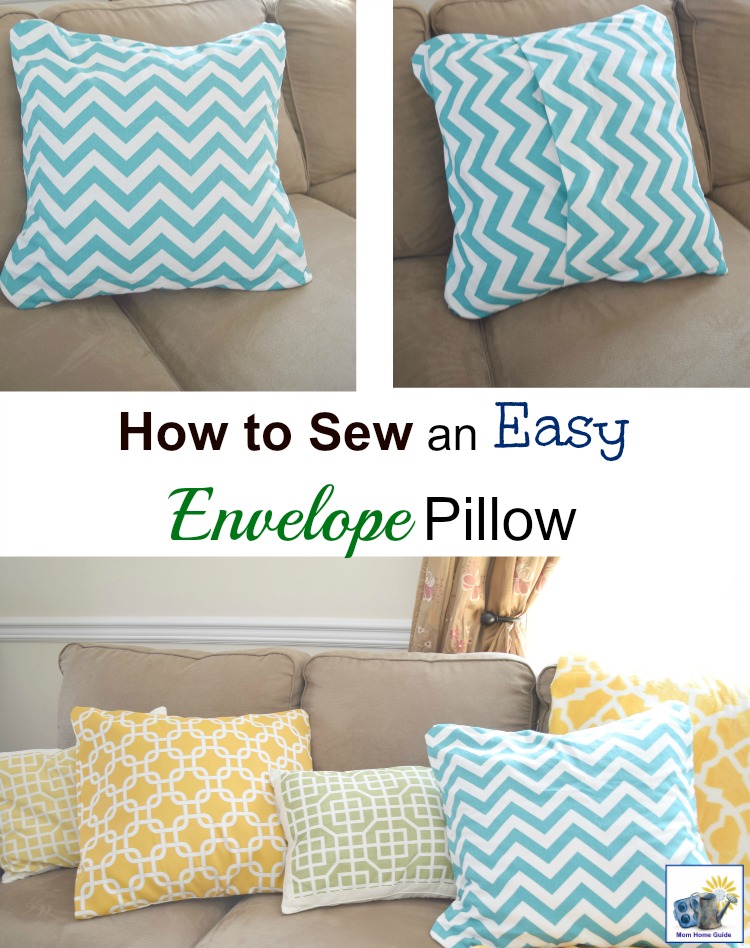
If you are looking to change up your home’s decor, making an envelope pillow or an envelope pillow cover is an easy way to go! I only have minimal sewing skills, but I have been able to quickly sew multiple envelope pillows for my living room’s sofa!
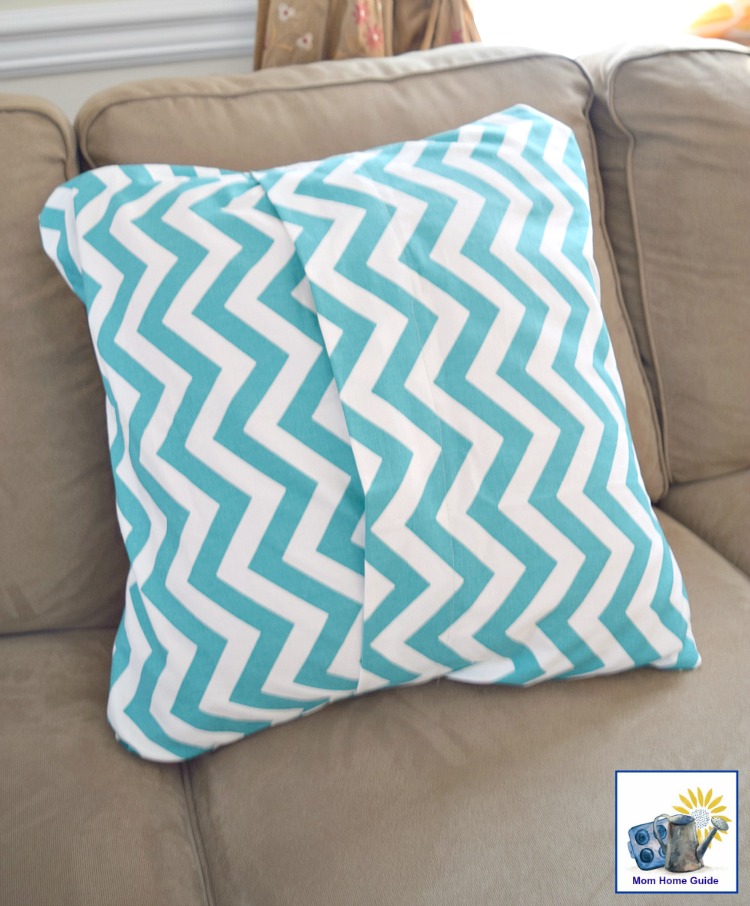
I really love the look of the pillows on my home’s living room sofa!
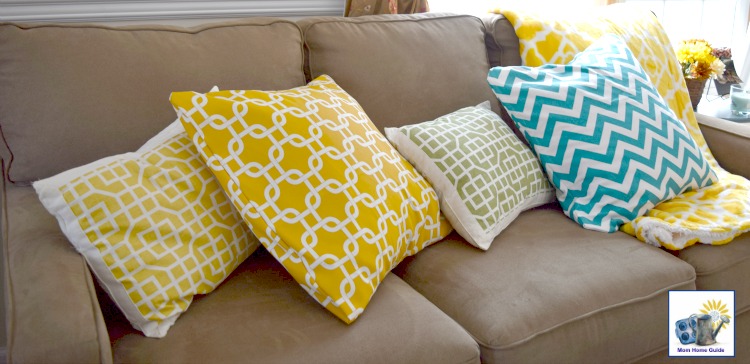
I like how my DIY envelope pillow looks against my sofa’s pretty yellow and white fluffy throw!
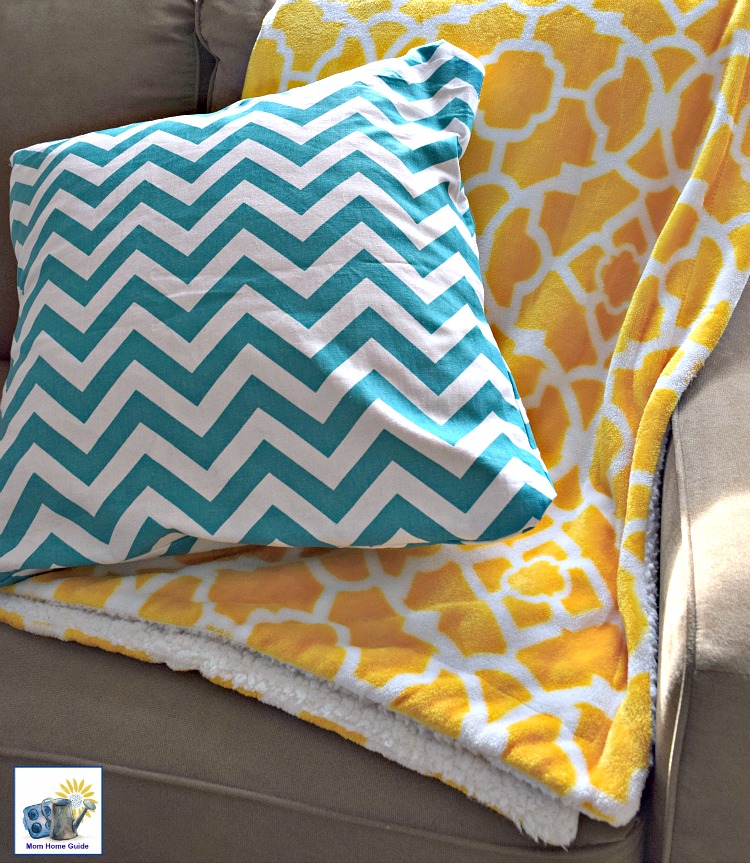
Envelope Pillow Tutorial
Materials (List includes affiliate links)
Fabric – The amount of fabric you’ll need depends on the size of your pillow.
Pillow form or pillow– For my recent project, I covered the two large pillows that came with my sofa. Or you can purchase pillows forms of various sizes on Amazon or at your local craft store.
Fiskars Fabric Shears
Hand Needle or
Sewing Machine
– for sewing the fabric together.
Thread that matches your fabric.
Straight Pins
Instructions
- Wash and iron your fabric.
- Cut the front fabric piece of fabric for your pillow cover the same size as your pillow or pillow form, but an 1 extra inch for both the length and width.
- Cut a piece of fabric for the back of the pillow cover. Make the width the same size as your pillow or pillow form, plus 1 extra inch. The length should be the size of pillow form, plus an extra 6 inches. Cut the back piece of fabric in half.
- Fold under the flap edge of each back piece 1/2 inch and the again 1/4 inch to make a hem for the flaps.
- Sew the hems for the flaps.
- Line up and pin the front and back sides of the envelope pillow cover right sides together. Make sure the back pieces overlap to form the flap on the back side of the pillow.
- Sew around all four sides of your pillow cover.
- Turn your pillow cover right sides out. Push the corners of your pillow cover out.
- Insert your pillow or pillow form.
I made my newest envelope pillow covers as a project to relieve my boredom while I was on crutches after my bunion surgery. So, I didn’t get any step-by-step photos to share with you.
Grandma Bees Recipes shows very good step-by-step photos. Her measurements are slightly different from mine, but her photos are great for very clearly showing the steps for making an envelope pillow, if you would like to take a look.
I am actually heading to my local fabric store with my daughters tomorrow — I might look for new fabric to make envelope pillow covers for my sofa’s throw pillows for SPRING!
This post was shared at Freedom Fridays, Creativity Unleashed Link Party, Project Inspired Link Party and the Pin Junkie Pin Party.
I’ve been wanting to update the pillows on our couches in the family room. I need to remember to come back to this when I’m ready… I want to do b/w and I know Hobby Lobby has a lot of nice b/w fabrics!
Carrie
curlycraftymom.com
Carrie @ Curly Crafty Mom recently posted…Valentine’s Day Wish List
Sounds like a fun project, Carrie! I can’t wait to see it when it’s done!
I love the fabric you chose for these envelope pillows! Last year, I made my first set of envelope pillows. Yours came out so pretty. I can’t wait to see what type of pillow covers you make for spring!
Tee @ Beauteeful Living recently posted…Beautiful Valentine’s Decor on 50 Dollar Budget
Thanks, Tee! I love the beautiful Valentine’s Day decor that you came up for your home this year!