Choose the Right Vanity Size for Your Bathroom
It all starts with a tape measure and the vanity you need and want, rather than what you just want to look cool in. Picking the right width for a vanity to fit your layout is absolutely critical.
The most popular vanity is the 900mm (2.95 feet) single vanity, and for a very good reason, because this size will fit within most main bathrooms without creating a cramped feeling in the space.
What surprises many people when it comes to vanity widths and sizes is the clearance. You need a minimum of 900mm (2.95 feet) of circulation space in front of the toilet pan; internal doorways leading to a bathroom on the entry level need a clear opening of at least 820mm (2.69 feet). Now that is not that bad of a clear floor plan until you consider the floor-mounted vanity that is 500mm (1.64 feet) deep on one side of the room and a toilet on the other.
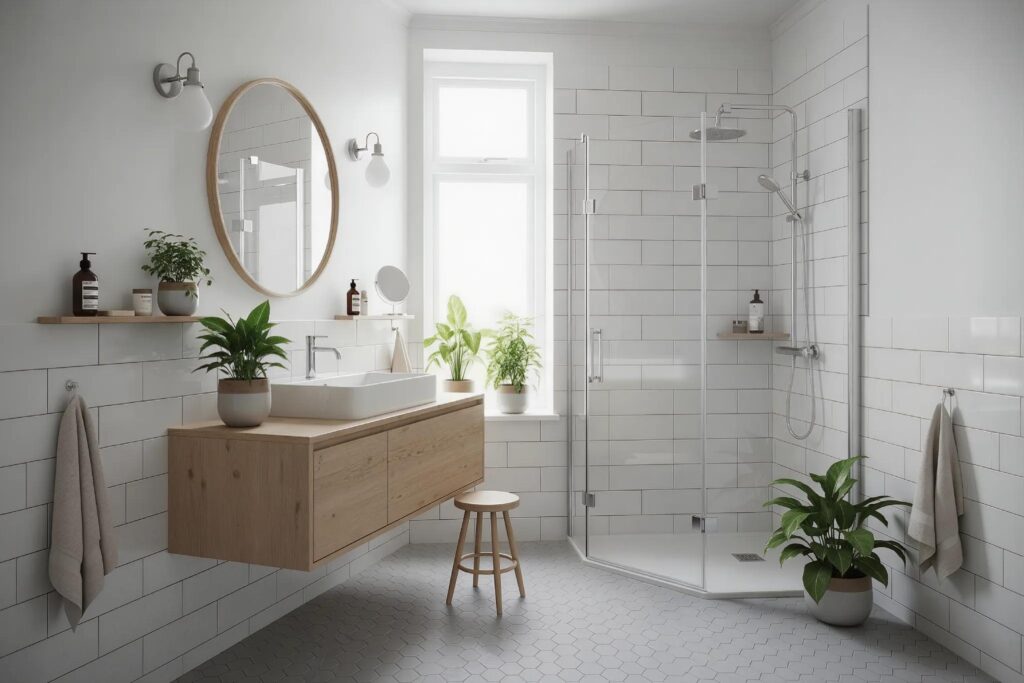
Most wall-hung vanities sit around 460mm (1.5 feet) in depth, compared to a floor-mounted unit being 500mm (1.64 feet) deep. What looks like a small difference on paper translates into a noticeably different experience in a smaller bathroom, where even modest changes in floor space can significantly affect how open and comfortable the room feels.So, if your bathroom is under 2400mm (7.87 feet) wide, I would highly suggest wall-hung over floor-mounted.
Once you have locked in the vanity size that will work within your bathroom, the next most important step is ensuring that the interior storage is designed to make the most of the space you have available.
Vanity Storage: Practical Layouts That Actually Work
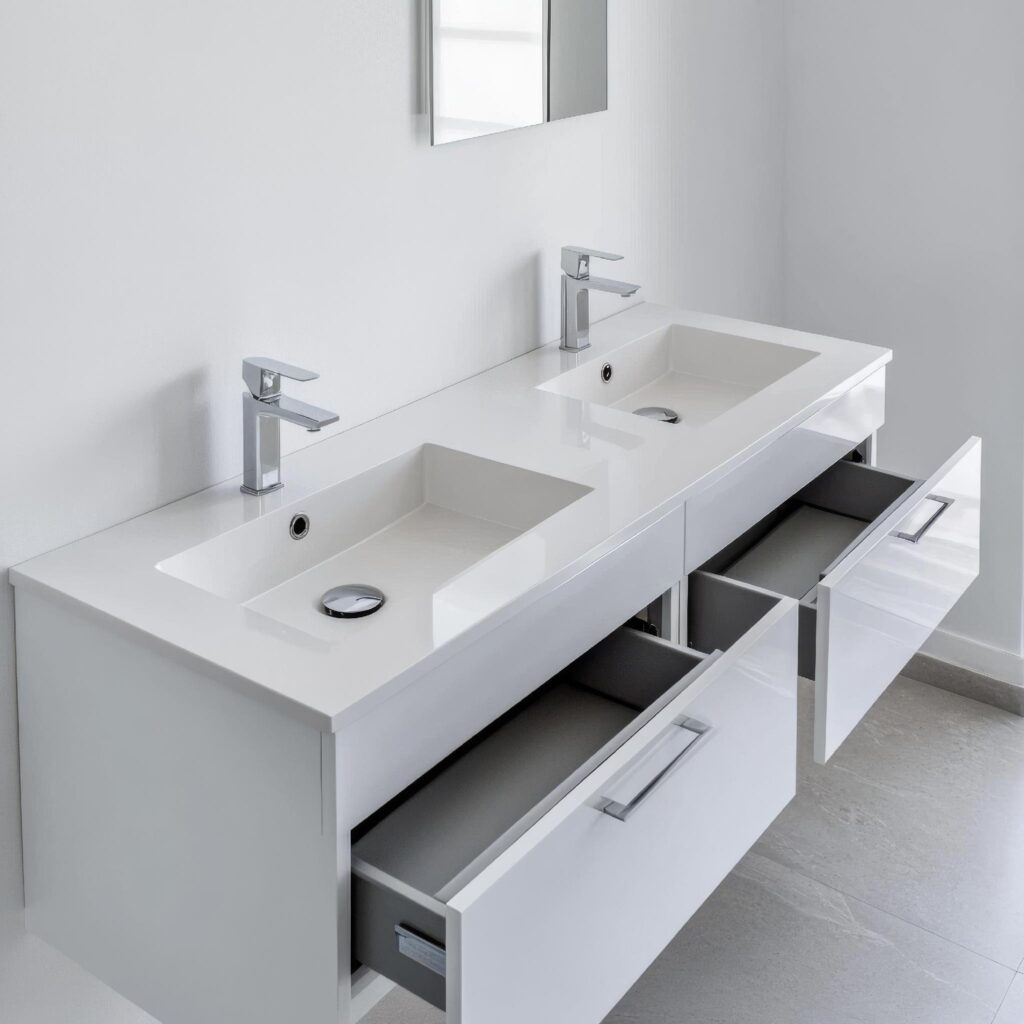
One door may look super sleek and minimalist from the outside, but having to fish for items around a plumbing waste pipe in a cupboard space every day is never fun. Most mid-range to premium vanities offer a choice of two or three full-width drawers, preferably fitted with soft-close mechanisms, which allow you a much easier time accessing and viewing your items in the bathroom vanity storage.
A common oversight at the drawing board stage is how much cabinetry space the plumbing for the under-basin area will take up. With a 900mm (2.95 feet) vanity, for example, you could easily lose 300mm (.98 feet) or more of internal cabinet depth to the waste trap if an inset basin is used. If bathroom storage space is a priority, then consider either a semi-recessed or an above-counter basin instead to free up that cabinet space.
Materials and Finishes: What Holds Up in a Bathroom
Most cabinets come in one of three materials—PVC-wrapped board, moisture-resistant MDF and plywood. PVC is completely waterproof and is usually a more entry-level material. Standard MDF is not waterproof by default, so for bathroom cabinetry exposed to regular humidity you need MR-grade MDF. If you come across a product listing that does not mention MR grade then definitely raise it with the supplier.
Plywood is the most solid and resilient material compared to board products and handles a bathroom environment better over time in regards to constant cycling of humidity. And remember, in real-world use, matte surfaces do not show water marks or fingerprints as much as gloss ones.
Once the cabinet body material has been selected, the choice of vanity top material becomes equally important, as it will have a significant impact on both the vanity’s long-term durability and the level of maintenance required.
Vanity Top Selection: Surfaces, Specs and What to Avoid
The vanity top is often where homeowners either overspend or underestimate the ongoing maintenance it will need. Ceramic tops are standard, they include an overflow, they are easy to clean. Poly tops are the cheapest but do not include an overflow, so it is worth bearing in mind. Engineered stone tops give the look you want and will cost you accordingly. Natural marble will need sealing and is susceptible to staining from everyday products like toothpaste and makeup remover. Stone resin basins are much heavier than ceramic basins and your cabinet may need to be structurally rated to support this weight. Finally, however your vanity top is selected, the silicone joint between the cabinet and the top is very important. Allow at least 24 hours of silicone cure time before the basin sees regular use. One of the most common installation mistakes is an insufficient silicone seal where the top meets the cabinet; this will allow moisture to damage even a quality vanity base over time.
If you would like a cabinet that looks warmer and more natural, timber and timber-look vanities are very popular in bathrooms, but it is important to be aware of how they should be installed and maintained before you buy.
Timber Vanity Considerations: Installation and Maintenance Tips
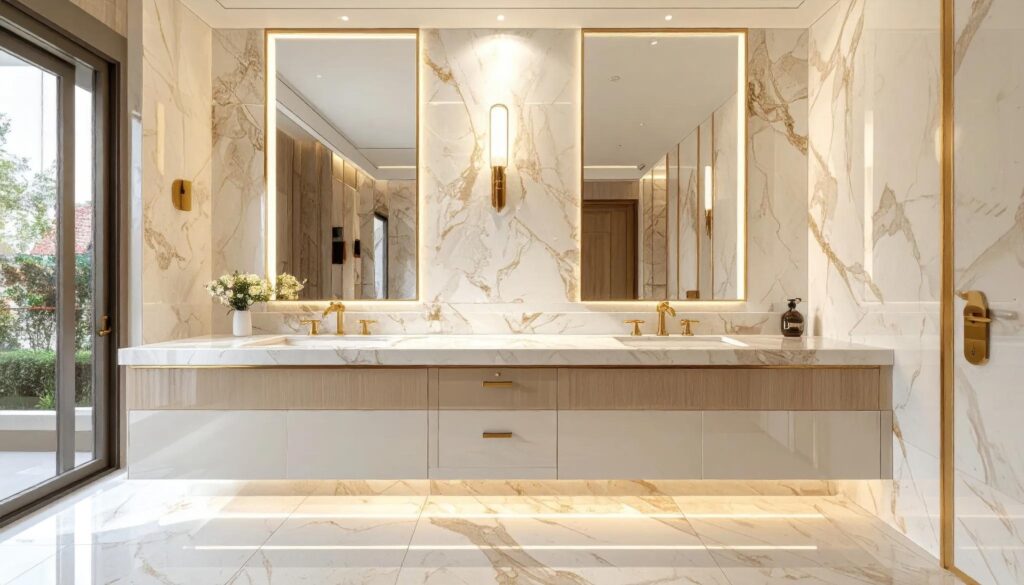
A timber vanity adds a warmth to a bathroom that simply cannot be replicated with a painted MDF cabinet—and there are now many options available, including solid timber, engineered timber, and timber-look vinyl-wrapped choices. Solid timber and plywood vanities will expand and contract as humidity fluctuates; a finished, sealed cabinet and good airflow in the bathroom is important over time.
If you are going with a wall-hung timber vanity, make sure the brackets are anchored to solid wall framing. There will need to be solid stud or bracket mounting. You will also need a perimeter sealant at the floor-to-wall junctions. Wet area waterproofing membranes must be maintained at floor-to-wall junctions.
For ongoing maintenance, do not leave water pooling on the surface, clean with a pH-neutral cleaner rather than abrasive sprays, and plan to reseal any exposed timber every two to three years depending on usage.
Whatever cabinet type you select, connecting the basin to water supply and waste pipes must only be done by a licensed plumber — a straightforward vanity swap typically takes two to four hours — but do not attempt this yourself. Check your state or territory requirements before proceeding.
Discover more from momhomeguide.com
Subscribe to get the latest posts sent to your email.
Leave a Reply