Happy Friday, everyone! I am still little bit behind on things, since I have been working on rehabbing my wrist (which I broke in January). I have been feeling a little down about the wrist (since I am not sure how the metal plate and screws will affect my wrist’s mobility in the future), so I decided to share with you one of my favorite projects from last year. I sewed and hand-stenciled this valance for my home’s powder room last year. I think the valance has a great message and is uplifting, since it has powerful and hopeful words like “love” and “family” stenciled on it. You should try this project — it is really a fun and easy project, and my kids love it!
Lately, I’ve been noticing beautiful stenciled burlap curtains and projects on Pinterest and on other blogs. I especially like the stenciled burlap pillows that I found on blog, Ugly Duckling Transformations — beautiful! So I decided to make a stenciled burlap curtain for my home’s downstairs bathroom — the bathroom that guests to our home usually see.

Stenciled burlap pillows by Ugly Duckling Transformations.
Faux Stenciled Burlap Curtain
I like the look of burlap, but I wanted my stenciled burlap curtain to look a little more modern, so I chose a heavy but smooth piece of scrap fabric from my local Joann fabric and craft store for my project. I got my fabric for just over $12, so it was a steal! I also picked out some self-stick fabric stencils (with words like “love,” “family,” and “hope”) and fabric pens (in black, gray and glitter black) for my stenciled burlap curtain project.
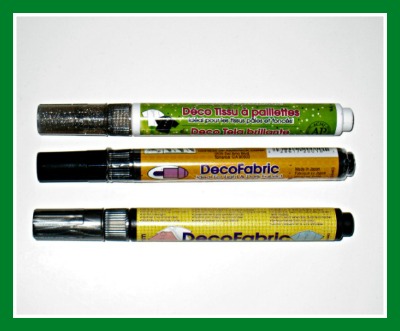
The fabric pens I used for my project – one gray, one black and one glitter black.
I then taped the fabric to the pool table that sits in my living room (the pool table is covered with a heavy vinyl cover) and placed some newspaper under the fabric for extra protection. I then got to work! The project wound up taking me a few days, since I stenciled whenever I had a few extra minutes — adding all those stencils took longer than I thought it would!

For my curtains, I used self-stick stencils, fabric pens and a scrap piece of fabric I bought at the fabric store.
Once I finished my stenciling, I ironed my fabric, and used fabric tape from Stitch Witchery to seal my edges and to create a pocket for my curtain rod. I also opted to use the Stitch Witchery because I didn’t want to see any stitches in my curtains.
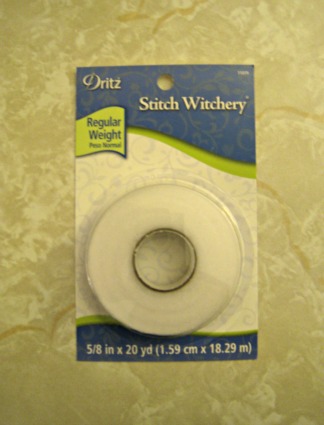
I didn’t want to see stitches in my new curtains, so I used Stitch Witchery to create my rod pocket and to give my curtains clean edges.

After a lot of work, my stenciled curtain is complete!
![]()
It was then time to hang my curtain. I hung the stenciled burlap curtain in our downstairs powder room, which already had a curtain rod up, so the job was pretty easy. I think the curtains came out pretty well — what do you think?
You Might Also Like

Yellow and Blue Inspiration Board

Ideas for Cheap Basement Remodeling

Discover more from momhomeguide.com
Subscribe to get the latest posts sent to your email.