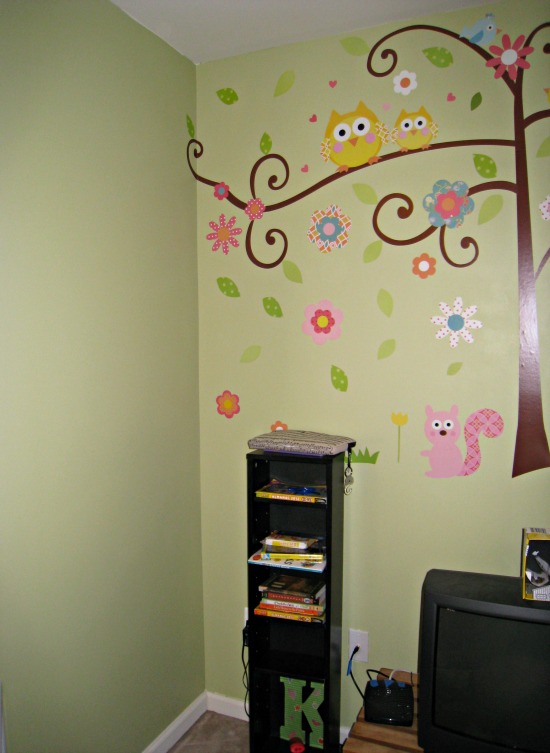
This past spring, I created a fun hangout / study space / playroom for my kids in an upstairs hallway. The hallway used to have a big desk in it that nobody in my family was using and bare, white walls. So I decided to make the large hallway into a cool space my kids could use. A new feature of the wall is our a striped chalkboard paint wall.
I painted a green accent wall, added a fun wall decal and added some beanbag chairs and a TV. Now, my daughters like to play and read on their Kindles and watch TV in the new hangout space / playroom. I also moved their Calico Critters dollhouse to the space, which has given my daughters a fun area in which to play with their dollhouse.
DIY Chalkboard Paint Walls
I was given the chance to try out the chalkboard paints from Lullaby Paints. I was happy to, since Lullaby Paints’ low-VOC paints are made without the toxic chemicals found in so many other paints, so the paint should be safe for my kids and their playroom. Lullaby Paints come in a variety of colors — they can also color-match colors to make your own personal shade.
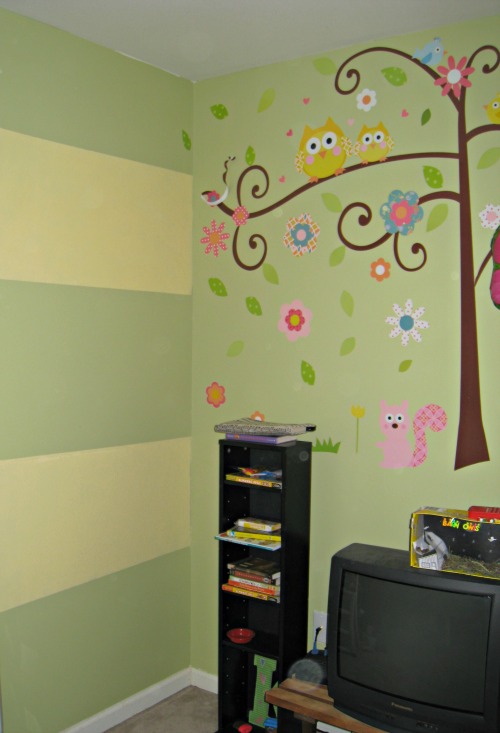
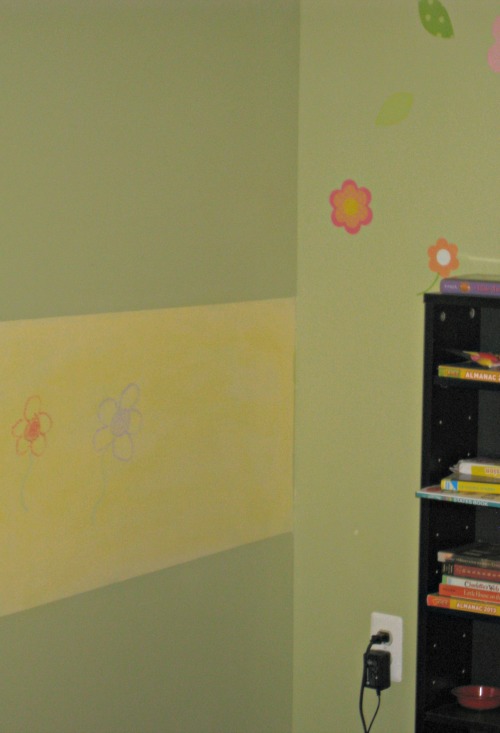
I chose their “Starlight” yellow chalkboard paint, a happy color that goes well with the greens, blues and yellows in the wall mural in my kids’ new hangout space. I decided to add two yellow stripes on one wall in their space to add a splash of color and two chalkboard areas where my kids can write and draw.
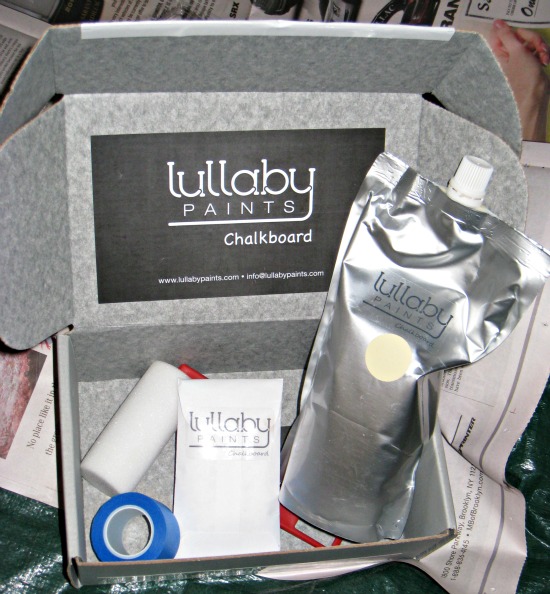
Lullaby Paints sent me a chalkboard kit complete with everything I needed to paint my chalkboard paint wall: A tube of paint to cover 30 square feet of wall space with two coats of paint, a mini plastic paint tray, a foam paint roller and a roll of blue edging tape. The kit also included a few pieces of chalk.
Painting a Striped Wall
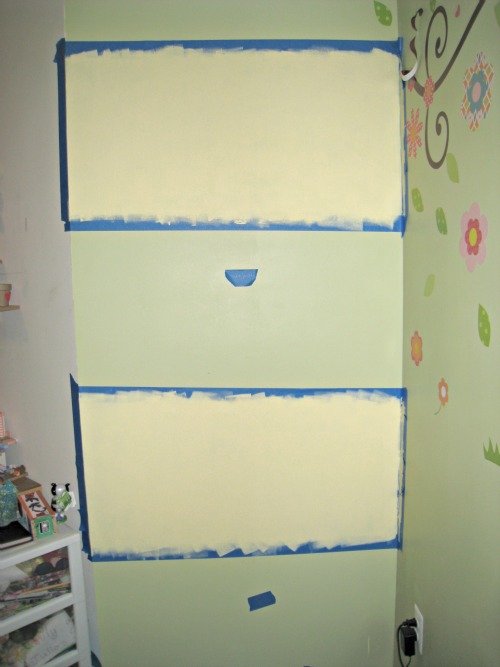
Creating my striped chalkboard paint wall was easy: I measured out my wall and figured I could paint two equally sized chalkboard stripes on the wall. I made painting my striped chalkboard paint wall easy by putting my strips of chalkboard in the middle of my wall, so I wouldn’t have to paint up against the white ceiling or the white baseboard.
After taping off my two chalkboard areas and putting down a painting tarp, I got to work. I put a piece of the edging tape in each area I didn’t want to paint to make sure I didn’t add my stripes in the wrong place! (LOL)
It took less than an hour to paint my two chalkboard areas. I let the paint dry for two hours before applying my second coat, but I probably didn’t have to: The paint dried so quickly!
Chalkboard Paint Wall
In less than an afternoon’s time, I had a pretty yellow and green striped chalkboard paint wall.
My kids love using their new chalkboard paint wall!
Plus, I have lots of chalkboard paint left. I am thinking of painting the old wood coffee table in that space (that now serves as a TV stand) to add even more color to the space! I will have to let you know how that project comes out.
Love this idea!! So fun! Would love it if you would link this up to Give Me The Goods Monday: 1 Party, 4 Blogs! http://rainonatinroof.com/2013/07/give-me-the-goods-monday-17/
Jenna recently posted…Give Me the Goods Monday #17
Hi, Jenna! Sorry I missed your linky party — I will have to visit your next linky party! Thanks for visiting Mom Home Guide!
Hi Lauren. Love the chalkboard walls. Would love to come over and see them sometime. Such a great idea! We should get together.
Hi, Fran! Thanks for visiting! Would love to get together sometime!
Lauren,
What a sweet makeover in the kids’ playroom. And I love that you made stripe with the chalkboard paint.
Brittany aka Pretty Handy Girl recently posted…Two Good Reads and a Book Giveaway
Thank you, Brittany! I love your blog!