Thanks to Amazon and Creative Galaxy for sponsoring this post. All opinions expressed in this post are truthful and 100% my own.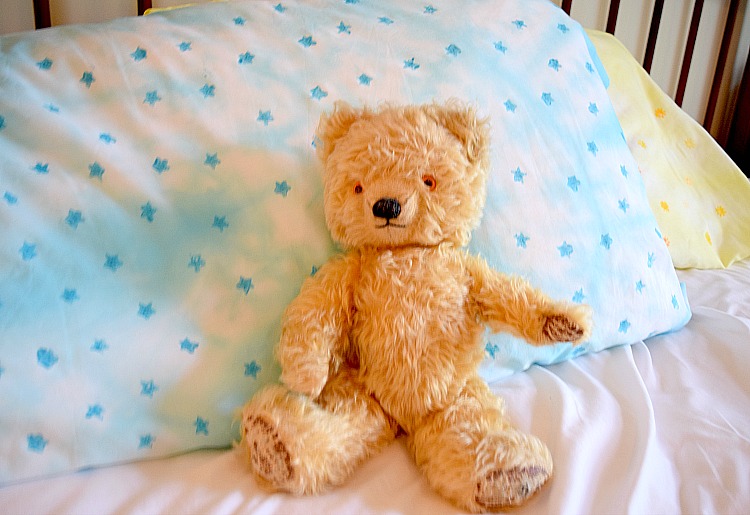
My kids have been back to school for a week now. I can’t believe that school has started today already! My daughters and I love to tie-dye together, so today I am sharing a fun way to personalize pillowcases with tie dye and stamps. I made this craft to help celebrate Season 2 of Amazon’s Creative Galaxy cartoon.
About Creative Galaxy
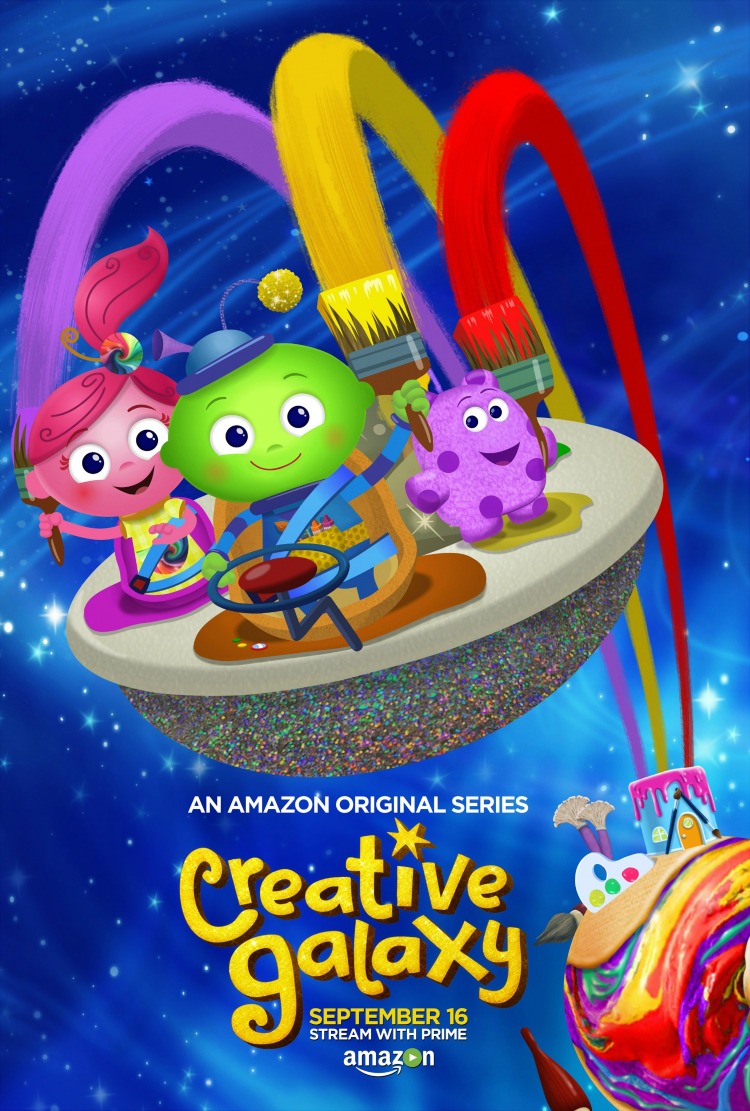
Creative Galaxy is an interactive Amazon Original Kids series — it’s second season debuts this Friday, September 16.
Creative Galaxy, from Out of the Blue Enterprises, is a “make-along, create-along” animated art adventure series. The series encourages kids to get creative through crafts, cooking, music, sculpting, etc. In the series, Arty and his side-kick Epiphany travel the galaxy and solve problems using different forms of art. Each episode introduces a new artistic medium to kids (painting, music, drawing, etc.). I am a supporter of the arts, so this series sounds like a lot of fun to me!
Season 2 has 11 new, two-part episodes with 24 live action craft segments. Celebrities participating in the series include Brooke Shields, Jason Priestly, Samantha Bee, Lisa Loeb, Donovan Patton and Cloris Leachman.
Tie Die Craft
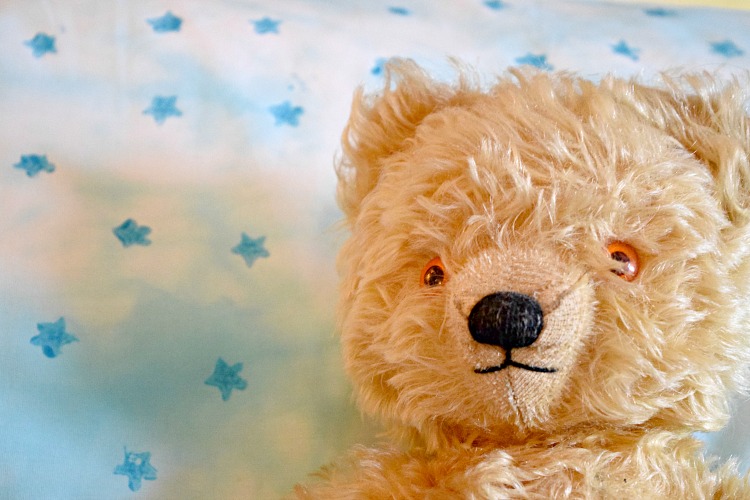
In Creative Galaxy, Artsy and Epiphany travel explore a galaxy filled with fun crafts and other arts, so I decided to create Creative Galaxy-inspired pillowcases for my kids. This tie dye craft is so easy, so kids can make their own pillowcases! Tie dye is very forgiving, and always looks good!
Tie-Dye How To
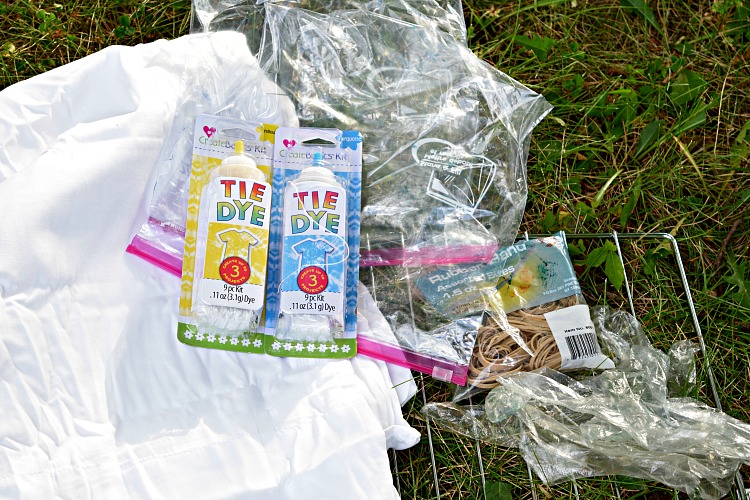
Supplies
White cotton pillowcases
Instructions
Tie dying is very easy. You’ll want to start with 100% cotton, washed pillowcases. You should tide-dye the pillowcases when they are still wet, as the dye will seep into the fabric better when it’s damp.
Put on a pair of plastic gloves to avoid getting tie dye on your hands.
For my pillow cases, I used the swirl tie die pattern. To make this pattern, you pinch your fabric where you want the center of the tie dye swirl to be. You then twist the pinch in a circular motion until your fabric is in a circular shape. Fave Crafts has a great tutorial on how to do the swirl tie dye technique.
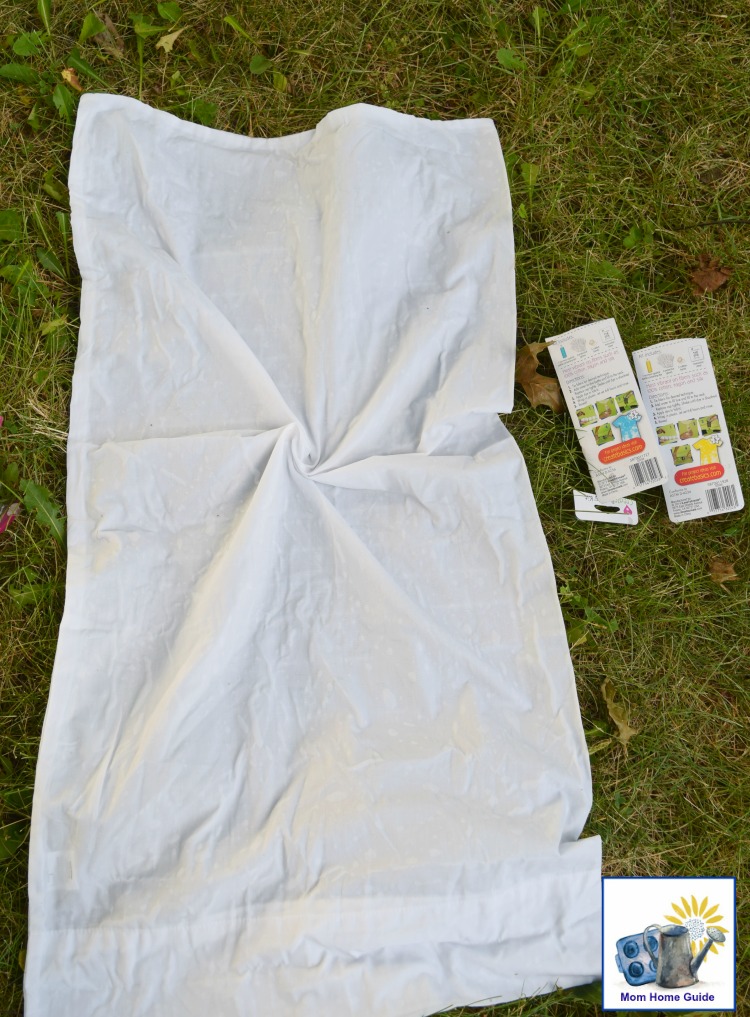
I then applied my dye to each pillowcase. (I didn’t need to section off the pillowcases with rubber bands, which is sometimes done with the swirl pattern, since I was only using one color.)
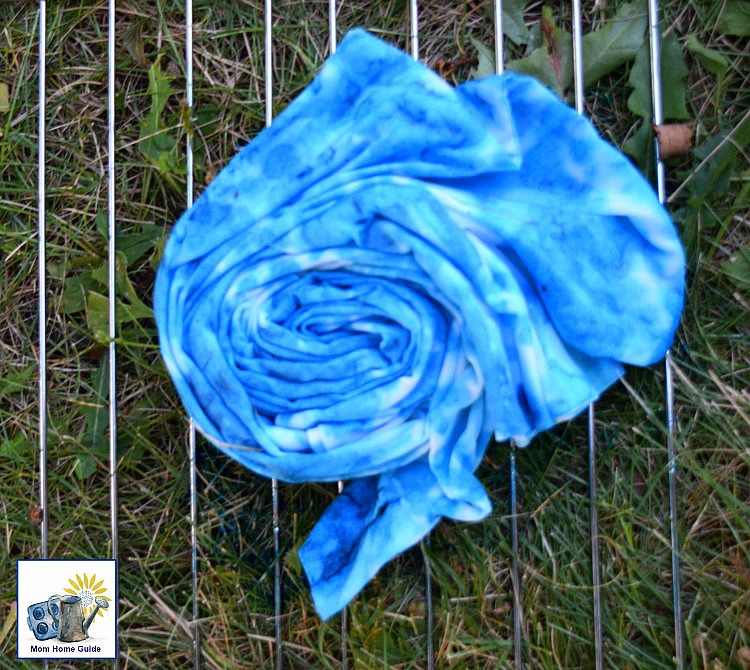
I made one blue and white star-stamped pillow (to look like a night sky), and a yellow and white tie dyed pillow with sun stamps. For each pillowcase, I used only one color die. I applied the color to one side of my pillowcase, and then flipped it over. I didn’t bother trying to get the die into the folds of the fabric, since I wanted to keep some of the white from the pillowcases.
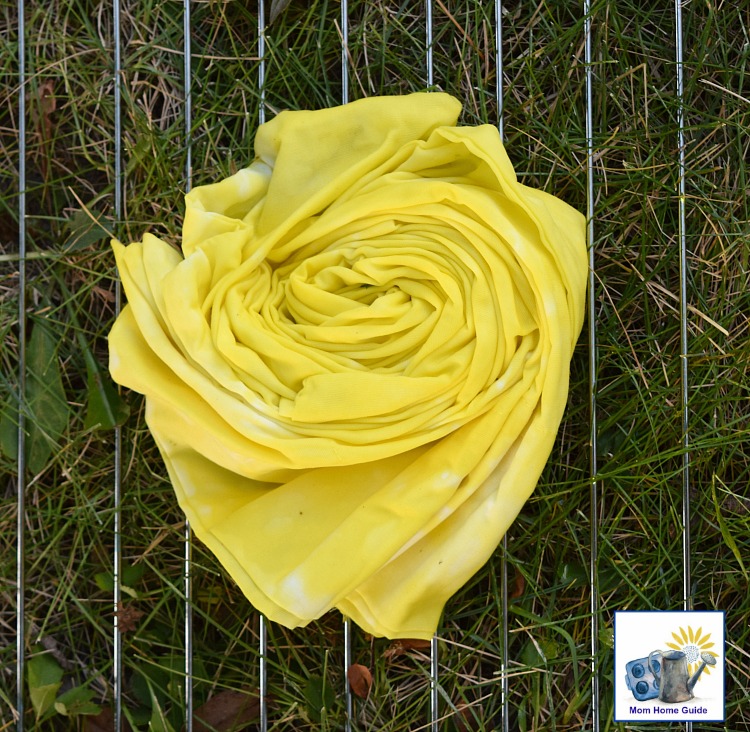
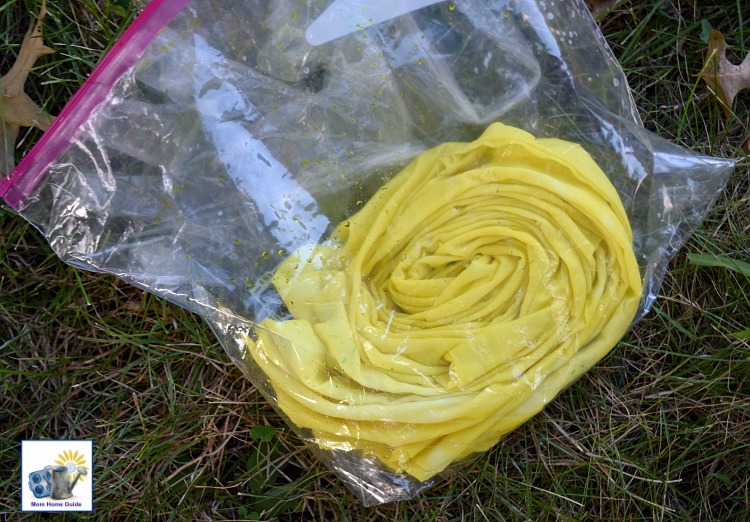
Once my pillowcases were dyed, I slipped them into sealable plastic bags and let them sit overnight to allow the dye to set in. The next day I rinsed my shirts with a hose (to get out extra dye) and then washed them in warm water. I then tossed them in the dryer.
After ironing the pillowcases, I stamped the pillowcases — one with a star stamp and the other with a sun stamp. I simply used a small craft paint brush to brush my paint onto the stamps, and stamped the fabric.
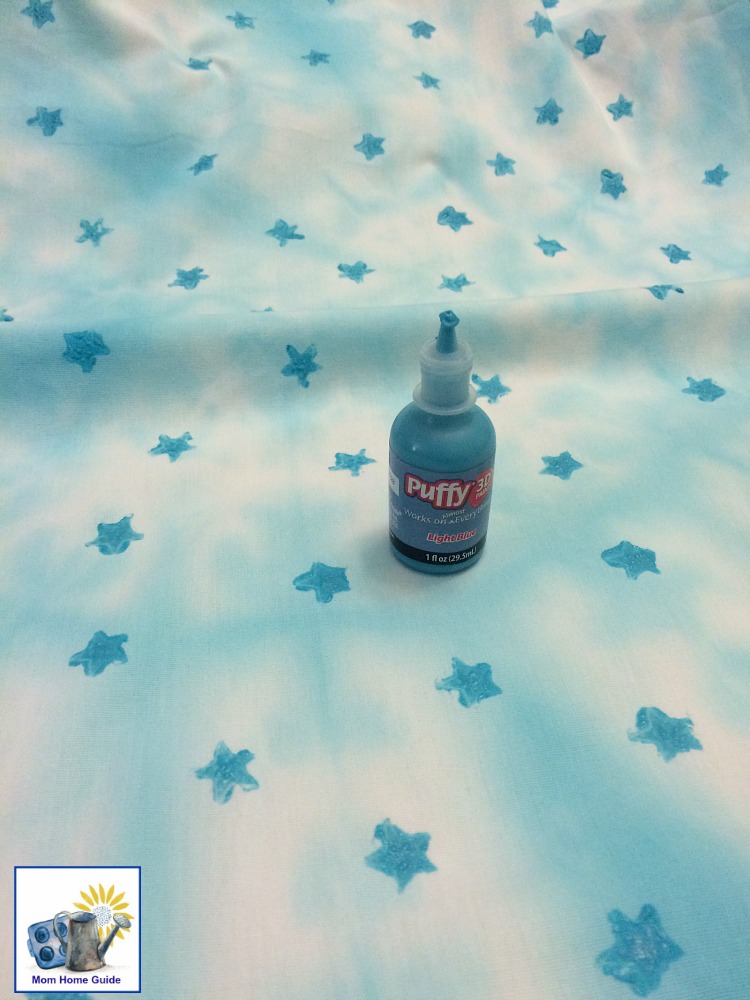
I allowed the paint to dry for a few hours and then washed and dried and ironed the pillowcases again. The pillow cases were complete!
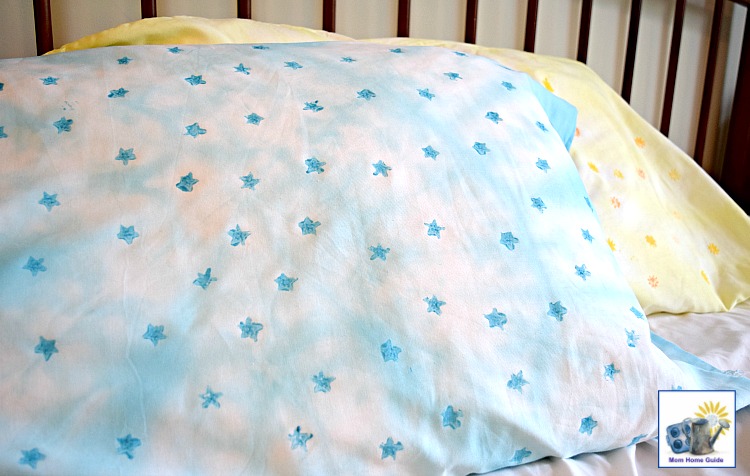
I bought some extra pillowcases so my kids can tie dye their own pillowcases. They are debating which colors and stamps to use. I think this will be a fun project for them!
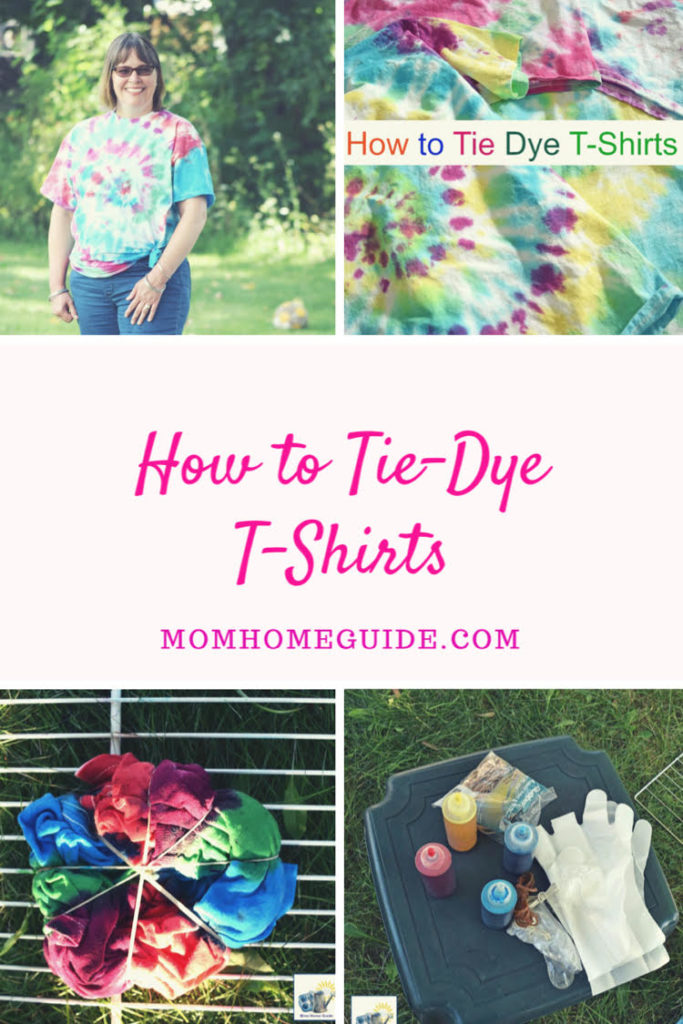
For more fun tie-dying, check out my tutorial on how to tie dye t-shirts:
What a great craft idea to go along with this show! I just love how those pillows turned out and tie dying is something I really should do with my kids, I used to love it as a kid myself!
Carrie
curlycraftymom.com
Carrie @ Curly Crafty Mom recently posted…Create a Fall Tablescape with Farm Rich & BBQ Chicken Caesar Skewer Recipe