Thanks to Premier Prints for sponsoring this review. This post contains Amazon affiliate links.
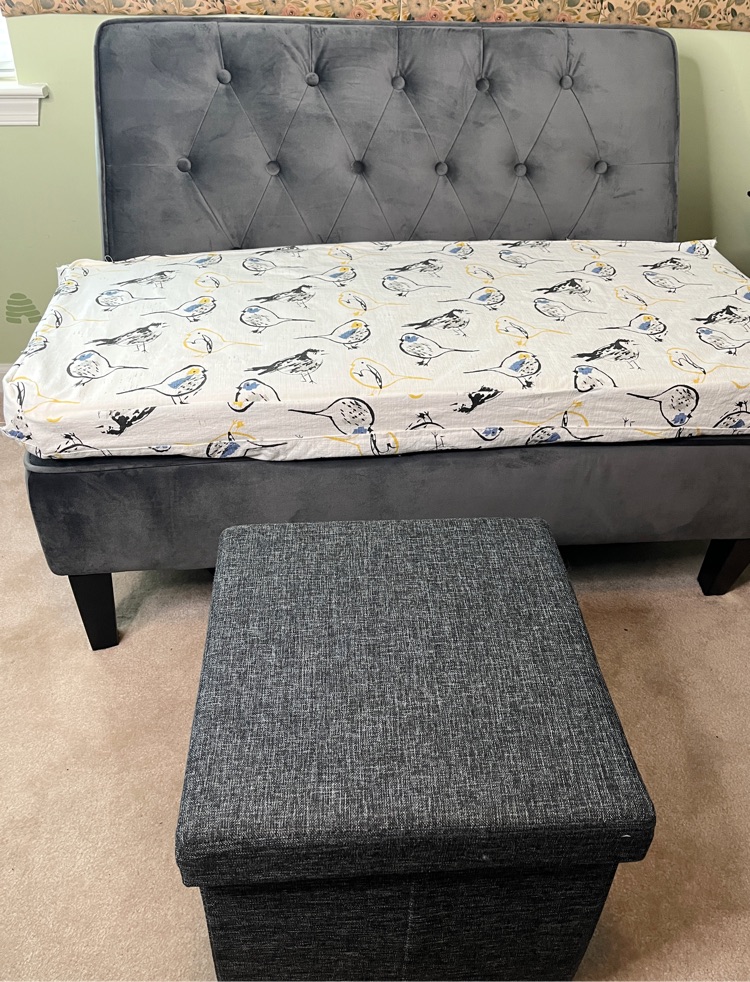
A few months ago, I got a cute little loveseat for my home office. My little pup likes to snuggle up with me during the day, and there isn’t room for him in my regular office chair. So I got this cute little loveseat from Amazon for the two of us. The only problem is that the mini sofa isn’t comfortable enough to sit on for 7-8 hours a day. So I got myself some 3-inch foam that I cut to size to make my own cushion. I got a super cute bird-print fabric by Premiers Prints at ShopFabric.com and made my own box-seat cushion, and now my pup and I can sit comfortably while I work! To make this cushion, I used my super basic sewing machine and my limited sewing skills. I love my new comfy cushion! The cushion wasn’t hard to make and if you would like a box cushion, you can easily make one yourself to suit your needs.
DIY Box Cushion
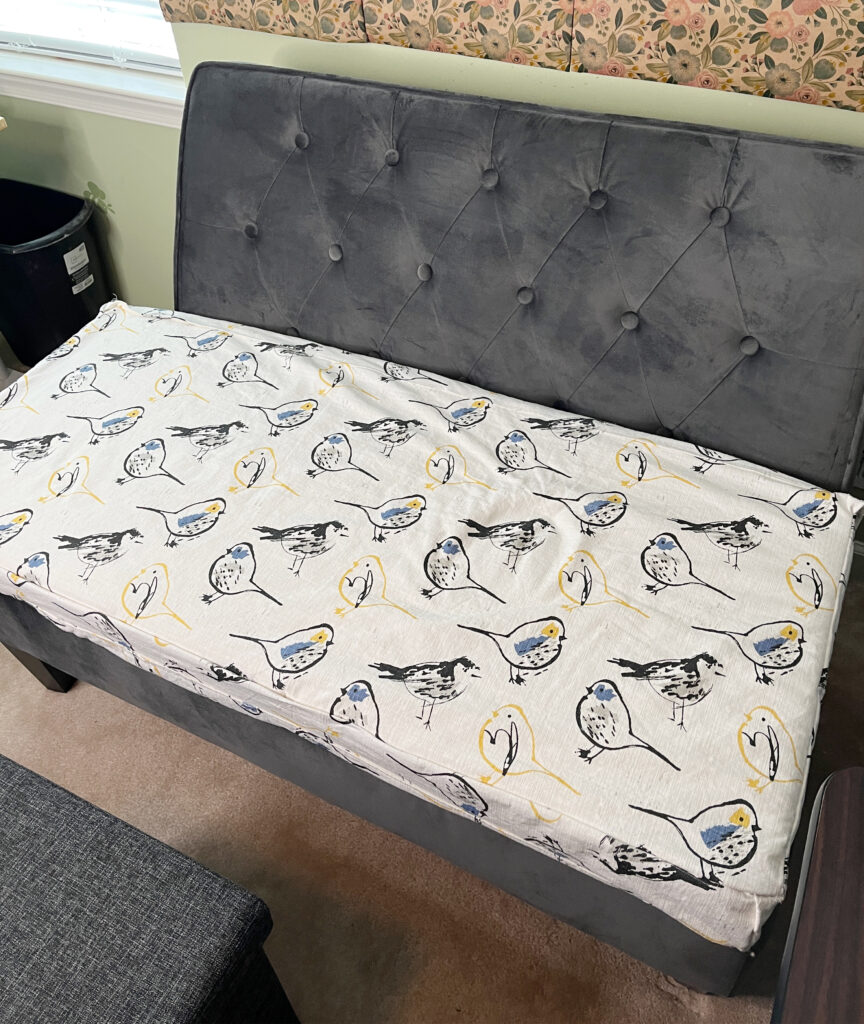
A DIY box cushion is pretty simple to make—I made one, and only have beginner sewing skills. Plus, by making your own cushion, you can get the size you need and can pick out a fabric you like. I chose a Bird Toile Brazilian Yellow Slub Canvas fabric by Premier Prints. The fabric is cozy, soft, and durable. I love that the bird print goes along well with the Lennox mini birdhouse collection that I have up in my office.
Materials
3-inch foam to fit your loveseat, window seat, etc. (If you prefer a thinner cushion, you could use a 1-inch or 2-inch foam)
Fabric (I used 3 yards and had enough still to make a matching window curtain)
Batting
Coordinating thread
Tools
Sewing machine
How to Make Your Own Box Seat Cushion
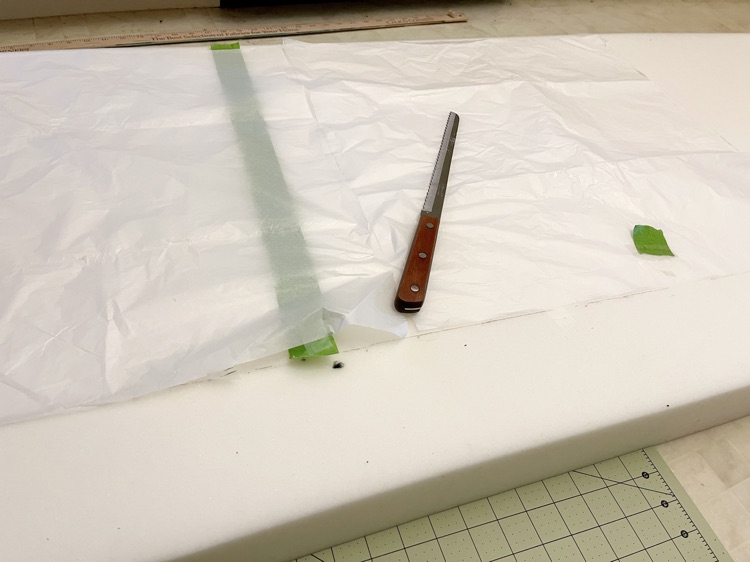
The first step in making my custom cushion was cutting my cushion to size. I first measured the length and width of the seat on my loveseat and then used those dimensions to cut the foam that I purchased to size. Many people use an electric turkey carving knife to cut foam, but since I don’t have one, I simply used a serrated knife to cut my foam. It was easy enough!
After that, I wrapped my cut piece of foam with batting and used spray adhesive to adhere it. Wrapping the foam was easy—I simply wrapped it as if I was wrapping a Christmas present!
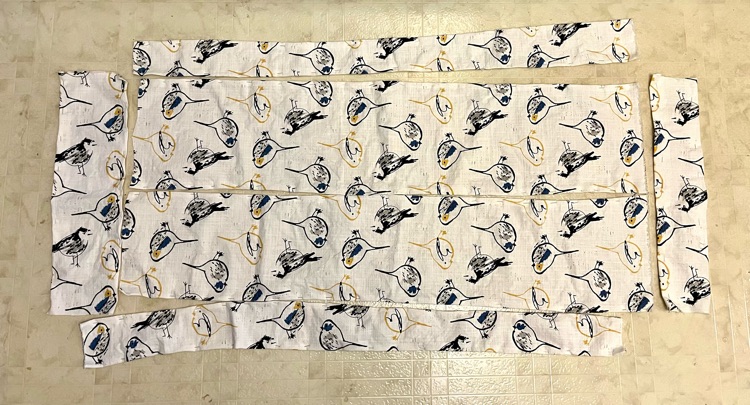
I then cut the pieces for my cushion cover. I measured the top and bottom of my cushion to get its measurements, and then added an inch to both its width and length to allow for seam allowances for my top and bottom fabric pieces. I then cut out two pieces of fabric, one for the top and one for the bottom, using those measurements:
Front and Back Pieces
Top piece of fabric for cushion: (Length of cushion + 1 extra inch) x (Width of cushion + 1 extra inch)
Bottom piece of fabric for cushion: (Length of cushion + 1 extra inch) x (Width of cushion + 1 extra inch)
** I decided to make an envelope closure for the back of my cushion, since I have never sewed a zipper on before. So I cut the bottom piece of fabric in half so I could create an envelope closure. I later also cut out a small flap that I could sew to one of the two back pieces to cover the small opening between the two back pieces.
This wasn’t the way I planned to make the envelope closure. I should have actually made the back piece of fabric at least two inches wider than the top piece, so that when I cut the bottom piece in half, each half piece could be wide enough so they could overlap nicely. My flap solution works fine, but that wasn’t my initial plan. So, if you would like to create a cover like with an envelope closure, you should make your top and bottom pieces to measure as such:
Top piece of fabric for cushion: (Length of cushion + 1 extra inches) x (Width of cushion + 1 extra inch)
Bottom piece of fabric for cushion: (Length of cushion + 1 extra inches) x (Width of cushion + 2 extra inches) – then cut this piece in half.
To read more about what an envelope enclosure is and how to make one, check out my tutorial on how to make easy envelope pillow enclosures.
Side Pieces
In addition to your front and back pieces, you’ll need to measure and cut a side piece for each of the 4 sides of your cushion. I added an extra inch to the width and length of each piece to account for seam allowances:
Measurement for each side piece:
(Length + 1 inch) x (Width + 1 inch)
Hems and Sewing Pieces Together
Once I had all my piece for my box-seat cushion cover, I folded each edge of fabric over about 1/4 inch and stitched it with my sewing machine. I then folded it over the same amount again and stitched it again to get rid of the raw edges. Usually I use pins when sewing, and I always wind up pinning myself at least once or twice! So for this project, I used these really cute and colorful sewing clips to clip the fabric pieces together instead—they were a lifesaver for me!
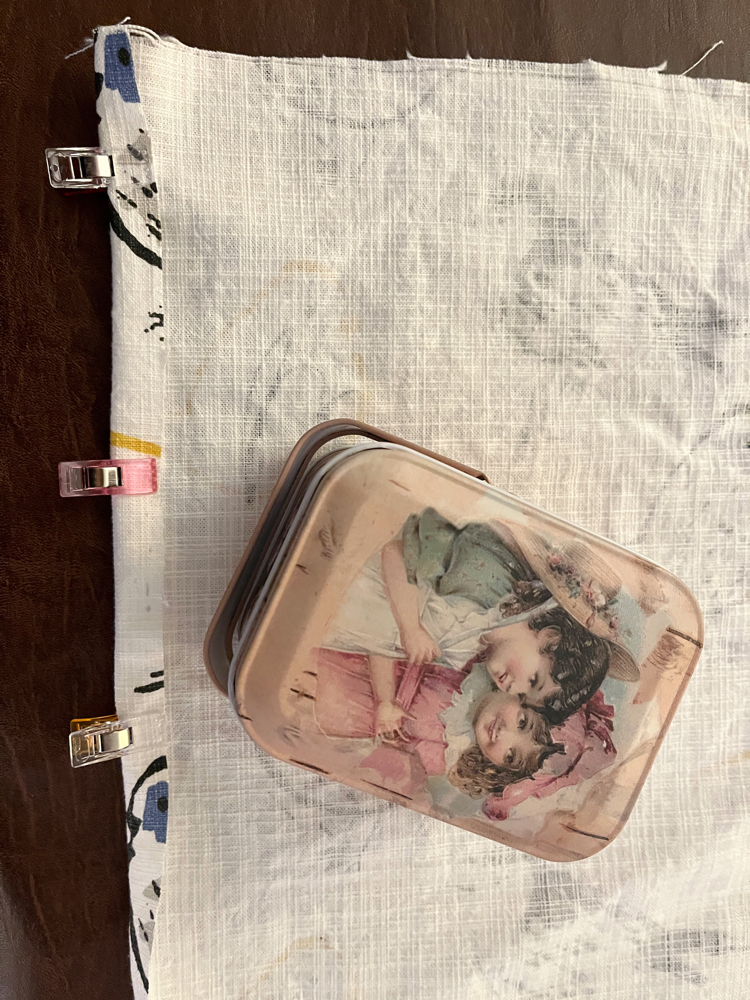
After I hemmed all my cushion cover pieces, all there was left to do was to sew the pieces together!
The corners were a little difficult to get correct—I did my best to get them right. I could not find a good tutorial online for sewing corners for box-seat cushion covers! (If you find one, let me know!)
In all, I am very happy with my new cushion and find it to be very comfortable for me and my puppy!
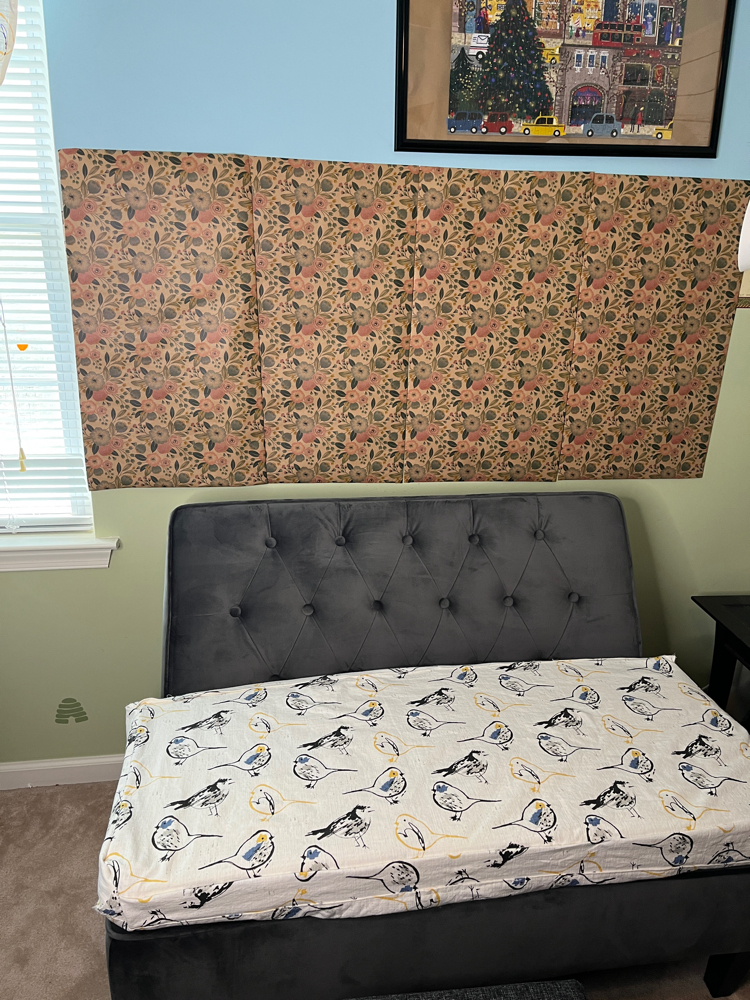
You might have noticed my DIY Zoom wall above the sofa—my office was once my twins’ baby room, and they love it’s design so much that they don’t want me to change it! I don’t want to do Zoom calls with Pooh Bears on the wall behind me so I made my own Zoom wall. I’ll share how I made that in a future post!
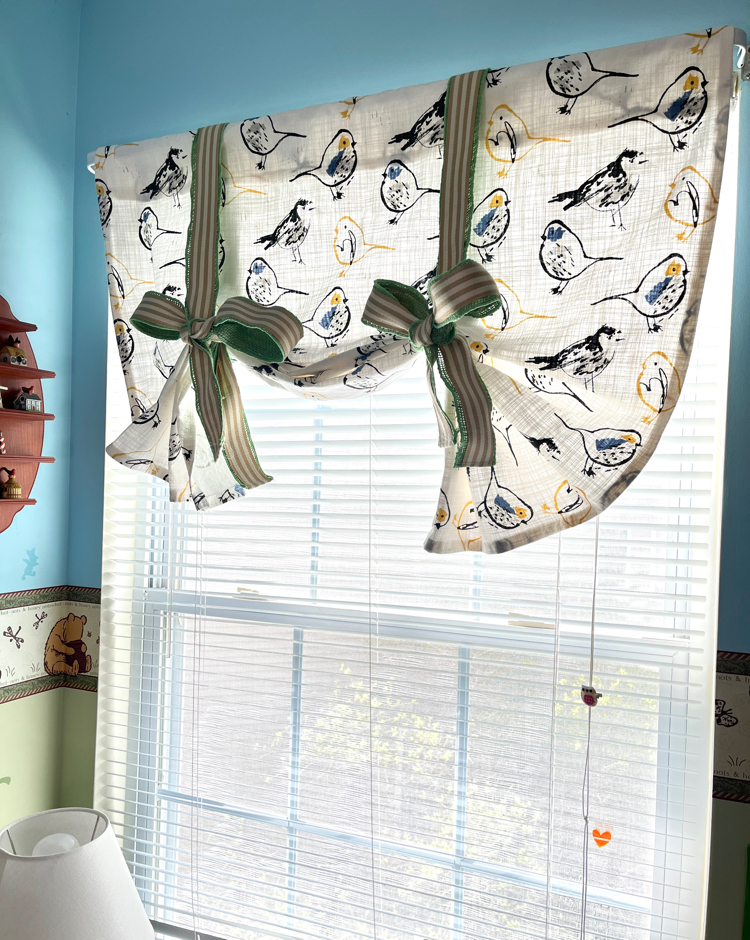
I had some of the beautiful Bird Toile Brazilian Yellow Slub Canvas fabric by Premier Prints left over after I made my cushion cover, so I also sewed an easy tie-up curtain—if you can sew a few hems, you can make this curtain! I will be sharing how I made my new curtain and the custom ties in a future post, too! I think the fabric works perfectly the curtain!
You Might Also Like
Easy Envelope Pillow Covers
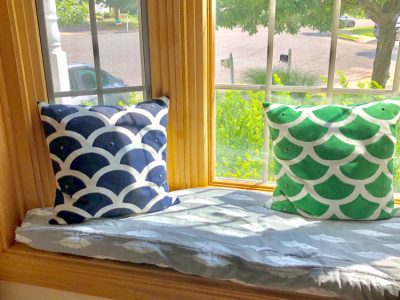
DIY Window Seat Box Cushion
[…] DIY Box Cushion & Office Love Seat […]