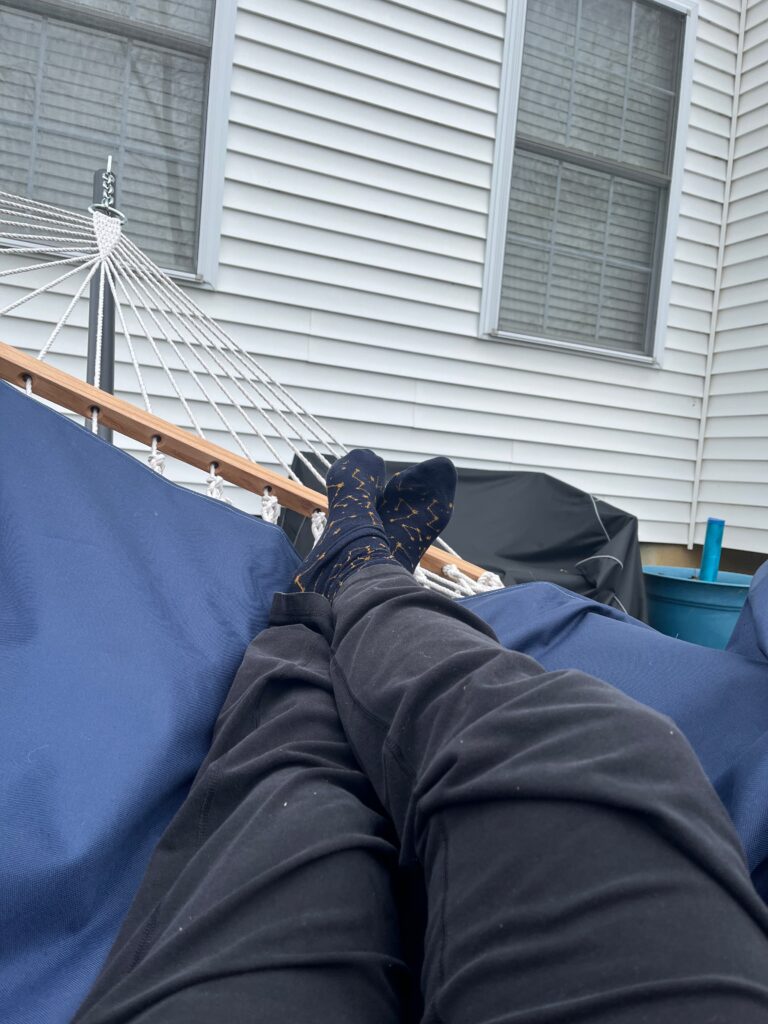
Today I am sharing a super easy tutorial for how to create a comfy and protective pad/cover for an outdoor hammock—my husband and kids gifted a hammock and hammock stand for my birthday this year, so I am looking forward to using it! My DIY cover will make it more comfortable and help keep it clean! Also, be sure to scroll to the end of this post to enter the giveaway for a chance to win a $50 gift card to Fabric Wholesale Direct™. Good luck!
Sturdy Fabrics for Outdoor Decor

I got my outdoor waterproof fabrics and trim from Fabric Wholesale Direct™. They have a wide selection of fabrics and sewing tools to suit all sorts of fabric projects. My hammock is 144 inches x 51.5 inches, so I ordered 5 yards of each fabric and the trim to ensure I’d have enough to make my cover.
Disclaimer: I was given the opportunity to receive a product in exchange for this post. However, this testimony to the quality of the product and my experience with using the product is all my own.
Funny story: I originally wanted to make a cover for my hammock to jazz up its look because the one my husband and kids picked out came with a beige topper that I considered kind of plain—I think they chose it because the tan color would go with everything. I was wishing that they had purchased the hammock’s colorful blue-striped version instead. But when my husband opened the box for the hammock a few weeks ago, he discovered that its stand was missing!
So my husband returned the beige one to the retailer, and they said they would ship us a new one instead. But the beige one was sold out, so I got to choose the blue-striped one! I had already picked out the fabric for my waterproof hammock cover, a solid navy blue outdoor fabric and a blue-striped one. So my DIY hammock pad matches the topper that came with my hammock really well, and I am glad that I’ll have the cover to keep my new hammock clean! I plan to use the more lightweight and less durable topper that came with my hammock as a blanket instead of as a pad.
Ottertex® Waterproof Canvas Outdoor Fabric
I chose Ottertex® Waterproof Canvas Outdoor Fabric for my hammock pad. It has a plastic PVC backing to keep my hammock dry and a waterproof coating that makes it both mold and UV resistant—which should also help prevent the fabric from fading in the sun. The exterior side of the fabric feels soft and luxurious and is easy to work with. I went with a navy blue fabric for one side of my pad and a stripe for the other—but the Ottertex® line offers so many other fun colors and prints too!
You might even want to consider Ottertex® outdoor fabrics for indoor projects if you have kids or pets since the fabric is so durable and stain resistant.
This is a very simple project—I should warn you, however, that I am not an expert sewer by any means! I would perhaps call myself an “advanced beginner” instead.
So if you decide to complete this project, I recommend also following other tutorials first, such as by watching a YouTube tutorial to see how more-practiced sewers go about it. However, I really love how my cover/pad came out, so my method certainly got the job done!
Visit FabricWholesaleDirect.com to check out their beautiful fabrics and sewing supplies! Use my referral link to get a $10 off coupon for your purchase!
Project Supplies
5 yards Ottertex® Waterproof Canvas Multi Stripe Print in Blue
5 yards Ottertex® Waterproof Canvas in Navy Blue
5 yards 2-inch Chainette Fringe Trim in Royal Blue
5 yards 59-inch quilt batting (.2 inch)
UV-resistant thread
Sewing machine
Tailor’s Chalk
Straight edge or ruler
Scissors
Sewing Clips or Pins
Project Instructions
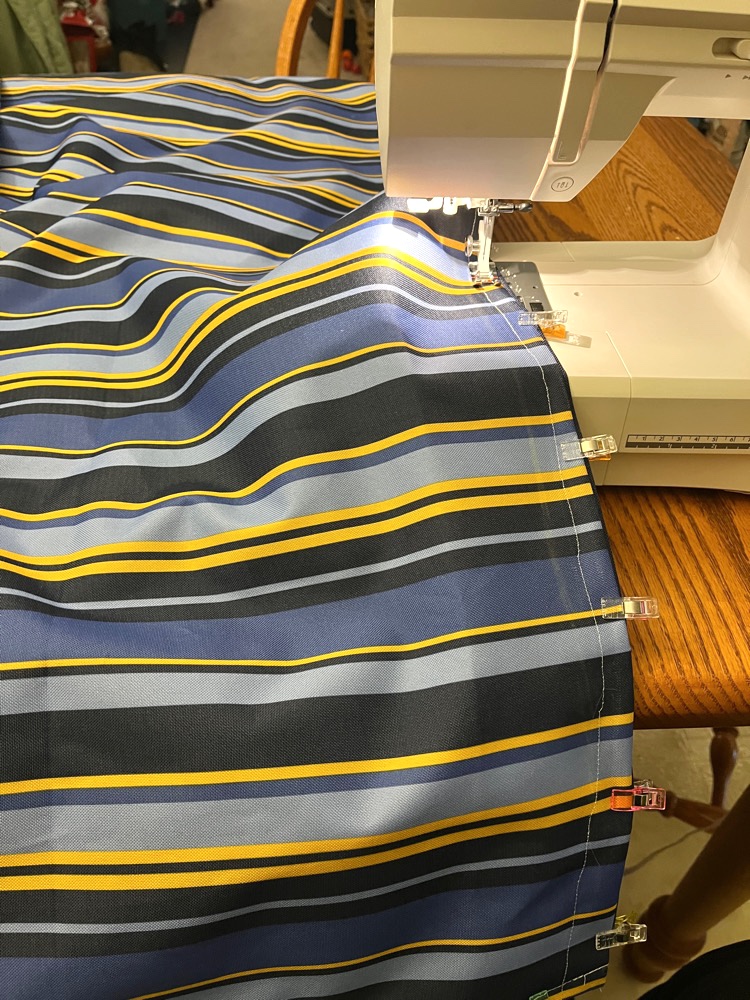
This is a simple project! I used a UV-resistant thread, since I want to ensure it can hold up to the elements outdoors. I used two pieces of fabric (one a striped print and the other a solid navy blue) for my hammock pad.
I measured both pieces, making sure they’d be two inches longer and wider than I wanted my finished hammock pad to be, to allow for 1-inch seams all around. I used my tailor’s chalk to mark where I should cut the fabrics, cutting them with my scissors. Once they were cut, I then pinned a 1-inch seam on the four ends of both pieces of fabric using my sewing clips.
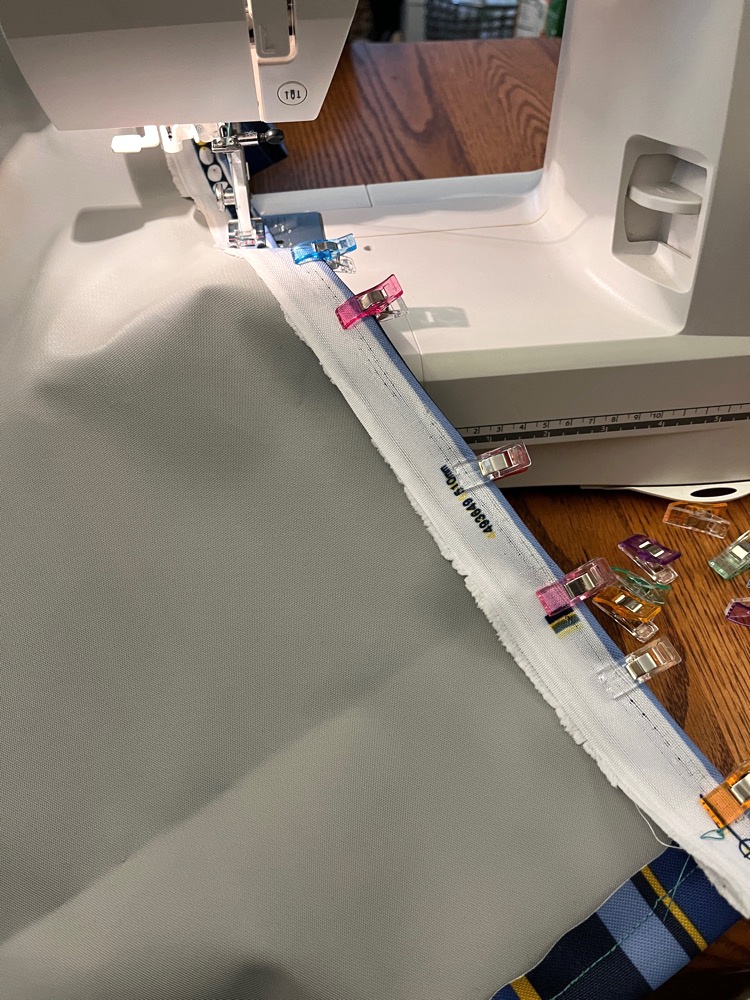
I single-hemmed both the top and bottom pieces for my hammock pad, adding a generous 1-inch hem around all four edges of both my top and bottom fabrics. I didn’t worry about making what’s called a “double-hem” to give it a cleaner look since my hems will be on the inside of my pad anyway.
I then sandwiched a piece of quilt batting in-between the layers, with the bottom layer right side down and the the top layer right side up. I used my sewing clips to secure everything together and then carefully top-stitched everything together.
Adding Decorative Trim
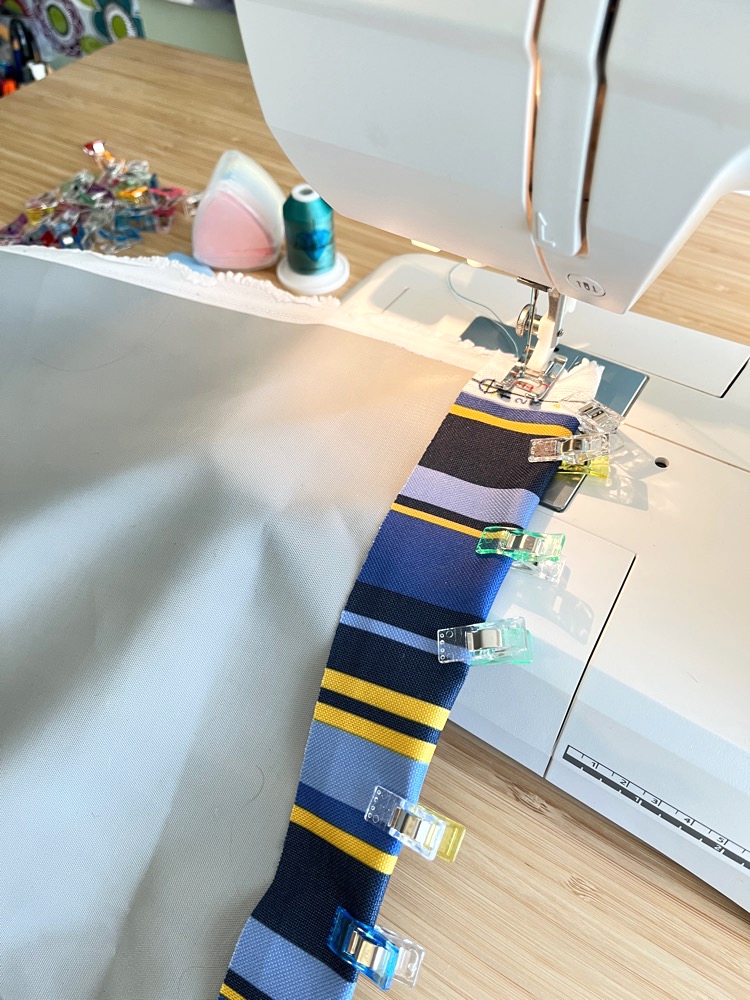
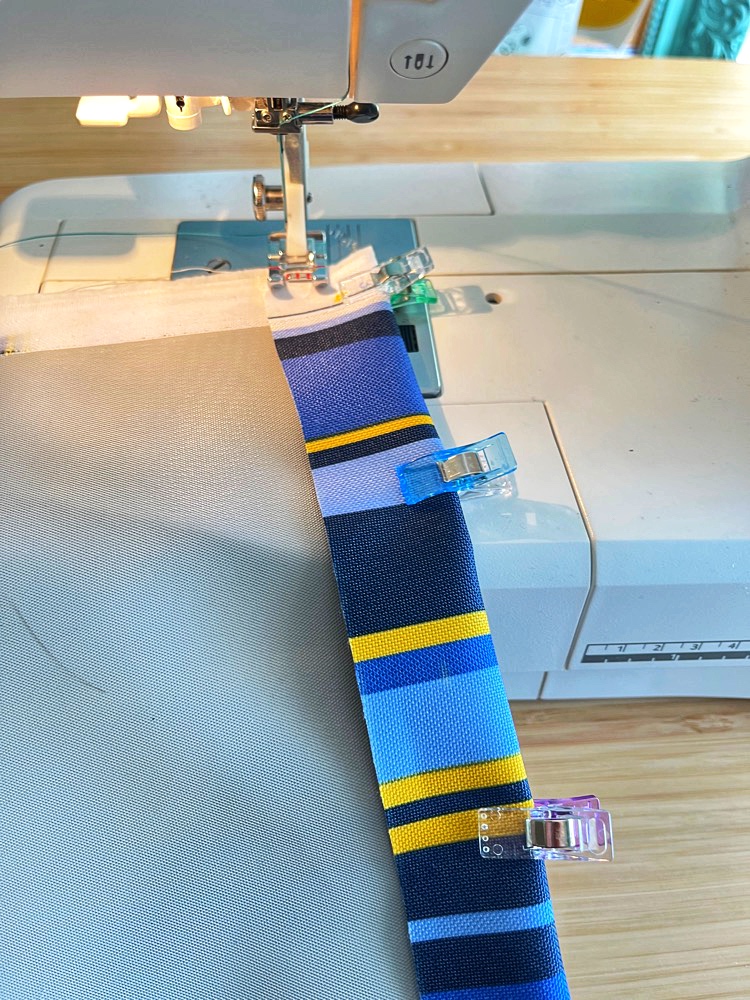
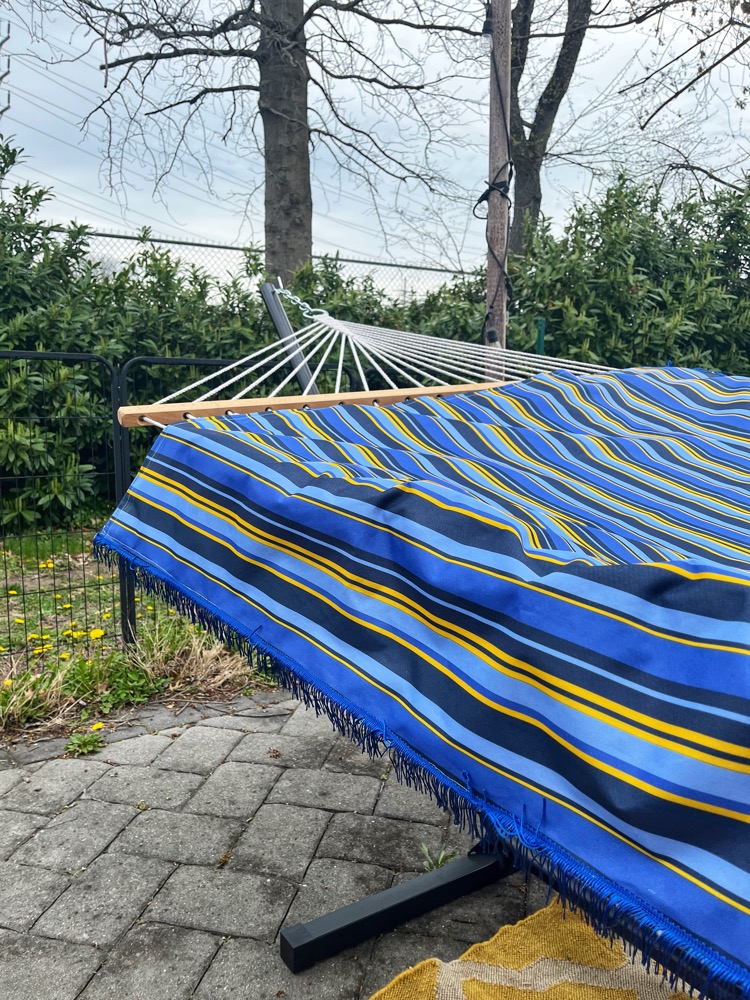
After my hammock pad was basically complete, I sewed on some decorative trim —the 2-inch Chainette Fringe Trim in Royal Blue I got from Fabric Wholesale Direct adds a beautiful touch! I decided to just put the trim along the two long edges of the hammock pad, which would hang over the edges of the hammock when in use.

I’ve never actually sewn trim on before, so this step was the hardest part of my project—some of it got caught in my sewing machine at first. I eventually got the hang of it though! I think it looks so pretty!
The fringe was a bit hard to sew one for me, who doesn’t really have advanced sewing skills, but I am so glad I did!
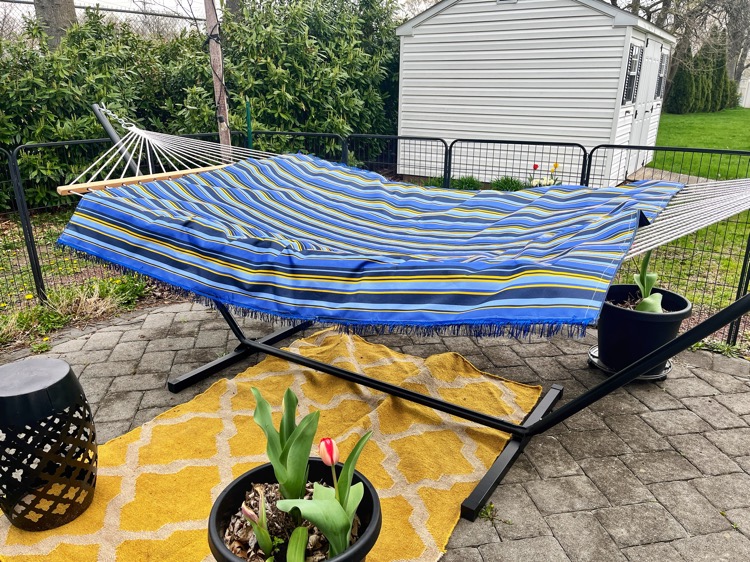
My new DIY hammock pad is so comfortable; it mostly stays put without slipping. But I am thinking of stitching 6 ties to it—at each of its four corners—so I can tie it to the hammock to ensure it won’t blow off on a windy day when I’m not lounging on it.
This spring has been so windy where I live! I plan to use lengths of royal blue polypropylene rope instead of making my own ties.
For anyone looking to add comfort to a hammock, this project is so simple and satisfying!
Giveaway
Now it’s time for the giveaway! Visit my Rafflecopter contest page for a chance to win a $50 gift card to Fabric Wholesale Direct™.
CLICK THIS LINK TO ENTER! Good luck!
Leave a Reply