My daughter thrifted two free wood rocking chairs for me over the summer so I got to work refinishing and painting them so they will look perfect on our paver patio! (I took them indoors this fall to protect them from any harsh winter weather.) Get the details on how I rehabbed them—just click on the links to see all the products I used!
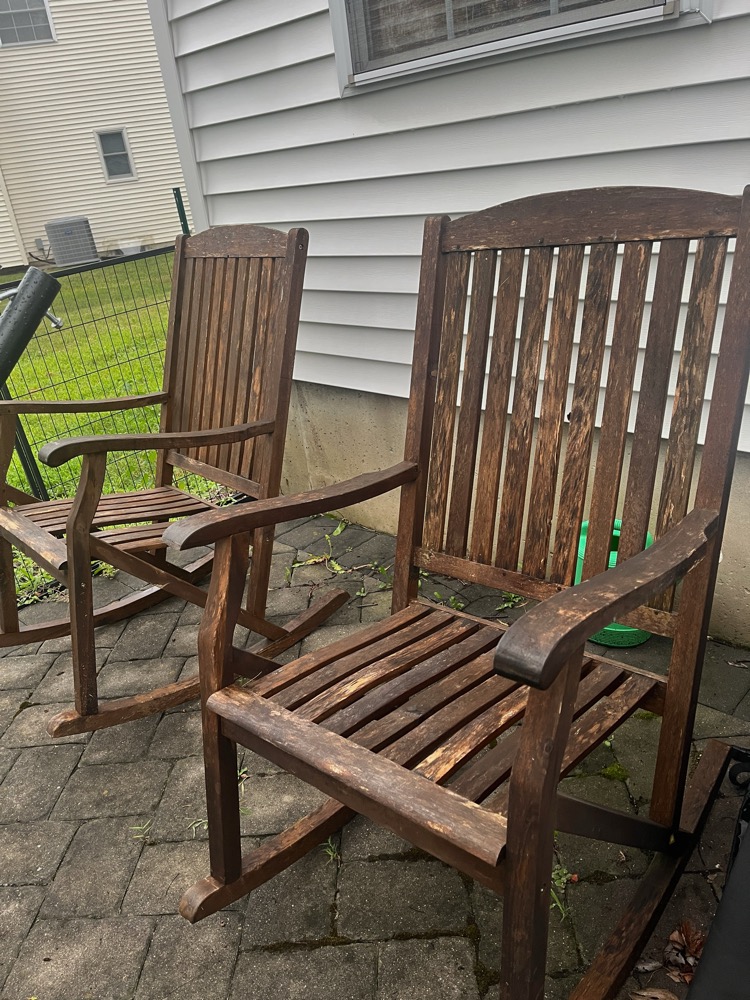
I have always loved rocking chairs. When I was growing up, there was one in my home’s living room. This past July, I was thrilled when one of my kids secured a pair of rocking chairs for me from Facebook Marketplace—for free! She even picked them up for me and delivered them to our backyard. They were very beat-up looking, but I didn’t doubt that I could get them looking like new again!
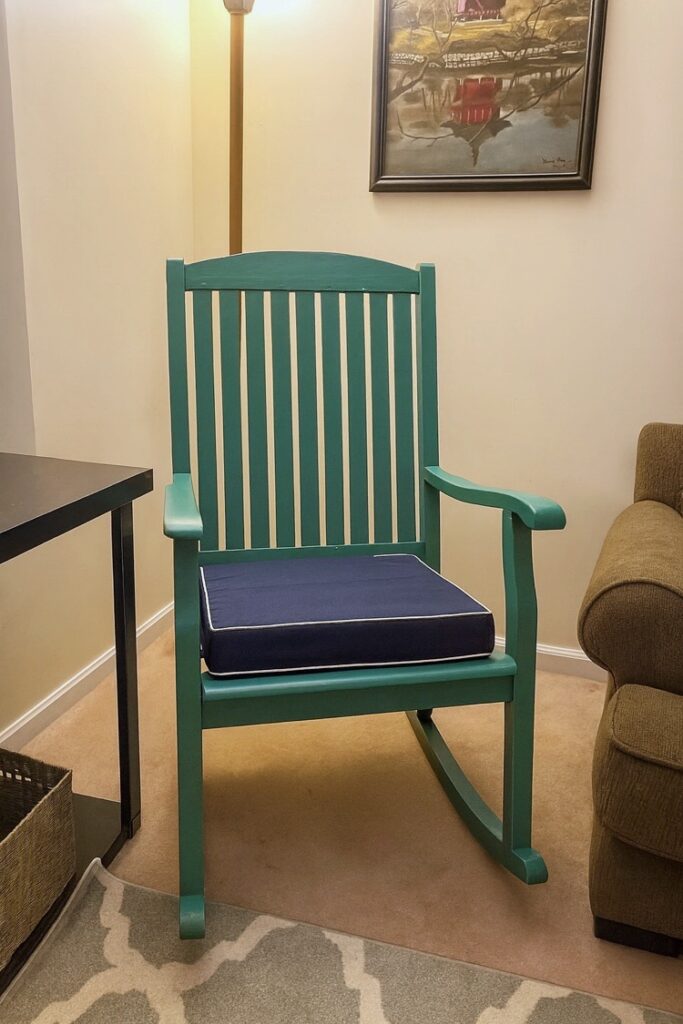
After several hours of work spread out over a few weekends, they look awesome now. One is now in my home’s family room and the other is in the living room.
I plan to move them outside to my home’s paver patio when the weather warms up in the spring. In the meantime, I’m planning to sew waterproof covers for the budget-friendly outdoor cushions I picked up for them on Amazon. (The cushions are already very water resistant, but I would like to cover them with a fun pattern.)
Refinishing Thrifted Furniture
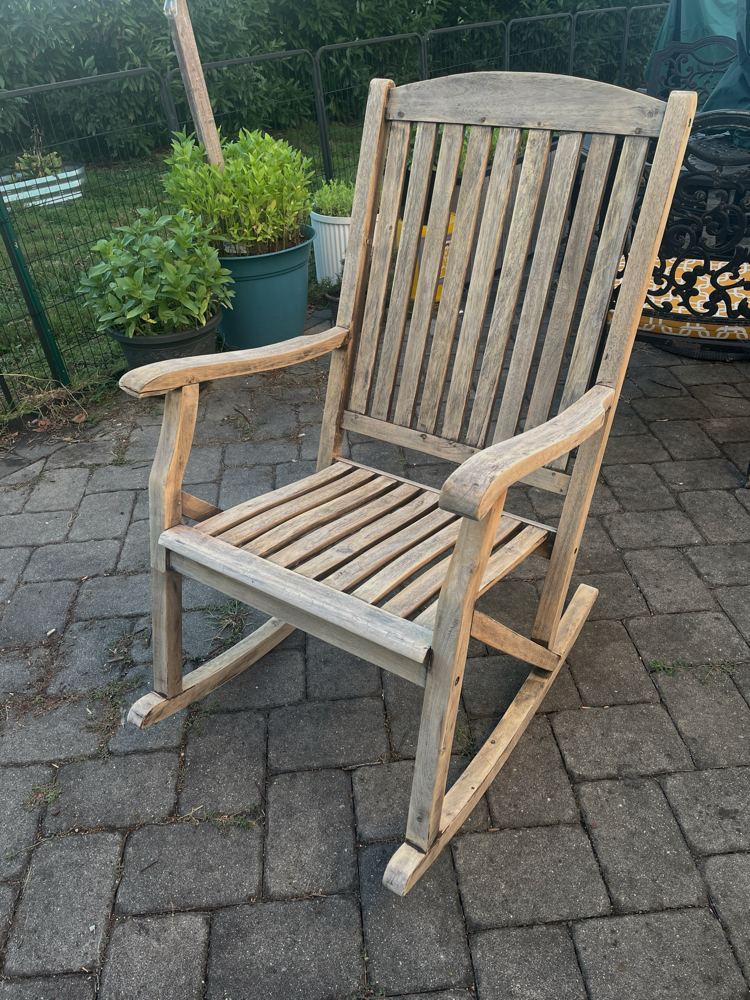
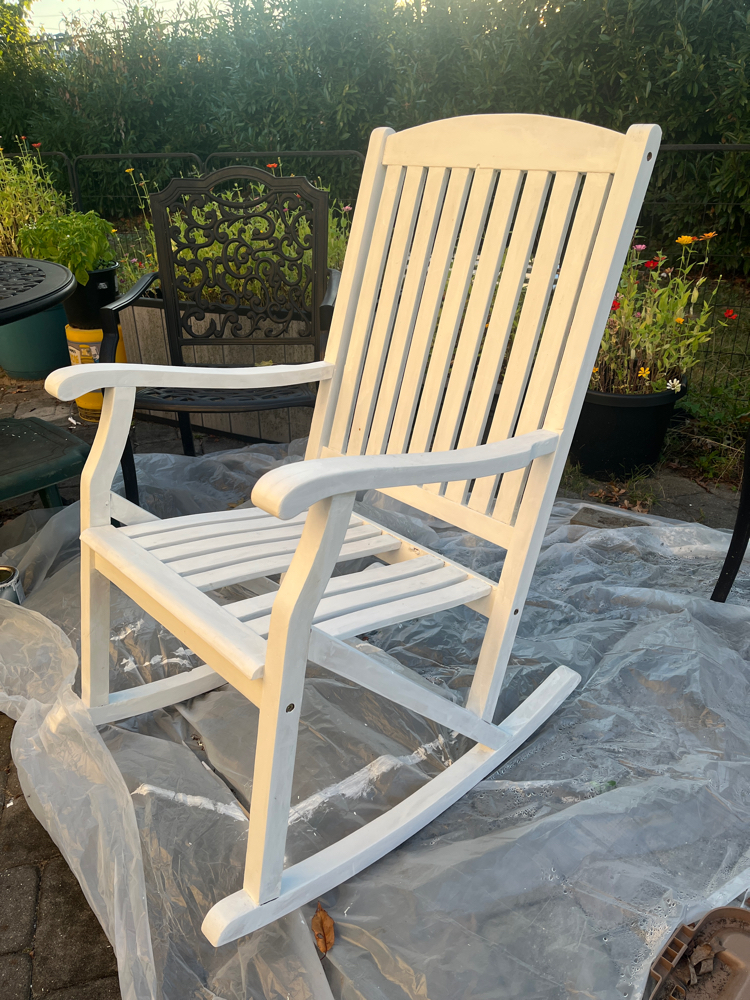
Both rocking chairs had a worn dark-brown finish. I wasn’t sure whether the chairs had been stained or painted, but I figured sanding them down before refinishing the secondhand furniture would be a good idea. I used my Sonicrafter multitool to sand them down to remove the chairs’ original finish. Using my multitool made sanding the chairs quick and easy! I am sure it would have taken me much longer had I sanded them down by hand.
How to Paint Thrifted Furniture
After I had sanded down the chairs with my electric sanding tool and wiped them off with a microfiber cloth to pick up any sawdust, I primed them with a Sherwin-Williams outdoor-appropriate primer—I visited my local Sherwin Williams store and described my project to the sales rep there, who suggested that I use Sherwin William’s Extreme Bond Primer, which offers superior adhesion.
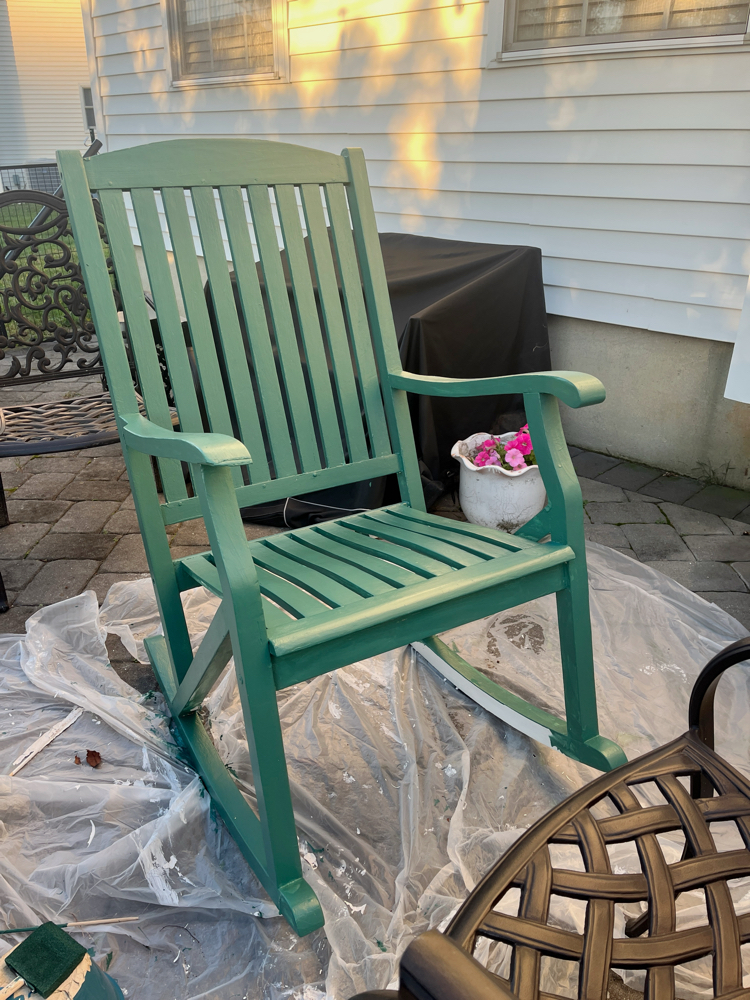
I then painted the chairs in the Sherwin Willians color “Raging Sea,” a blue-green. I really like how the color turned out! I used foam craft brushes when I painted my home’s kitchen cabinets, and they allowed me to create a beautiful finish that’s brusk-stroke free. The below is what the first chair looked like after the initial coat of the blue/green paint was nearly completed.
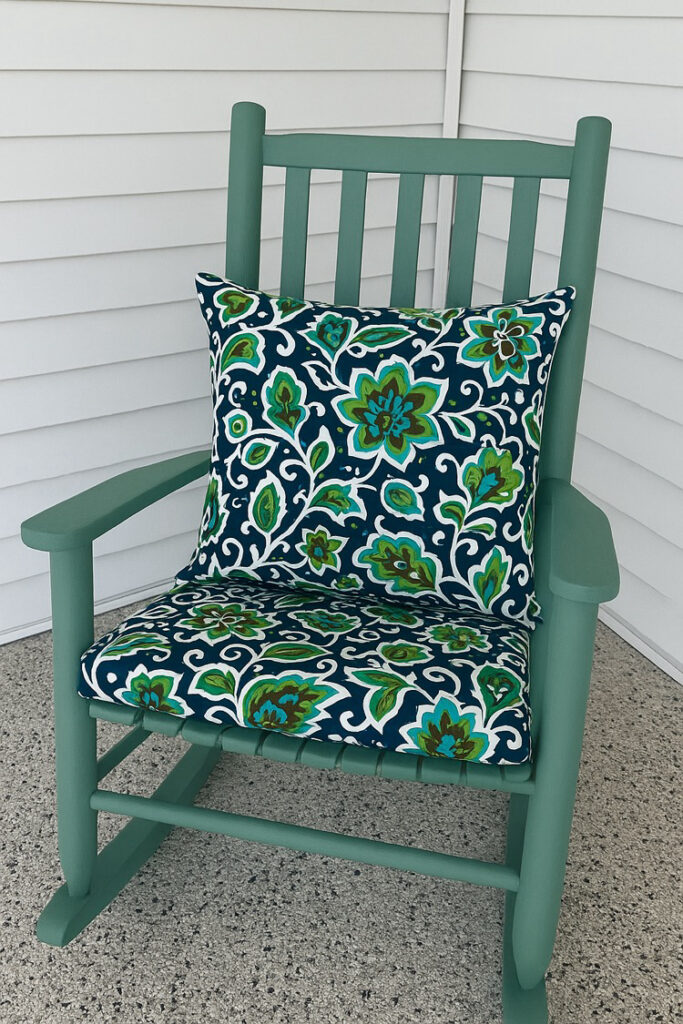
I got two waterproof outdoor chair cushions by Miulee in navy blue from Amazon for the chairs for about $30 total. I accidentally left them outside before an evening rainstorm but I was happy to discover afterward that the cushions had repelled the water and were quite dry!
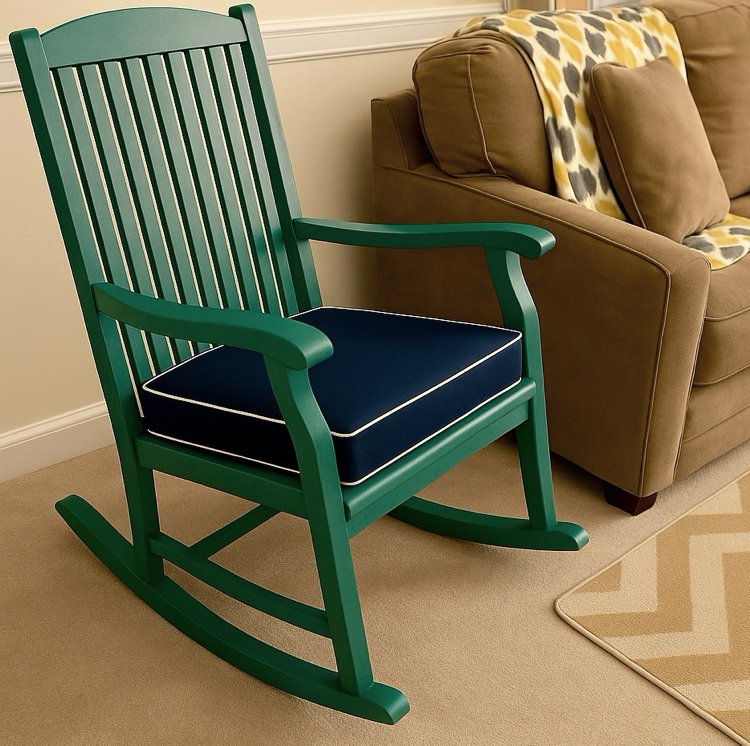
I also purchased some indoor/outdoor fabric by Premier Prints in the Faxon Oxford print—I plan to make envelope cushion covers for the cushions. I will be sharing that tutorial here on the blog, too! Below is a general idea of how the cushions will look when they’re done; I just won’t be making back cushions.
I have to get started on covering the cushions so they will be ready for spring!
This post contains Amazon affiliate links.
You Might Also Like
Discover more from momhomeguide.com
Subscribe to get the latest posts sent to your email.
[…] comfort without extra fuss. I got this inexpensive outdoor cushion set set a few months ago for two rocking chairs that I refinished. The cushions easily repel rain and moisture and are quite comfortable, too! Popular outdoor […]