This post contains Amazon affiliate links. These links cost you nothing and may earn me a small commission that helps to fund this blog. Thanks!
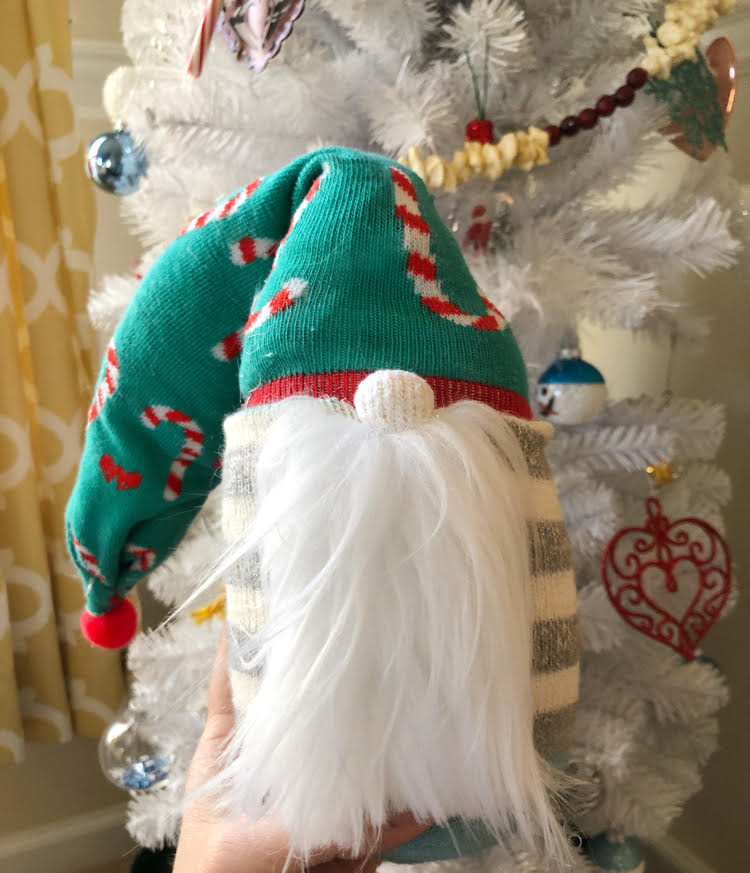
Happy holidays, everyone! I meant to get this post published before Christmas, but the holidays snuck up on my this year! I decided to still share today’s holiday tutorial post anyway. I am super into gnomes this year. They are quite popular these days but I don’t know if they will still be trendy next Christmas!
I love gnomes, so when I spotted easy DIY tutorials on Pinterest on how to craft sock gnomes, I had to go for it! (You might remember that I made DIY wood slice gnome ornaments earlier this year.) I made a sock gnome for myself, and then I made one for each of my two daughters! After that, I crafted a few sock gnomes as Christmas gifts!
Sock Gnome Supplies
2-3 socks per gnome (one for the head and one for the body. If you like, you can use one as the base to hold the rice.)
Mini hair elastics (I use a Mason Ball Jelly Jar
to store my elastics in.)
Rice (or Poly-fil and glass gems from the dollar store)
Sharp fabric scissors
Making a Sock Gnome
For my first sock gnome, I took a white tube sock and filled it with rice. (I found that an easy way to fill the sock is to fill a mason jar with rice and then pour it into the sock.) Before using the rice, I froze it for a week so nothing will hatch from the rice later!
To fill a sock with rice, I simply fit the sock tightly over a rice-filled mason jar and then turned the jar upside down so the rice spills into the sock.
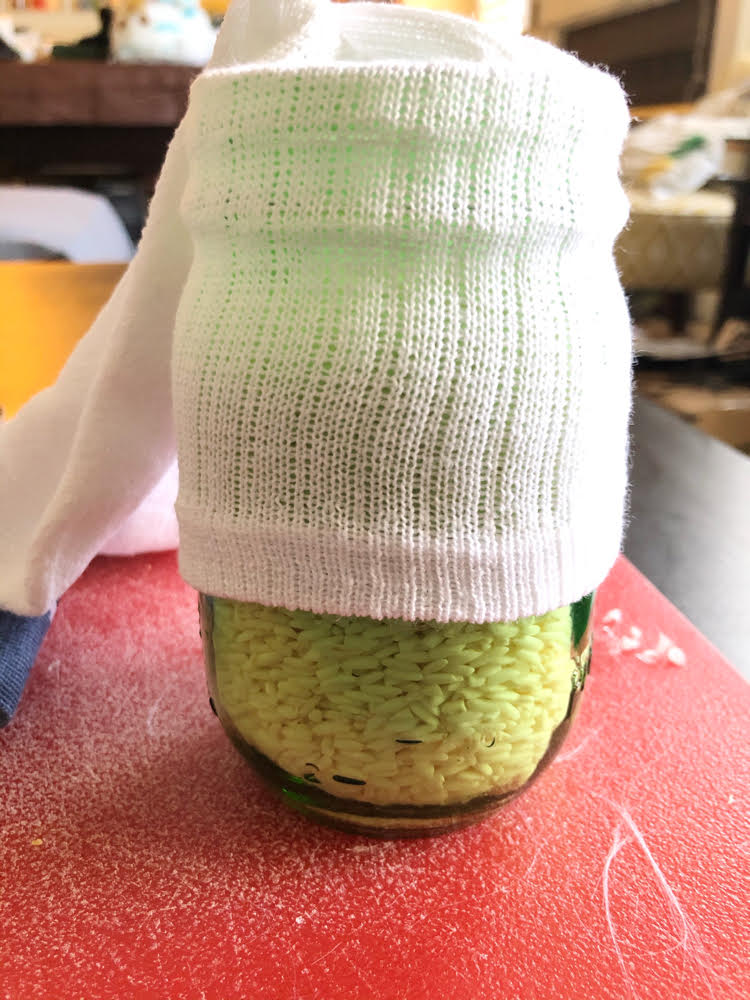
I used a small elastic (from the dollar store) to twist closed the rice-filled sock. I added a bit of hot glue within the sock at the top) to help seal the sock closed.
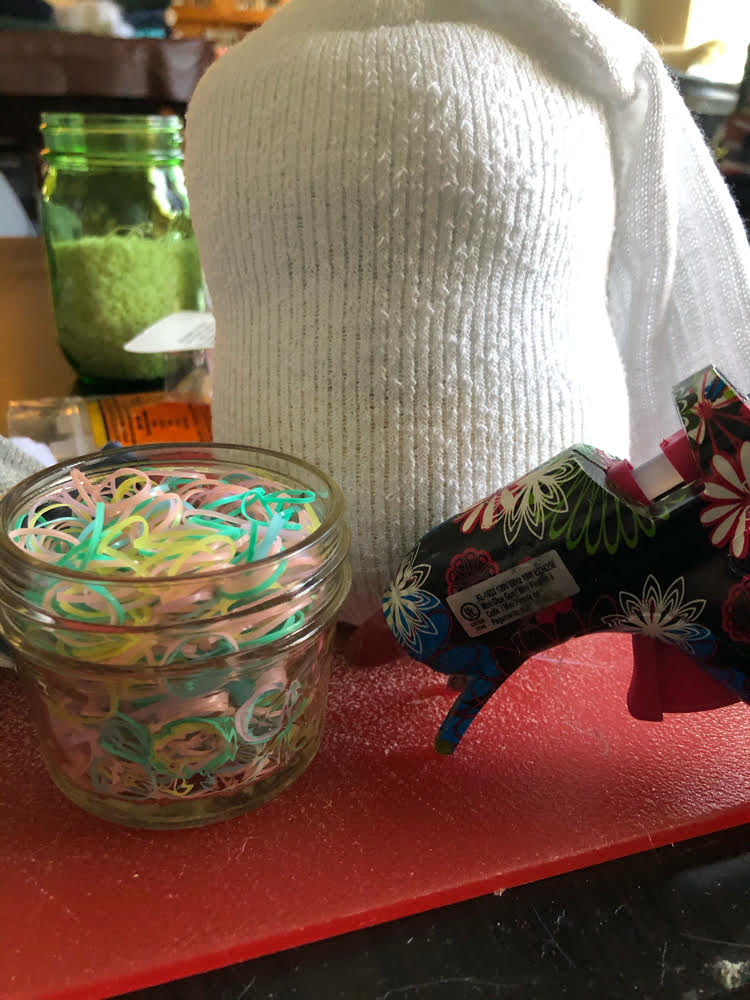
After I had a sock filled with rice and secured at the top with a little hot glue and a hair elastic, I fit a sock onto the bottom of the body of the sock gnome. I pulled the new decorative sock onto the rice-filled sock almost all the way to the top and cut off the extra bit of the new sock.
I then rolled the top of the new sock down (to have a clean edge) and hot glued it into place.
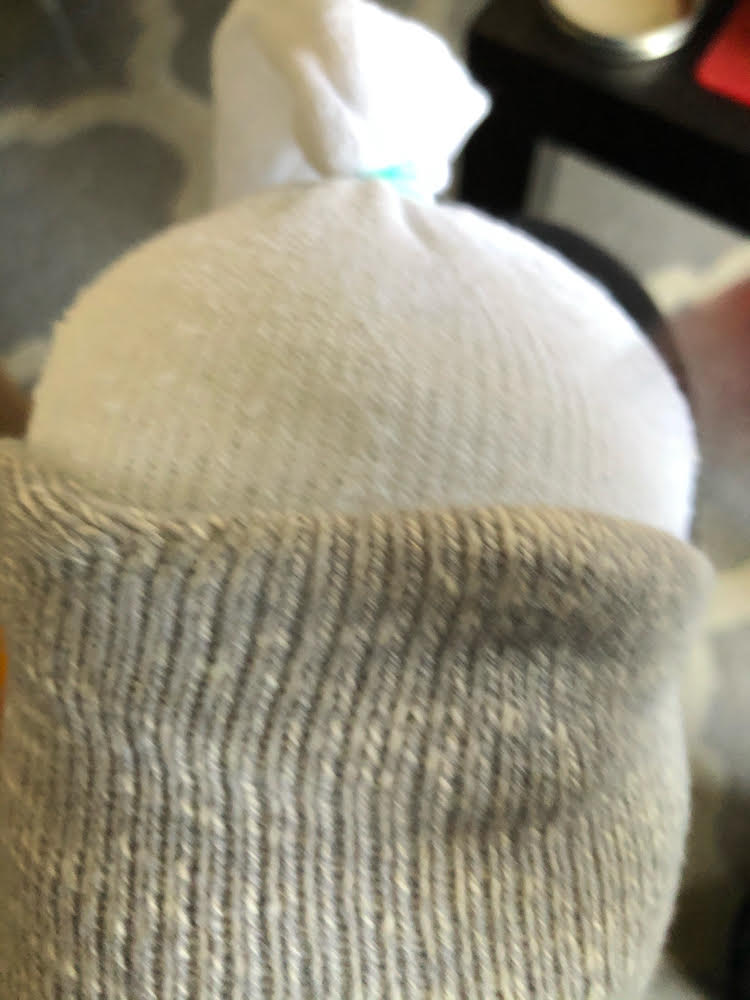
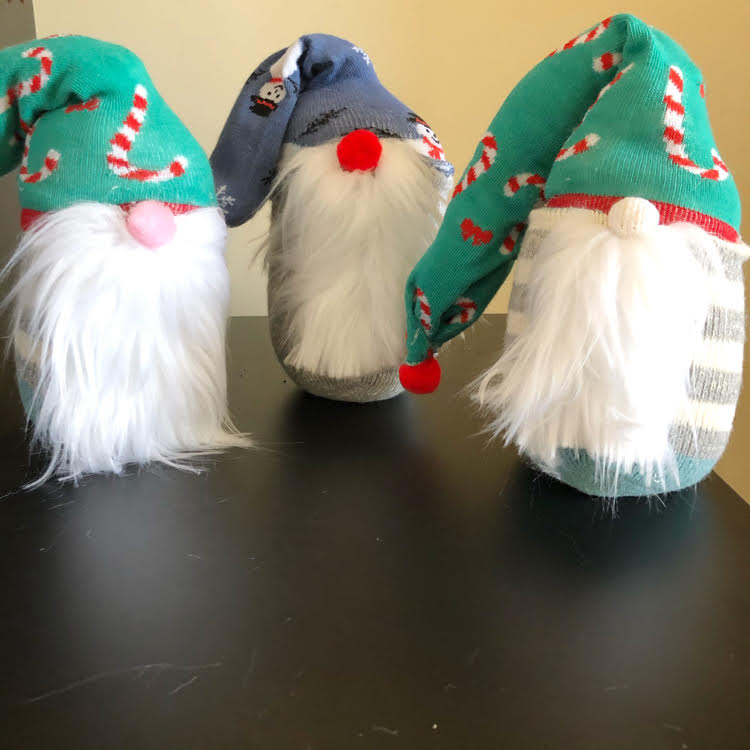
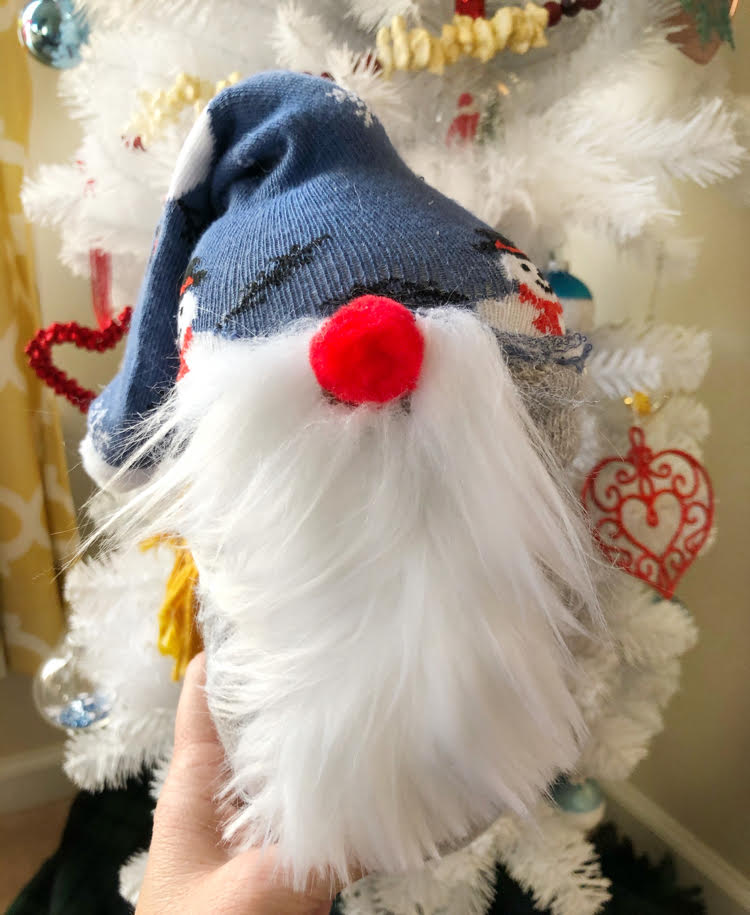
For my first sock gnome, I twisted a small amount of the rice-filled gnome to make a nose and secured it with one of the hair elastics. (You can see a gnome with one of the those noses below.)
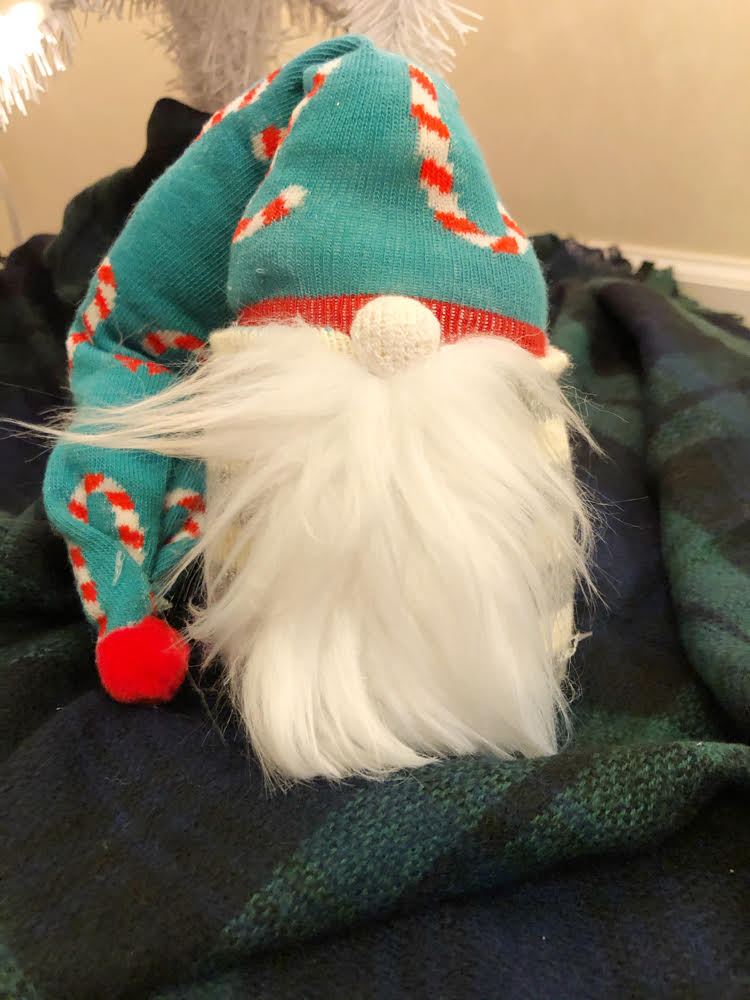
With my next sock gnomes, I used cute mini pom moms (that I found in the craft section of Walmart) as noses – I got them in white, pink and red. I simply hot glued a mini pom pom onto each gnome to serve as a nose.
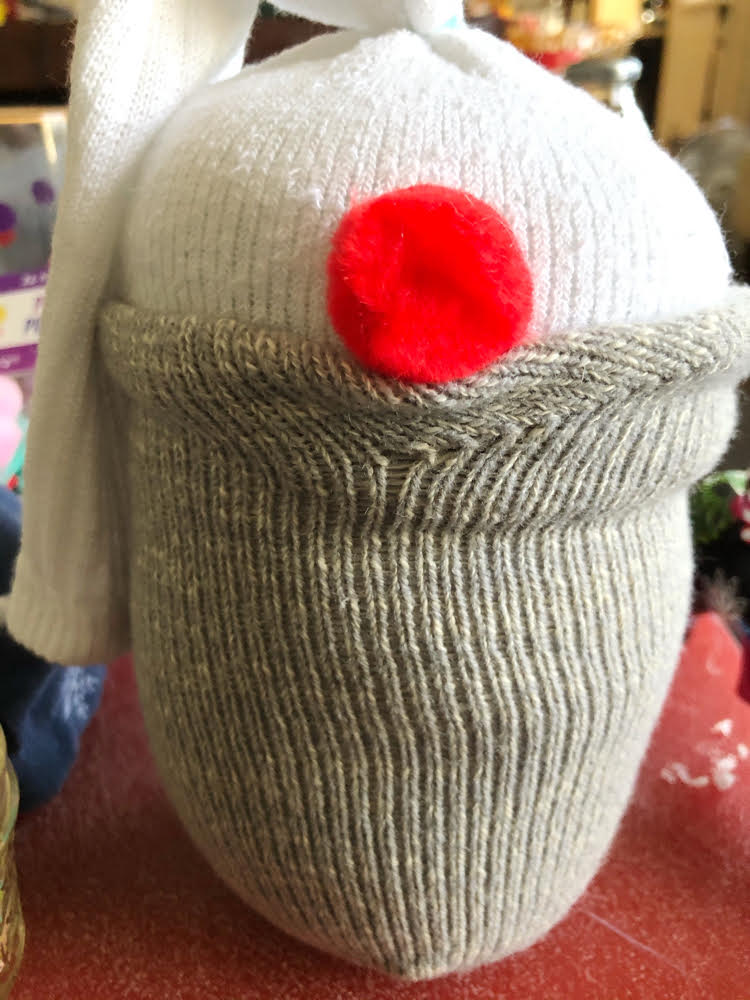
Some people cut the top part of the body sock (i.e., the white tube sock for my first gnomes) off when making gnomes. I keep my socks intact – I found it helpful to stuff my “hat” for the gnome with the top of the sock and a little pit of Poly-fil to fill out the hat.
Making a Gnome Hat
Once I had the body of the sock gnome completed, I chose a sock for the hat. For my first gnomes I used a whole sock for the hat. For some of my next gnomes, I cut off the socks off at the ankle. (To close the sock, I turned it inside out and knotted it and then turned it right sound out.) Some socks have the heals marked off with a color, and that doesn’t look so great on a hat.(So I cut off those heels.)
I topped each gnome’s hat with a pom pom at the tip.
The last task is to hot glue some faux fur under the nose for a mustache. I found it helpful to first put a dab of hot glue under the nose before placing the beard where you want it. I then add extra hot glue underneath the beard to secure it.
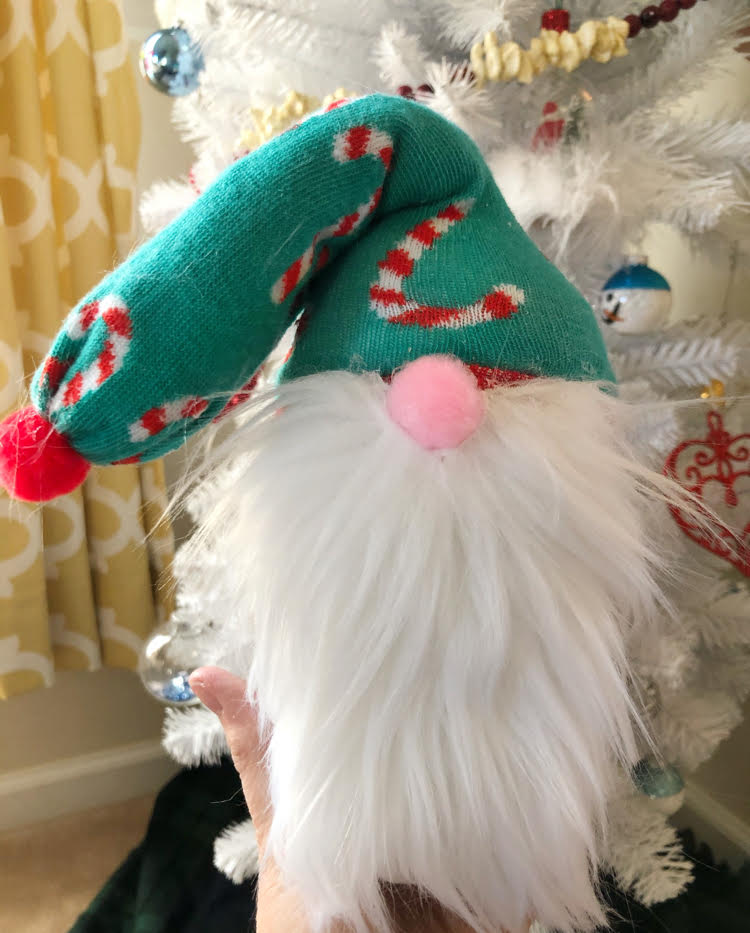
I found it quite easy to craft these sock gnomes — one night I made three of them in just an hour!
I made my second batch of sock gnomes a little bit differently than the others. I stopped using an extra white sock to hold the rice. (I just used one decorative e sock for the body, and one for the hat.) I ran out of frozen rice, so I used a few glass gems from the dollar store to weight the gnomes and some Poly-fil to fill out the bodies of the gnomes.
Each method has its pluses — the sock gnomes made mostly out of rice have a nice shape and stand more easily. Meanwhile, I like the softness of the sock gnomes that are mostly filled with Poly-fil.
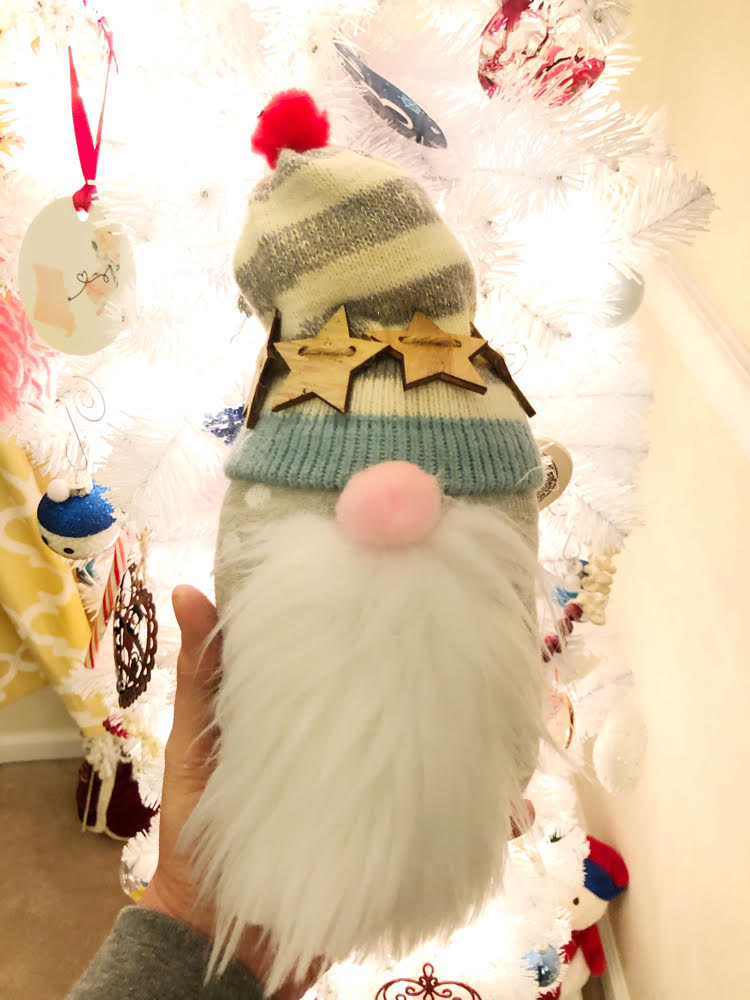
I hot glued some wooden decorative elements to some of my gnomes’ hats for a fun look.
Fun Holiday & Christmas Craft for the Kids
Sock gnomes are a really fun project. You could make sock gnomes for New Year’s, Valentine’s Day, Fourth of July – you name it! I am looking forward to making New Year’s and Valentine’s Day gnomes!
Discover more from momhomeguide.com
Subscribe to get the latest posts sent to your email.
So darn cute, Lauren! I love your ‘gnomes’ line of ornaments and socks!
Carrie
curlycraftymom.com