If you’re a TikTok fan and love gardening, chances are you’ve scrolled past at least a few videos about winter sowing. In these clips, you see folks scattering seeds into empty milk jugs or other plastic containers and setting them outside. Later, they joyfully discover healthy seedlings growing inside weeks later. The beauty of this technique is that you can get your plants started early—so you can have a thriving garden once spring arrives.
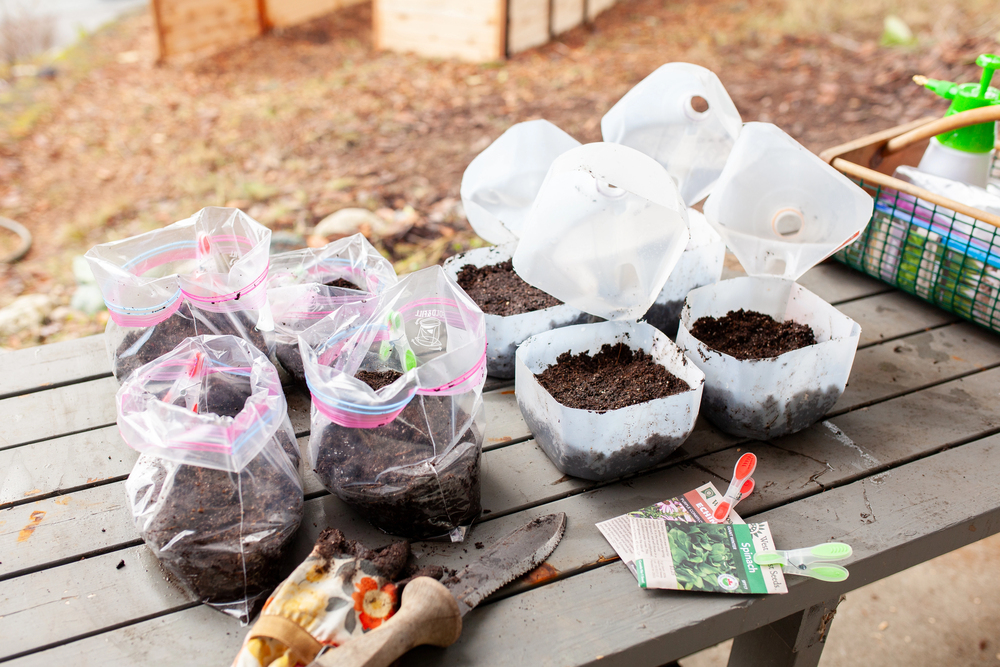
Winter sowing works because when you plant seeds in mostly sealed, recycled plastic containers (like milk jugs or plastic salad-green containers) you can create mini greenhouses. You’ll want to poke holes in the bottom of your plastic containers to provide drainage and leave the cap off—or poke a few holes in your container tops if there isn’t a cap—so the seeds will get the hydration they need.
Winter cold and snow can spur germination, so you should have seedlings ready to plant in your garden once spring has sprung! The seeds will already be acclimated to outdoor conditions, which is ideal for transplanting.
The timing for winter sowing varies depending on location, but where I live in Central New Jersey, there’s still time to winter sow in February! By winter sowing this coming weekend, I’m hoping to get a head start on my spring and summer gardens!
What to Plant for Spring Sowing
I was going to sow my seeds last weekend but opted not to once I learned that a blizzard was due to hit my area this weekend—and it did! I figured starting seeds outdoors in such extreme snowy and windy conditions wasn’t a good idea. It’s been very cold here in New Jersey, but the temperatures are supposed to warm up this week, so I hope I haven’t waited too long to winter sow.
Among seeds that do well with winter sowing are leafy greens and hardy herbs, annuals and perennials. I purchased a bunch of seeds that I am hoping to winter sow:
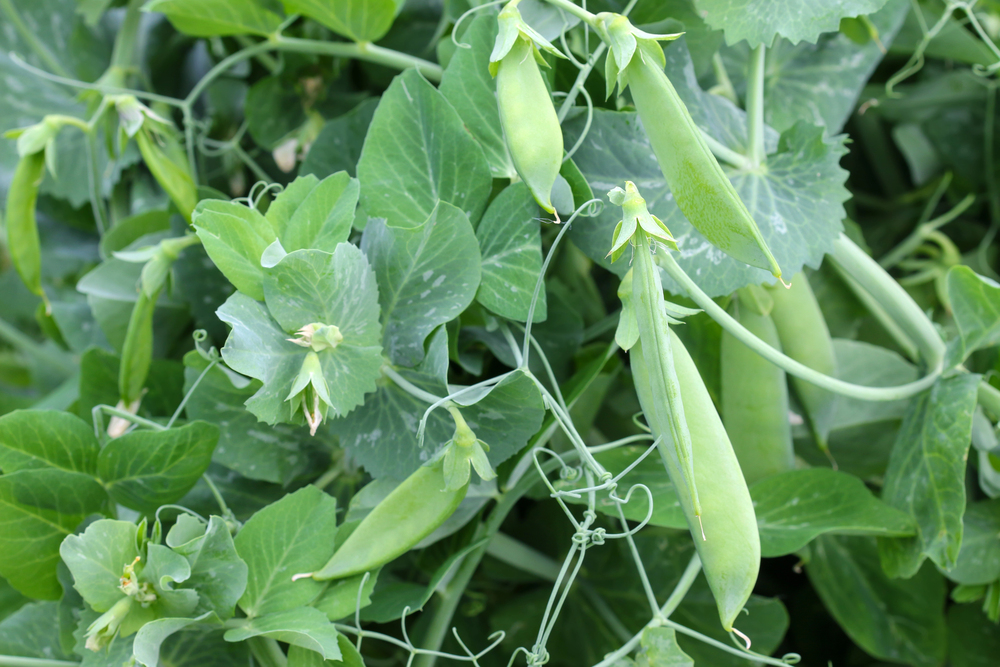
- Lettuce, sugar snap peas
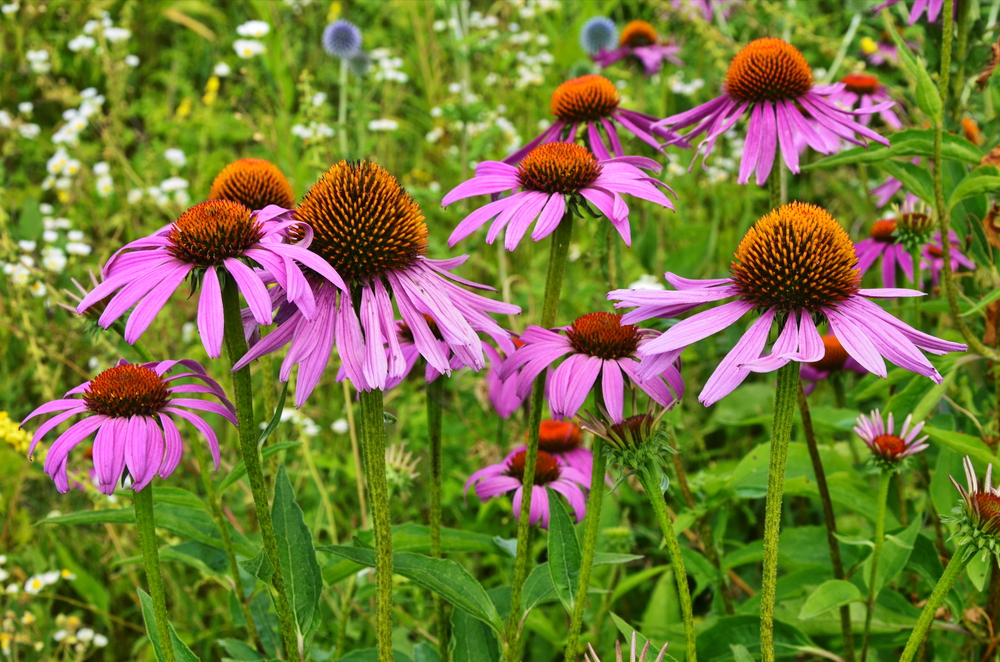
- Perennials: Coneflower (Echinacea) and Black-Eyed Susan (Rudbeckia)
- Annuals: Bachelor’s buttons, marigolds, sweet peas and snapdragons
Materials Needed
You only need a few supplies to winter sow—I’ve linked to the seeds I’m using this year and to recommended supplies.
- Seeds
- Plastic containers (such as milk jugs) or plastic resealable, gallon food-storage bags (reurposing used plastic containers will be the cheapest and most eco-friendly option)
- Potting mix
- Clear packing tape
- Scissors
- Permanent marker or garden marker
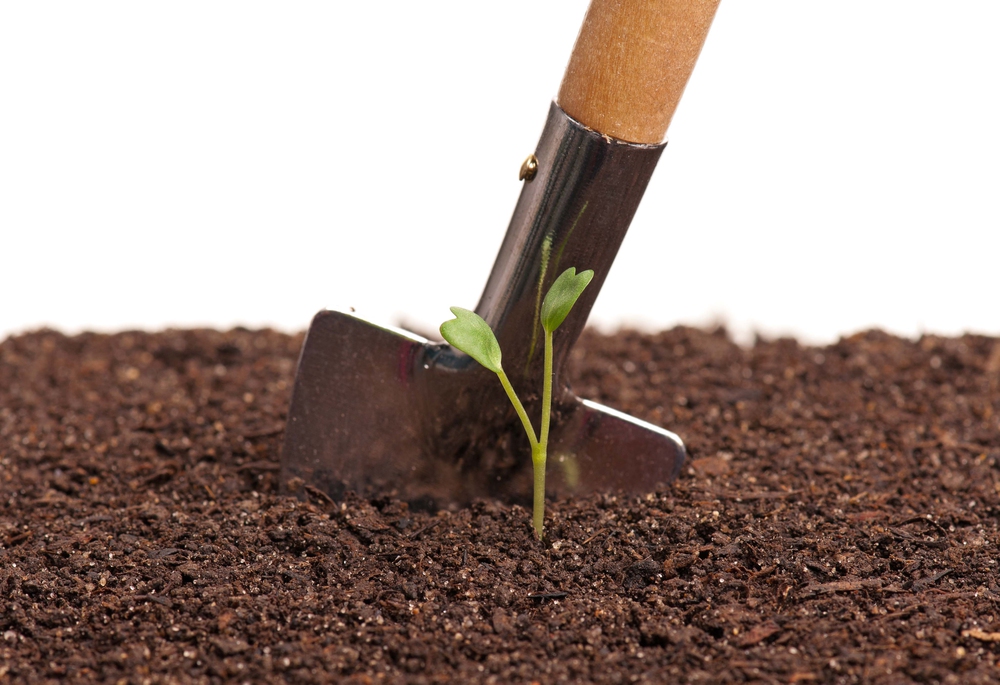
- Hand trowel
How too Winter Sow
1. Prep Your Containers
Choose clear or translucent plastic containers. (Milk jugs, salad boxes and takeout containers work well.)
- If your containers aren’t hinged, cut them open almost all the way around, leaving a small section intact so it can act as a hinge. Doing so will allow you to open them for planting your seeds and close them securely afterward.
2. Add Openings for Moisture, Ventilation & Drainage
Proper airflow and drainage are key to preventing mold and rot, so this step is very important.
- Poke several holes in the bottom of your containers to allow excess water to drain.
- Remove caps from milk jugs or poke a few small holes in the tops of your containers to allow ventilation and to let needed moisture in.
3. Moisten the Soil
Add water to your potting mix before adding it to the containers. (The soil should be slightly damp, but not soaking wet.) Fill your containers with about 3–4 inches of soil, gently pressing it down into your containers so it’s firm but not compacted.
4. Plant Your Seeds
Sow your seeds according to the depth listed on their packets:
- Tiny seeds, like snapdragon seeds, should be pressed gently into the surface of the soil.
- Larger seeds should be covered with soil to the recommended depth.
Lightly press the soil to ensure good seed-to-soil contact.
5. Seal & Label
After you’ve planted your seeds, close the containers and secure the ones that you cut open with clear packing tape (to create a greenhouse atmosphere).
Label each container clearly with a permanent marker—better yet, use a garden marker, since it’s less likely to fade in winter weather. (If you don’t have a garden marker, try firmly covering the area you’ve labeled with clear packing tape.) Write the plant names and the sowing dates on your containers.
Tip: Take photos of your containers and labels after setting them up. That way, if the ink fades, you’ll still know what’s planted where.
6. Place Outdoors
Set your containers outside in a spot where they’ll receive natural sun and precipitation. Placing them on the south or southeast side of your house where they can get some protection from the wind is best—such as against a fence, near a patio or beside the house.
Then, let nature take over! The containers will protect seeds while exposing them to the natural cold that allow many seed varieties to germinate. Just be sure to keep an eye on your containers to make sure your seeds are doing well and getting the sunlight, water, drainage and ventilation they need—make tweaks to your setup if necessary.
Within a few weeks, you can transplant your seedlings to your outdoor garden, depending on their optimal planting times (check your seed packets for this information). For instance, in New Jersey, I may be able transplant my snow peas and lettuce in March and my bachelor’s buttons, my coneflowers, black-Eyed Susans and Shasta daisies in April and my marigolds in May.
This will be my first time winter sowing, so I hope all goes well! In the meantime, I will be planning where to plant everything and might start searching Facebook Marketplace for inexpensive gardening supplies—I am hoping to pick up an extra raised bed or too.
This post contains Amazon affiliate links.
Discover more from momhomeguide.com
Subscribe to get the latest posts sent to your email.