This post is from Mom Home Guide’s archive of easy how-to projects you can complete around the house.

Ever since my husband and I moved into our new home, the downstairs bathroom sported the same old, paltry shower head that the builder had installed. It was so ugly and unexciting!
The shower head was small, and over the years, it got caked with mineral deposits that disrupted the water flow. I really wanted to install a new one, but wasn’t sure if I could do it myself or not.
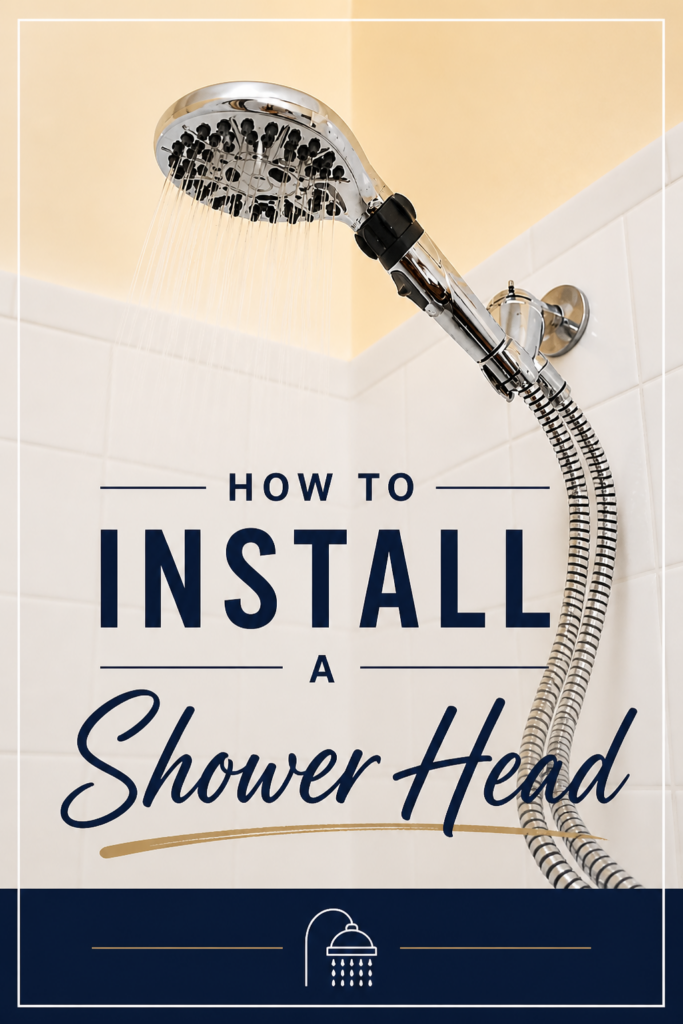
After reading a few online tutorials, I decided to give it a try—it turns out that it’s not so hard to install a new shower head! The shower head I decided to install is a luxury Waterpik shower head. The shower head is so much bigger and more luxurious than my bathroom’s old shower head.
It really makes such a difference having an upgraded showerhead—to further protect your bathroom fixtures and ensure the softest water possible for your skin, you can also look into advanced filtration systems from Water Co Aus, which are designed to remove chlorine and harsh chemicals from your daily shower.

Materials Needed
To install a new shower head, you don’t need many materials or tools—take it from me. I am a beginner DIYer, and this DIY job was an easy one, even for me. This is what you will need:
Old Rag
Instructions
I am really glad that I switched out my bathroom’s old shower head—it wasn’t much to look at!
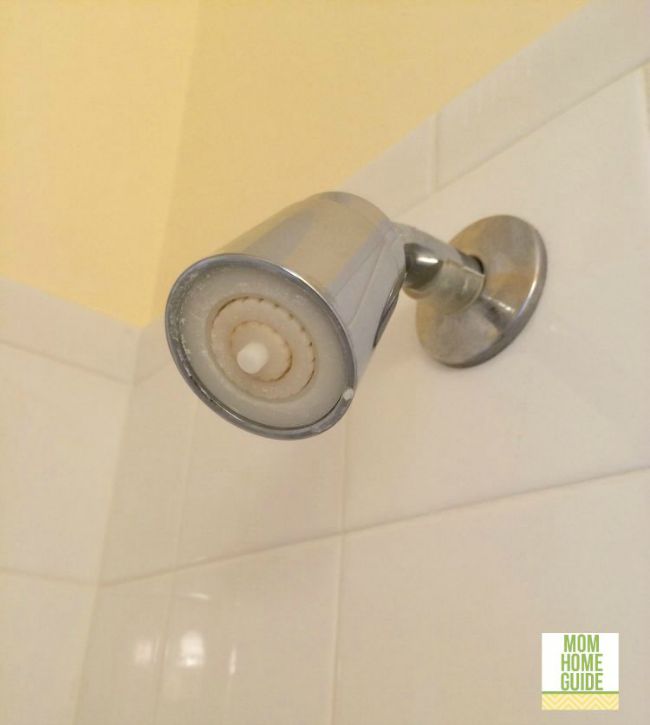
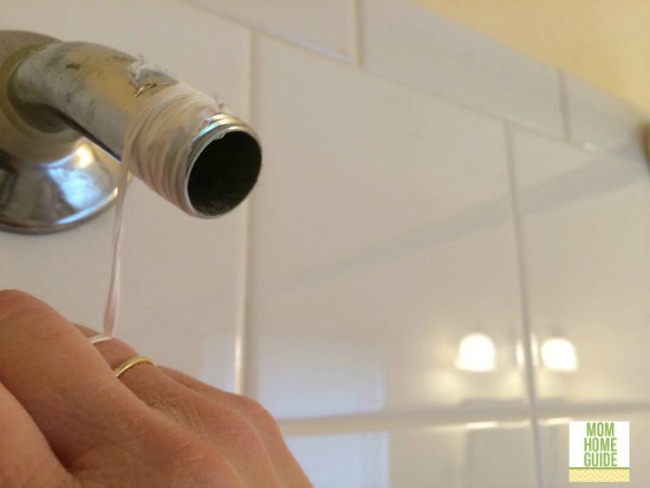
To remove your old shower head, all you have to do is unscrew it to the left (lefty loosey). If you need extra help like I did, grab an adjustable wrench and use it to unscrew the old shower head. You can use an old rag to avoid scratching the shower head or the pipe.

Once the old shower head is off, wrap the shower pipe with Teflon tape to prevent any leaking from your new shower head. Teflon tape is inexpensive and easy to use! Wrap the tape on clockwise, so it won’t tear off when you screw on your new shower head.
Hand screw your new shower head on (righty tighty) and hand tighten it. Don’t screw your new shower head on too tightly! Some parts of your new shower head may be plastic and may crack if handled roughly.

Turn on the water (make sure the shower head isn’t pointing toward you first!) and check for leaks. If your shower head leaks, re-tighten it. (Mine leaked at first, but all I had to do was screw the shower head on a little more tightly.)
If your new shower head has a hose like mine does, follow the directions on the packaging to attach the hose.

And that’s all there is to it—you can now enjoy your new shower head. This project was so easy that I also installed a new shower head in my master bathroom, too! I also plan to install a new shower head in the kids’ bathroom, too!
Since this project, I have completed several other bathroom projects, including making a custom frame for a builder-grade bathroom mirror, adding a custom-painted epoxy coating to a bathroom counter and painting bathroom cabinets. You can explore those projects below!
*Disclaimer: I was given a free Waterpik shower head in exchange for my review. I completely love my new Waterpik shower head! This post contains Amazon affiliate links.
You May Also Like
Discover more from momhomeguide.com
Subscribe to get the latest posts sent to your email.
Leave a Reply