This post contains Amazon affiliate links. Thanks to DecoArt for providing products used in my bathroom makeover.
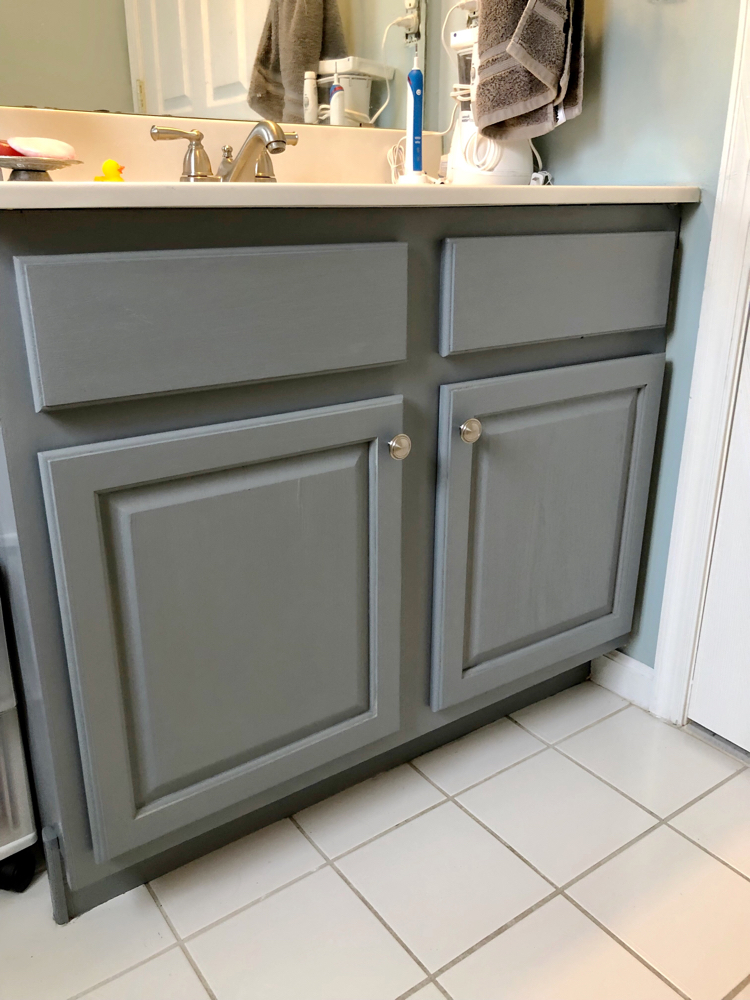
Today marks the third week I’ve been working to transform my daughters’ bathroom for the One Room Challenge (ORC), hosted by Linda of Calling It Home. I’m halfway there!
In the One Room Challenge, 20 design bloggers and hundreds of guest participants (like me) work to transform a room or space in the span of six weeks.

The challenge takes place in April and September. It’s a fun way to get the motivation to complete a full room makeover. The challenge is also a good source of design inspiration. I’ve been wanting to join this challenge for a while. I am looking forward to working and sharing with all the other bloggers! The final reveal of the design bloggers’ rooms will be on May 8. The final reveal of my bathroom – and of the rooms of all the guest bloggers – will be on May 9! (Update: Click the link above to see the final reveal!)
If you visit the One Room Challenge website, you can see all the other room transformations in process!
Painting an Oak Bathroom Vanity
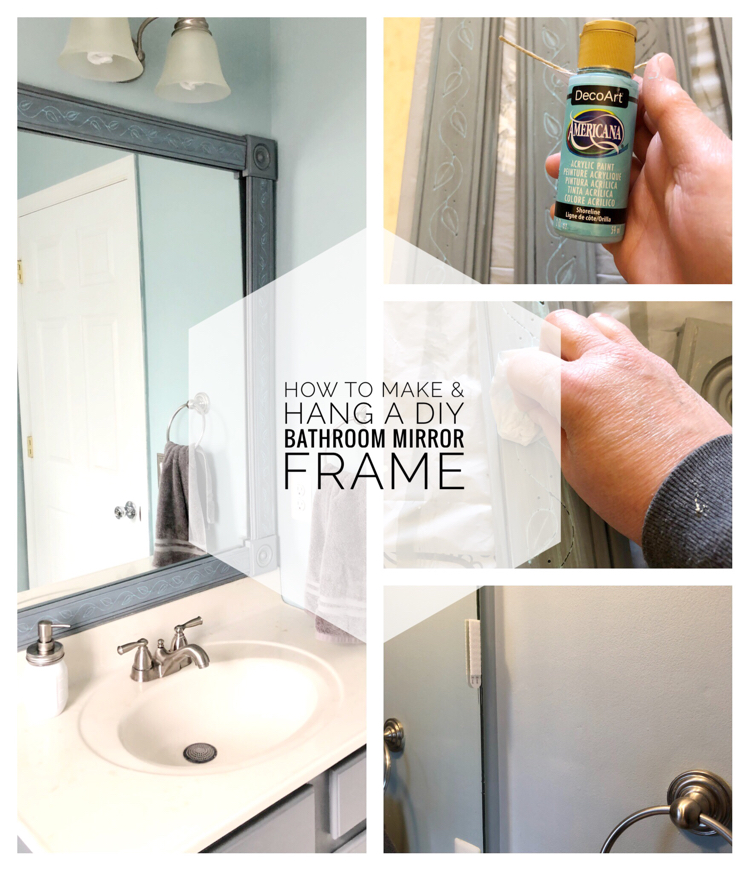
Thanks to DecoArt for being a sponsor of my spring 2019 guest participation in the One Room Challenge! I used their easy to use, yet durable Americana Decor Satin Enamels paint to update the bathroom vanity in my daughters’ bathroom. I will also use their product to paint a DIY frame for the existing mirror in the space.
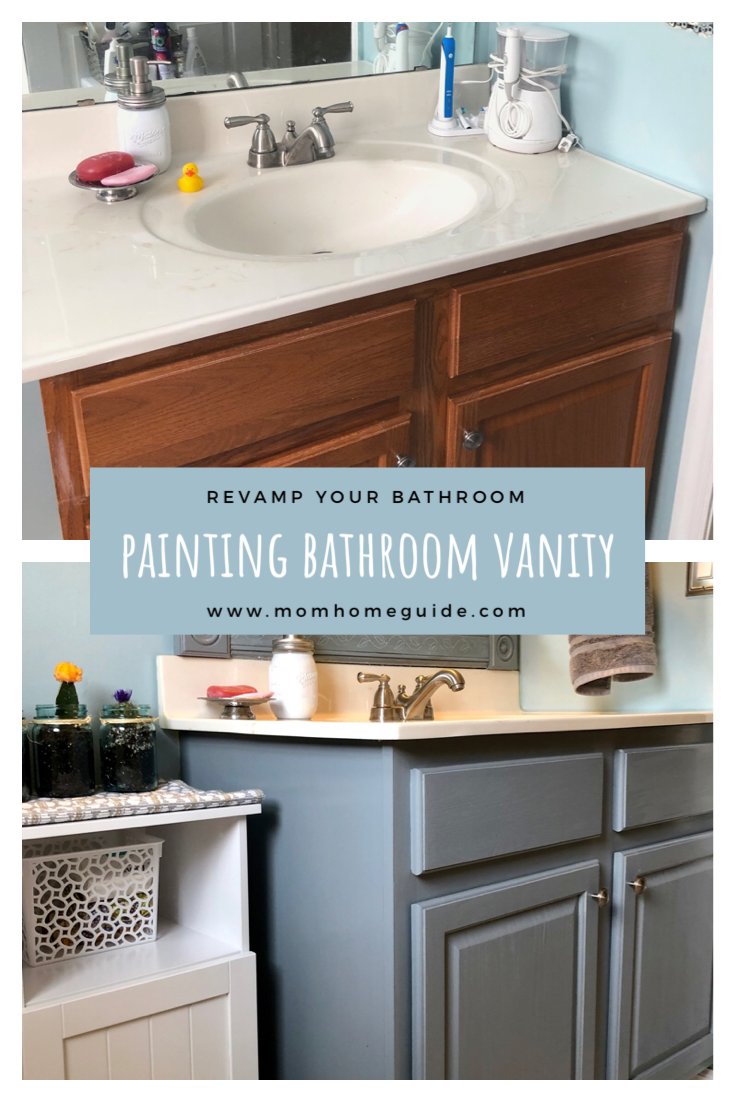
You might remember that this is what the bathroom looked like before I got started on this project.

Last week I shared how I prepped the room for painting and shared my painting process and the Benjamin Moore blue paint color, Yarmouth Blue, I chose. The first week of this One Room Challenge I showed my inspiration and some of my plans for the room. Among my plans are my now completed bathroom cabinet update, a custom DIY frame for the mirror and some extra storage for the room.
The below image shows what the oak bathroom vanity looked like before I painted it.
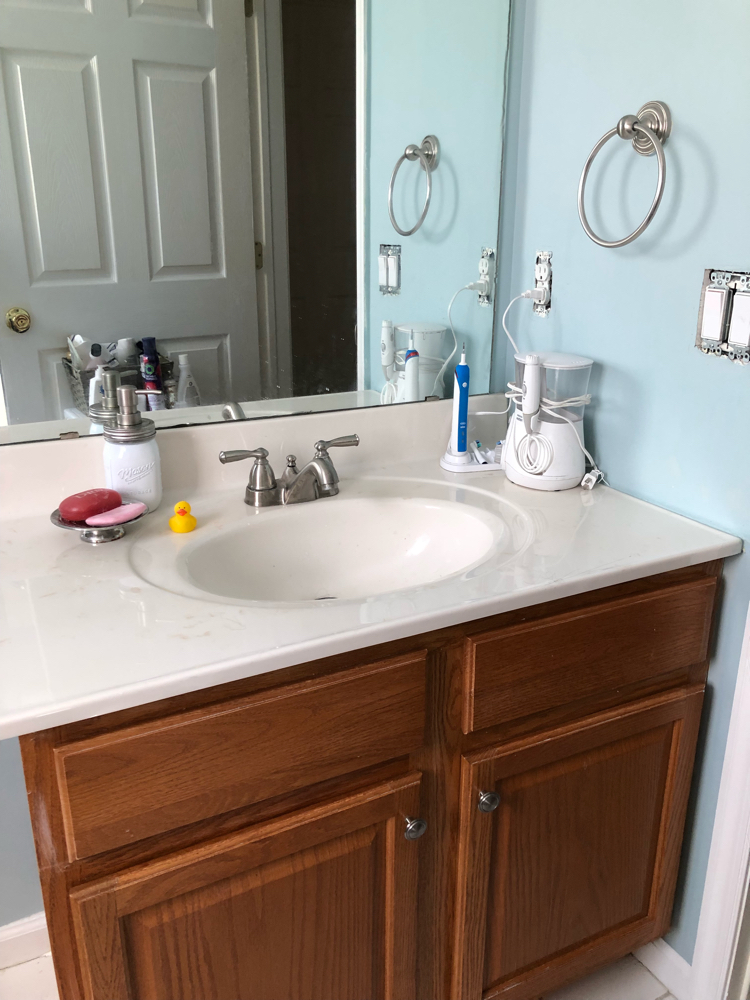
The paint I used to paint the oak vanity in my daughters’ bathroom is DecoArt Americana Decor Satin Enamels Paint in Smoke Grey. I needed just a little more than one 8 oz. container of the paint to give the bathroom vanity a completely new look with two coats of paint.
The paint comes in a variety of colors — I am looking forward to picking out colors for my home’s other two bathroom vanities.
 Americana Decor Satin Enamels by DecoArt is an acrylic that gives a durable, satin finish to home decor projects. It is especially designed for high-traffic areas, like bathrooms — so it’s perfect for my project! Americana Decor Satin Enamels by DecoArt is designed to hide both wood grain and brushstrokes.
What’s even more awesome is that Americana Decor Satin Enamels by DecoArt doesn’t require sanding to properly adhere to a surface. I didn’t have to sand down my oak vanity before painting!
Before beginning my project, I wiped the vanity down with Krud Kutter, a degreaser that’s ideal for projects like my bathroom vanity. (It’s important to have a clean surface for paint to adhere to.)
I started my project by removing the vanity’s doors and hardware.
I then painted a first coat of Americana Decor Satin Enamels paint to my vanity. You can see that I used some FrogTape Multi-Surface Painting Tape so stray paint didn’t get on the inside surfaces of my vanity.

While the paint was drying, I painted the doors of the vanity in a separate workspace. You can see that I used simple foam craft brushes to apply the paint. I find these brushes easy to work with and clean.

A few hours later I came back and painted the backs of the cabinet doors and gave the vanity another coat of paint. I later gave each side of the cabinet’s doors another coat of paint. (By the way, you might notice that I used a chopstick to stir my Americana Decor paint — a chopstick is the perfect size!)

I was surprised at how quickly I got the vanity completely painted!
Before putting the doors back on the vanity, I re-installed the doors’ hinges and knobs.

Now that the vanity is painted and is looking great, I need to get started on a DIY frame for the bathroom mirror!
New Chair-Height Toilet
You might have noticed that the room also has a new toilet! My husband and I chose a Gerber chair-height toilet for the space. I am so glad to finally have a new toilet in the space — the one the builder installed in our home (about 16 years ago) was constantly clogging. My daughters are glad to use their bathroom again! My husband and I went ahead and updated the toilets in the other two bathrooms in our home, too.
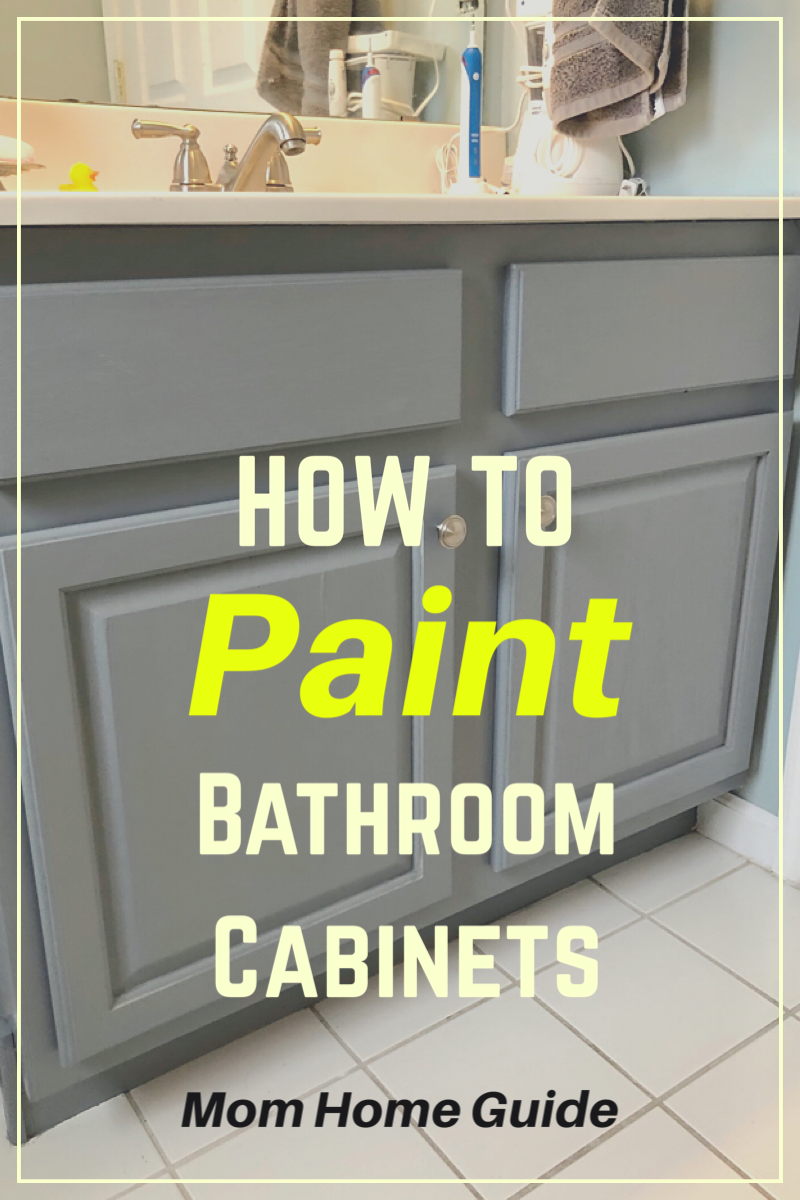
If you would like to complete this project, be sure to pin it on Pinterest!

More Next Week
Be sure to check back next week to see how my bathroom remodel is coming along — I’ll be sharing my tutorial for an easy way to frame a standard, builder-grade mirror!
Be sure to stop by the One Room Challenge website to see how my blogging friends’ room makeovers are coming along! The site is a great source of inspiration should you want to makeover your home!
You Might Also Like
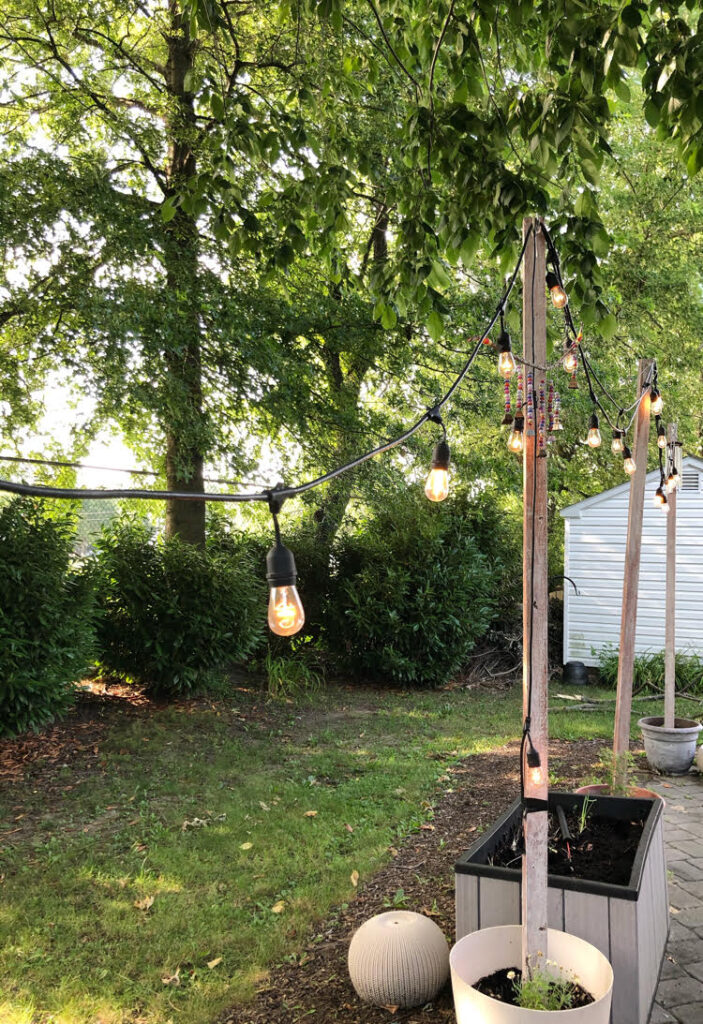
DIY Patio Planter Posts for String Lights
Discover more from momhomeguide.com
Subscribe to get the latest posts sent to your email.


What a nice transformation with just paint, Lauren! I love the color you chose for the bathroom vanity. Looking forward to seeing how you frame that mirror!
Looking good!!! Love the changes so far. Can’t wait to see it all finished!
Hi, Lauren!
Isn’t it amazing what a good coat of paint can do? I like the color you chose. I bet your girls love the new look!.
They do! Thanks, Kim! ?
Love the color… it looks really great! Love how easy the paint is to use, too!
Love the color you chose! My master bath has a long way to go, but just staining the vanity a gray color has made such a huge difference that it seems like a different room already.
Love the color you chose for the vanity! And nothing beats not having to sand, right! 😉
You are right about that! Thanks for visiting! ?