This post contains Amazon affiliate links. These links cost you nothing, but may earn me a small commission that helps run this blog if you make a purchase. Thanks to DecoArt for helping sponsor this project by providing the paint used on my bathroom vanity and DIY mirror frame.
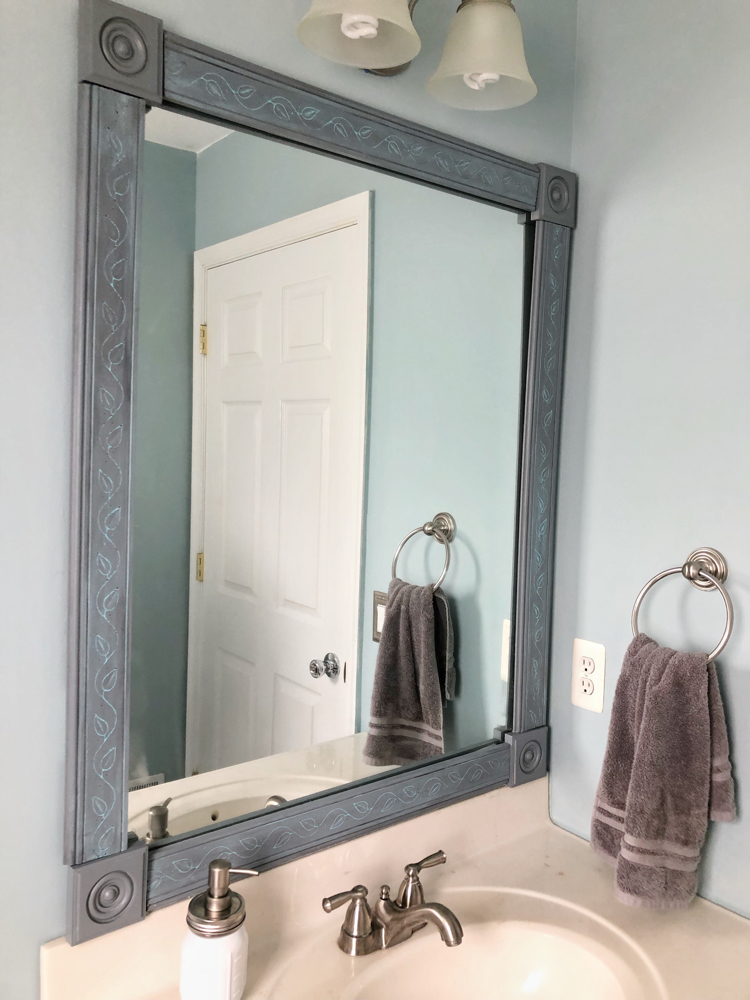
Today marks the fourth week I’ve been working to transform my daughters’ bathroom for the One Room Challenge (ORC), hosted by Linda of Calling It Home. I’m almost there! Today I will be showing you how to make an easy DIY bathroom mirror frame.
In the One Room Challenge, hosted twice a year, 20 design bloggers and hundreds of guest participants (like me) work to transform a room or space in the span of six weeks.

In case you missed my previous posts, this is what I have accomplished so far in my One Room Challenge:
Bathroom Makeover Plans (One Room Challenge Week 1)
Room Prep and Painting – (One Room Challenge Week 2)
Painted Bathroom Vanity – (One Room Challenge Week 3)
How to Make an Easy DIY Bathroom Mirror Frame
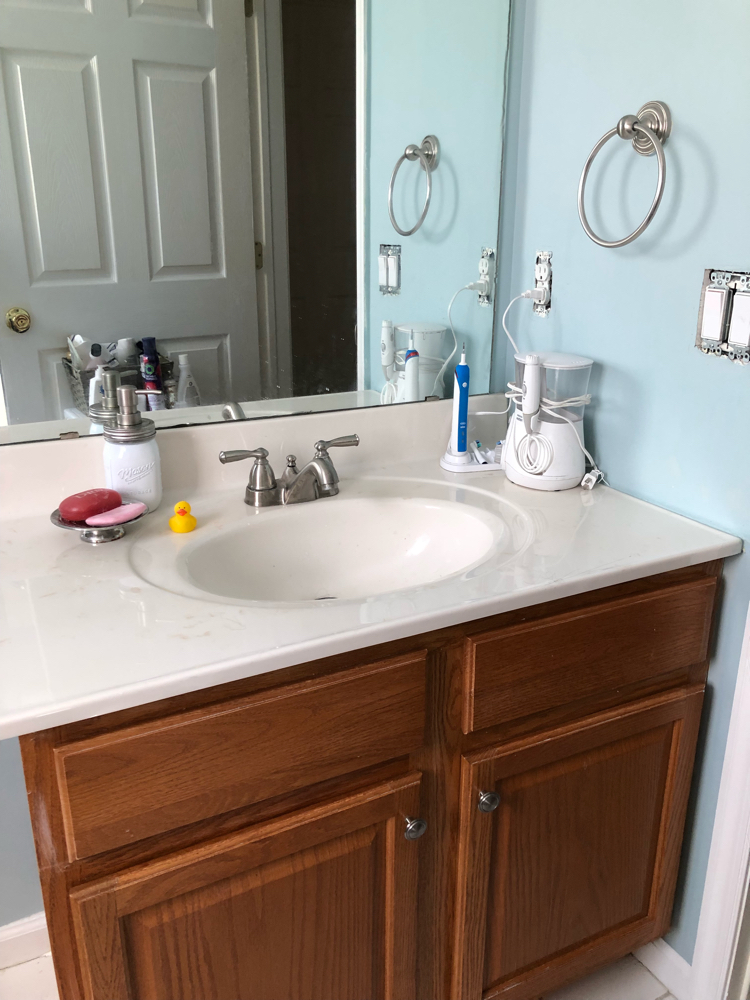
This is what the bathroom vanity and mirror looked like just over two weeks ago:
Updating a Bathroom Mirror
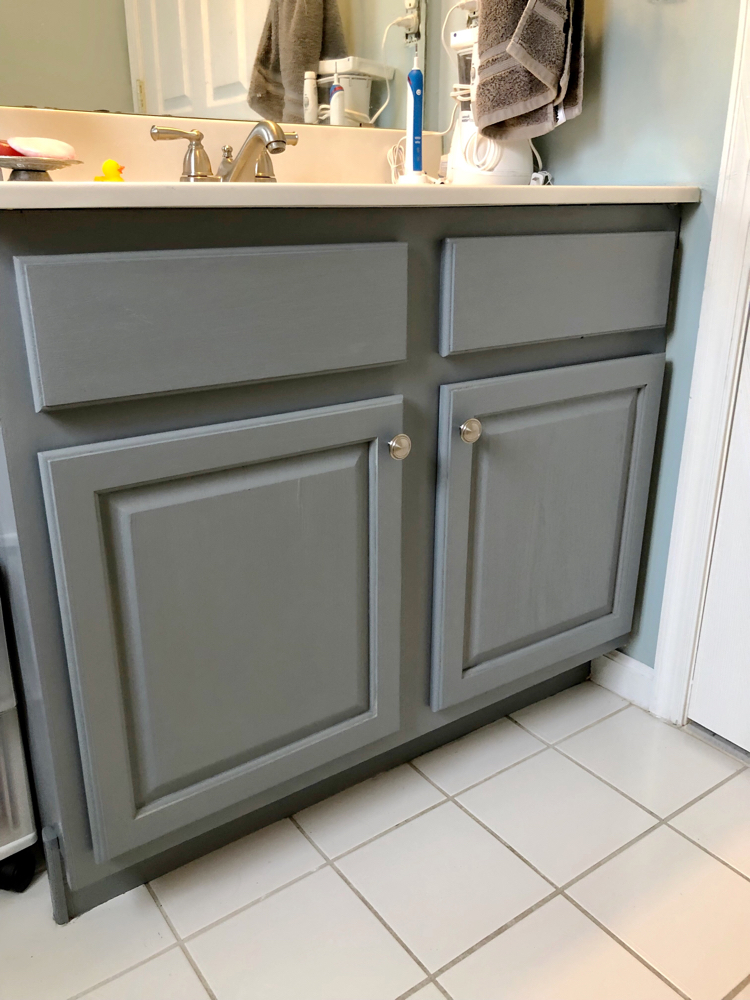
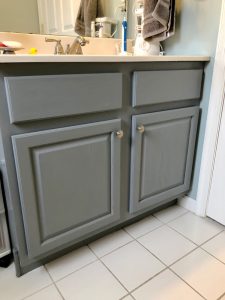
Thanks to DecoArt for being a sponsor of my spring 2019 guest participation in the One Room Challenge! I used DecoArt Americana Decor Satin Enamels Paint in Smoke Grey for the vanity in the bathroom.

The Americana Decor Satin Enamels Paint is easy to use and has provided a beautiful and durable finish for the oak bathroom cabinet. DecoArt’s Americana Decor Satin Enamels Paint is designed for high traffic areas, so it was perfect for my bathroom vanity project.
This is what the space looked like after I painted the vanity.
I thought it would be nice to make and paint a matching frame for the mirror. After doing some research, I discovered that it’s easy to make a DIY bathroom mirror frame.
I went to my local Home Depot to pick up decorative chair molding for the mirror. A helpful Home Depot employee cut my two pieces of 8-foot molding for me.
I chose hardwood molding with an embossed leaf design — I really like the natural elements of the design.
Measurements for a DIY Bathroom Mirror Frame
I decided to use square Rosette Trim Pine Block Molding in the corners of my DIY mirror — that way I didn’t need to cut angles for my mirror. The rosettes I used were 3-inch-square each.
These are the measurements I used for cutting the hardwood molding around the mirror:
Length of mirror – 6 inches (to account for the length of the two rosettes) = length to cut the top and bottom (horizontal) pieces of my mirror frame.
Height of mirror – 6 inches (to account for the height of the two rosettes) = length to cut the sides (vertical) of my DIY mirror frame.
My mirror is hung with two pesky plastic mirror clips on the top of the mirror. (See what the clips look like, below.)
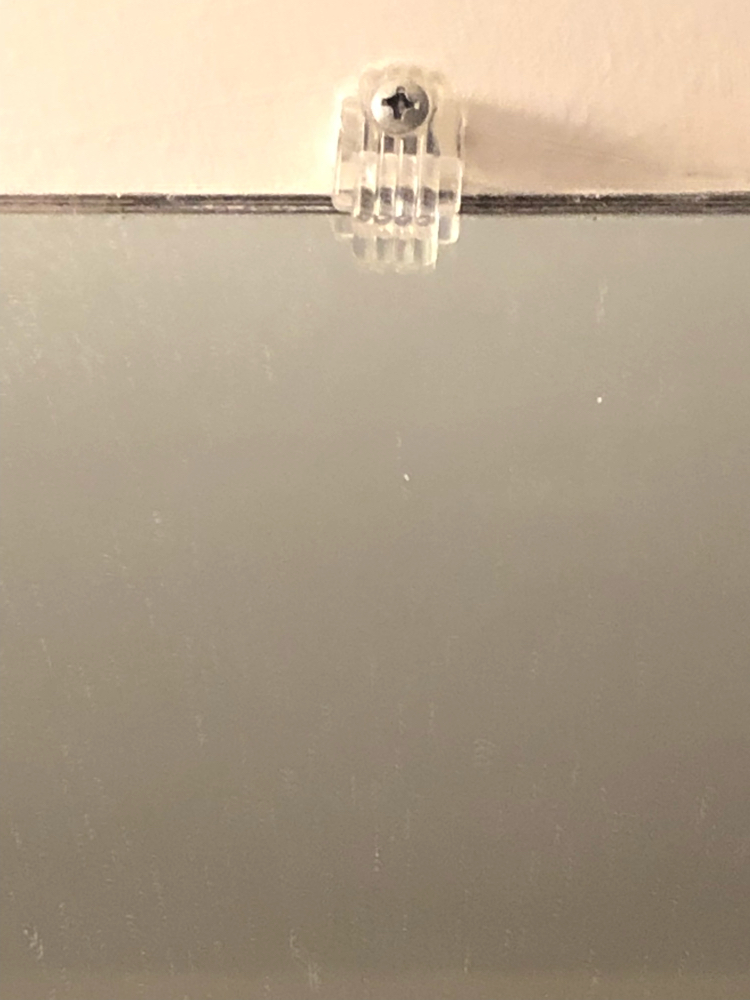
I didn’t want the clips to show, so I added 2 inches to the vertical lengths of my DIY frame. (The clips are about 1 inch tall.) By adding extra height to my mirror frame, I could make sure that the frame would cover the clips.
This is the equation I used to calculate the correct length for the vertical pieces of my DIY frame, adding height for the clips:
Height of mirror – 6 inches (to account for the height of the two rosettes) + 2 inches (to hide the plastic mirror clips) = length to cut the sides (vertical) of my DIY mirror frame.
I decided to paint my DIY mirror frame with the same paint I used on the bathroom vanity (DecoArt Americana Decor Satin Enamels Paint in Smoke Grey.)
I used a simple foam paint brush to apply the paint. I painted both sides of the molding, since the backs of the molding would be reflected by the mirror.
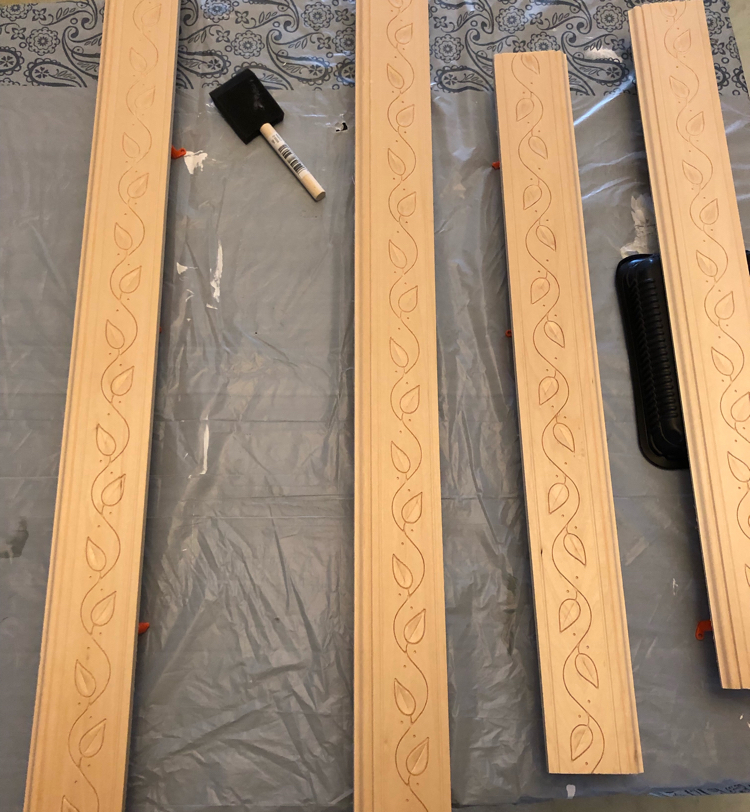
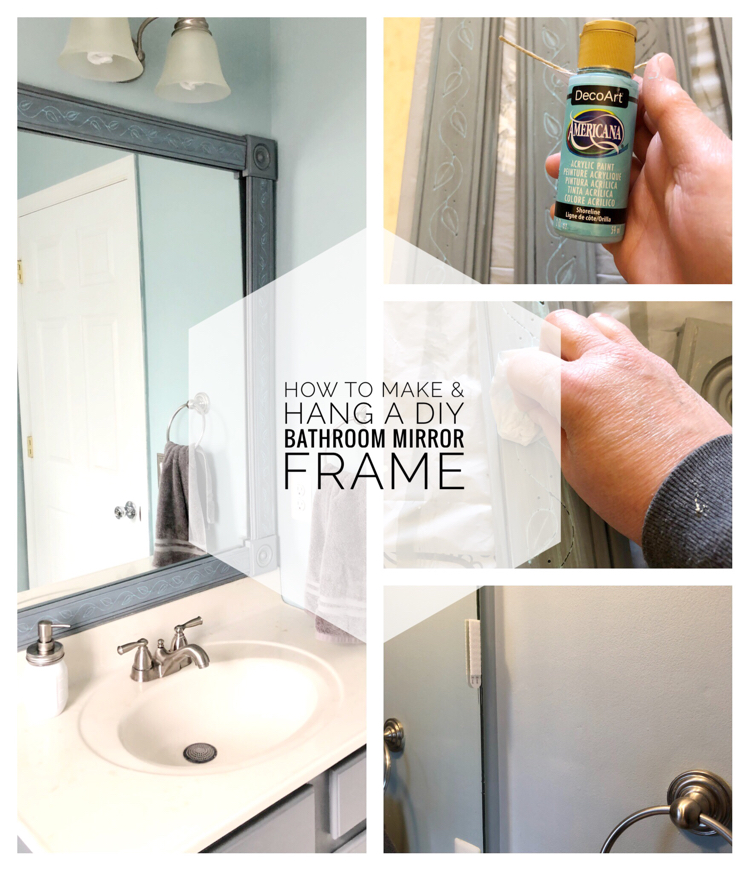
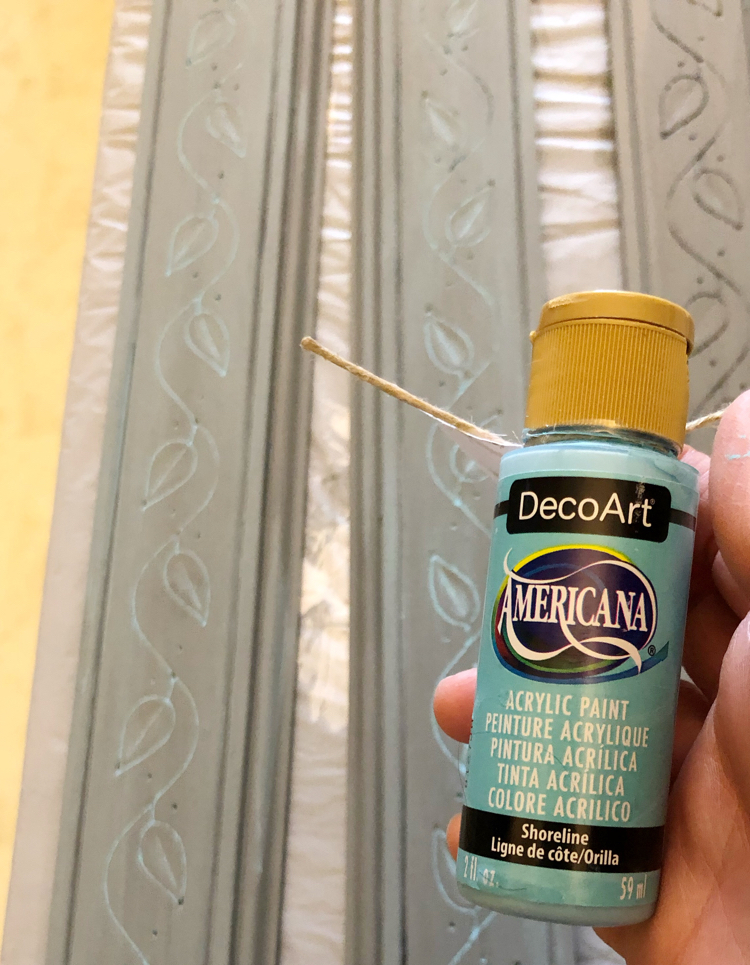
I decided to use some DecoArt Americana Acrylic Paint in Shoreline to bring out the pretty embossed pattern on the chair rail. My paint was a sample that I picked up last summer at the Haven Conference. I figured the blue Shoreline acrylic paint would go well with the blue paint that I chose for the bathroom’s walls.
I like that DecoArt’s acrylic paint is non toxic and can be used on almost any surface. A big plus is that it cleans up with just soap and water when wet.
To bring out the embossed leaf design, I first applied the DecoArt acrylic paint with a foam paint brush. I then used damp paper towels to wipe off the excess. That way, the blue paint remained only on the embossed portions of the chair rail molding.
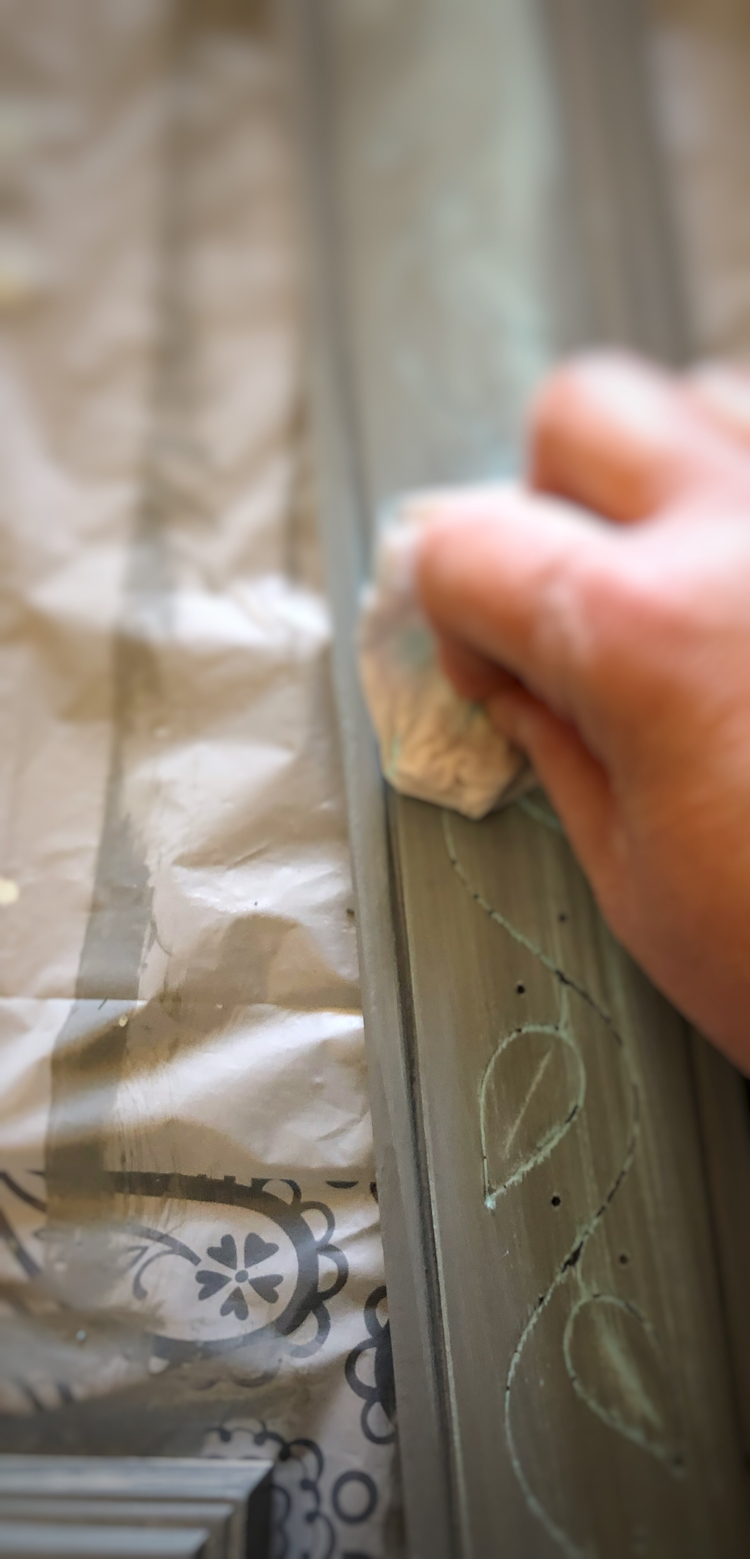
The Decoart Americana Acrylic Paint in Shoreline turned out to be a perfect accent color for my DIY bathroom mirror frame.
Hanging a DIY Bathroom Mirror Frame
I hang most of the art in my home with Command Strips. I always have plenty on hand! I decided to try hanging my DIY bathroom mirror frame with Command Strips. I used three pairs of Command Large Picture Hanging Strips per long piece of molding. (I used two for each rosette.)
I made sure that I hung the Command Strips first and left them up for a few hours before adding my molding pieces. (I wanted to make sure that the Command Strips would adhere well to the mirror.)
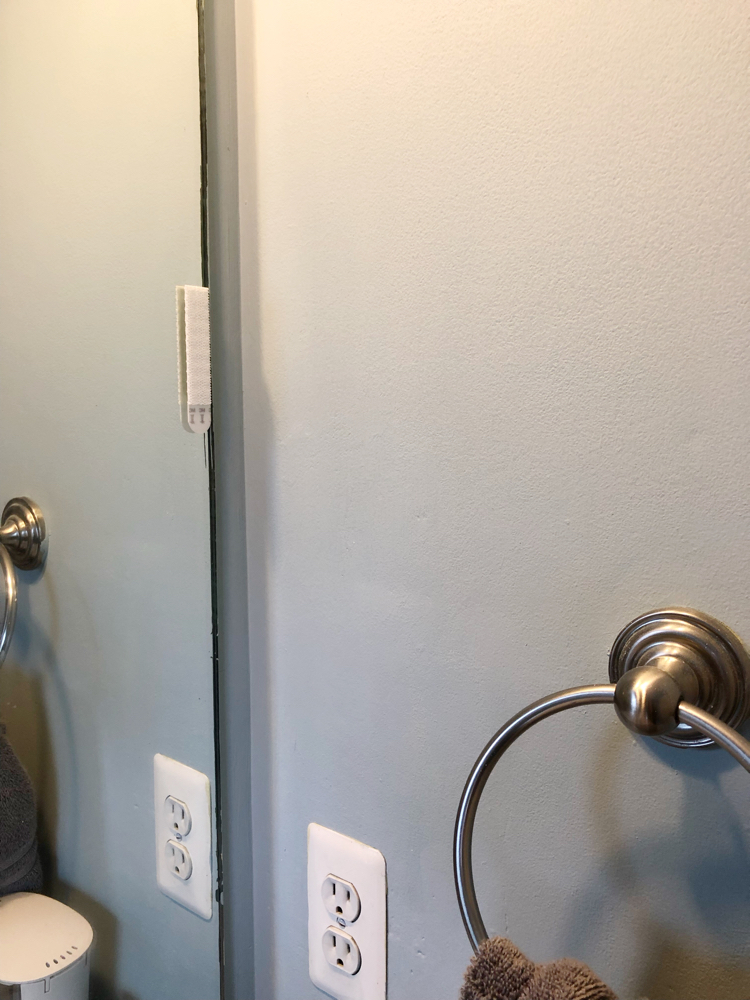
I used extra Command Strips per piece of molding since the bathroom can be a humid place. I figure having more than one set of Command Strips per length of molding is extra insurance that my DIY mirror frame will stay up! I got the idea for using Command Strips on my frame from Lovely Crafty Home, who hung her DIY bathroom mirror frame with Command Strips.
A plus about using the Command Large Picture Hanging Strips is that they raise the mirror enough that I didn’t have to notch out the molding to accommodate the plastic mirror clips. Awesome!
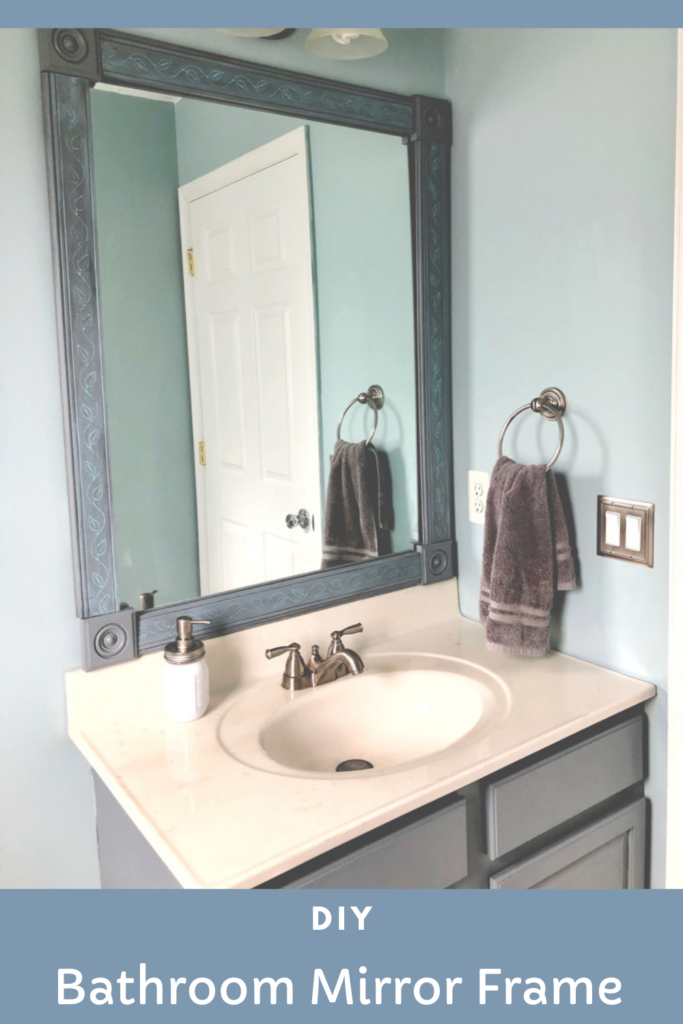
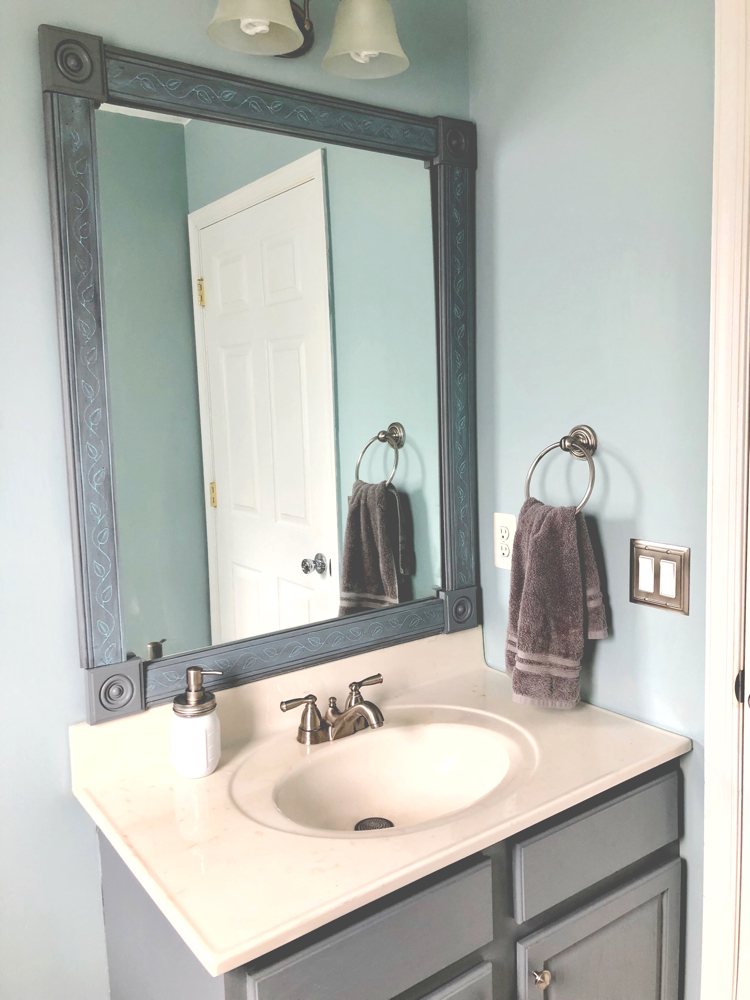
I am really happy with how my DIY mirror frame turned out.
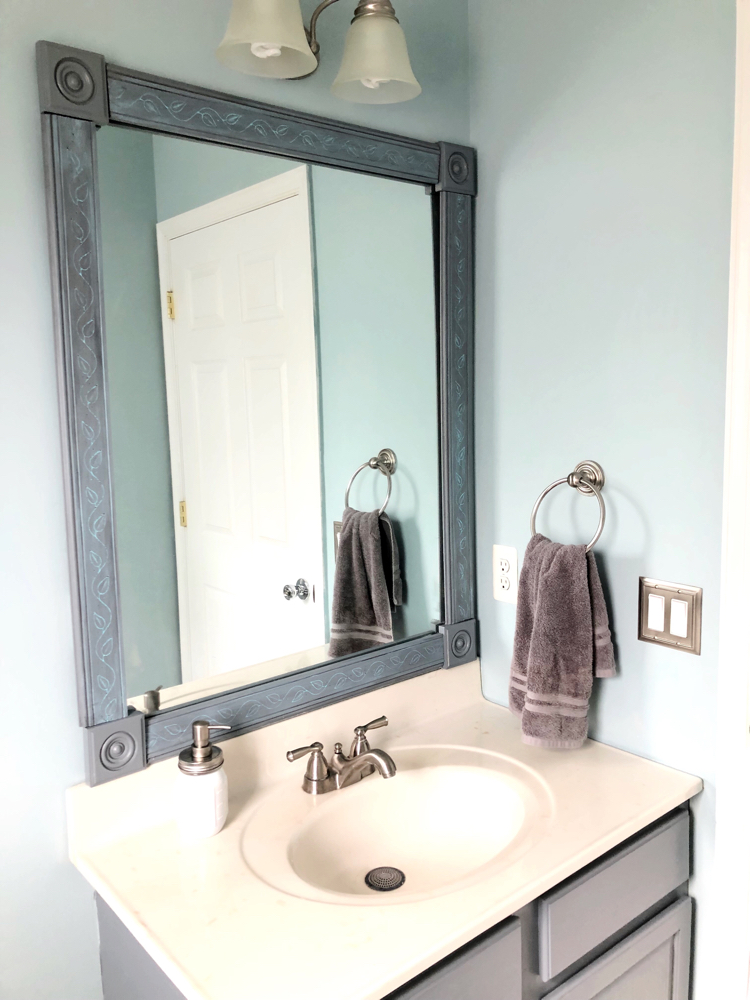
I think the frame makes the bathroom look more complete and finished than it did before.
If you like this project, be sure to pin it on Pinterest so you can refer to it later!
Check back next week for more updates on the space!
I plan to add more organization, decor and some DIY art to the space. I am shopping for a slim white bathroom cabinet that will offer a lot of storage space for my daughters’ accessories.
My daughter is painting a beautiful canvas for the space and I am making a DIY craft project with some of the molding left over from my mirror project. Plus, I’ll reveal a major change to the space that’s been needed for quite some time!
You Might Also Like:

I just love the colors of the bathroom so far! What a wonderful transformation.
You’ve been working so hard on this mirror and the end results are superb!! How clever with how to cover up those little hooks!
Carrie
curlycraftymom.com
Very clever trick with the mirror trim and the Command strips. Thanks for sharing. It’s looking great in there!
You make this look so simple, Lauren! Great job! I can’t wait to see the entire bathroom. Your daughters must be so excited 🙂
Hi, Lauren. Painting a matching frame for the mirror is a great idea and it looks like a perfect match. I am really inspired by your ideas about the DIY bathroom mirror. Thanks for the helpful ideas.
Sarah | Homenourish recently posted…Loft conversion Ideas Low Roof and Small Spaces
Good-looking mirror! It’s the perfect addition to your already nice bathroom.