* I received fabric from Premier Prints in exchange for my honest review. All opinions expressed in this point are my own.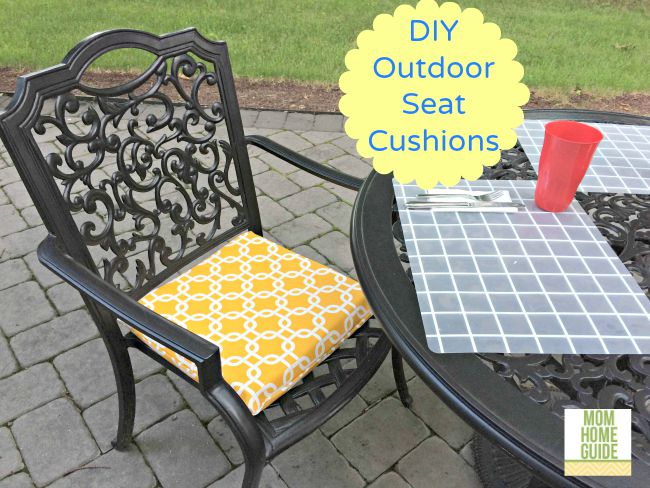
This summer I have been on a mission — on a mission to beautify my home’s patio! In recent weeks, I’ve painted a DIY beverage cart, spray painted some Adirondack chairs and added a lovely yellow hue to a hand-me-down coffee table for my home’s paver patio. But I didn’t stop there — I made some budget DIY outdoor cushions for my patio’s wrought iron dining set!
I have been wanting outdoor cushions for my patio’s dining set for a while now. I’ve never wanted to pay a lot for them, however. Outdoor seat cushions cost too much — a single outdoor seat cushion can cost as much as $25! I certainly didn’t want to spend $100 on seat cushions. So I decided to make my own DIY outdoor chair cushions! This project is so inexpensive, easy and quick that you can make your own outdoor chair cushions in no time!
DIY Outdoor Seat Cushions
I love the fabrics by Premier Prints — Premier Prints has such fun and beautiful fabrics! Last year I made some really pretty curtains for my daughter’s new room. The fabric I used is Dandelion White Coral Print from Premier Prints — my daughter picked out the print and loves it!
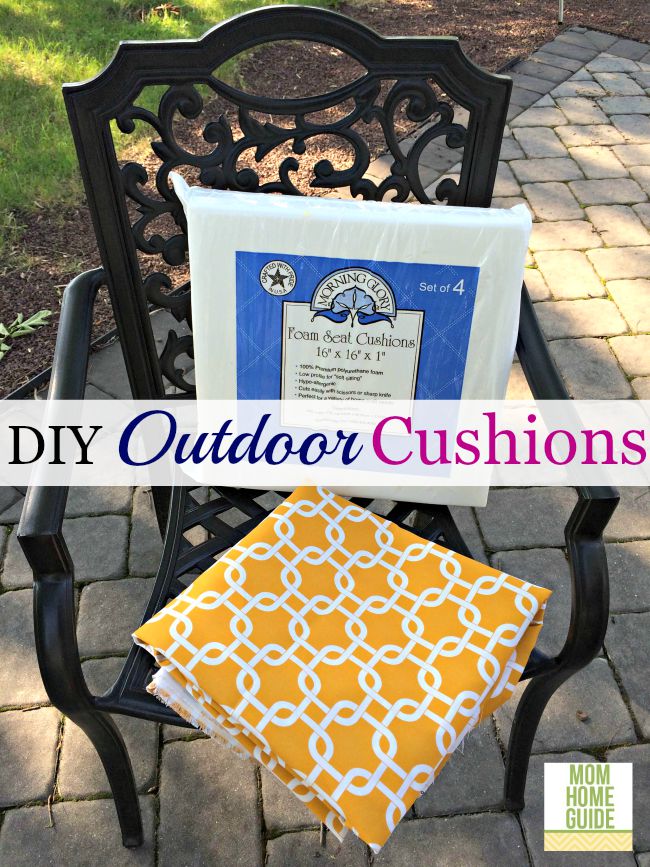
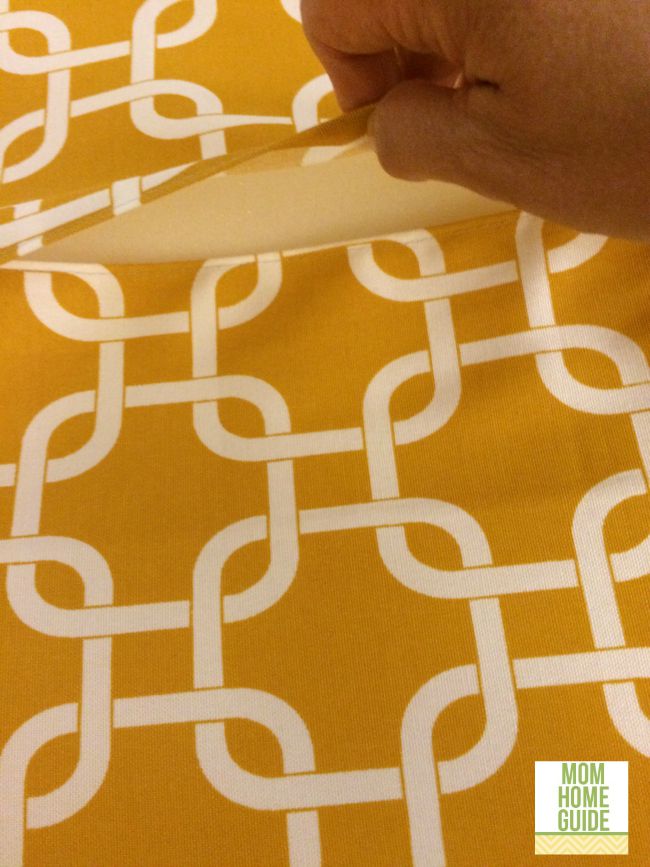
So, when I was looking for a print to use for my new DIY outdoor patio cushions, I chose a fabric from Premier Prints! I have been into bright and sunny home accents lately, so I went with Outdoor Gotcha Yellow. The fabric is designed to resist fading in the outdoor sun.
For my cushions, I purchased inexpensive 16-inch by 16-inch foam cushions from a craft store. Since the cushions are thin, I used two cushions for each chair’s finished seat cushion.
Materials
Inexpensive foam cushions from a craft store (in a size to fit your outdoor chair). The cushions I bought were only just over $6 for a pack of four. Since the cushions are thin, I used two cushions per chair.
Outdoor fabric (I used Outdoor Gotcha Yellow from Premier Prints)
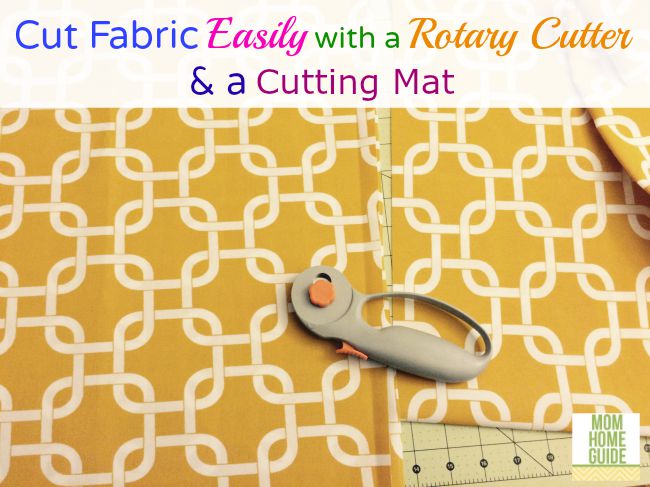
Rotary Cutter
Sewing Machine
Rotary Cutting Mat
Sewing Pins
Sewing Thread


Directions
- Measure your cushion. Add one inch more in length and width in fabric for the front of the pillow. Cut the fabric.
-
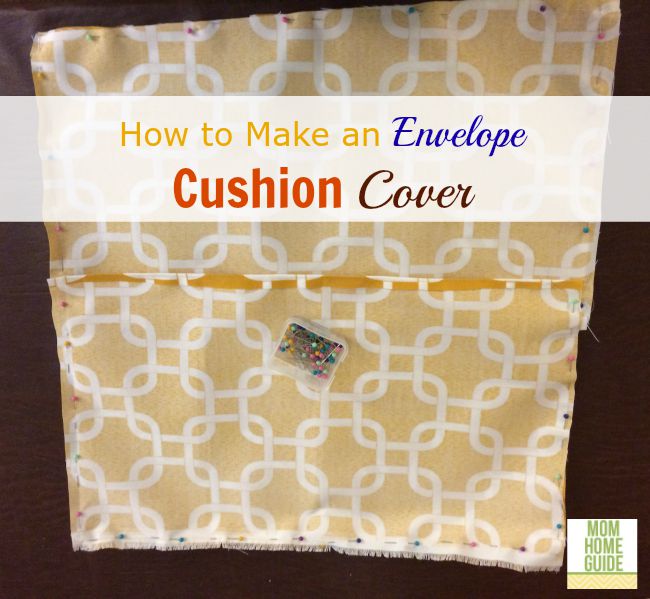
Cut another piece of fabric that’s the same width as the front piece, but add four inches to the length — this piece of fabric should be 4 inches longer than the front piece. Fold this cut piece of fabric in half lengthwise. Cut on the fold. (The resulting two pieces will be for the back of your cushion — adding the extra inches in length will allow for these pieces to overlap so you can make an envelope cushion cover.)
- Iron your 3 fabric pieces.
-
Fold down the raw edges of the back pieces a 1/4 inch and press for a smooth seam. Sew the seams on both pieces.
-
Line up the front and back pieces of your cushion cover with right sides facing together. (The printed sides of the fabric should be facing inwards.) Pin your pieces together. Sew around the entire cushion cover.
- Trim the corners of your cushion cover.
-
Turn the cushion pillow cover right side out and add your pillow.
I love my outdoor seat cushions! I didn’t use an outdoor foam for my cushions (doing so would have majorly increased the cost of my cushions), so I store my cushions inside and bring them outside only when I plan to use them.
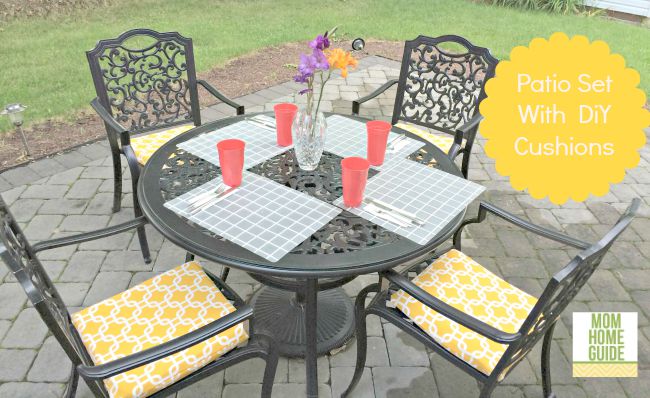 Storing the cushions indoors keeps the cushions a lot cleaner — I don’t like how dirty regular outdoor cushions get, anyway! I am so happy I got this project done!
This tutorial was shared at Homestyle Gathering.
You Might Also Like
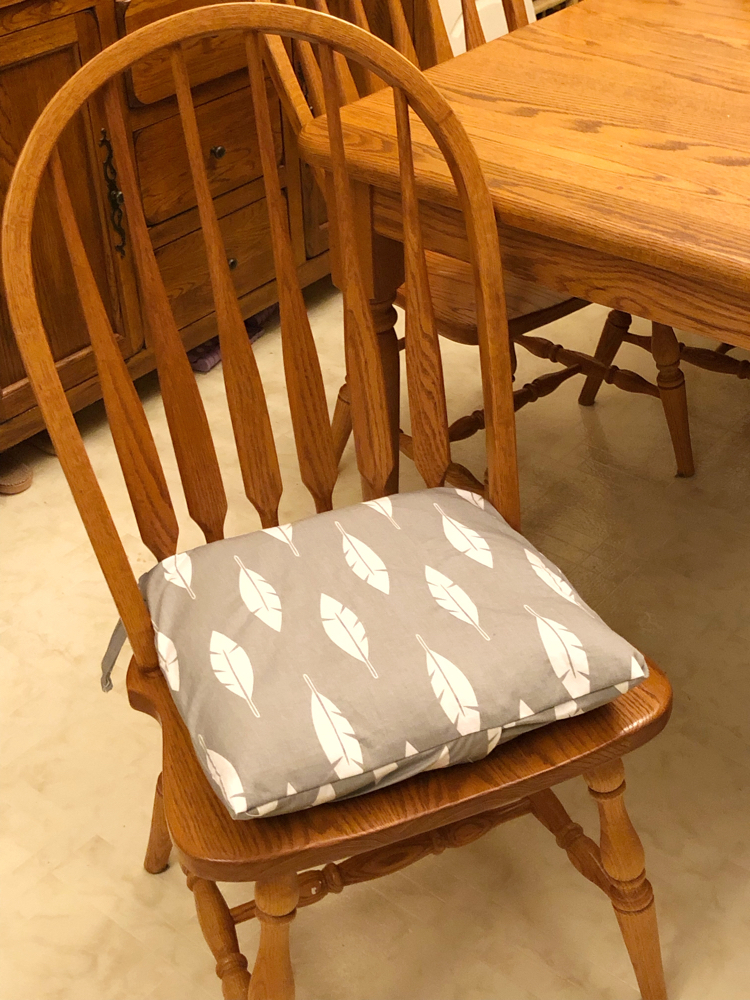
Simple Chair Cushion Covers with Chair Ties
Easy Patio Planter Posts for String Lights