Thanks to Nearly Natural for providing me with the beautiful rustic pine Christmas tree shown in this post.
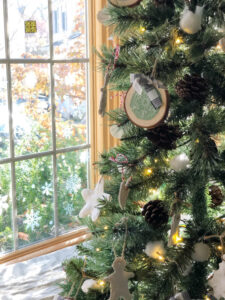
This year I received a beautiful 6 foot mountain pine rustic artificial Christmas tree from online retailer, Nearly Natural. I just love this sweet, slim profile tree! It comes already pre-strung with the cutest clear fairy lights.
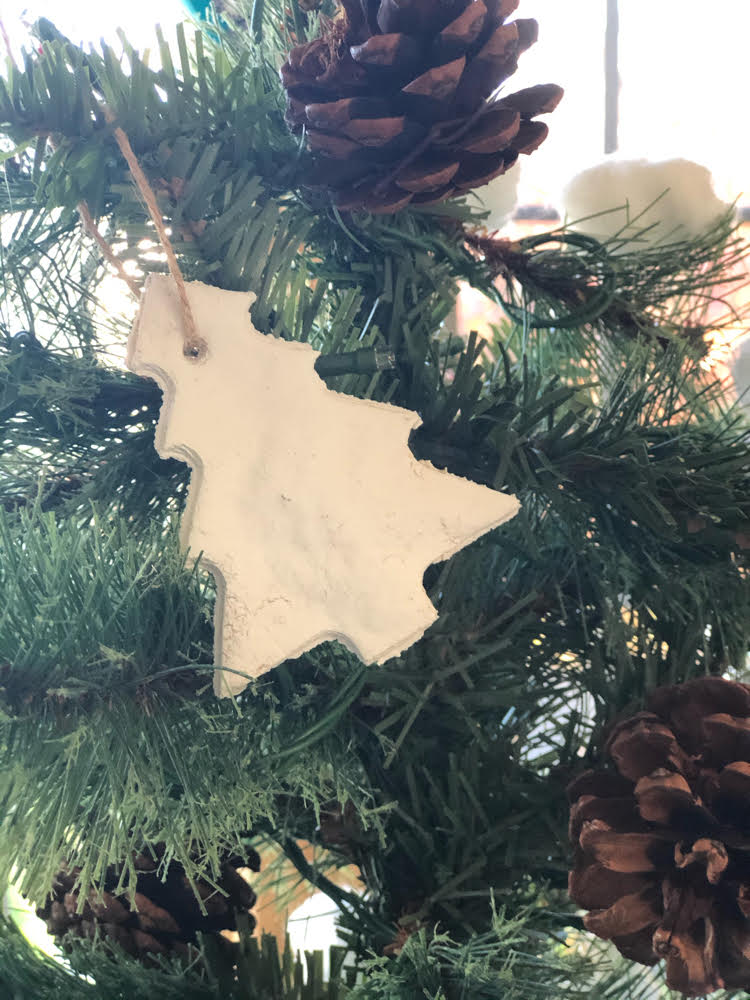
At only about 2 feet wide, my new artificial or faux Christmas tree fits in my narrow living room and is quick to put up! I decided to go with a simple and homemade look for the ornaments for my tree, so I made homemade ornaments. A big part of the tree are my salt dough ornaments that I made. I’ve always wanted to make these!
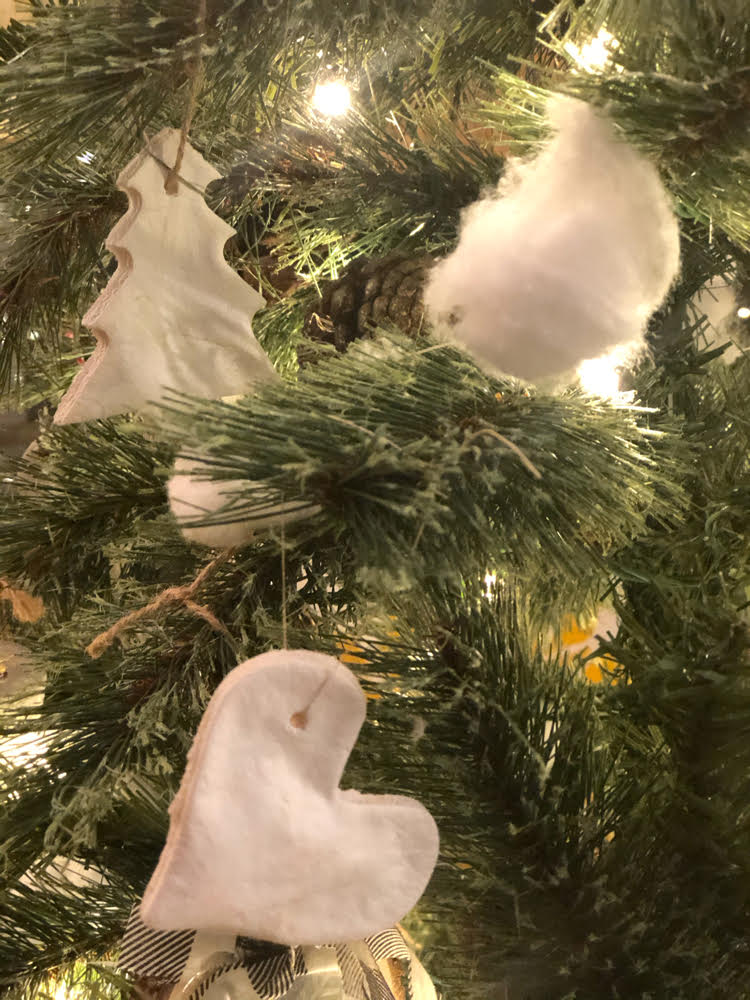
I like how the pretty white of the salt dough ornaments contrasts with the dark green of my Christmas tree. They also look nice with my snowflake-decorated Christmas window.

How to Make Salt Dough Ornaments
It turns out that salt dough ornaments are really easy to make! If you can make a simple cut out cookie, you can make a salt dough ornament. The wonderful thing is that you only need flour, salt and water to make basic salt dough ornaments.
I got my recipe from Cassie of Whollyfully.com. Cassie says these ornaments can last a decade – the salt acts as a preservative. She decorated her salt dough ornaments beautifully – I just spray painted mine white for a simple look.
My friend, Crissy of First Day of Home, also has a fantastic and easy to follow tutorial on how to make beautiful salt dough ornaments.
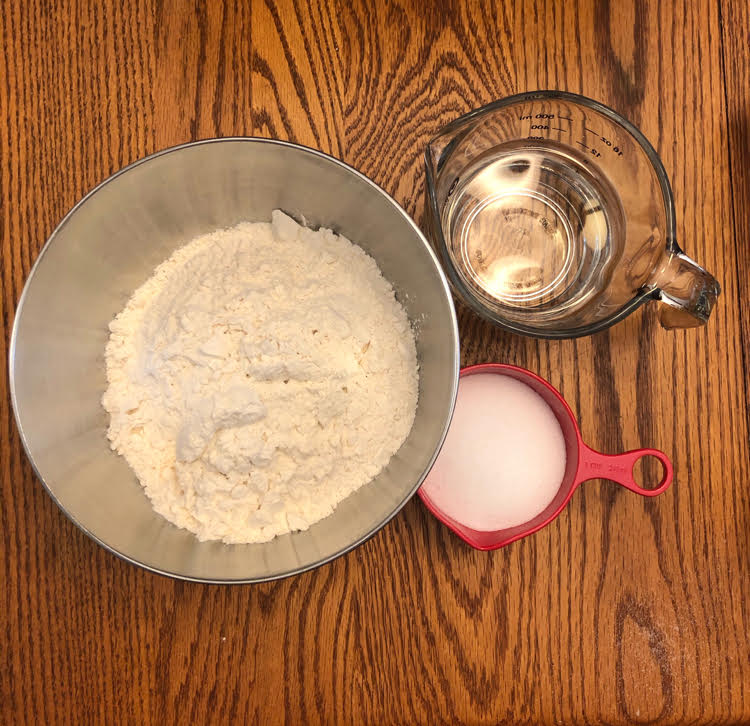
Salt Dough Ornament Ingredients
All-purpose flour (4 cups)
Table salt (1 cup)
Warm water (1 1/2 cups)
White Spray Paint (Optional)
Needed Baking Tools
Silicone Baking Mats or Parchment Paper
Cookie Cutters
Chopstick to poke hole in salt dough ornament
Baker’s Twine for Hanging Ornaments
Salt Dough Ornament Directions
In a mixing bowl, mix together flour and salt. Slowly add warm water while you stir. Once the dough has come together, knead the dough for a few minutes with your hands.
Preheat your oven to 300 degrees F.
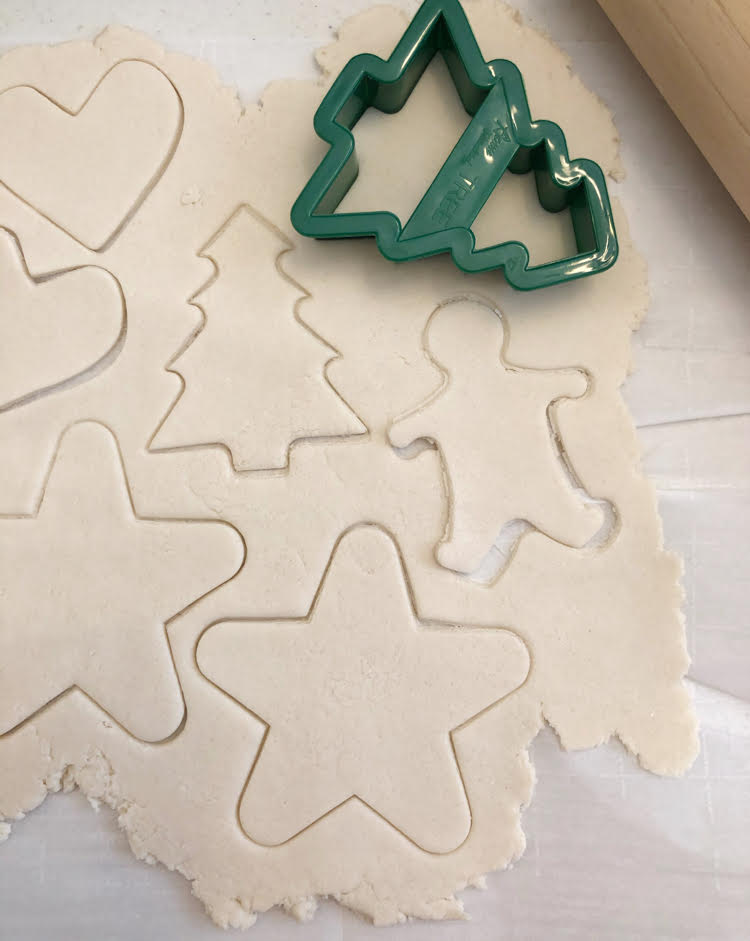
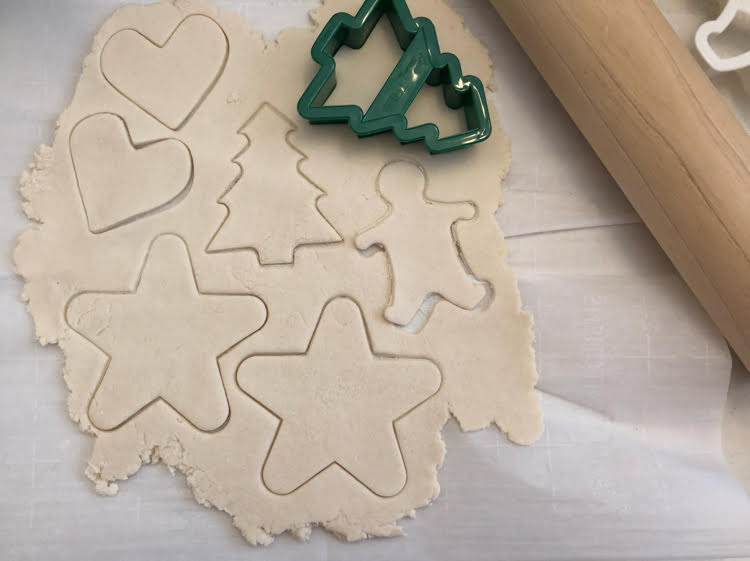
To roll out the dough to cut out shapes for your ornaments, place dough on top of a piece of parchment paper. Place another piece of placement paper on top of the dough. Roll out the dough until it’s about 1/8″ thick. Use cookie cutters to cut out various shapes. (I cut out Christmas trees, hearts, stars, etc.)
You might get some air pockets while baking the ornaments if you don’t roll the dough out thin enough. (That happened with a few of my ornaments.)
Cut out as many shapes as you can. Then peel away the excess dough, leaving the cut out shapes on the parchment paper.
Use a chopstick to poke a circle (for a string or ribbon from which to hang the ornament) in each cut out shape.
I left my ornaments plain, but you can use a fork, a chopstick, etc, to imprint designs, etc., in each shape.
If you can roll out the excess dough and cut out a shape or two extra, do that.
Carefully move the parchment paper and cut-out shapes to a baking sheet or two. Bake the cookies at 300 F for an hour.
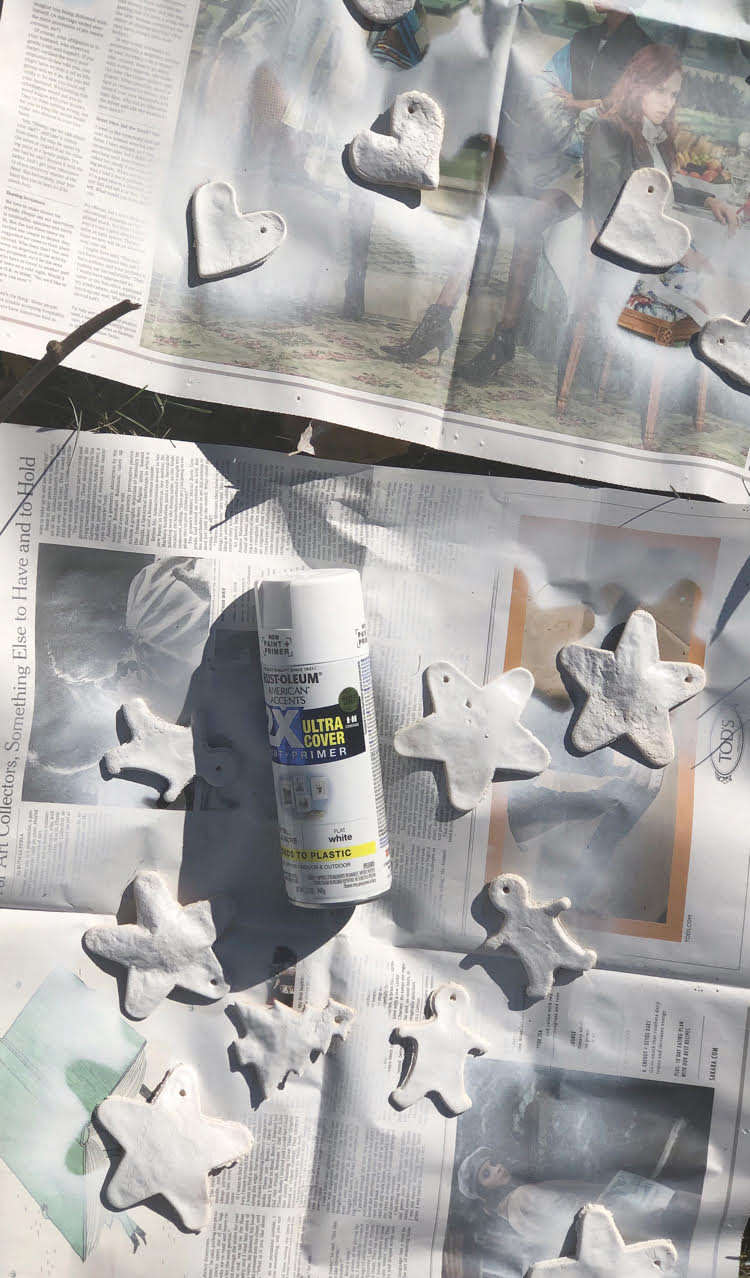
If you wish, you can spray paint each ornament once they have cooled with white spray paint to even out the color. (Just like regular cookies, the cookies may brown a little in the oven.)
I spray painted my ornaments outside the following day.
If you like, you can also paint a thin layer of Mod Podge over the ornaments to help preserve them even more after the spray paint has dried. (I didn’t do this step.)
Just make sure you don’t try to eat these ornaments! There is A LOT of salt in the salt dough to preserve it – so this dough is not edible.
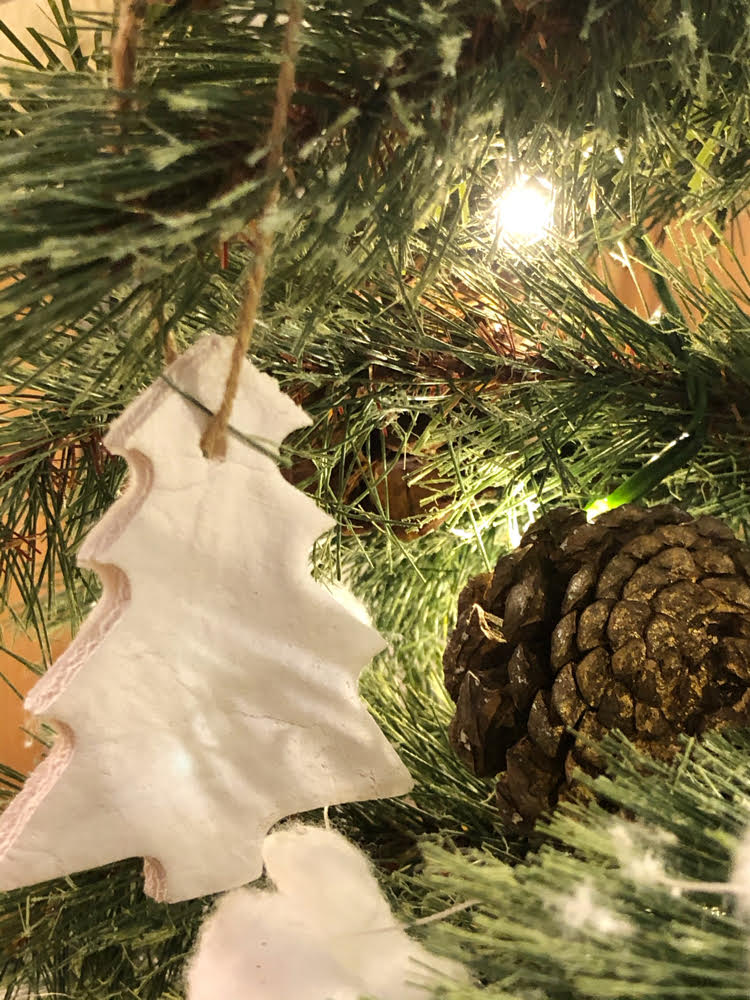
Once your ornaments are complete, thread some string or ribbon through the holes of your ornaments. Hang them on your Christmas tree and enjoy!
You Might Also Like
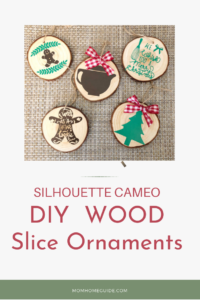
DIY Snowflake Wood Slice Ornaments
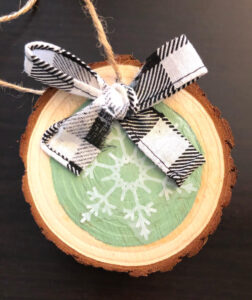
DIY Wood Slice Christmas Ornaments
Nearly Natural Slim Christmas Tree
Discover more from momhomeguide.com
Subscribe to get the latest posts sent to your email.
[…] I figure that I spent less than $20 decorating the tree! (Check out this tutorial to see how I made DIY salt dough ornaments for the […]