Thanks to Premier Prints for providing the beautiful fabric that I used to make my DIY box cushion with custom piping. This post contains Amazon affiliate links.
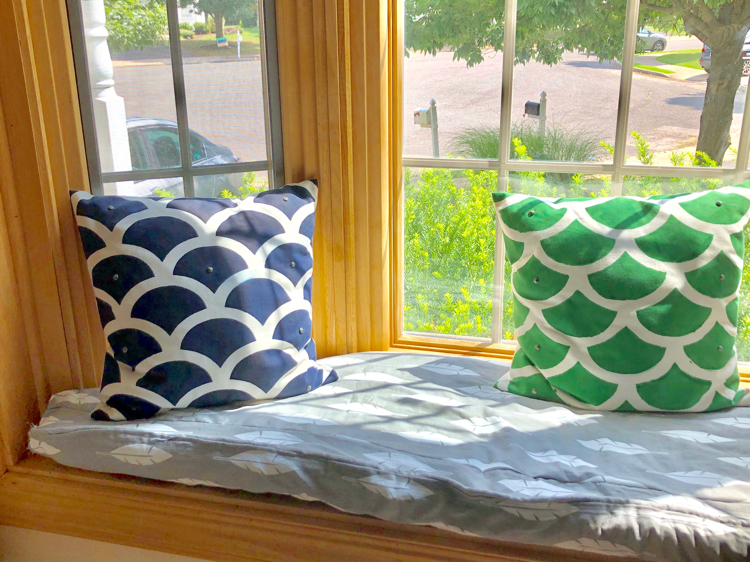
Welcome to the monthly Pinterest Challenge blog hop, hosted by Erlene of My Pinterventures. Every month my blogging friends and I challenge ourselves to tackle and complete a project, craft or recipe that we’ve pinned on Pinterest. This month I decided to make and sew a box cushion with homemade piping for my home’s living room bay window! The inspiration for my project was the piped box cushion from Pretty Handy Girl. I love the look of a box cushion with some pretty piping!
Making a Custom Piped Box Cushion
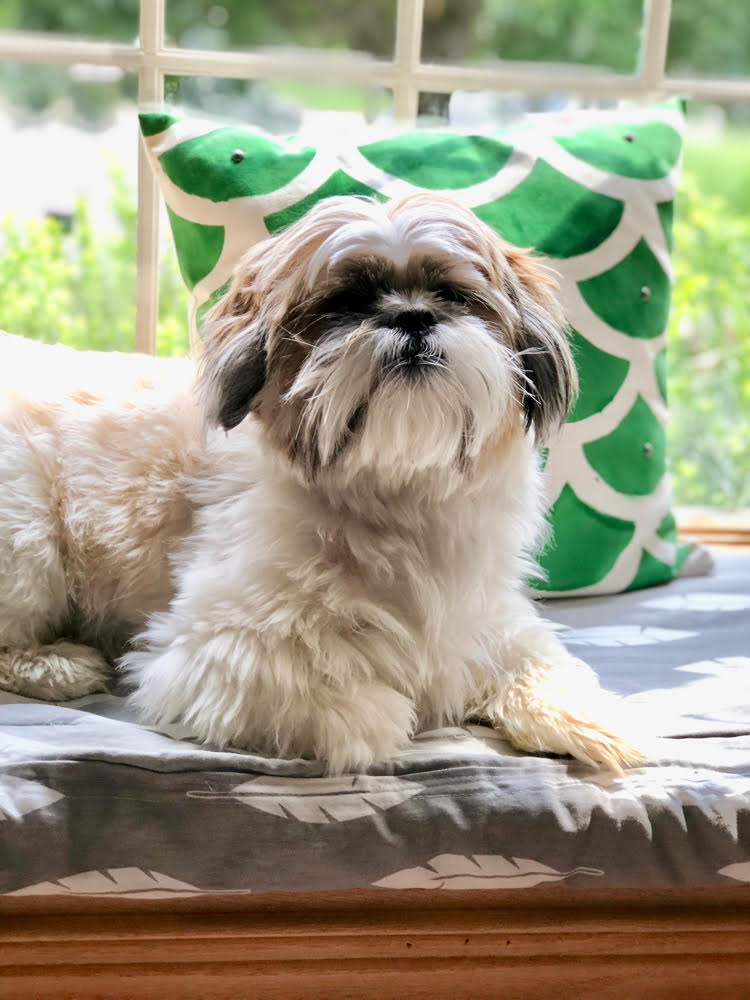
I have long wanted a cushion for my home’s window seat — especially since we’ve adopted our family’s little Shih Tzu pup, Mochi! Our pup loves to sit on the window seat. The problem is that our puppy has added a lot of scratches to the surface of the window seat. (I hope to eventually sand and stain the window seat.) With a cushion on the window seat, the window seat will be more comfortable — and protected.
Materials for a Box Cushion with Piping
Fabric (I used 3 yards of Premier Prints Feather Silhouette Twill, StormFairfield Poly-Fil Extra-Loft Batting
Hot Glue Gun and Glue Sticks
Newspaper (for making a template of your cushion if your bench or window seat has an irregular shape)
Measuring & Cutting a Foam Cushion & Padding
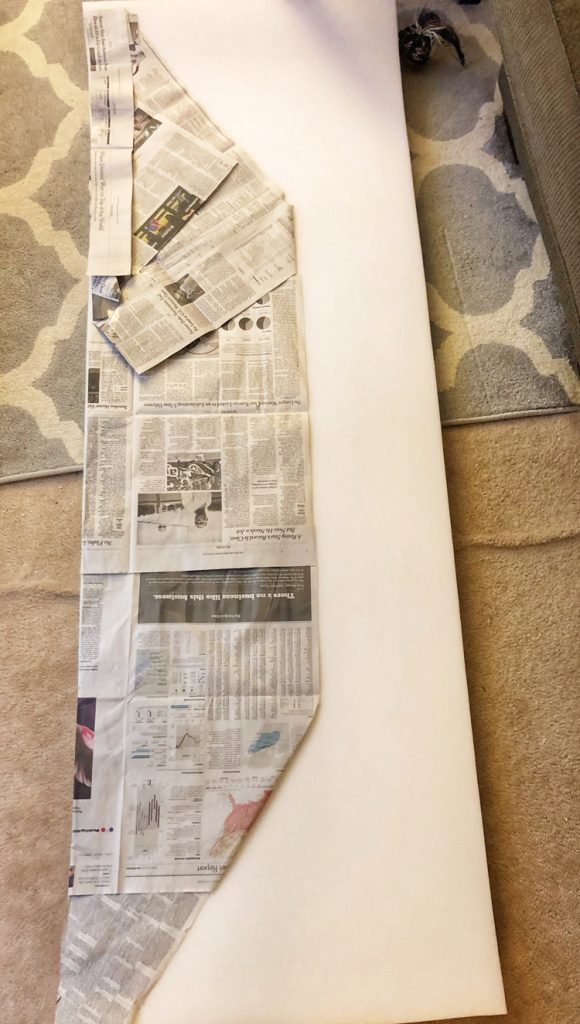
Since the window seat in my home’s living room is shaped like a trapezoid, cutting foam to fit the window seat was tricky! I made a template to use for measuring and cutting the foam cushion. I made my pattern by laying newspaper down on the window seat. I then folded and taped the newspaper together until I had the perfect size and shape for the window seat cushion. It was a little like doing origami!
Once I made my template, I laid it over the foam so I could cut out my DIY boxed window seat cushion. I used my kitchen’s large table as my work space, keeping a self-healing rotary cutting mat (see materials list, above) underneath the foam as I cut.
Many people use an electric knife when cutting foam. I don’t own an electric knife, so I used a serrated bread knife instead. (Just be careful when doing this step — either way, the knife will be very sharp!)
After I had my foam cut out, I wrapped the foam in Poly-Fit Extra-Loft Batting and secured it with some hot glue using my glue gun.
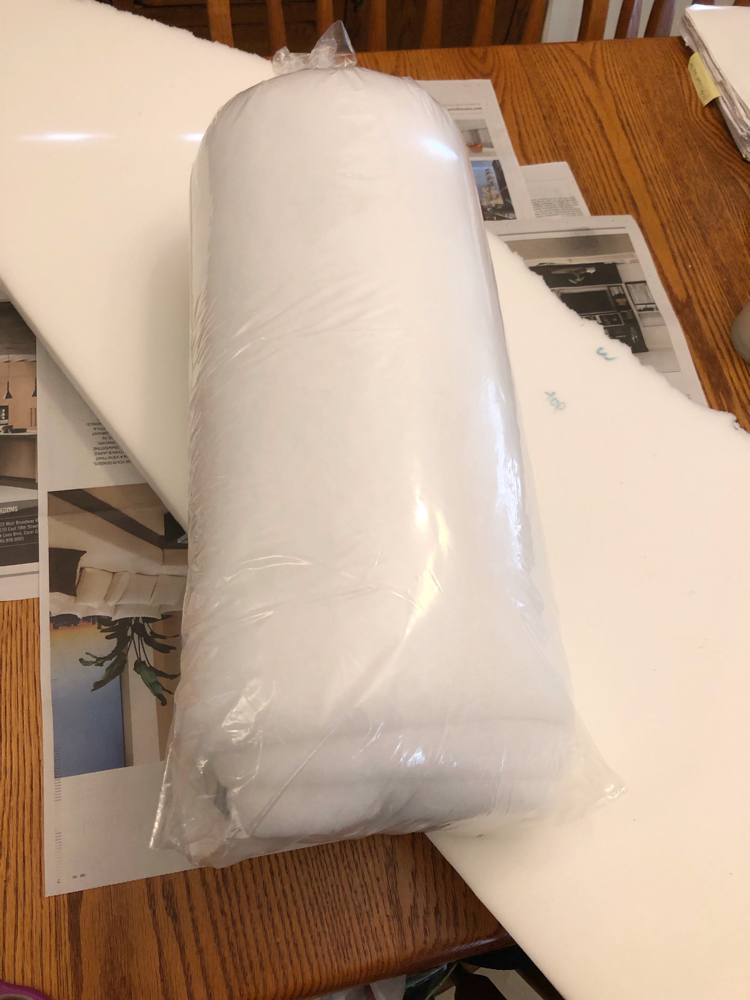
When making a cushion, it’s best to wrap the foam in batting before inserting into your DIY cushion case.
Measuring & Cutting the Fabric
Once I had my foam cut and the foam wrapped, the next step was to cut the fabric sections for the cushion. The fabric I chose for my cushion is Feather Silhouette Storm/White Twill from Premier Prints. I love the fabrics at Premier Prints. I used a Premier Prints fabric to make easy DIY panel curtains for my home’s living room, DIY outdoor seat cushions for my patio and sweet no-sew panel curtains.
A box cushion is a cushion that has fabric top and bottom panels, as well as fabric “boxing” panels that run around the sides. Since my window seat is a trapezoid shape, that means I needed top and bottom panels, as well as five strips of boxing for the sides.
I made the top and bottom panels an inch wider and longer than I needed to provide room for seam allowances. I also made each box side panel an inch longer and wider than I needed. (My cushion is 2 inches deep, so I made each panel of fabric boxing 3 inches tall. I added an inch of length to each panel as well.) I decided to have a Velcro closure for the back of the cushion – that way I can easily remove the cushion cover when it needs to be washed. So, I cut an extra back strip of fabric to make sure I had enough fabric in the back to Velcro the cushion closed. (I later sewed this panel onto the back edge of the bottom panel to allow room for a wide strip of Velcro.)
Making the Piping
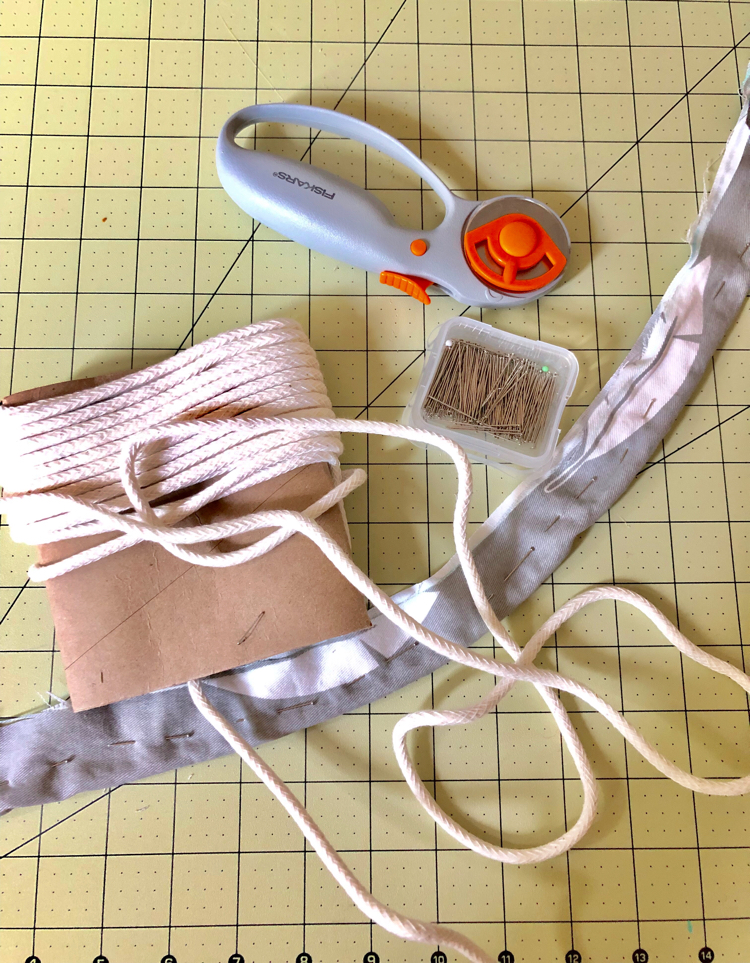
For this project, I decided to make my own piping for the cushion. Making the piping was easy. I simply measured the perimeter of my foam cushion. I then cut long strips of fabric that I could encase the cotton piping welt cord in. I made the strips wide enough so that I could fold the strip in half to encase the welt cord within the strips. I pinned my DIY piping closed. I then sewed the strips together (with the piping in the fold), sewing as close to the welt cord as I could. I then had matching piping for my cushion!
Sewing on the Boxing & Piping
The next step was to sew on the piping. I also needed to sew on the boxing, or sides of the cushion cover, on to the top panel. To do this, I pinned the piping on the top panel (on the right side of the fabric panel) for my cushion. I then pinned the boxing/side panels on top of the top panel along the perimeter, with the right side of the fabric down. (So the piping was sandwiched between the top panel and a side panel of the cushion.) I then sewed on the piping and the boxing. I only added piping to the top of my cushion, but you could add it to the top and bottom panels if you like. (Check the bottom of this post to see the detailed photo and video tutorials that I used for these steps.)
My next step was to sew the bottom panel of the cushion cover to the boxing. When sewing, I was careful to not sew closed the back of the cushion cover. Instead, I sewed on an extra strip of fabric to the bottom panel of the cushion. (I hemmed that panel all around to give it clean edges first.) I also hemmed the free edge of the boxing to give it a clean edge.
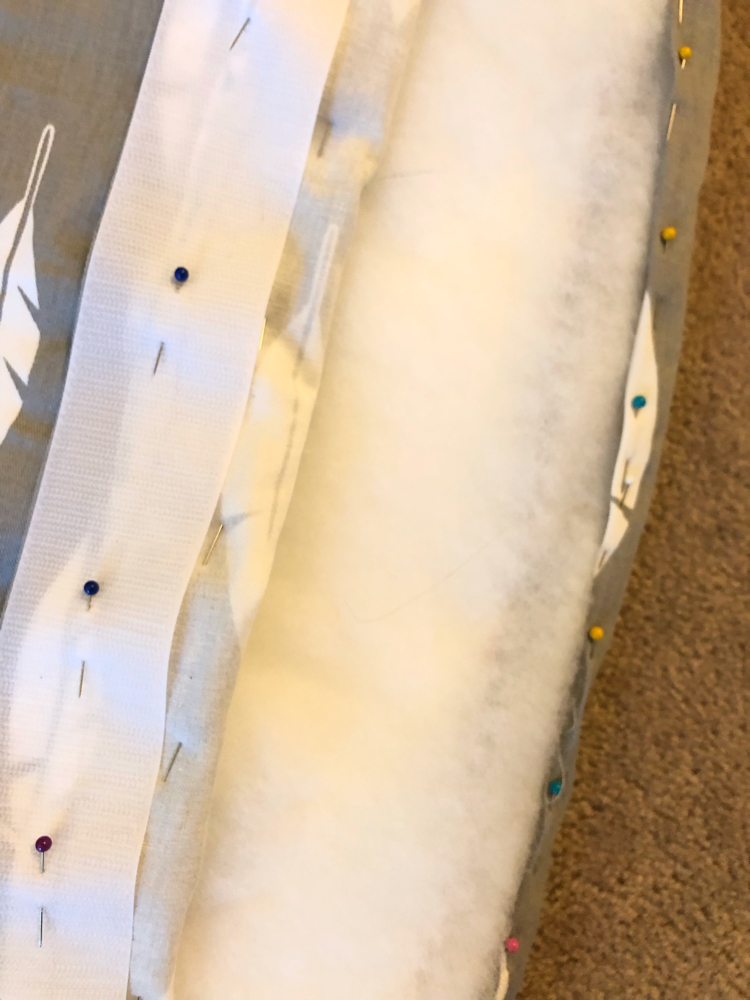
I sewed sew-in Velcro to the additional panel and to where that panel would meet the back side panel. That allows me to securely Velcro the cushion closed. The Velcro doesn’t show since it’s on the bottom of the cushion, and on the edge of the cushion that faces the window. I pinned the Velcro on first, using ball-head straight pins. I find these pins much easier to insert and remove than pins that aren’t topped with a ball head.
The Best Way to Sew a Box Cushion with Piping
This is my first box cushion — and the first time I’ve ever used or made piping! I am happy with how my cushion came out for the most part. There is some room for improvement, though, since this was my first cushion.
While researching how to sew a box cushion with piping, I discovered this very good video tutorial on how to sew a box cushion with piping. (This video shows how to add a zipper closure to the cushion, however, which I didn’t do.) If you’d like to see how to sew a boxed cushion step-by-step, this video is an excellent reference.
Pretty Handy Girl also has an excellent tutorial for making a boxed cushion with piping. She shows in very clear photos how to make a Velcro flap for the back of the cushion to secure it closed. (Her steps are ordered a little differently than the steps I took, but the idea is basically the same.)
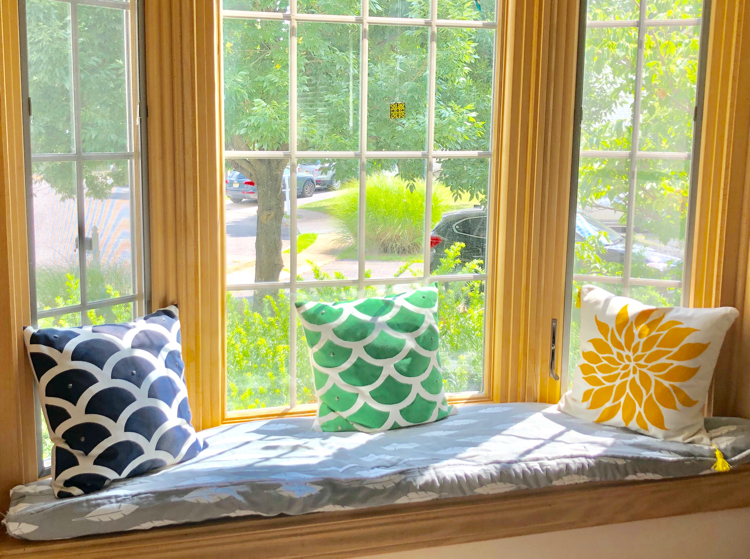
Since I am a sewing newbie, it took me quite some time to sew this cushion. I’m thinking I may want to give it another go at some point. I am sure that my puppy will dirty up the cushion at some point, so it will be nice to have a replacement cushion cover. Plus, I love switching out the decor in my home for the seasons.
If you’d like to make this cushion, be sure to check out the beautiful fabrics at Premier Prints. Also refer to my Amazon materials list earlier in this post.
Now on to the rest of the Pinterest Challenge — be sure to scroll down to see my friends’ awesome projects!

The cushion turned out great! I love to sew but dealing with piping has never worked out well for me… I usually make my mom do that part! Pinning
Emily recently posted…Printables – Download or Create Your Own + HM #249