Welcome to our Halloween Holiday Craftacular Blog Hop!
Throughout the year, my blogging friends and I will share our holiday or seasonal projects. Stop here Monday through Friday of this week to see great Halloween decorating projects, crafts and ideas from me and my friends!
Plus, share your Halloween project, recipe or craft at the Holiday Craftacular linky party below!
We can’t wait to see your Halloween creations! We’ll share our linky party favorites at our next Holiday Craftacular blog hop and on our Holiday Craftacular Pinterest Board!
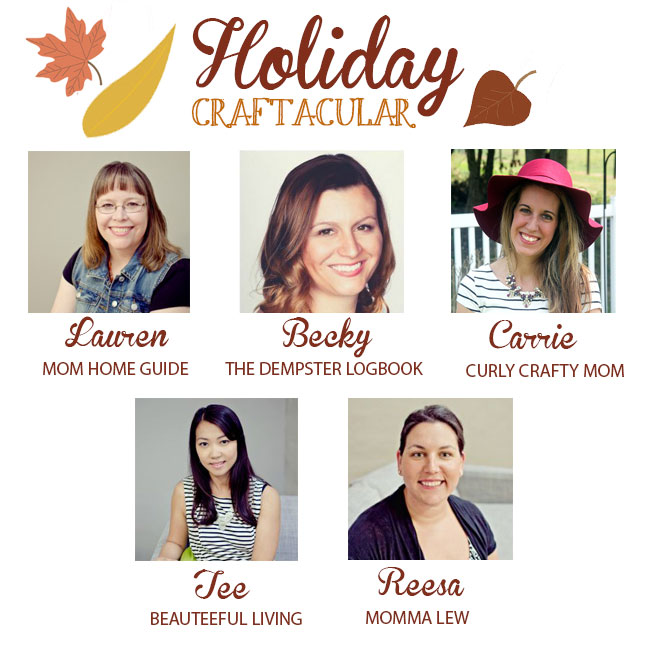
Meet the Holiday Craftacular blogging crew! Please follow your Holiday Craftacular hosts!
Also, be sure to visit our next Holiday Craftacular blog hop, which starts December 7 for our Christmas Craftacular blog hop!

Becky of The Dempster Logbook
Now for today’s Holiday Craftacular blogger, Becky!
Welcome back to the third day of our Holiday Craftacular! I’m Becky and I blog at The Dempster Logbook. I write from the heart for those who want real life encouragement. I also create DIY tutorials for people who love the idea of DIY and creating their own beautiful things, but don’t own a garage full of fancy power tools. I left teaching to stay at home with my kids, help with the farm, and grow my blog. Today I’m so excited to share with you how I created this fairy mask for my oldest daughter, using leftover supplies in my craft closet! But up first is my feature pick from the Fall Holiday Craftacular link up.
I’m excited to share with you these cute little gold and white pumpkins from Come Home From Comfort. She took items she already had on hand to create this updated look for fall. You’ll want to head over and check out how she achieved this look over here.
Now for the directions to create your own fairy mask. {Remember, you can download my basic template and turn it into any mask your son or daughter may want!}

To create the mask you will need the following supplies:
- Two Templates {see below}
- Felt: one color for the main mask and a shade of green for the vines.
- School glue
- Water
- Fabric Glue
- Gold Glitter
- Elastic Ribbon
First you will want to cut out the two templates below. Use the templates to trace and cut out your felt.

Next you will want to stiffen the mask. Mix equal parts of school glue and water in a plastic container. Put the felt mask in the mixture and cover completely.

After it is covered, remove the mask and squeeze out the excess. Lay flat to dry on parchment or wax paper. Allow to dry completely. (Takes about 3 hours. I left mine overnight.)

Once the mask is dry you can glue on the green vines using fabric glue.
The next step will be to smooth on a small layer of the fabric glue and sprinkle with glitter. Make sure the glue is a thin layer so it will dry clearly.

Once the fabric glue is dry cut a small slit on each side of the mask and thread your elastic ribbon through. Measure to make sure it is the right length of elastic to fit around your child’s head. Tie at each end and you are done.

You could adapt the basic templates to create any mask for your child. I would love to hear what you make with the templates I’ve given you! Happy creating friends!

Make sure you check back tomorrow for the Halloween post from Tee at Beauteeful Living. And now it’s your turn! Link up your Halloween themed projects below and check out what other bloggers have been creating.
Discover more from momhomeguide.com
Subscribe to get the latest posts sent to your email.

Hi Lauren! Thank you so much for featuring my pumpkin project! What a darling fairy mask – I know your daughter was thrilled with it! Hope you’re having a great day. 🙂
You are welcome, Whitney! Thanks for stopping by!