Thanks to MirrorChic for providing me with the mirror frame shown in this post. This post contains Amazon affiliate links.
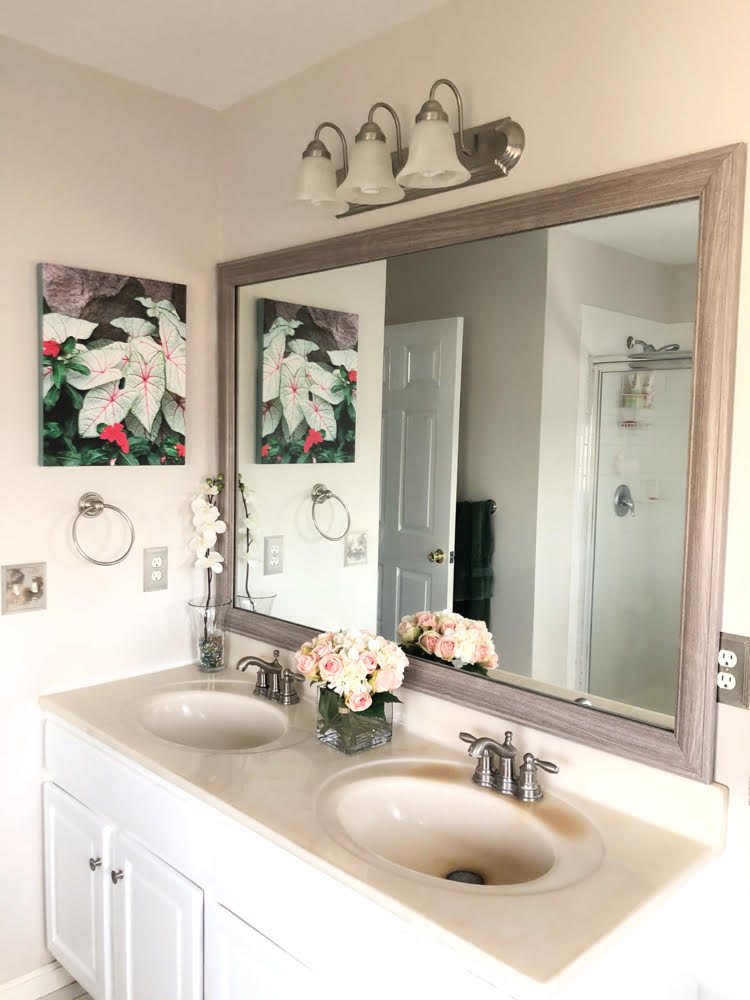
Welcome to Friday Finds! On Fridays I share products that I’ve tried and love. Today I am reviewing a bathroom mirror frame from MirrorChic.com. MirrorChic crafts custom mirror frames for bathroom mirrors. These beautiful and affordable mirror frames make it easy to frame any frameless builder grade bathroom mirror.
Check out my how to video on how to assemble and install a MirrorChic mirror (at the end of this post).
Beautiful Budget Bathroom Upgrades
Over the years, I have been working to update (on a budget) my home’s spacious but very basic master bathroom.
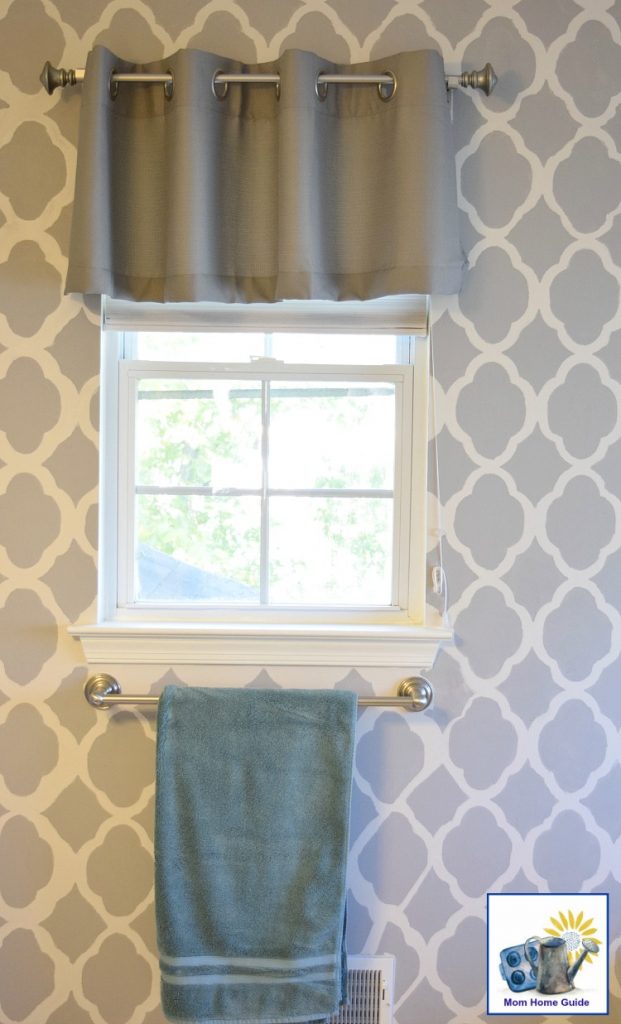
The first thing I did was stencil a feature wall in the bathroom for visual impact. (See this post to see how I stenciled the bathroom wall.)
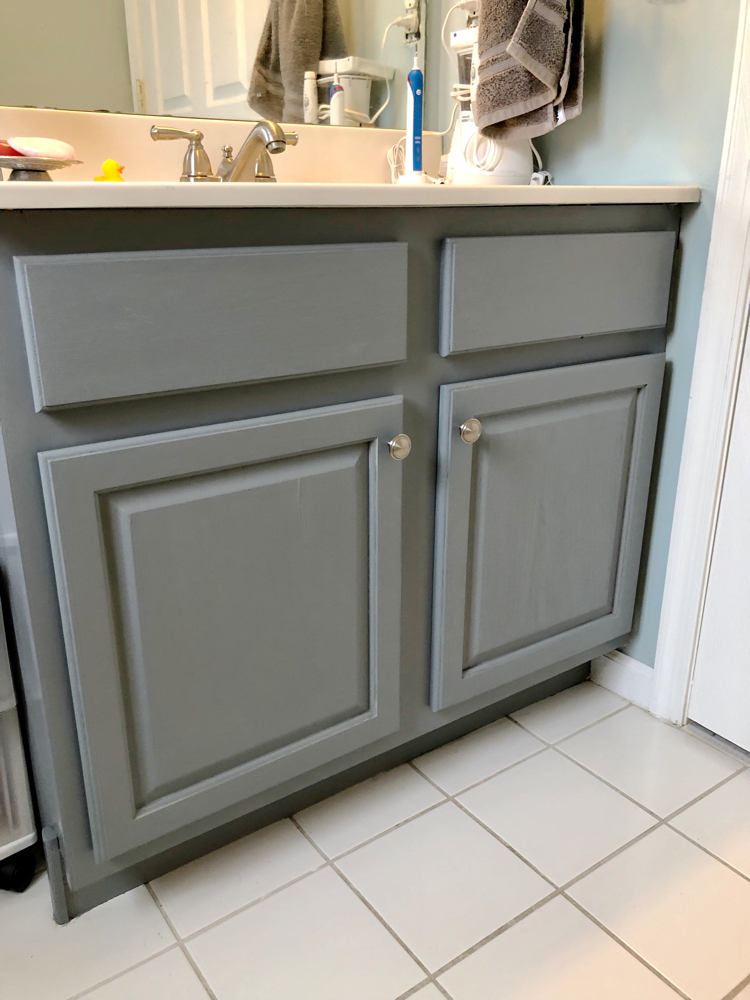
Just last week I finished painting my bathroom vanity with Pure White Americana Decor Satin Enamels Paint by DecoArt. (I will be sharing that tutorial here on the blog soon!) I love the new clean and bright look for the painted bathroom vanity!
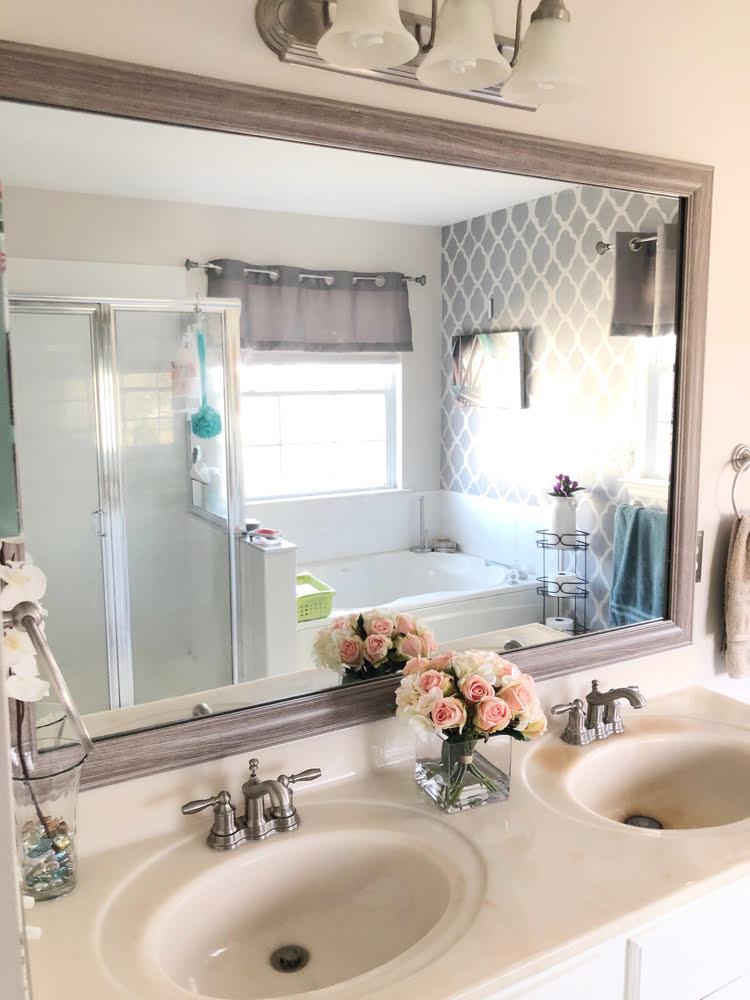
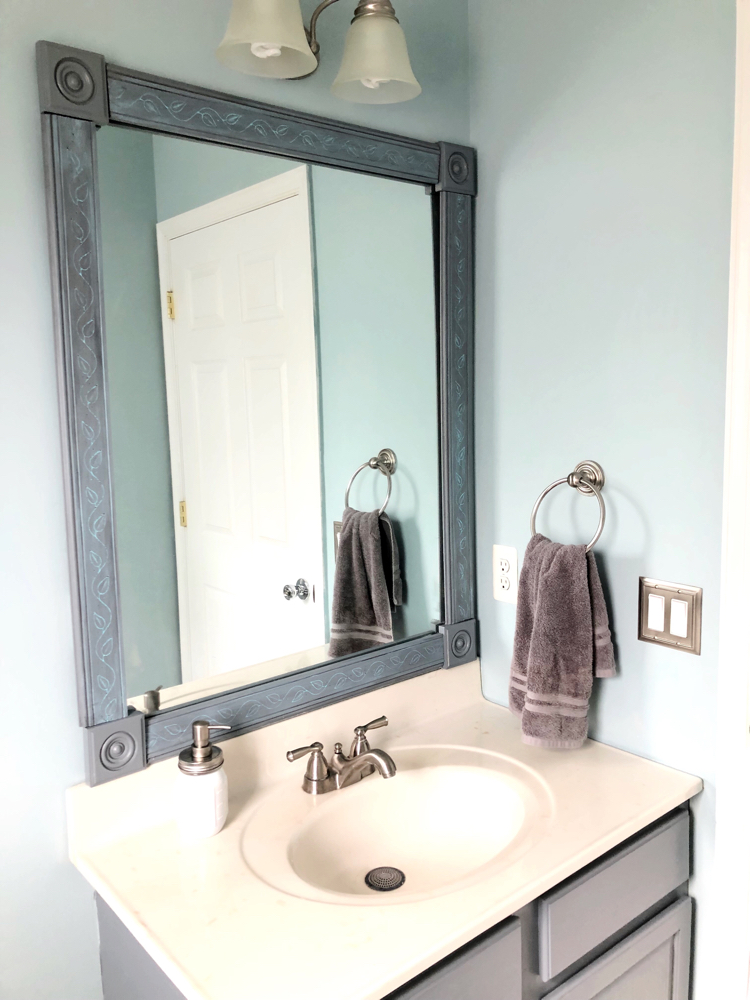
Just this week, I put together and hung a MirrorChic frame custom made for my bathroom mirror! I think my bathroom looks quite nice and mostly complete now!
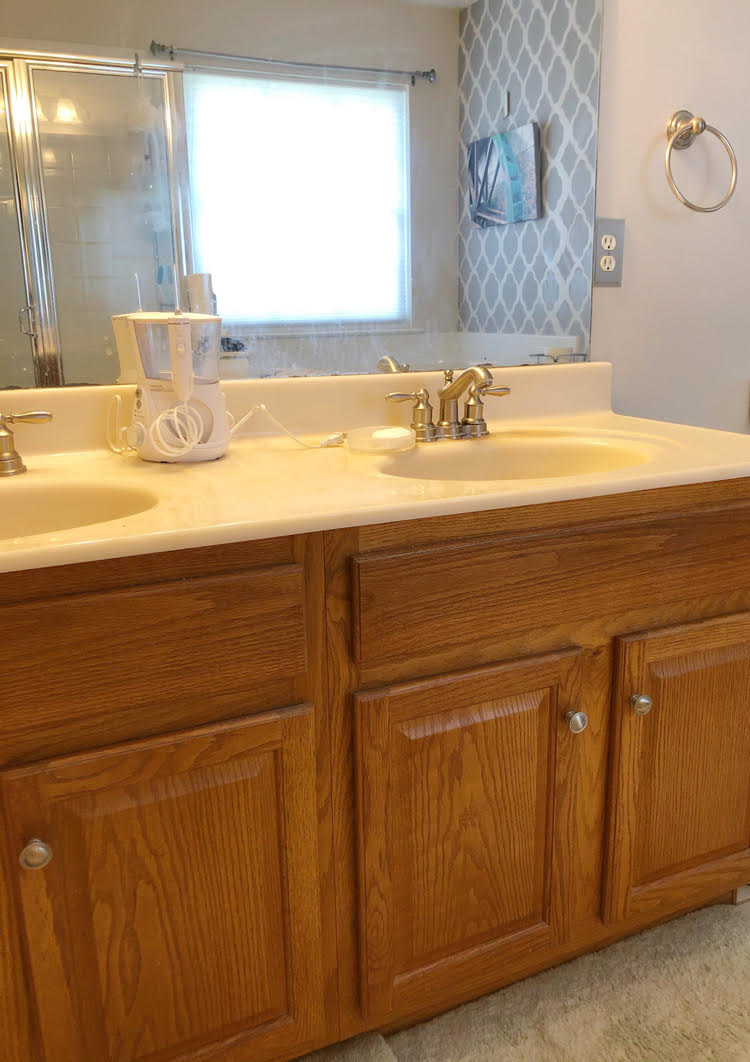
The below photo shows what my home’s master bathroom looked like before I began working on the vanity and the mirror. As you can see, it looked very basic! (Except for my feature wall.)
The oak vanity didn’t quite go with the new gray and white color scheme that I have chosen for the bathroom.
How to Frame Your Bathroom Mirror with MirrorChic
Choosing and ordering my custom mirror frame from MirrorChic was very easy! The first thing I did was pick out my mirror frame.
I wanted a frame that would go with the gray accents in my bathroom. I also wanted a modern style mirror instead of a mirror with lots of ornamentation.
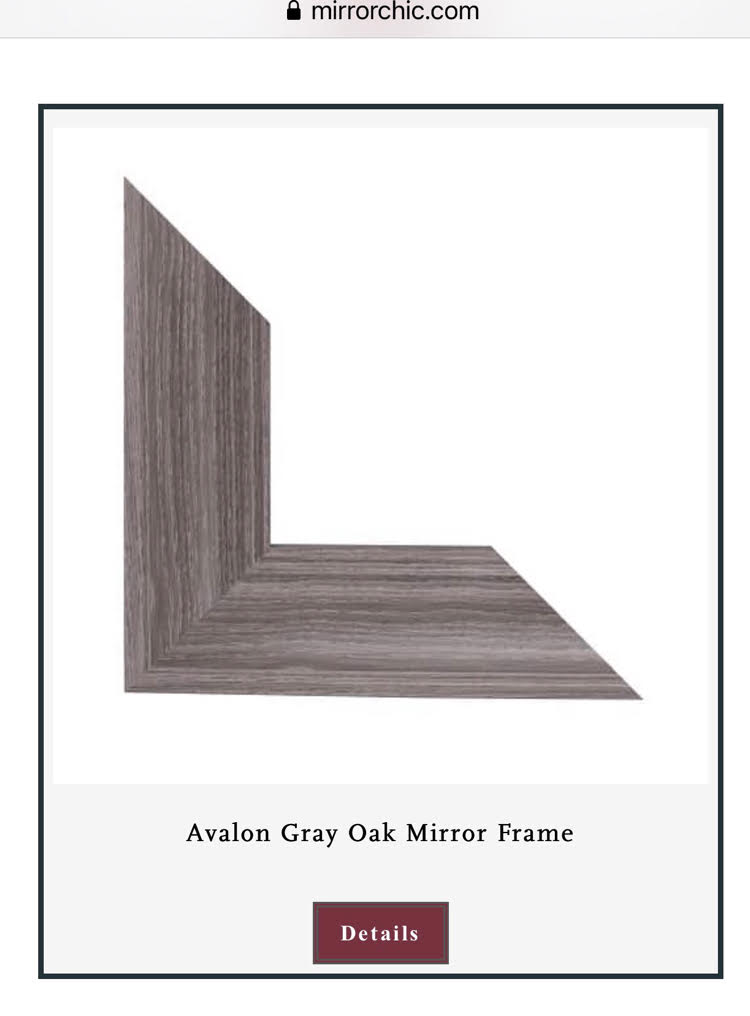
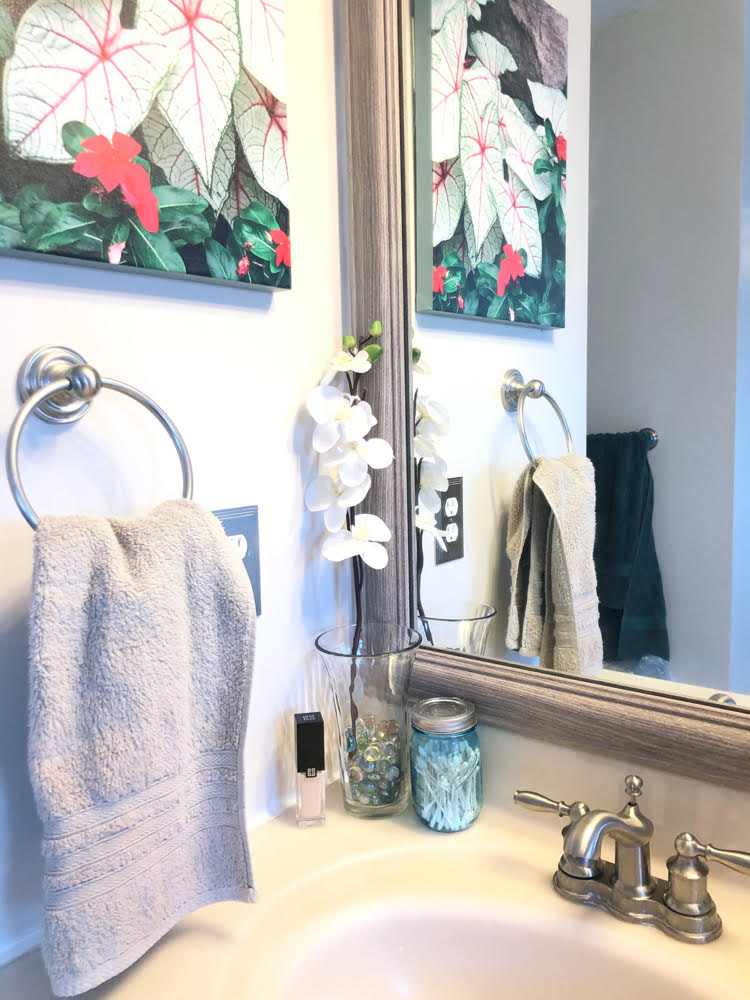
It was easy to narrow down the mirror frames I was considering by selecting using a pull-down menu to shop MirrorChic mirror frames by the colors silver and gray. I decided that MirrorChic’s Avalon Gray Oak Mirror Frame would work perfectly for my space.
To get my custom frame, I provided MirrorChic with the length and height of my mirror. I also shared how much clearance was above, below and on either side of my mirror. (E.g., there is a big amount of space above my mirror. The mirror is flush against the wall on one side, sits on top of a backsplash, and is against an outlet on the other.)
I also provided information on the type of mirror clips that my mirror had.
After I ordered my frame, it arrived only about a week later!
Removing Bulky Mirror Clips
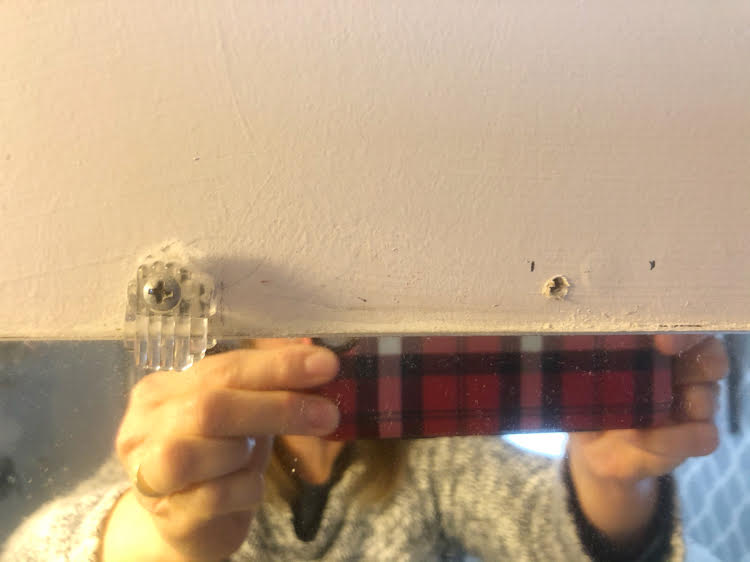
The builder-grade mirror in my home’s master bathroom was hung on the top with two bulky plastic mirror clips. (There are two flat mirror clips on the bottom.)
MirrorChic provided me with two flat mirror clips to replace the two thick plastic ones that originally held my mirror.
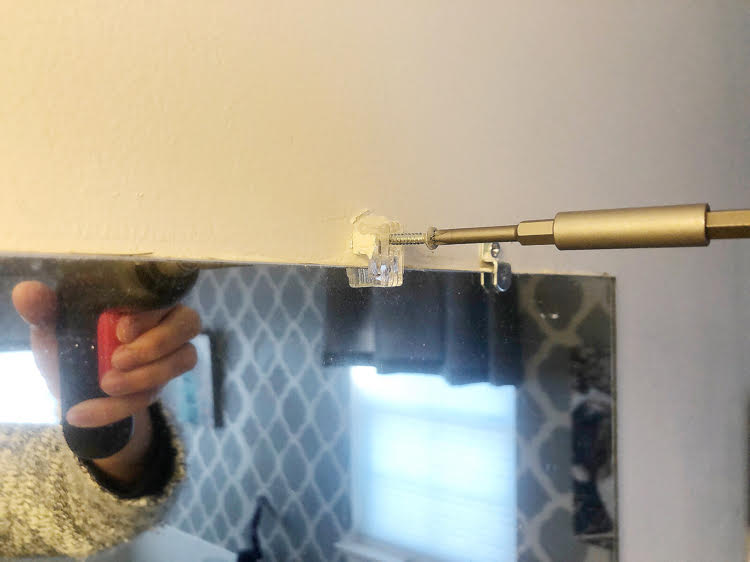
The builder of my home had screwed the mirror’s top bulky mirror clips into drywall with drywall anchors. I used wood screws to secure the new flat mirror clips to studs behind the wall.
I used a studfinder to locate the studs behind the wall. (You can see the marks I placed on the wall in the photo below that show where the stud falls.)
My new NEX L1 PRO cordless screwdriver made it easy to unscrew the old mirror clips from the wall and to install the new ones. I made sure to install the new mirror clips before removing the old ones.
I used a Cordless Drill to drill pilot holes for each screw before trying to screw the flat mirror clips into the wall.
Assembling a MirrorChic Bathroom Mirror Frame
Putting my MirrorChic mirror frame up was simple. My frame came in 4 pieces. It was quite easy to tell which pieces were the top and the bottom, and which ones were the sides. (Since my mirror is much longer than it is tall.)
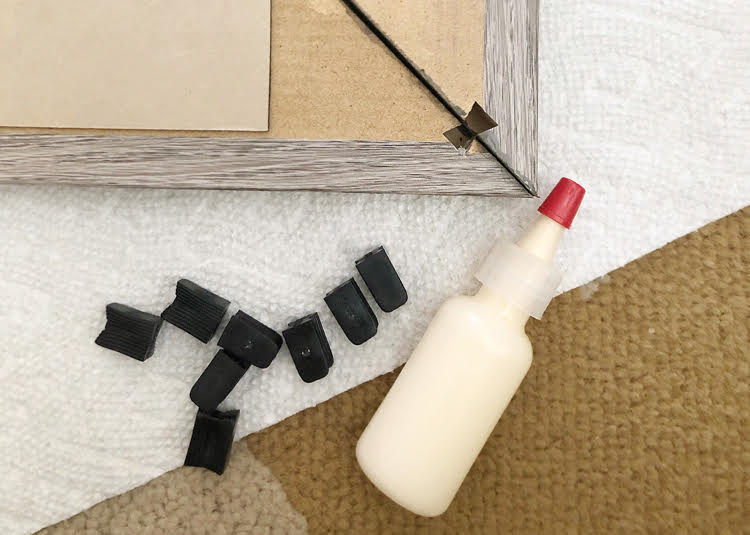
The mirror came with a small tube of wood glue and with 8 dovetailed clips. To put the mirror together, all I had to was place the mirror upside down on a flat surface and fit the pieces together.
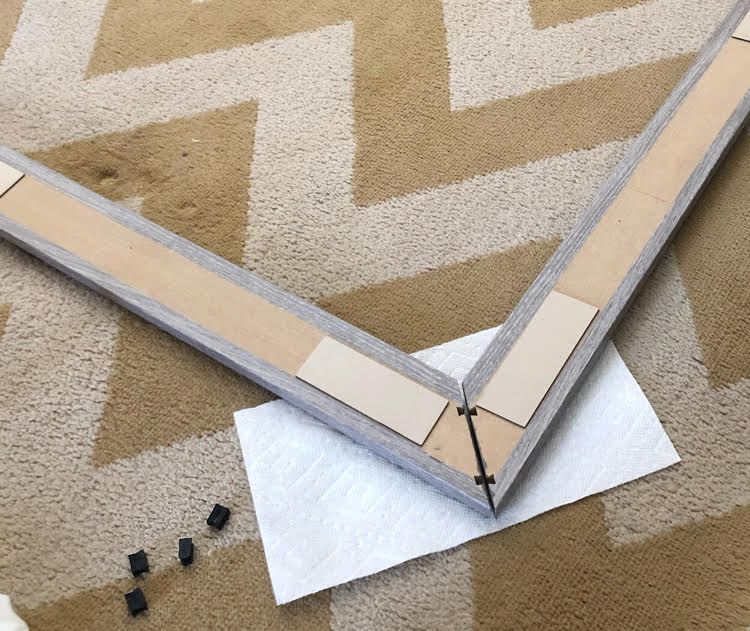
I then put a small amount of wood glue on the inside of the corners of the frame (where the frame pieces met). I used a hammer to gently tap the provided 8 dovetailed pins into place. Very easy! ( Mirrorchic has an easy to follow mirror frame assembly video on its website that I watched before assembling my mirror.)
After that, all there was left to do was hang my beautiful new Mirrormate frame!
MirrorChic sends two self-stick blue placement blocks with each mirror. I held the frame up against the mirror and put the blocks where the inside corners of the frame fell. The blocks help getting the placement of the mirror correct.
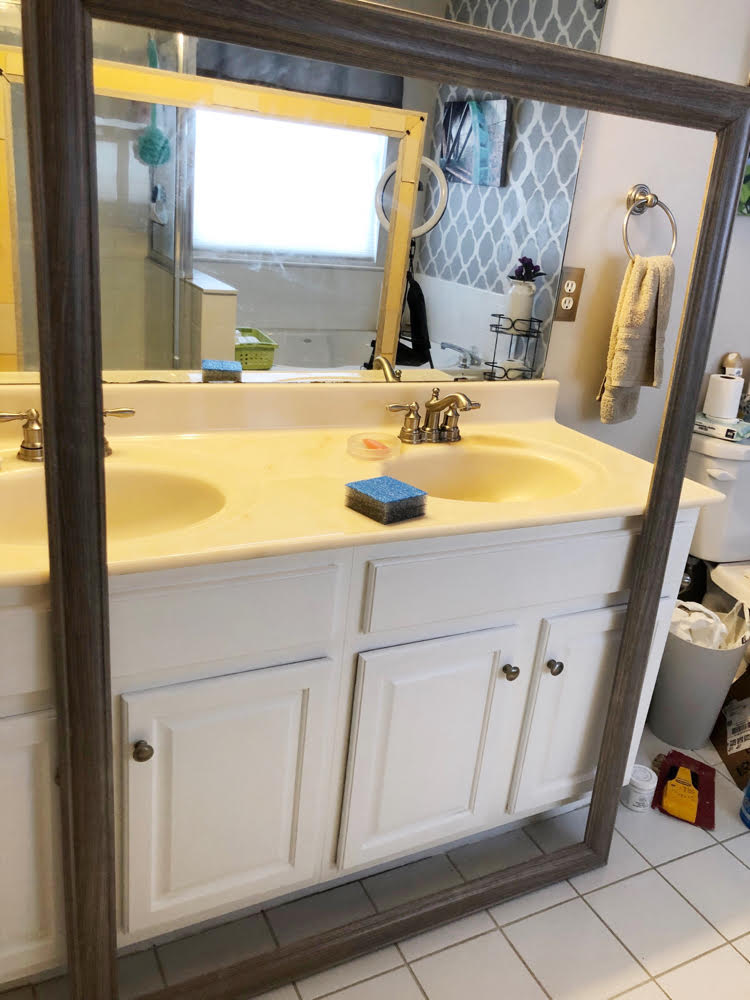
The last step in hanging the frame was peeling off the paper backings to the super sticky rectangles of tape on the back of the frame. (There are strips of super adhesive tape on the back of each frame section). I pressed the MirrorChic frame to the mirror, and my mirror was up!
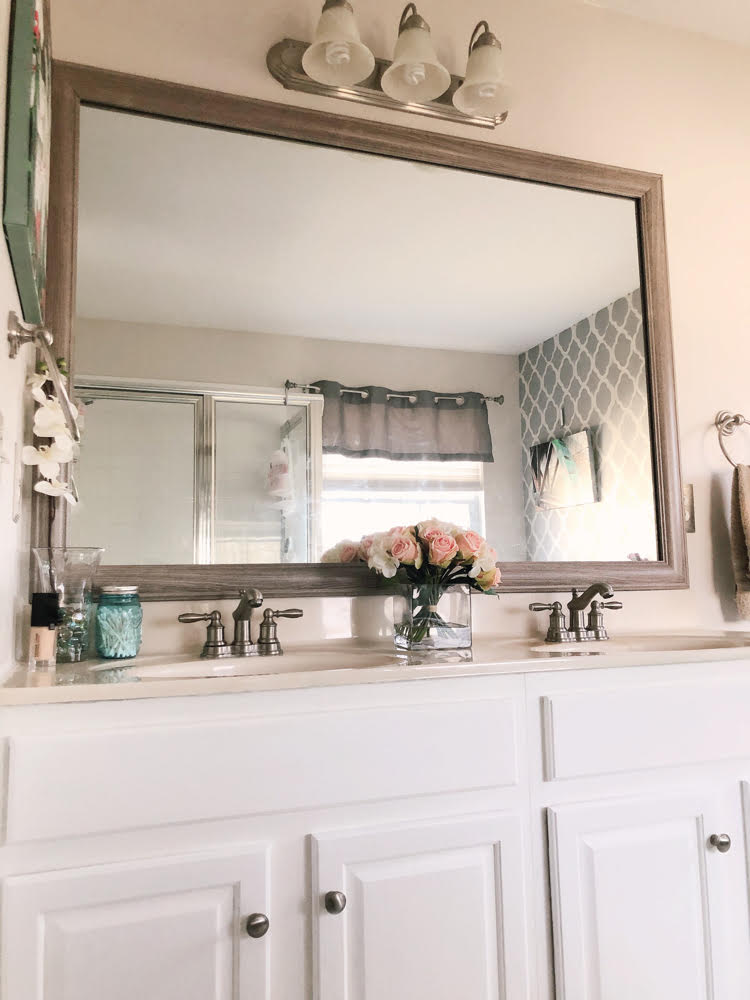
My bathroom looks so stylish now with my new MirrorChic frame!
Check out my how to video on how to assemble and install a MirrorChic mirror (at the end of this post).
Bathroom Mirror Install How to Video
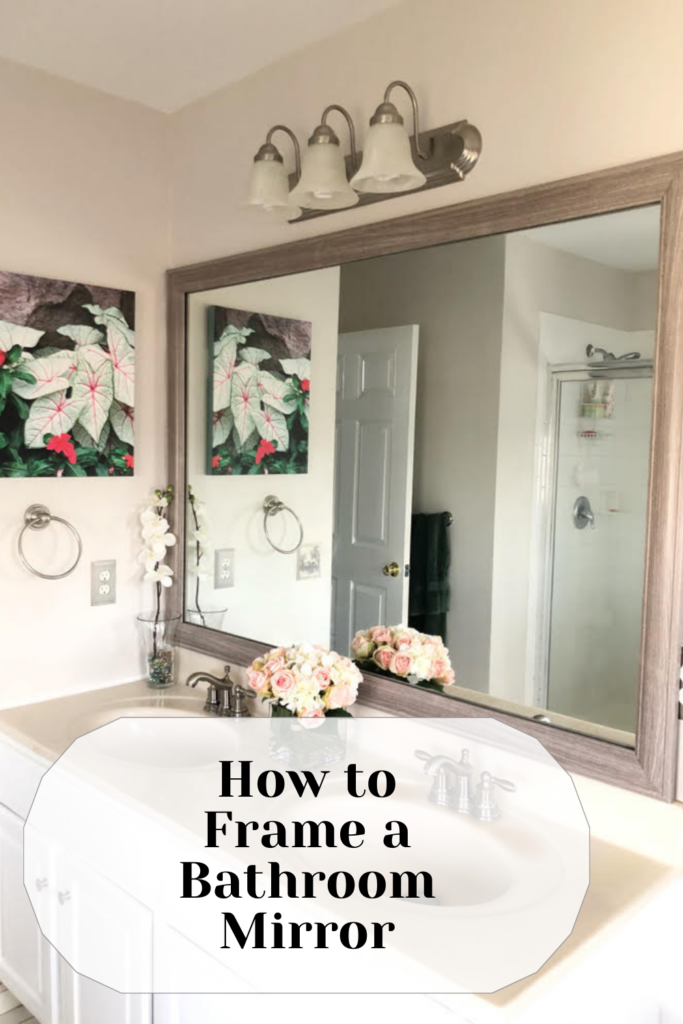
Pin This Project
You Might Also Like
How to Paint a Bathroom Vanity
What a big difference! This looks great, Lauren! The mirror in my daughter’s bathroom looks just like yours did before. I definitely want to look into MirrorChic! Thanks for sharing. Pinned 🙂
Rebecca recently posted…How to Style an Easter Tiered Tray
Hi, Rebecca! You should look into MirrorChic! It was an awesome experience. My bathroom went from appearing only partially done to looking like a spa bathroom. I love my MirrorChic frame! Thanks for visiting!