Thanks to HTVRONT for providing the vinyl and heat press used in this post. This post contains Amazon affiliate links.
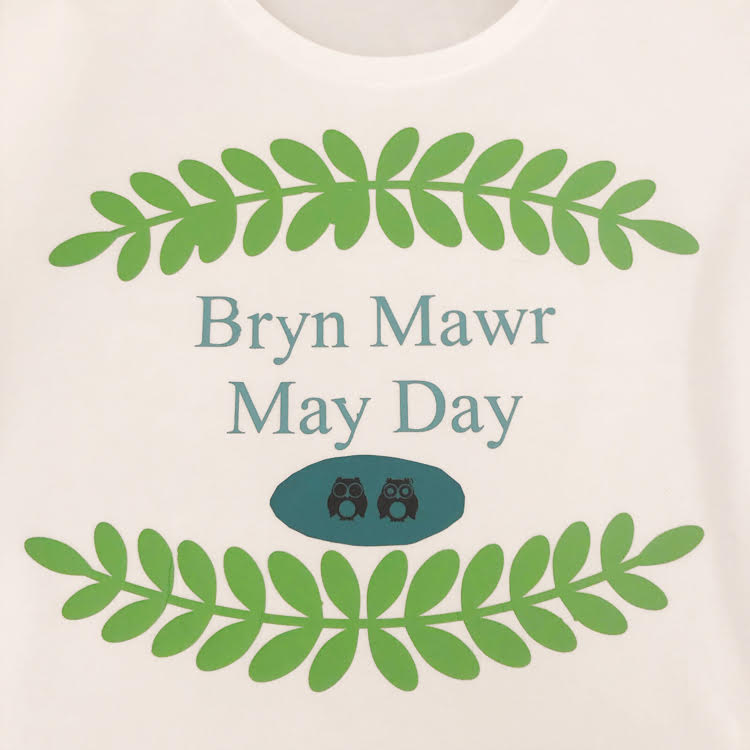
This past weekend my husband and I visited one of our twins at Bryn Mawr College. Bryn Mawr is also my alma mater, so it’s always extra nice to visit my child at college. May Day is coming up at Bryn Mawr, so I decided to make my kid a custom Bryn Mawr May Day shirt. (The tradition is for Bryn Mawr students to wear white on May Day, so I wanted to make sure that my Mawrter has something to wear for their first May Day!)
Easy to Use Heat Transfer Vinyl
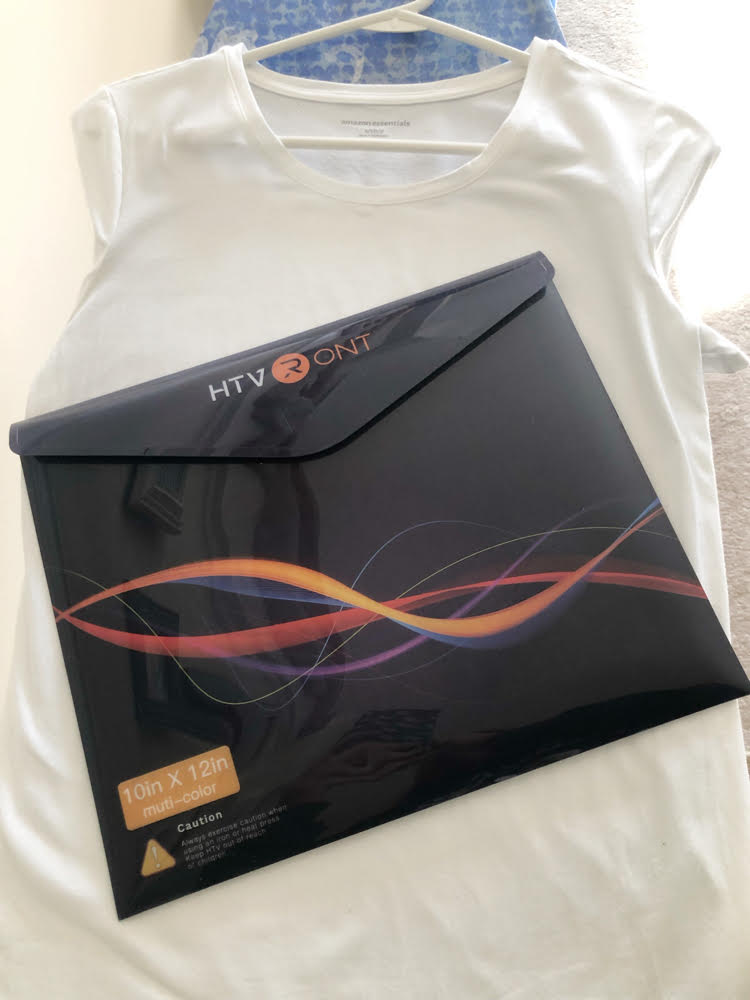
HTVRONT sent me a great selection of heat transfer vinyl. The pack comes with it’s own plastic resealable envelope to store the vinyl in, so it’s super convenient. (This set of HTVRONT heat transfer vinyl is similar to mine.) The 10″ by 12″ vinyl sheets in my pack are in a wide collection of colors! I have so many different colors I can use.
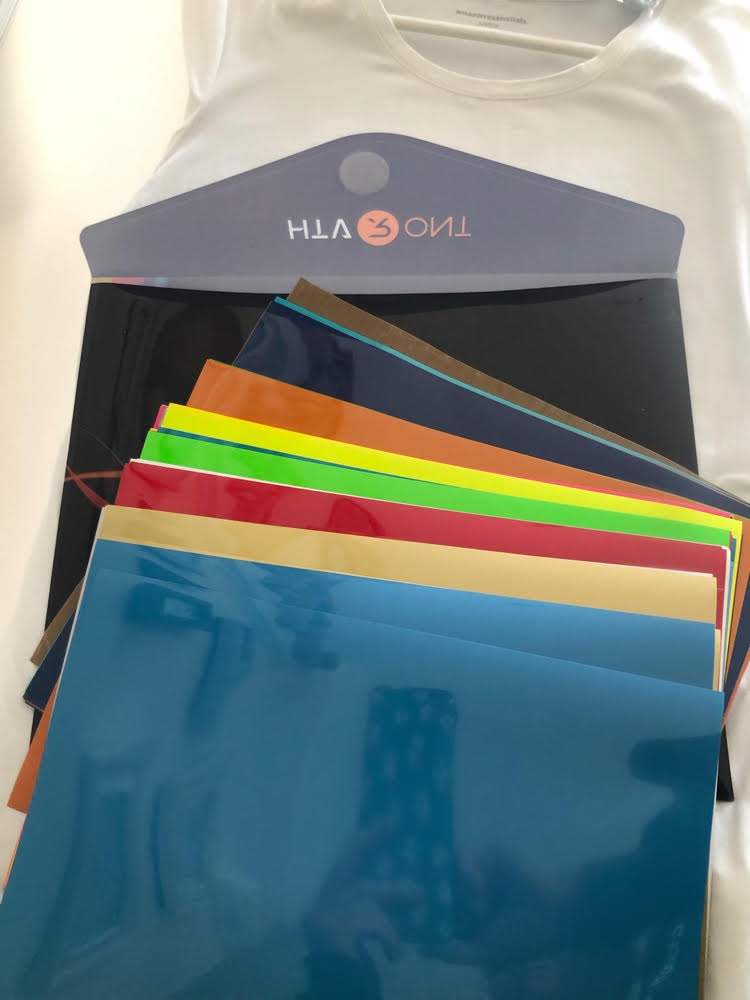
My vinyl also came with a weed hook for weeding my vinyl, and a teflon sheet for placing over my design when ironing it on. The teflon sheet protects my design and my press. For my May Day shirt, I decided to use pretty green sheet of vinyl and one in a beautiful blue.
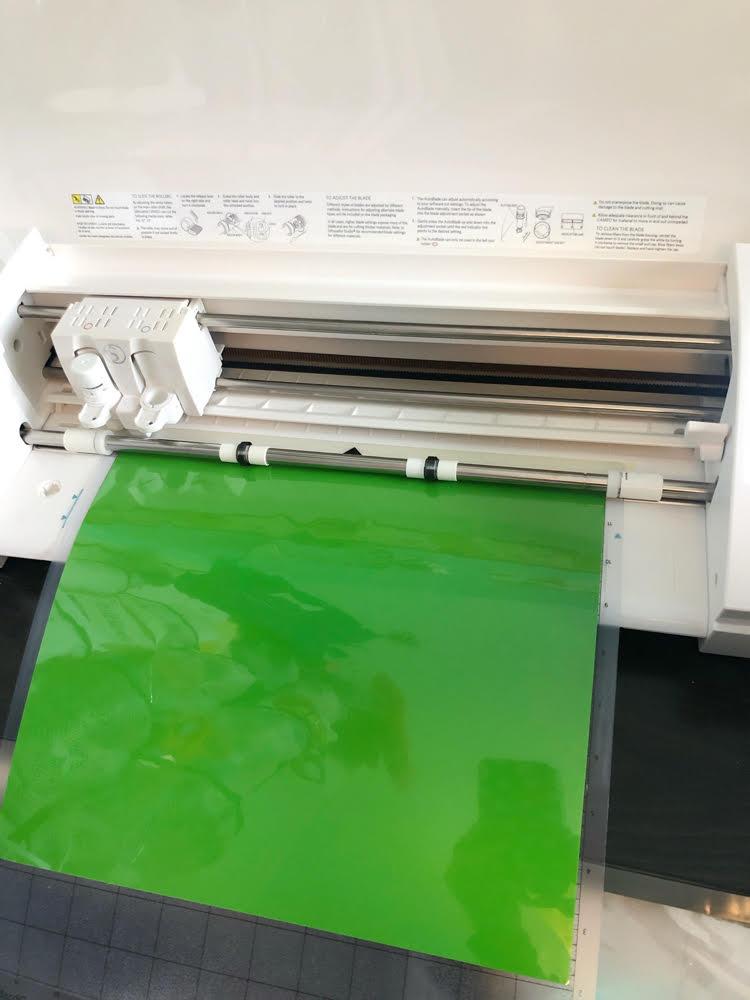
I first cut out my designs using my Silhouette Cameo machine. (I got each of my designs at the Silhouette online store for less than $2 each.) If you don’t have a Silhouette machine, you can also use a Cricut. Each sheet of HTVRONT vinyl has a plastic cover sheet, which keeps your design together, so you don’t need to use transfer tape to move it to your T-shirt. The vinyl sheets have a white backing, so you can easily tell which side is the cutting side, so you know which side of the vinyl to put face up in your vinyl cutting machine.
HTVRONT Heat Press
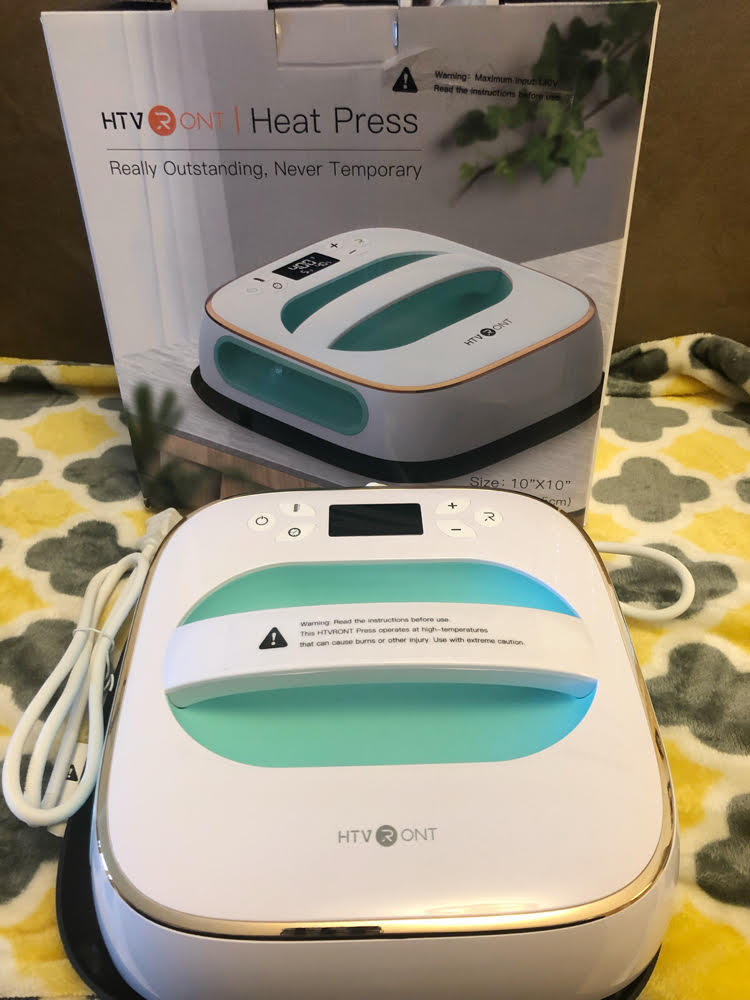
I used my new HTVRONT heat press to transfer my designs to my T-shirt. The heat press is super easy to use, especially for a beginner HTV crafter like myself. The press has its own heat-safe pad to rest the press on and a secure handle for lifting the press. The electronic controls on the press are easy to use and understand – I use the controls to set the temperature for my press (my HTVRONT vinyl came with instructions that tell me what temperature to use for my vinyl and how long to apply the press), as well as a convenient timer.
When I was ready to add my designs to my shirt, I first ironed my T shirt, so it would be wrinkle-free and slightly warm. It was easy to apply my designs to the shirt , since the HTVRONT vinyl is backed with adhesive. My designs stayed in place when I placed my designs on my shirt. My HTVRONT vinyl only needed 15 seconds of pressure and heat from the press to secure them to the T-shirt.
I messed up my shirt a little because this was the first time I tried to use more than one color of vinyl on a shirt. I laid my design out on the shirt with my two different colors of vinyl, letting the plastic cover sheets of each vinyl piece rest over each other. I didn’t realize that the vinyl from one sheet could stick to another sheet! So when I lifted the cover sheets off, part of my design was removed. I didn’t save my design in my Silhouette software, so I didn’t know what font or size font I had cut, so I couldn’t replicate the part of my design that got ruined. So, I had to come up with a fix to cover up my mistake! So I printed out an oval and some owls (the Bryn Mawr mascot) to cover up the error. I think it came out OK, but a perfectionist would be able to see the flaws. Oops!
I had an extra shirt, so I made another Tee. I used mostly one color for my design, so this design was much quicker and easier to put together. I hope that my first-year will enjoy her T-shirts!
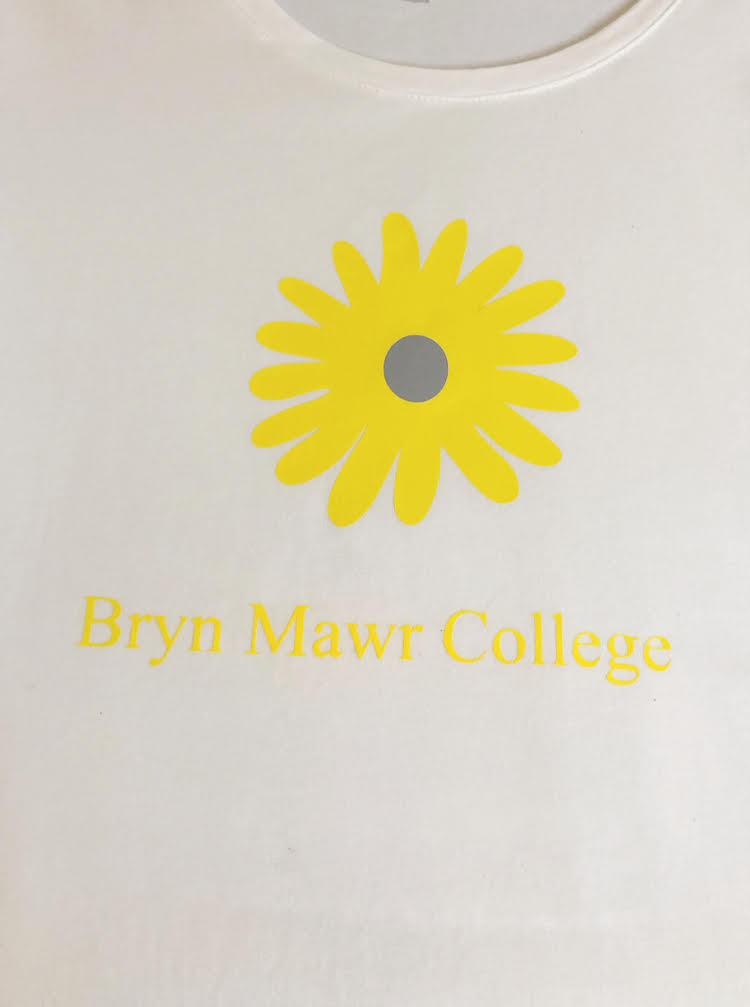
I am hoping to take some time on weekends to perfect my craft and perhaps watch some YouTube videos to discover more fun things I can do with my HTVRONT vinyl and press, and my Silhouette machine! I think crafting with my HTVRONT vinyl and press is going to be so much fun!
If you have any idea of fun HTV crafts to try, please share in the comments!
These shirts turned out so nice and you’re so thoughtful to gift them to your daughter! I really need to start playing with my machine again, you are making me miss it! I used to play around with heat transfer vinyl all the time. That press would def. make life easier than having to drag out my personal iron!
Carrie
curlycraftymom.com
Carrie @ Curly Crafty Mom recently posted…3 Products To Treat Yourself To Because It’s Finally Spring!
Thanks for stopping by, Carrie! I wish you lived nearby so we could do some fun projects together!