Thanks to Photowall for providing the print reviewed in this post.
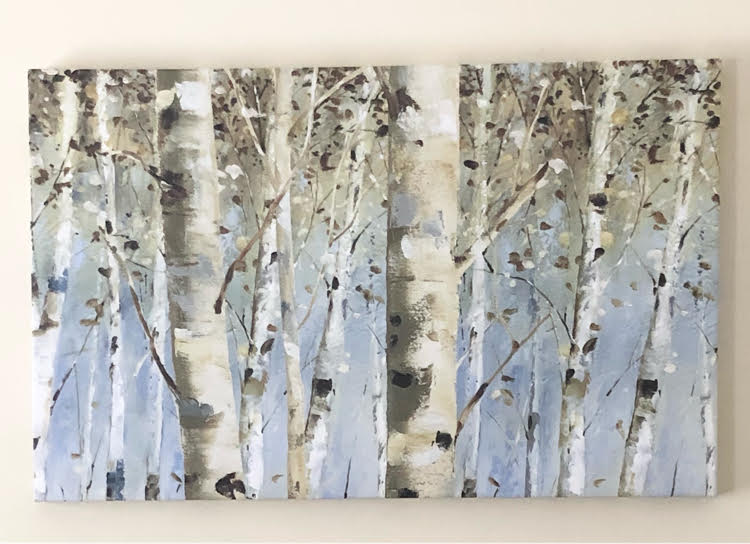
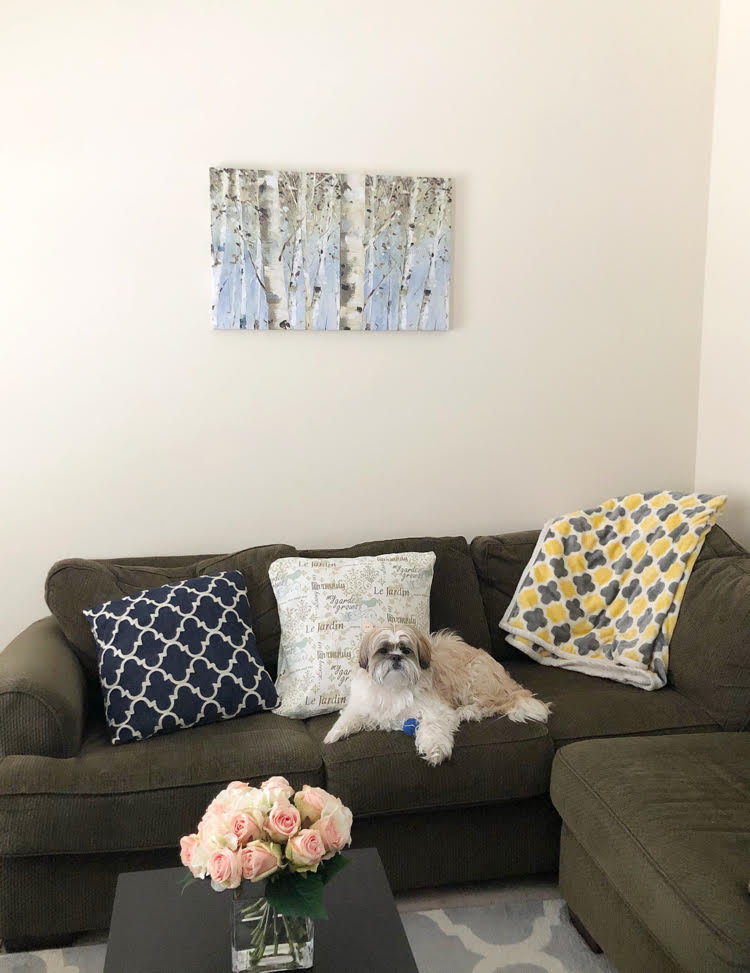
Happy Friday! It’s been a cold and snowy week here in New Jersey, leaving me to spend most of my time indoors. That’s one reason I was especially happy to receive my new beautiful canvas print from Swedish wallpaper and print company, PhotoWall. I chose to review a 31.5 x 19.69 inch “Light Forest” canvas print by Canadian artist, Lisa Audit. My print is a beautiful depiction of a birch forest. In the print, stark but beautiful white birch trees stand tall against a winter sky.
I am reviewing the print as part of my regular Friday Finds column. On Fridays, I like to review and share products that I love. I think the print is perfectly suited art for a family or living room.
I’m also happy to share that now through March 15 2021, PhotoWall is offering 25% off their beautiful collection of prints and wallpaper to Mom Home Guide’s readers with the coupon code, momhomeguide25.
PhotoWall has a wide variety of lovely canvases, framed prints and wallpapers for the home. I really enjoyed looking at all the beautiful options that PhotoWall has for decorating my home.
I wanted a print to hang above the sectional sofa in my home’s family room. My home has an open floor plan, and the wall on which I chose to hang my canvas print is visible from just about any spot on the main floor of my house.
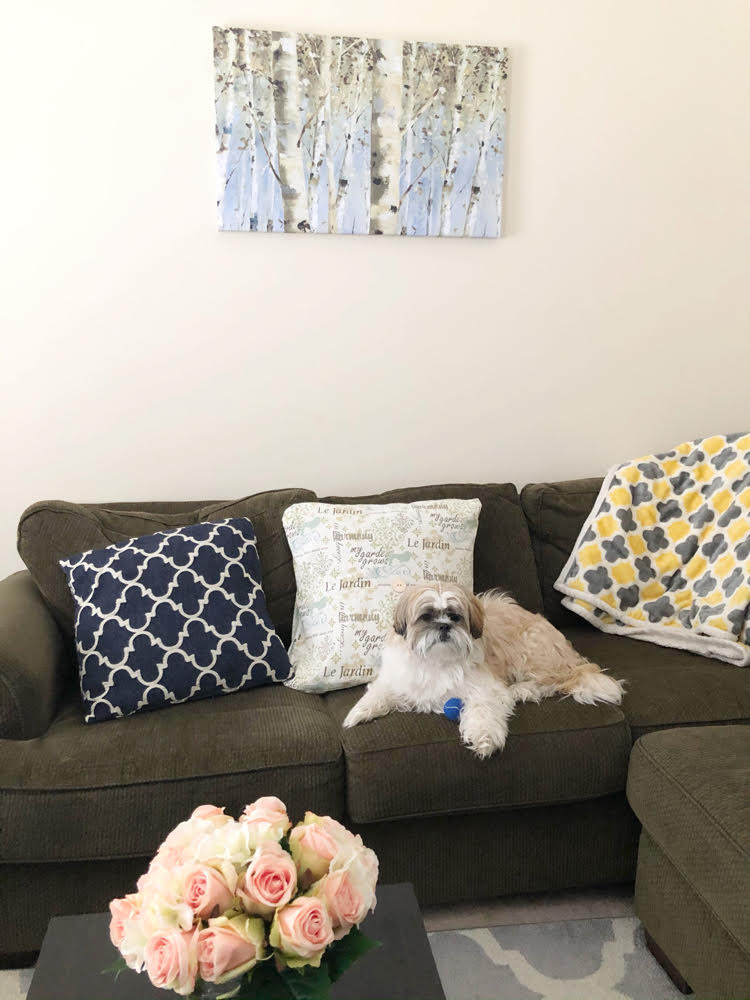
I adore birch trees and walking through a peaceful forest, so my new Lisa Audit print makes me feel both happy and relaxed.
The print coordinates well with the blues, greens and grays in my home’s family room.
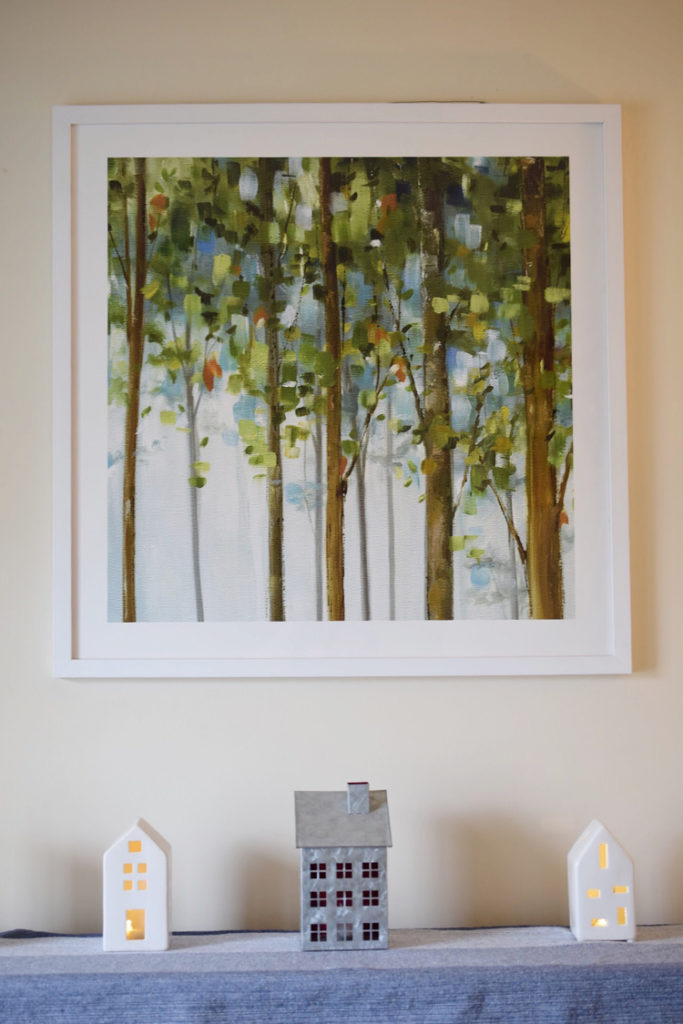
It turns out I already had a Lisa Audit print from PhotoWall in my home. Last spring I hung the framed print, “Forest Study 2” in my home’s living room.
My daughters remarked that my new canvas goes together well with our living room print. After looking up the details about my new PhotoWall canvas print, I realized that both prints are by the same artist!
I really like Lisa Audit’s artwork, which focuses a lot on the natural world. As someone who is happier on an empty beach or in a quiet forest than on a city street, Audit’s artwork appeals to me.
Choosing & Ordering My PhotoWall Canvas
Selecting my PhotoWall canvas was easy – except that PhotoWall has so many beautiful prints to choose from!
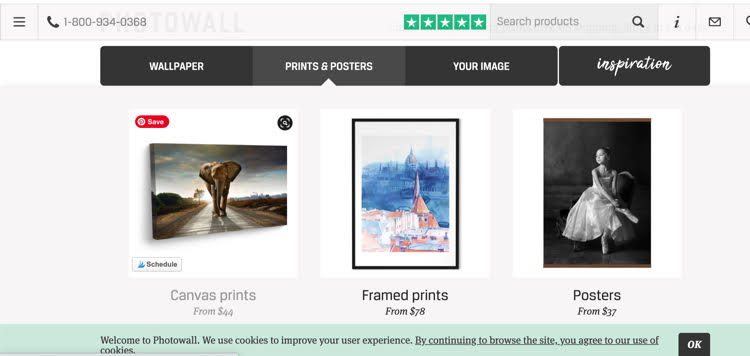
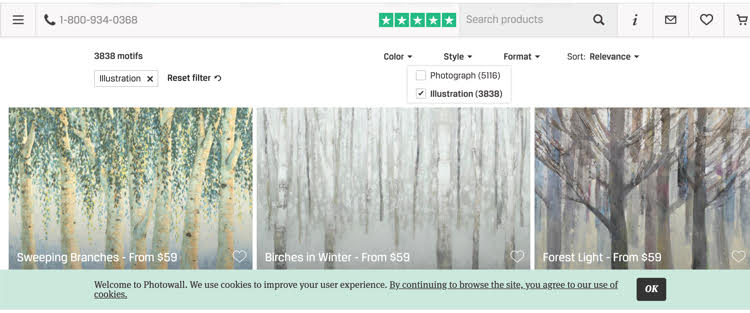
I chose to search the illustrations (instead of photographs) on the Photowall site. I chose illustrations from the dropdown menu on Photowall’s canvas prints page.
Once I found the print I wanted, I used the slider under the print to size my canvas.
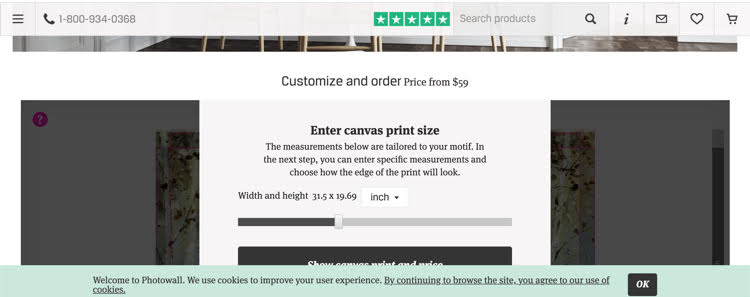
I also chose whether I wanted a frame for my canvas. I decided how I wanted the edges of my canvas printed. I chose the motif edge, which means the illustration wraps around the edges of the frame. Alternatively I could have chosen white or black edges.
After that, all there was to do was place my order, which was super easy. Once I completed my order, I got an email from PhotoWall that my order was received.
Five days later, my custom PhotoWall canvas print was at my door!
Hanging My PhotoWall Canvas Print
I was nervous when my PhotoWall canvas arrived because it was delivered in a long narrow box.
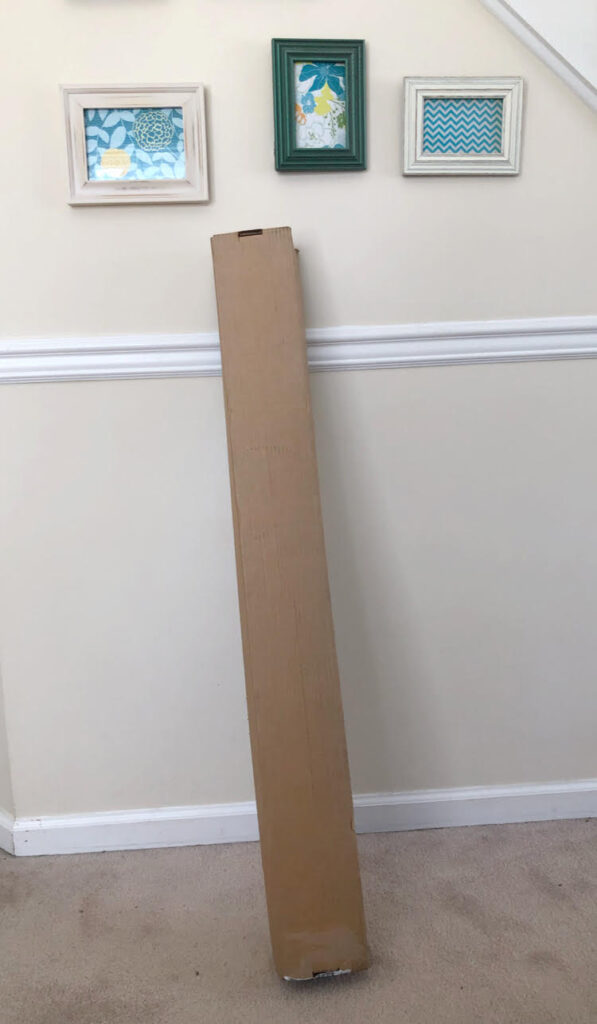
It was obvious that some assembly would be required. My package had arrived late evening, so I set it aside to tackle it the next day.
The next morning I took the contents out of my PhotoWall box. My canvas was neatly rolled in brown paper. The frame came in 4 solid pieces. I also was given the hardware needed to assemble the canvas frame and hang it.
I set everything out on the pool table in my home’s family room. I read the clear assembly instructions that came with my canvas print.
The first step was to place the canvas face down on the table. I placed the 4 frame pieces on each edge of the canvas.
I removed the protective paper from the bottom of each frame piece. I placed the sticky sides down on the canvas, smoothing them down to attach the canvas to the frame.
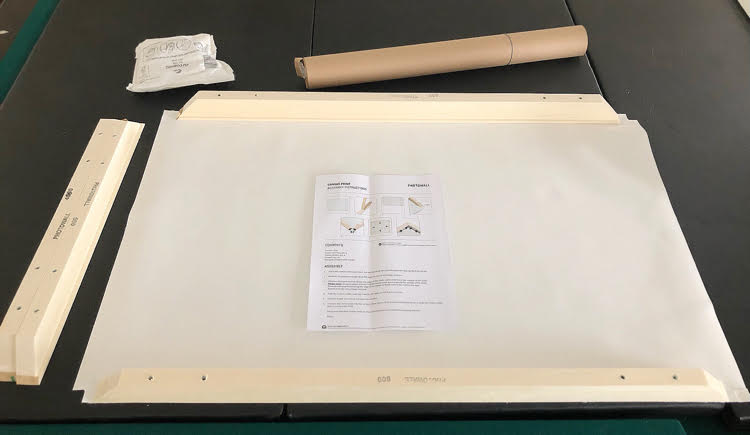
I folded the cloth corners of the canvas up onto the short ends of each frame piece. (The edges of the canvas are notched to make this step easy.)
I folded the sections of the frame in toward each other. My frame was starting to come together.
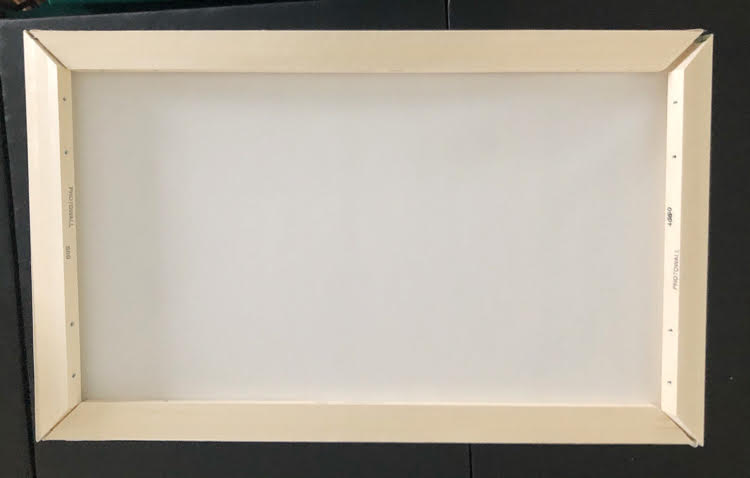
The next step was to add the sturdy 4 corner plates to the frame.
The 4 plates attach to the frame with 16 screws. (The screws go into pre-driled holes in the frame.)
I didn’t need a screw driver to attach the corner plates. Each screw has a dial-type head that can be tightened by hand. I was so excited to get my print up that I forget to take photos of this step!
You can get an idea of what the screws look like and what this final assembly step looks like from the instructions below.
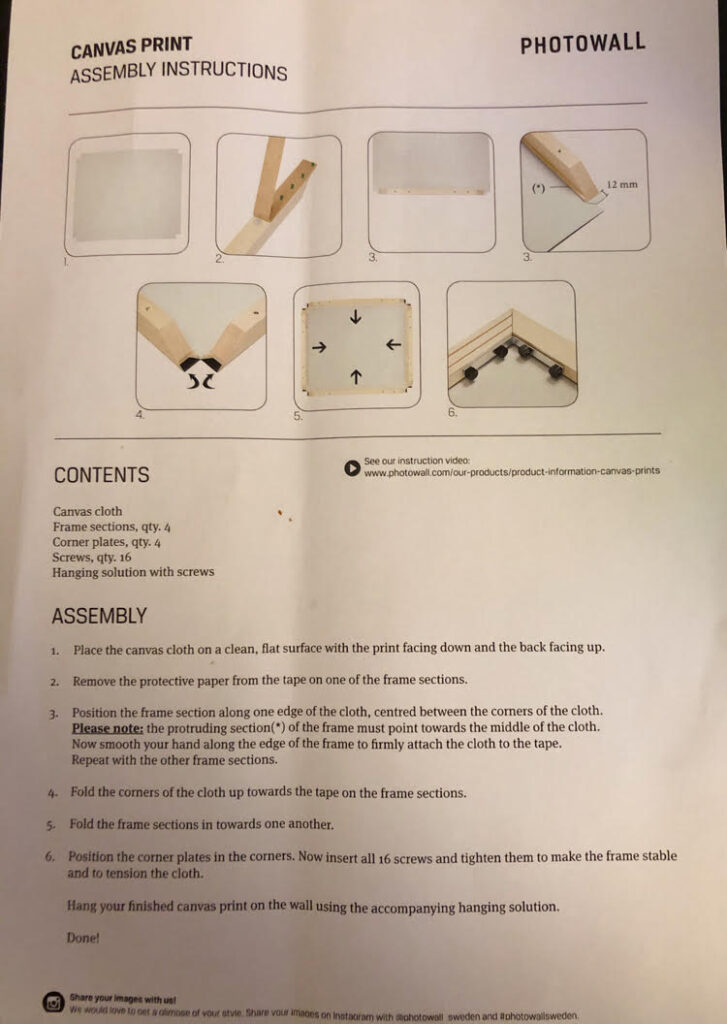
I love that the hardware for assembling the frame is easily tightened by hand. I didn’t need any additional tools. I was relieved!
The part I worried about the most was hanging the canvas. The canvas came with a sturdy metal hanger that attaches to the wall with a screw. (The canvas frame is then rested on top of the hanger.)
I was nervous because the hanger came with a screw and a drywall anchor. I have never installed a drywall anchor before.
Luckily, I didn’t need the drywall anchor. It turns out the spot where I chose to hang my print has a stud behind it.
It took me about 20-30 minutes to assemble my print and to hang it. (It might take a more confident or handy person less time.)
I love the gorgeous colors in my new Lisa Audit print from PhotoWall. I like the look and feel it gives to my family room.
You Might Also Like
Beautiful New Wall Art from PhotoWall
I love the birch themed canvas you chose from Photowall. Came out great. I’m glad to hear that assembly was so easy. Enjoy your new art piece!
Thanks, Tee! Thanks for stoping by! I loved chatting the other day. Good luck with all the great projects you have planned at your home!