This post contains affiliate links.
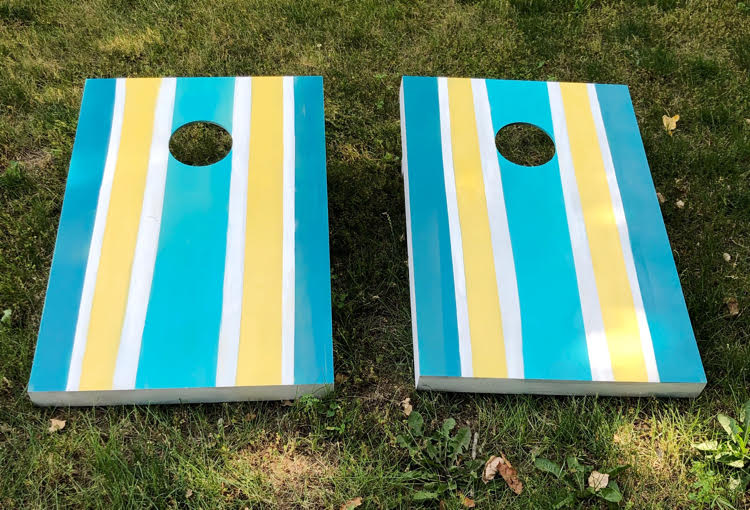
Since my family and I have been sheltering in place for the past two months, we have been enjoying our time together. One thing we’ve been enjoying are the unfinished cornhole boards that my husband gave me the Christmas before last. I finally got around to painting them over the weekend. I love how my DIY painted cornhole boards turned out!
I am sharing my DIY painted cornhole boards tutorial as part of the monthly Pinterest Challenge Blog Hop. The purpose of the Pinterest Challenge is to motivate us to not just pin, but to make it happen! This month’s challenge is all about summer or July 4th projects.

My Pinterventures • Across the Boulevard
Cookies Coffee and Crafts • Farm Girl Reformed • Slices of Life
Decorate and More with Tip • Purple Hues and Me
Life Beyond Kitchen • Created Homemade • Domestic Deadline
Mom Home Guide • Sum of their Stories • Teadoddles
Create with Cynthia
Be sure to check out all the projects at the end of this post!
My DIY painted cornhole boards design was inspired by these colorful striped cornhole boards that I found on Pinterest.
DIY Painted Cornhole Boards How To
You don’t need a lot of materials to paint cornhole boards. It’s so easy to paint cornhole boards, too! I opted to spray paint my cornhole boards.
I already had a few cans of spray paint from some other projects – like my spray painted plastic Adirondack chairs. I figured it’d be easier to get a smooth coat of paint down on my boards with spray paint than with latex or chalk paint. (You wouldn’t want a thick layer of paint to add friction to your corn hole boards.)
The pattern I chose for my cornhole boards was also inspired by the striped cornhole boards from ByStephanieLynn.com.
It’s so quick to spray paint corn hole boards. With spray paint, I was able to apply thin layers of paint that dried quite quickly. (It helps that it was more than 80 degrees Fahrenheit outside when I was spray painting in the backyard.) It only took about 5 hours — including drying time — to paint my cornhole boards.
DIY Painted Corn Hole Board Supplies
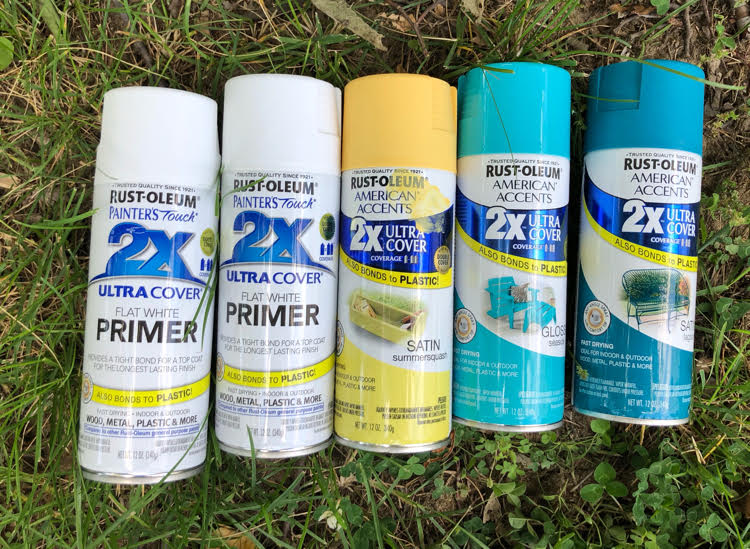
Rust-Oleum Painter’s Touch Multi Purpose Spray Paint White Primer
Rust-Oleum Painter’s Touch 2X Ultra Cover Sun Yellow Spray Paint
Rust-Oleum Painter’s Touch 2X Ultra Cover Seaside Spray Paint
Rust-Oleum Painters Touch 2X Spray, Satin Lagoon
FROGTAPE Painter’s Tape, Multi-Surface
All Purpose Paper Mask
How to Paint Stripes on Cornhole Boards
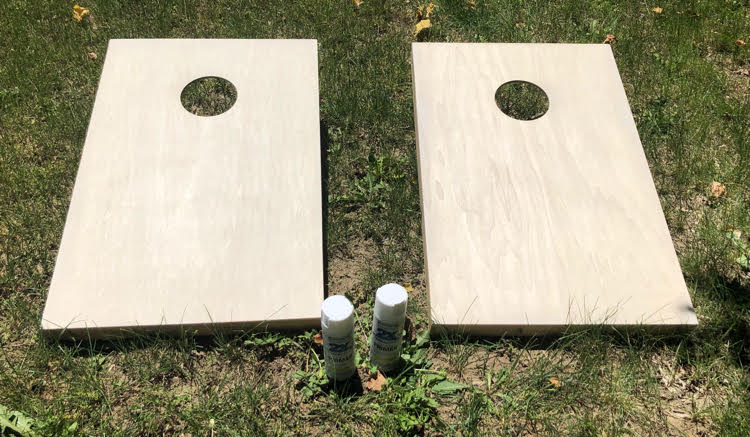
Before I spray painted my cornhole set, I did a lot of research on Google and Pinterest to see what kind of cornhole design I wanted to use. I like stripes and I figured stripes would be easy enough for me to pull off. So I went with stripes. I planned to use white spray paint primer, and already had two pretty shades of blue and one yellow can of spray paint, so I decided to go with those colors for my stripes.
Spray Painting Stripes on Cornhole Boards
To start, I wiped my cornhole boards clean with a damp paper towel. My cornhole boards were already very smooth, so I didn’t sand them.
I wore an all-purpose paper mask that I had from past painting projects to make sure I didn’t breath in any paint.
I then sprayed a coat of white spray paint primer on the cornhole boards. Once the spray paint had dried on the corn hole boards, it was time to lay out my design.
I used Frog Tape painter’s tape to tape out my design. In my experience, Frog Tape, with its paint bleed blocking technology, works much better than the regular blue painter’s tape. (Honestly – I am not being paid to say this.)
You Might Also Like
How to Paint Cornhole Stripes
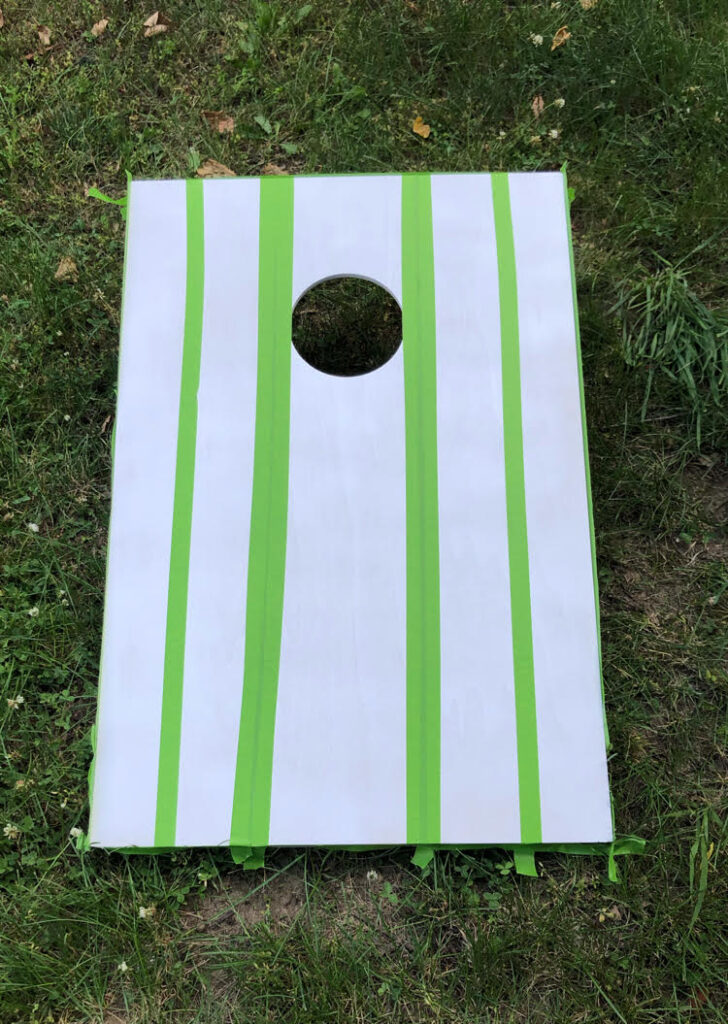
I decided to have 5 stripes of color on my boards, with thin white stripes between each stripe of color. I got the white stripes by laying the Frog Tape down on the cornhole boards after they had been spray painted white. (So when I sprayed with my colors, those areas stayed white.) I used two strips of Frog Tape on either side of the center stripe of color to make those white stripes thicker.
I figured that having the white stripes between each band of color would help prevent my colors from bleeding into each other. (From overspray.)
The below photo shows how I laid out my stripes. I used a yardstick to measure where I wanted each stripe to go. I also used the yardstick to make sure that my stripes were about the same thickness and were (hopefully) straight from top to bottom.
The below photo shows how I laid out the cornhole stripes with the Frog Tape. It was really simple to spray paint stripes on the cornhole boards.
When I spray painted the colorful stripes, I tried to stay at least 6 inches away from the cornhole boards. (To prevent the paint from pooling or creating drips.) When I did get some drips, I used fine grit sand paper to sand them off once the spray paint dried.
The below photo shows what my cornhole spray painted stripes looked like before I removed the Frog Tape.
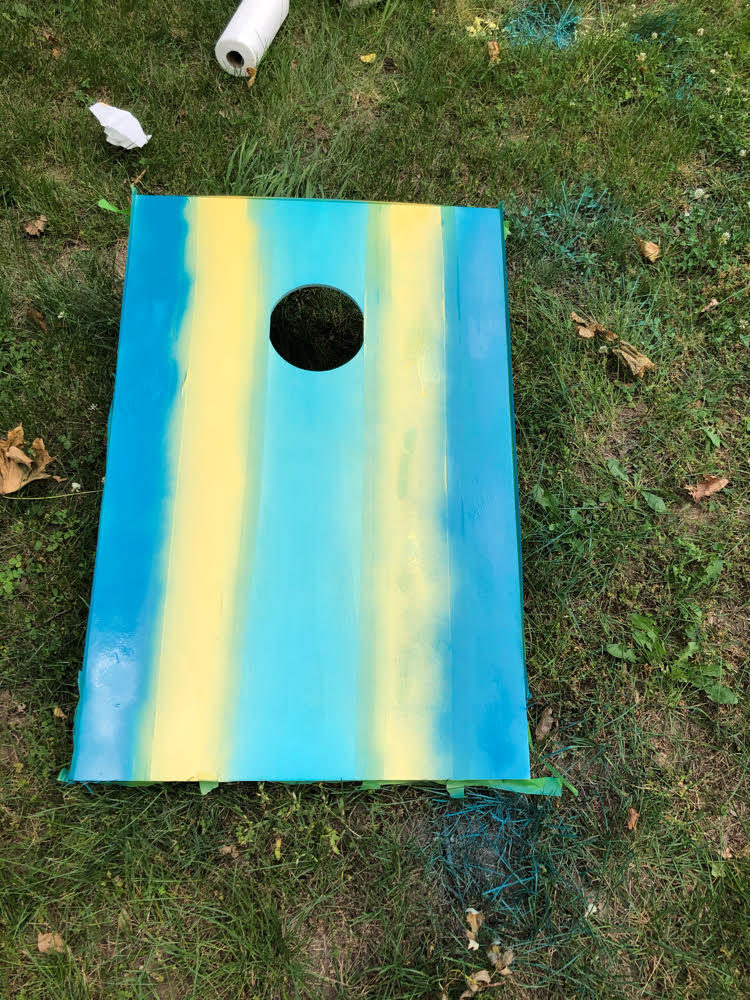
I got a little bit of overspray because there was a slight wind when I spray painted the cornhole boards. (E.g, some blue paint oversprayed onto my yellow stripes.) It’d be good to work on a day when there is no wind. Or, I should have used my HomeRight Spray Shelter . I wound up going back and touching up my stripes instead.
The next photo shows what my stripes looked like after removing the Frog Tape and before the touch ups that I made.
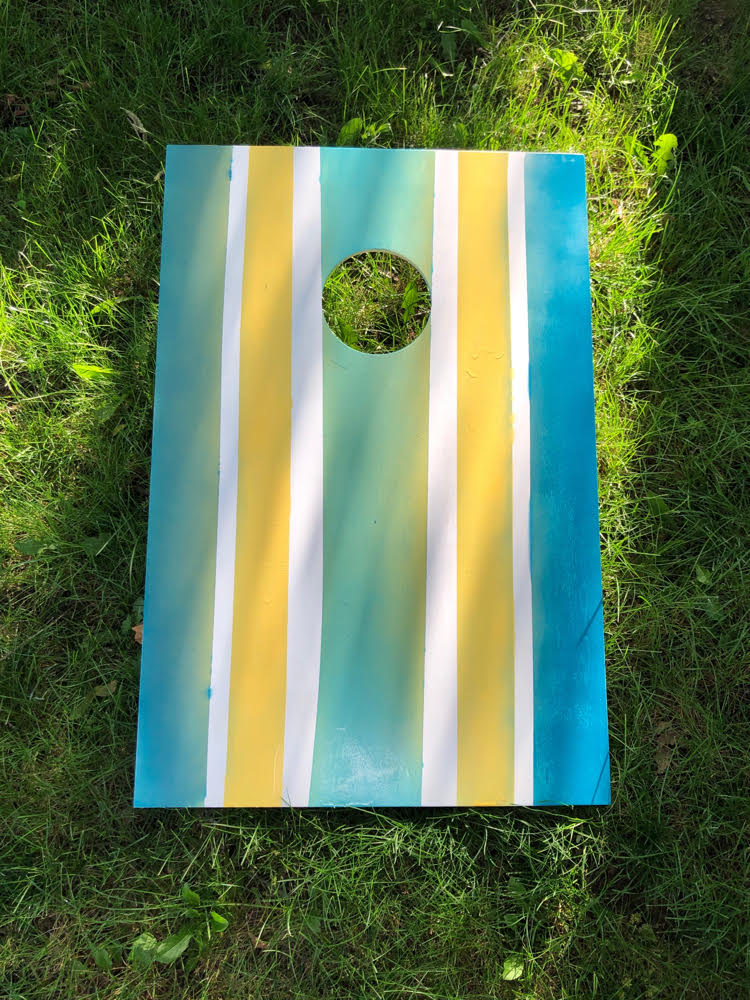
After I made the touch ups I wanted to make, the next step was to add some polyurethane!
Applying Polyurethane to Corn Hole Boards
I decided to top my painted polyurethane boards with water-based polyurethane. I applied the polyurethane with a foam brush. I followed these polyurethane application tips. I’ve only applied one coat so far, but plan to add at least two more coats. My family and I are looking forward to playing with our newly DIY spray painted cornhole boards!
Pin this post for later!
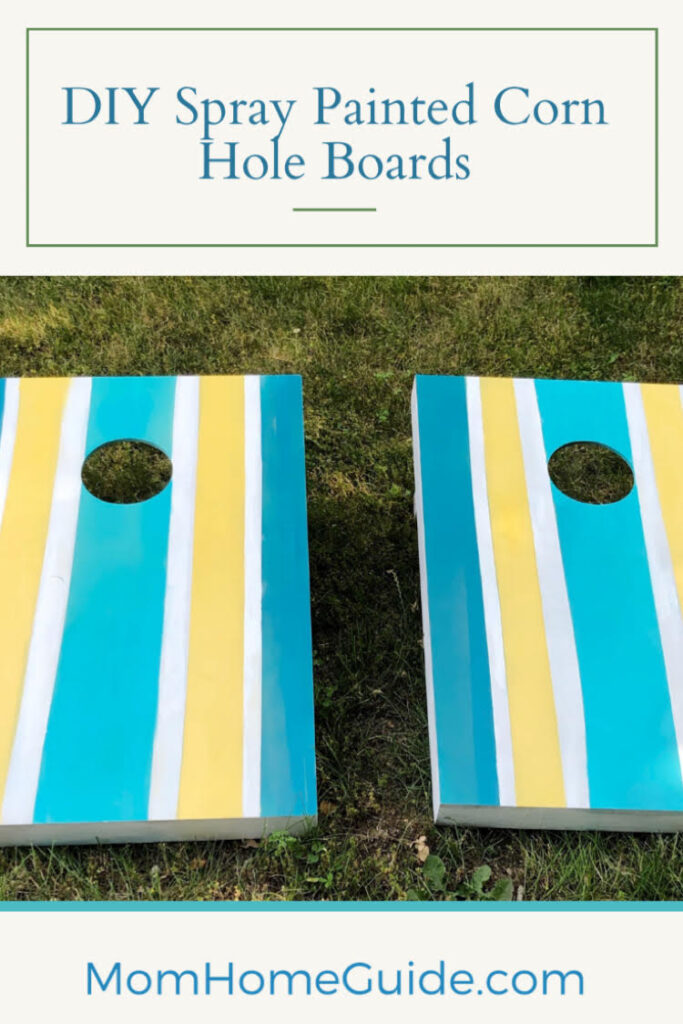
For more Pinterest inspired projects from this month’s Pinterest Challenge hosts, check out the links below.
More You Might Like
How to Enjoy Your Backyard this Summer
5 Ways to Improve Your Life While Sheltering at Home

[…] used Colorshot spray paint in Island Girl. (I love using spray paint – check out my DIY spray painted corn hole boards – a project I completed a few weeks […]