This post contains Amazon affiliate links. These links cost you nothing, but may earn a small commission that helps to fund this blog. Thanks!
Welcome to the Pinterest Challenge, hosted by Erlene of My Pinterventures! In the challenge, held once a month, bloggers like myself tackle a project we’ve pinned. I’ve been thinking of making cushions for my kitchen chairs for some time. I finally found this pin by DIY Candy on how to make a chair cushion with chair ties. This pin shows how to make an entire chair cushion from scratch. (Creating the cover, stuffing the pillow, etc.)
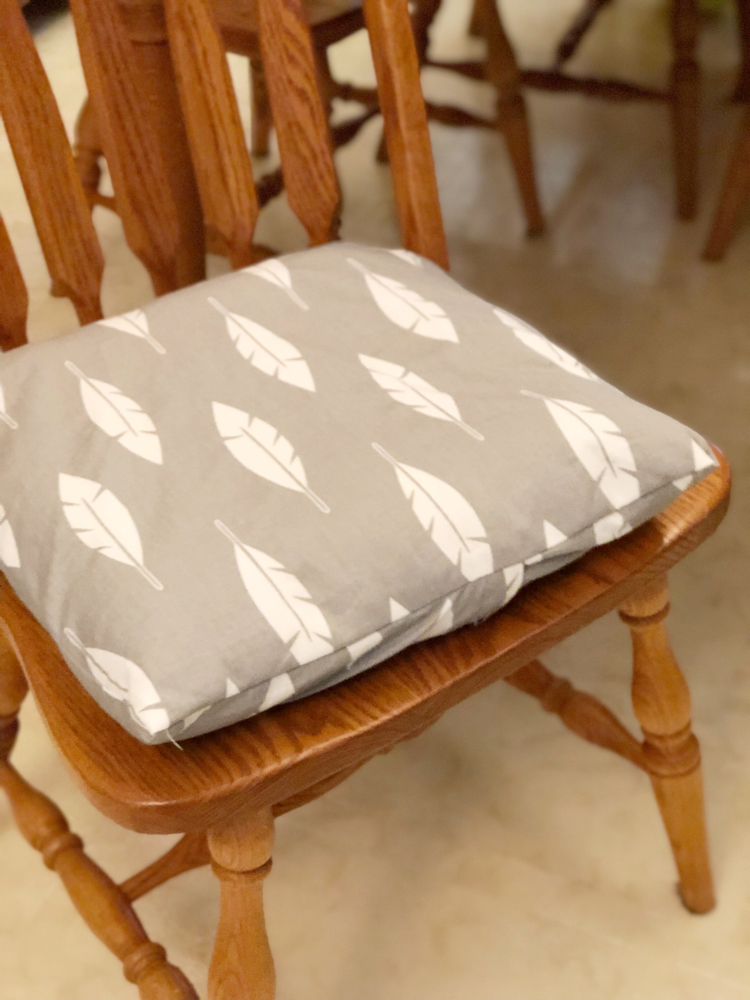
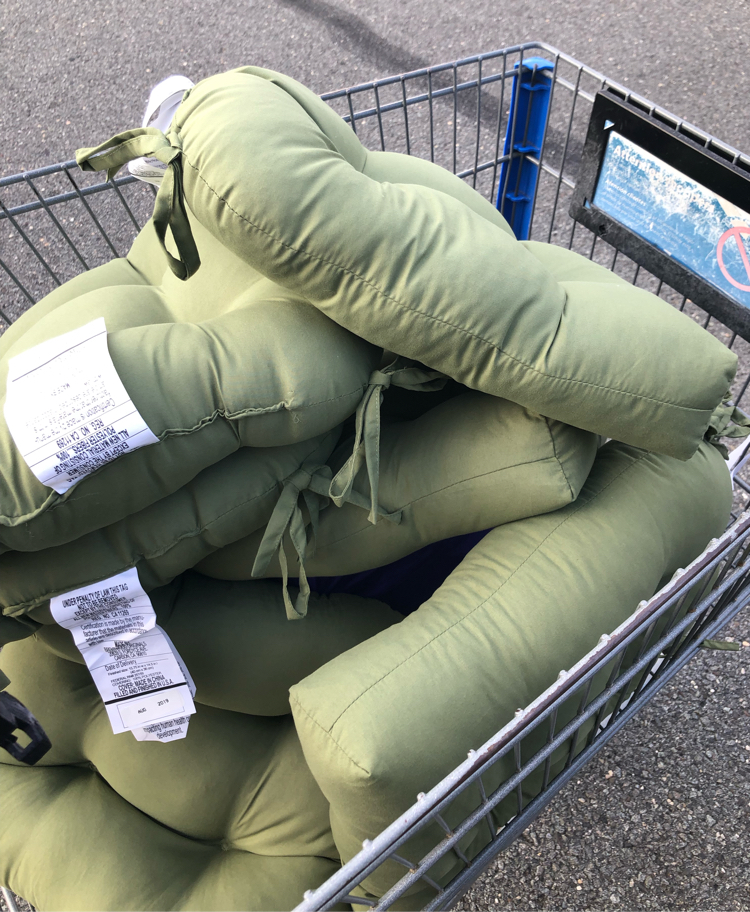
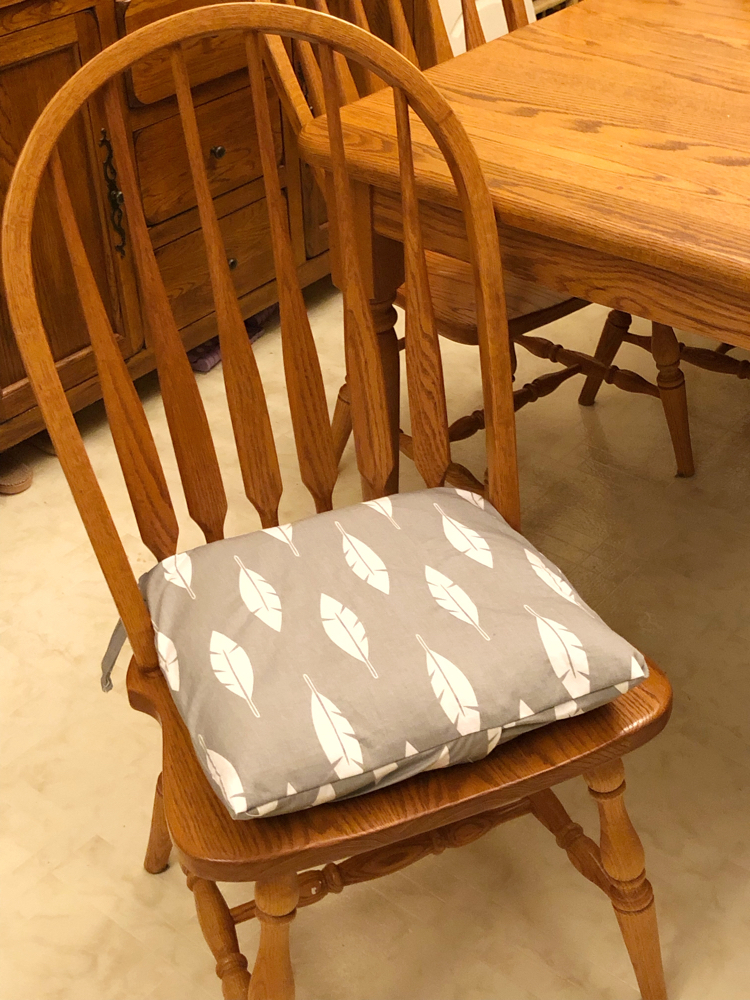
The pin inspired me to make DIY envelope cushion covers (with chair ties) for inexpensive $5 chair cushions that I found at my local Walmart. The cushions aren’t very pretty (in my opinion) — so I figured they were in need of a makeover!
Last month I participated in the $100 Room Challenge, hosted by Erin of Lemons, Lavender and Laundry. In the challenge, bloggers like myself worked to update a room or space for just $100 in a month.
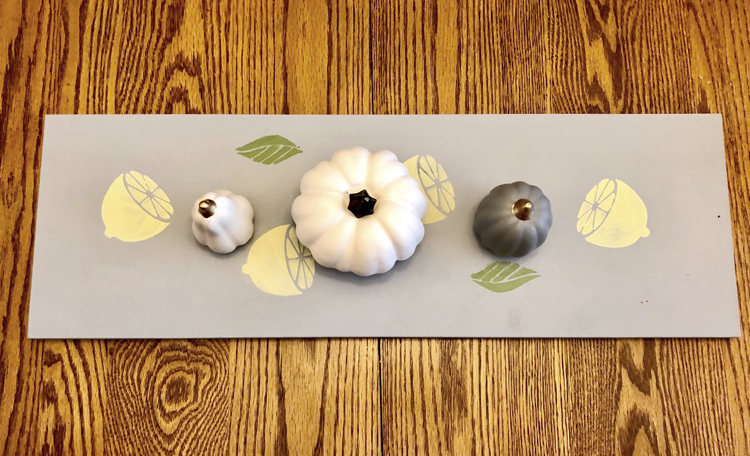
I didn’t actually finish my challenge, I have to admit. But I hope to finish up soon! I did finish a pretty DIY painted and stenciled table runner for my kitchen table.
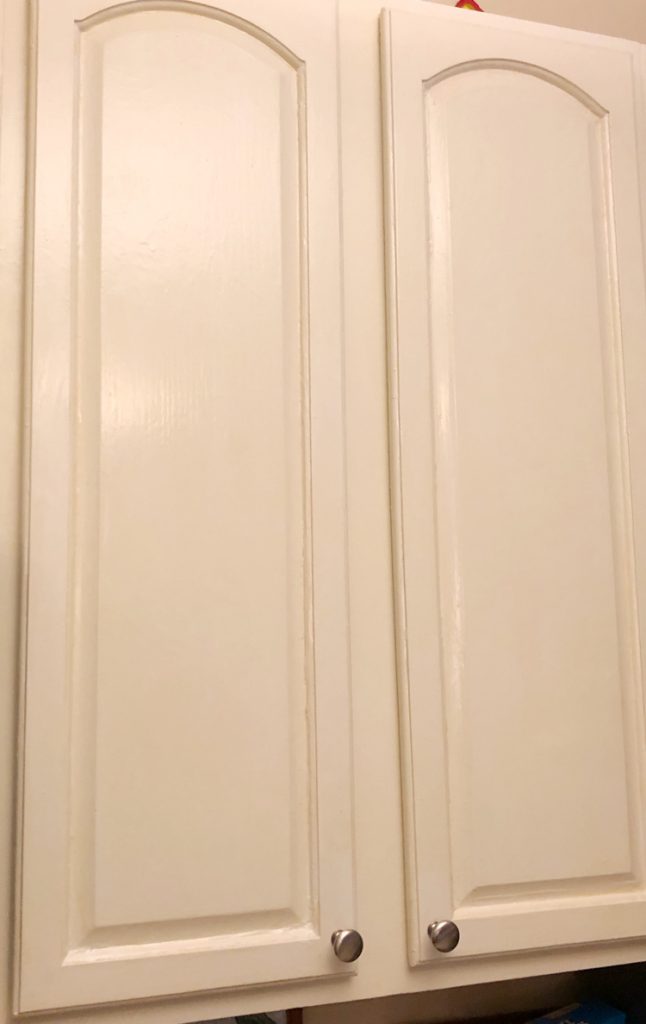
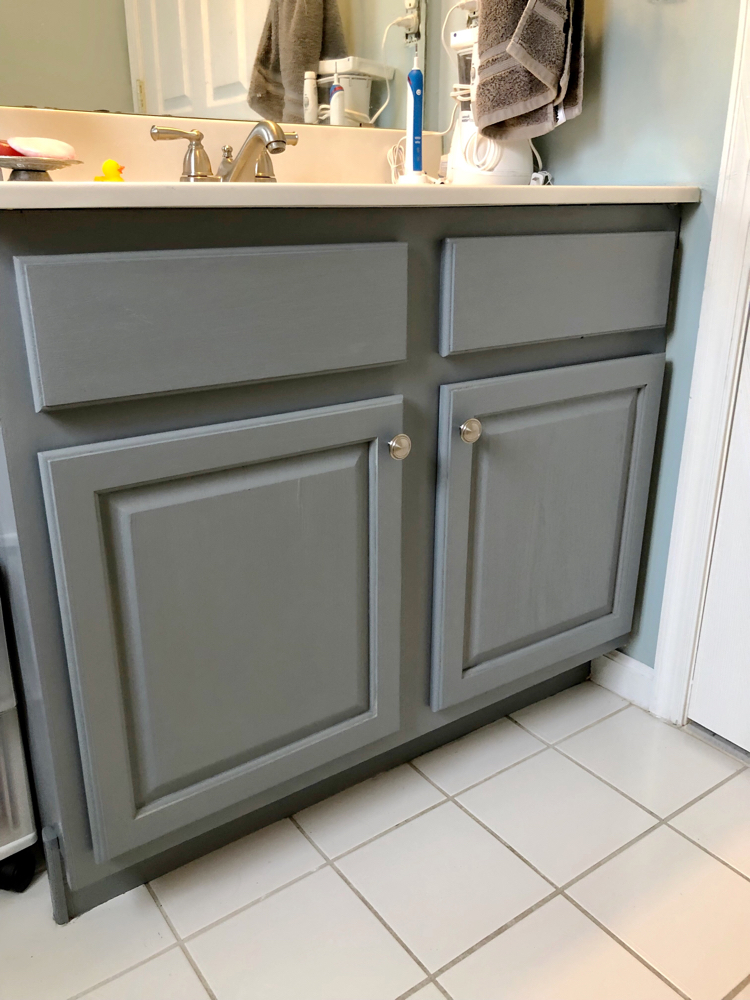
I added some cabinet knobs to my cabinets, and I hope to add a few more this week. I’ve been adding them slowly since I have to drill all the holes for the knobs. I want to make sure all the knobs are even, so I have been moving slowly and have been using a knob template for marking where to place the knobs. I messed up with the first two knobs I installed and had to patch the holes with putty and then drill new ones so the knobs would line up properly.

Update: I have completed my kitchen cabinets! Check out my full tutorial on how to paint kitchen cabinets and add cabinetry knobs and hardware.
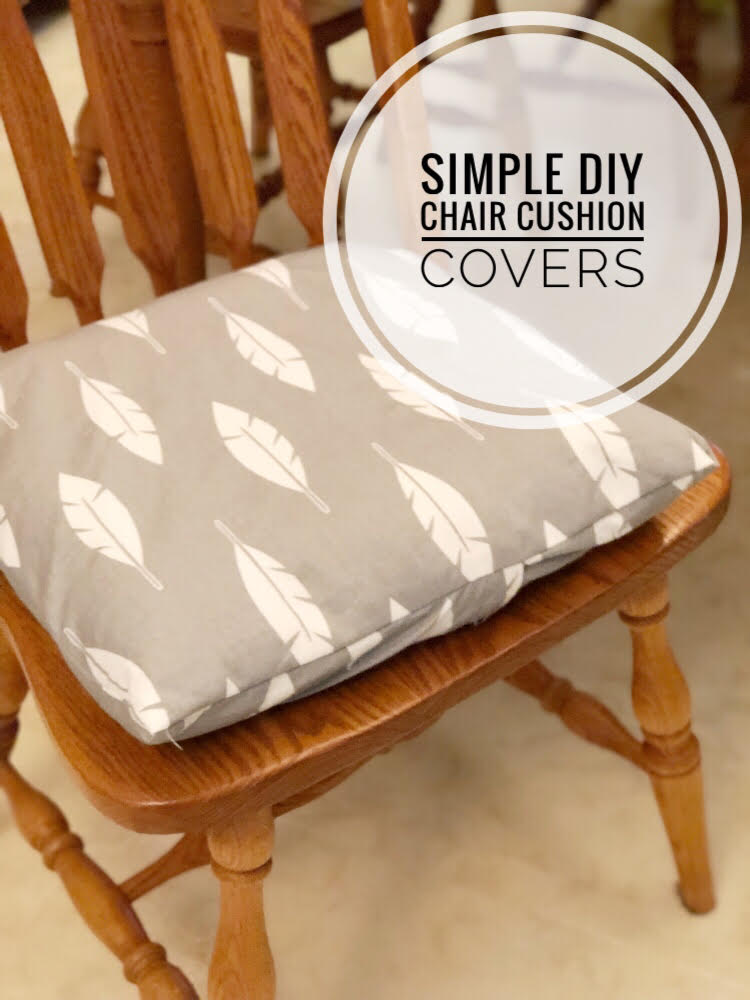
DIY Envelope Chair Cushion Covers with Ties
I decided to make envelope cushion covers so I can remove the covers when needed to wash them. A big plus is that envelope cushion covers are easy to make! (Even for beginner sewers like myself.)
Envelope cushion covers are easier because they don’t require zippers, buttons, Velcro, etc., to keep a pillow inside the cover.
Making and adding the ties to the cushion covers wasn’t difficult, either.
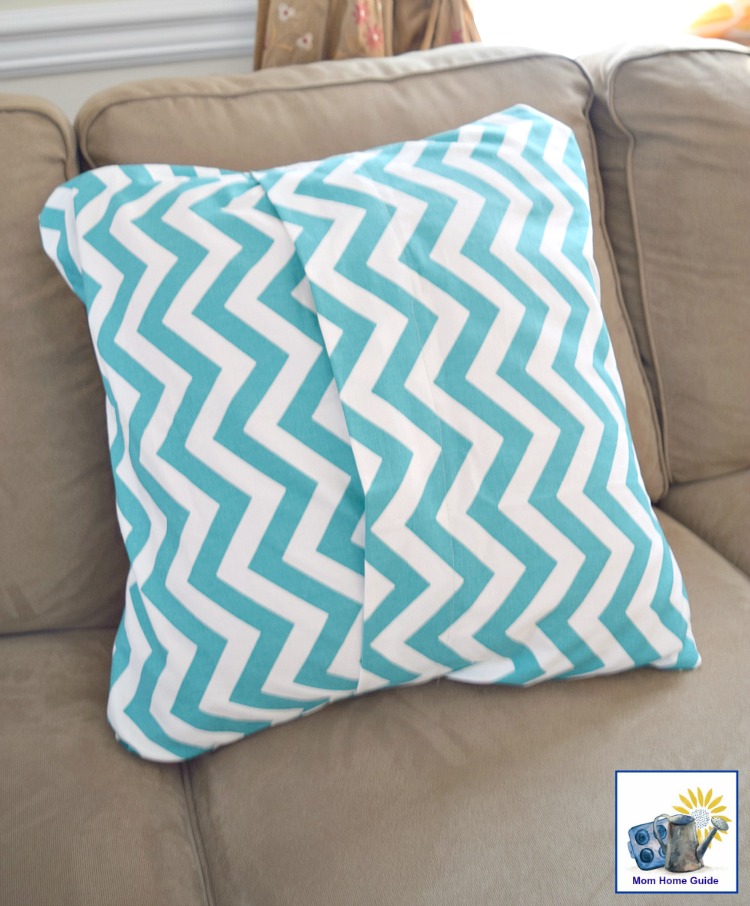
With envelope covers the covers are open in the back so the cushions or pillows can be slipped inside. The backs of the envelope chair cushion covers I made are much like the envelope cushion covers I made for my living room sofa. (You can see one of those covers below.)
Chair Cushion Cover Supplies
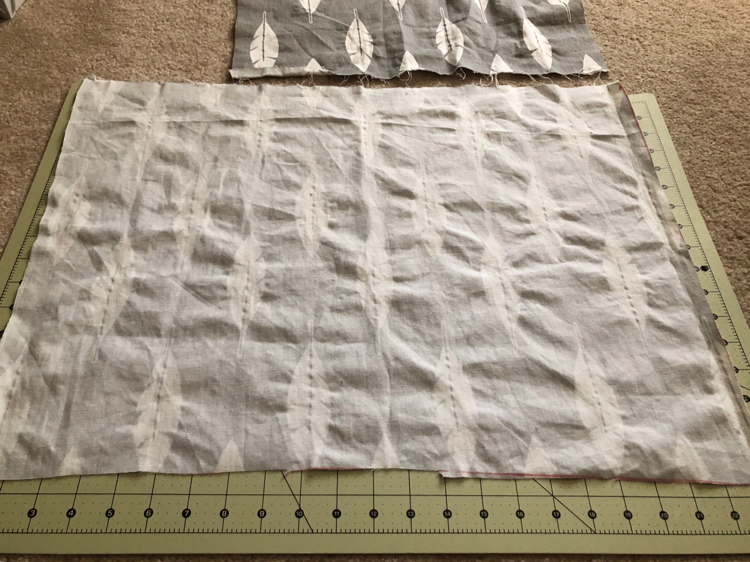
Fabric (I used Premier Prints Feather Silhouette Twill, Storm)
Thread
Fabric Shears
Sewing Pins
Rotary Cutter
Self Healing Rotary Cutting Mat
Measuring Tape
How to Make Chair Cushion Covers
Wash and iron your fabric.
Measure and cut a piece of fabric for the front piece of you pillow. Make the piece 1 inch wider and longer than your cushion.
Cut a piece of fabric for the back of the pillow cover. Make the width the same size as the cushion, plus 1 extra inch. The length should be the size of pillow, plus an extra 6 inches.
Cut the back piece of fabric in half.
Fold under the flap edge of each back piece 1/2 inch and then again 1/4 inch to make a hem for the flaps. (I didn’t photograph this step, so I am showing this step from when I made envelope cushion covers for my living room sofa.)
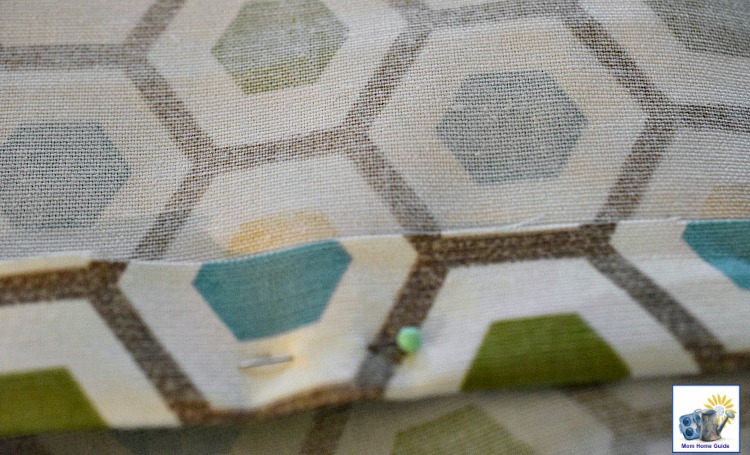
Sew the hems for the flaps.
Line up and pin the front and back sides of the envelope pillow cover right sides together. Make sure the back pieces overlap to form the flap on the back side of the pillow. (I am also showing this step from when I made envelope cushion covers for my living room sofa pillows.)
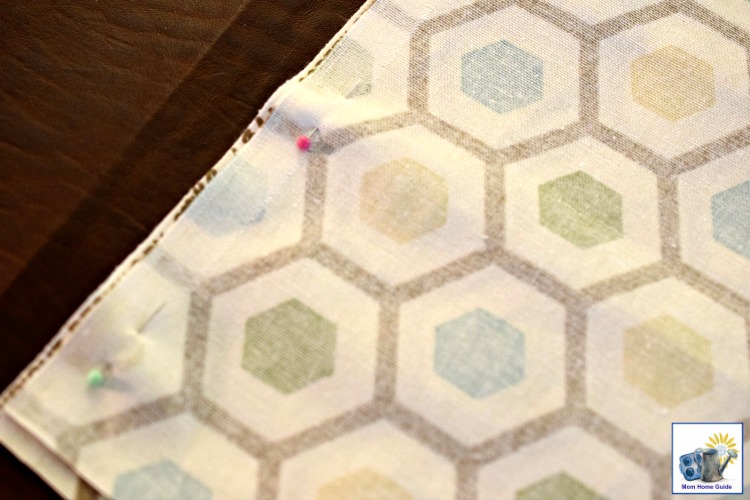
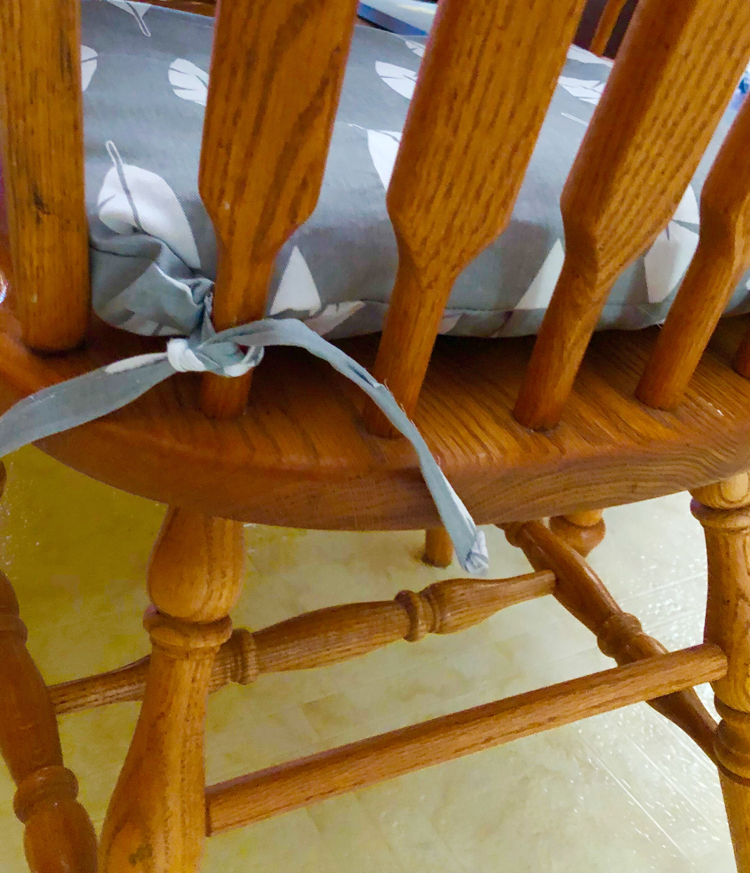
Sandwich two DIY chair cushion ties on the right and left sides of the cushion cover, between the front and back sides of the cushion cover. (4 ties all together – see below on how to make the cushion cover ties.)
The ties should be about 1 inch in from the left and right edges of the cushion cover. Make sure that they will be in a spot so they can get sewn on when you sew the two sides together.
Sew around all four sides of your pillow cover.
Turn your pillow cover right sides out.
Insert your pillow or pillow form.
Push the corners of your pillow cover out.
DIY Chair Cushion Ties
For my DIY chair cushion covers, I made simple chair cushion ties.
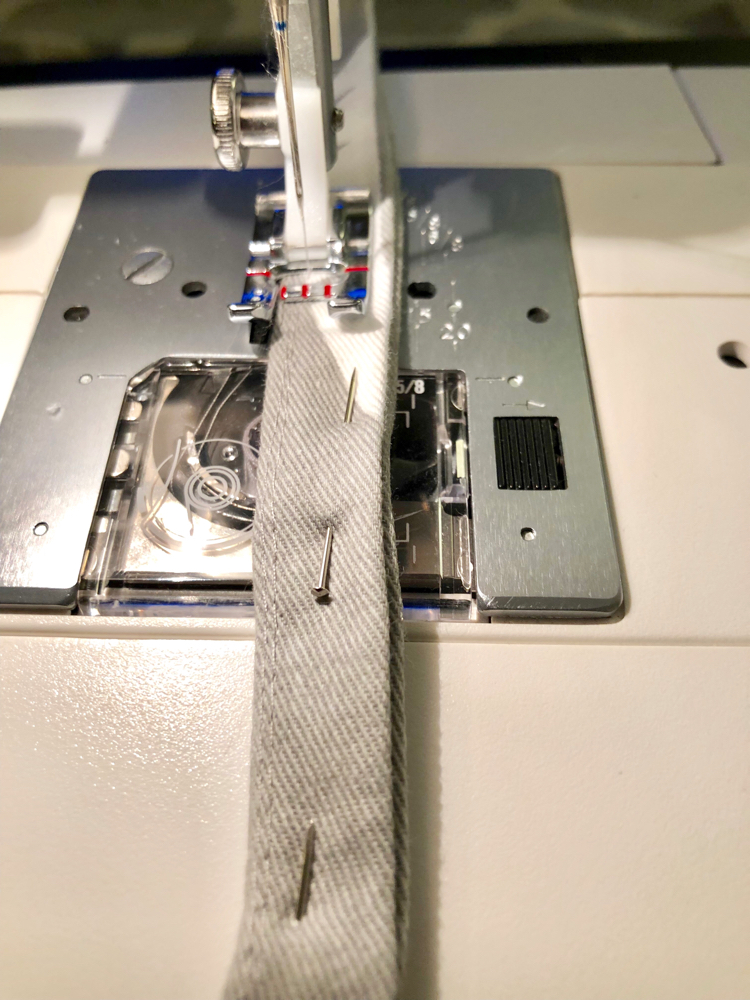
For these ties, I made them an easier way than they are normally done. They are often sewed right sides together. I tried that at first, but found it really hard to turn them right side out again. (It turns out that people often use a chopstick for this step.).
To make these ties, I cut out strips of fabric about 2 inches wide and 20 inches long. I folded each side in so they met halfway. I then folded the strip in half, pinned it together and stitched it together along both sides of the strip. That way, I had no rough edges for my ties. You might be able to see the stitches on the ties, but I used a gray thread that matches my fabric well. So the stitches are hardly visible.
I then cut the 20-inch long tie in half to create two 10-inch-long ties. I repeated this process until I had 4 DIY cushion ties for each cushion cover.
Making the cushion ties from the same fabric as my cushion covers was tedious but so worth it! If you want to simplify making the ties, you could just use pieces of ribbon for your ties instead.
I love this project — I can see myself making different cushion covers now and then to add a new look or a new color to my kitchen!
Now it’s time for the Pinterest Challenge Blog Hop — be sure to check out my friends’ projects!
TO JOIN NEXT MONTH’S #PINTERESTCHALLENGE, CLICK HERE TO SIGN-UP November Pinterest Challange
For more Pinterest inspired projects from this month’s Pinterest Challenge hosts, check out the links below.
 My Pinterventures • Eye Love Knots • Faeries and Fauna • Life Beyond the Kitchen
Across the Boulevard • Purple Hues and Me • Intelligent Domestications
My Family Thyme • Mom Home Guide • Our Unschooling Journey
Our Crafty Mom • Sum of their Stories • Farm Girl Reformed
Decorate and More with Tip • This Autoimmune Life • Sew Crafty Crochet
Domestic Deadline • Cookies Coffee and Crafts • My Sweet Things
Christina Faye Repurposed • Blogghetti • Teadoddles • Our Good Life
My Pinterventures • Eye Love Knots • Faeries and Fauna • Life Beyond the Kitchen
Across the Boulevard • Purple Hues and Me • Intelligent Domestications
My Family Thyme • Mom Home Guide • Our Unschooling Journey
Our Crafty Mom • Sum of their Stories • Farm Girl Reformed
Decorate and More with Tip • This Autoimmune Life • Sew Crafty Crochet
Domestic Deadline • Cookies Coffee and Crafts • My Sweet Things
Christina Faye Repurposed • Blogghetti • Teadoddles • Our Good Life
Now, let’s see what the other hosts have created ??
You might also like:
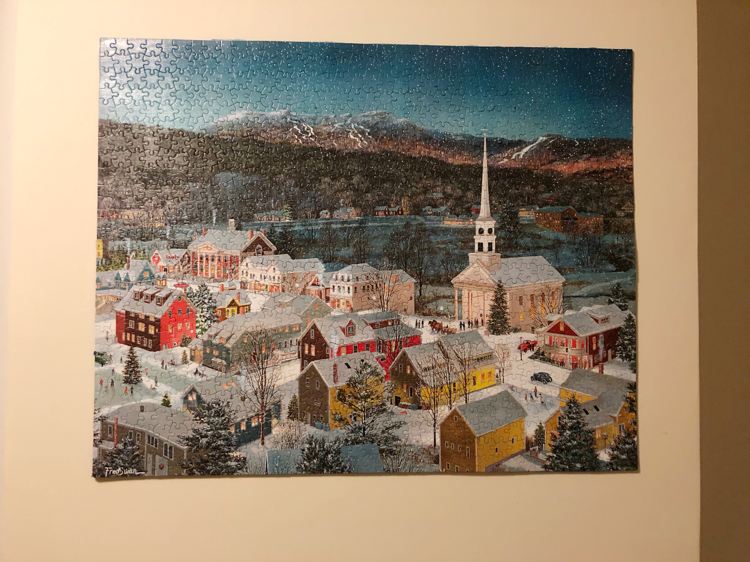
How to Save and Hang a Jigsaw Puzzle (with no glue or frame)
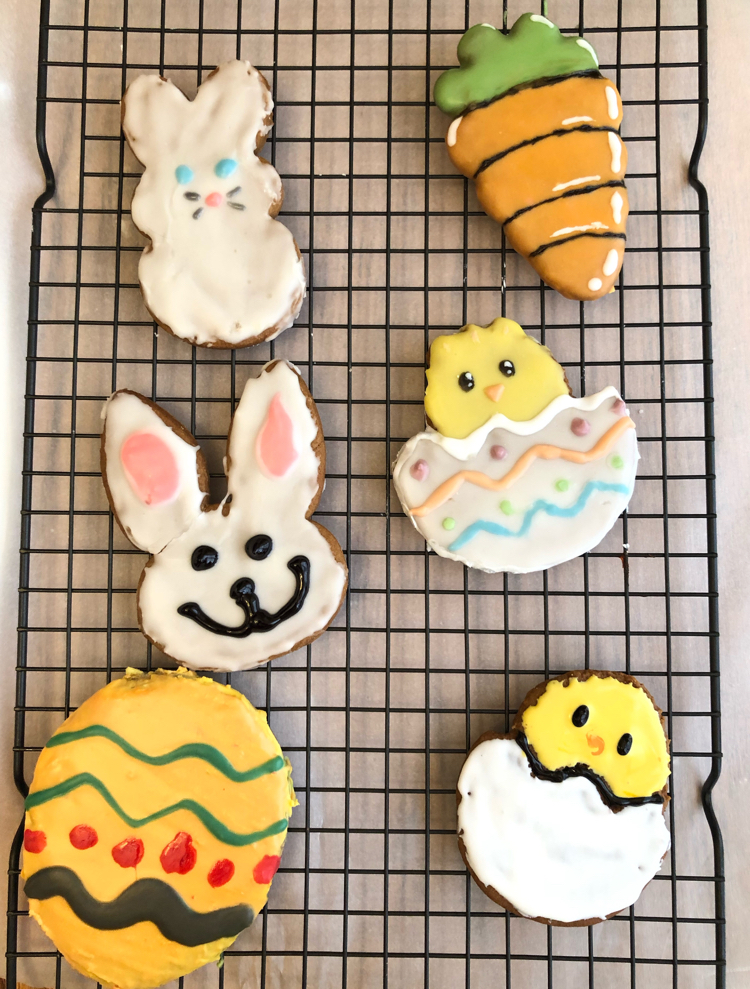
Bunny Paw Print Snickerdoodles
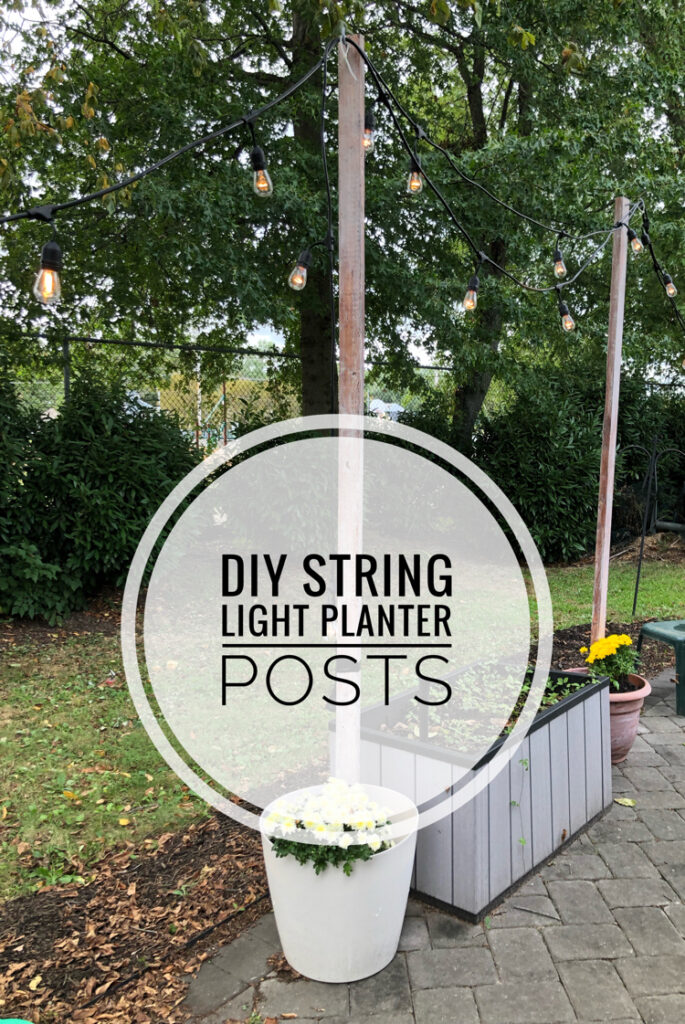
Easy Planter String Light Posts
Discover more from momhomeguide.com
Subscribe to get the latest posts sent to your email.
The pillow cushions look great. I don’t sew, but this is a really easy tutorial to follow. Your table runner looks great.
Lauren your tutorial on your chair cushions is so easy to follow. I love your fabric you used for your chairs. Very cute.
You’ve been making a lot of progress and some of these things take a little bit of time… I feel like whenever I need to get my sewing machine out, I can think of so many thing to do other than sew (sewing makes me procrastinate big time! ha!). It’s all looking great!
Carrie
curlycraftymom.com
I think it is so awesome that you participate in these challenges and that you share how you complete them. Good luck finishing the room challenge!
Lauren,
I love the fabric choice! I have never tried to sew, but your tutorial makes it seem easy, so I may have to try 🙂
You should try! I only use one of the stitches on my machine, but it gets the job done!
I love envelope covers! I have started doing that for all of my pillow projects, because it’s so much easier, and then you can change them out for the seasons!
That’s a great idea, Cherryl!
Your cushions came out great! Pinned.
Easy with your tutorial….now I need to make these for my chairs!
Lovely new cushion covers! Thanks for the great tutorial!
Hi Lauren! Your chair cushions are so cute! I love how they turned out! I always wanted to learn how to sew so I could do DIY projects like these!
Jill – Doused in Pink