Thanks to Corner Copia for sponsoring this post by providing the annuals for my container gardens. Thanks also to Thompson’s Waterseal Waterproofing Stain for sponsoring this post by providing the waterproof stain used on my new bench. All opinions expressed in this post are 100% my own.
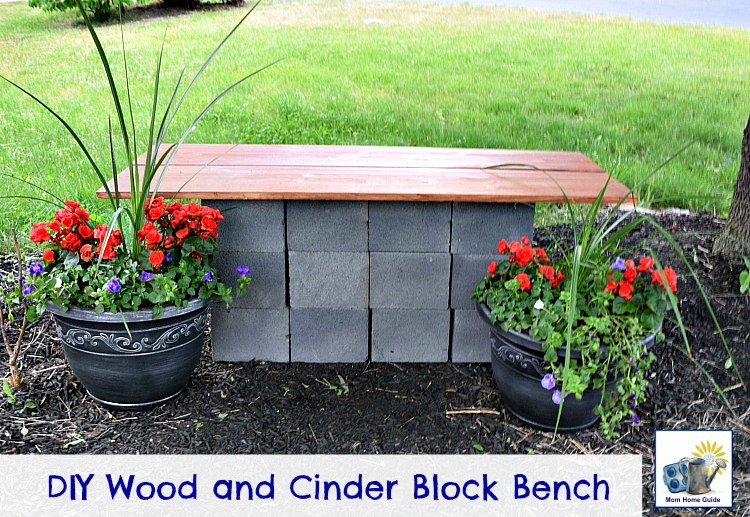
Welcome to the third week of the Curb Appeal Blog Hop! As I said in week 1, when I shared my curb appeal blog board, and week 2, when I shared a tutorial for a beautiful shade container garden, I have been working to beautify and add purpose to an area in my front yard. The space is basically an empty garden area to one side of my home’s driveway. It’s great to finally be getting that area together!
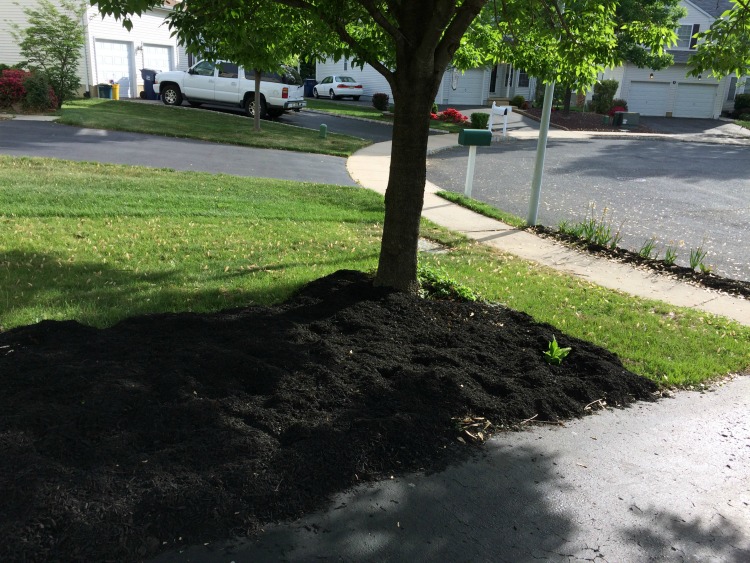
This is what the area looked last summer. For reasons unknown to me, everything planted in that area dies — even the shrubs that the builder planted there before we purchased our home died! (I am wondering what the builder buried under the soil there! LOL — seriously.)
So, I’ve decided to place beautiful container gardens in that area. Last week, I shared the details on what I planted in two new container gardens that now sit in that garden space. I got all my gorgeous annuals from my local nursery, Corner Copia. I adore that place! The nursery recently moved to a location closer to my home, so lucky me! I love how my new container gardens add color to my front yard’s shady garden area.
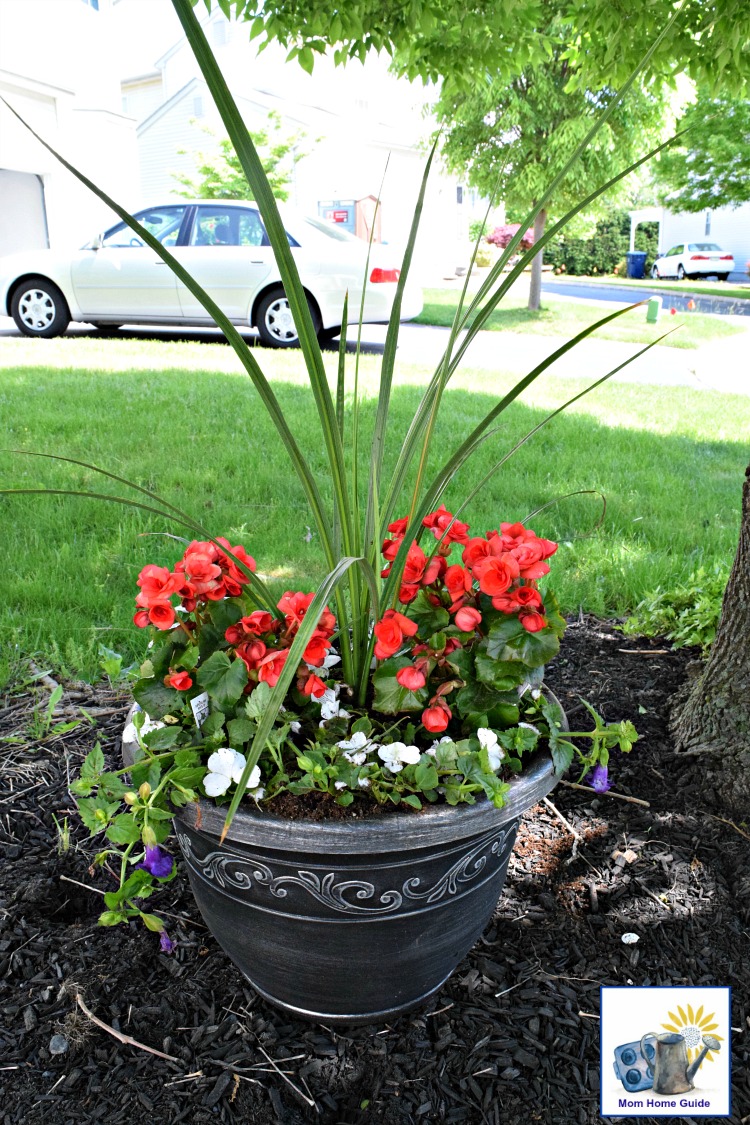
See my previous post about my new shade container gardens for all the details on the shade-friendly annuals I used in my new beautiful container gardens!
DIY Wood and Concrete Block Bench
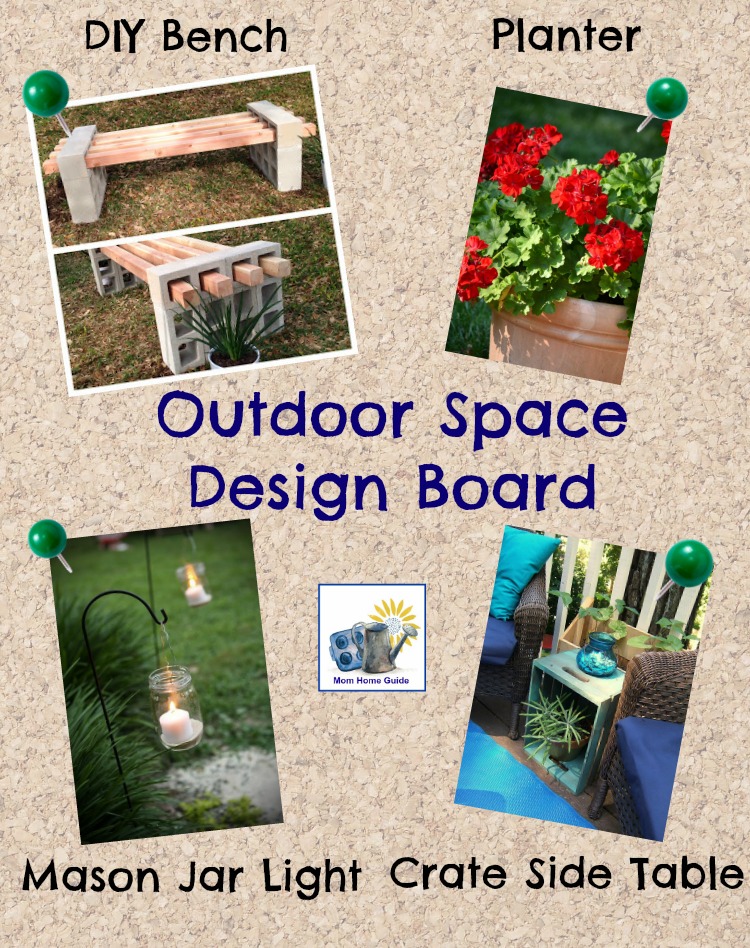
As you can see from my curb appeal design board below, my plans for my front yard curb appeal project include a DIY wood and cinder (also known as concrete) block bench. My kids often play with their friends in the front yard and the cul-de-sac, so it would be great to have a shady place to sit when I’m watching them play. (Not to mention that the spot underneath the shade tree is a relaxing place to read a book and enjoy a cool drink!)
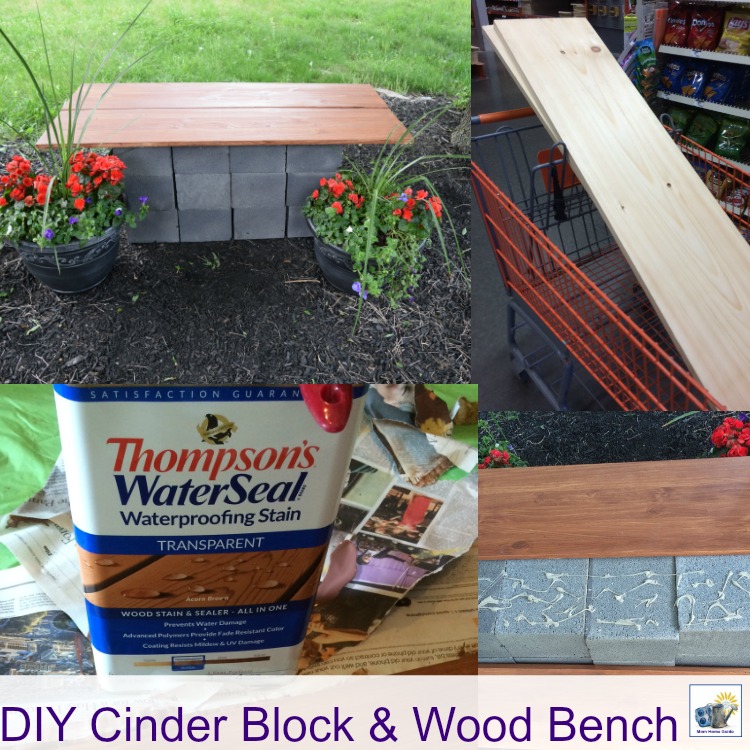
I got the idea for my DIY wood and concrete block bench from Fab Everyday. I love the look for Fab Everyday’s bench, but it turns out that their bench didn’t work out in my space. The area in which I wanted to place my bench is very sloped, so I needed a more sturdy configuration of concrete blocks for my bench. (The concrete blocks tipped over when I tried to stand them upright in my space.) So I came up with a new and sturdier configuration for my bench. I got quite a workout from lifting and re-lifting and moving the concrete blocks! Read below for details on how I put my bench together!
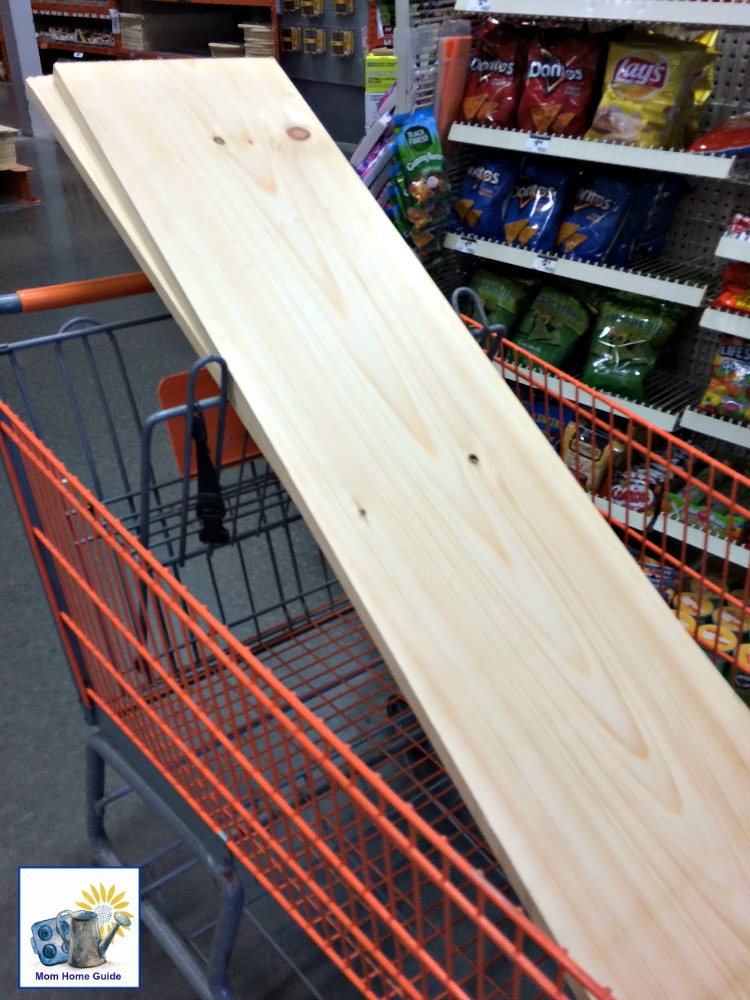
The timbers that Fab Everyday used are very heavy, and I wasn’t sure whether I’d be able to fit them in my car. So, for my bench, I used two really cheap pre-cut pieces of oak board (from the lumber department at Home Depot) instead. The oak boards were much easier to fit into my cart!
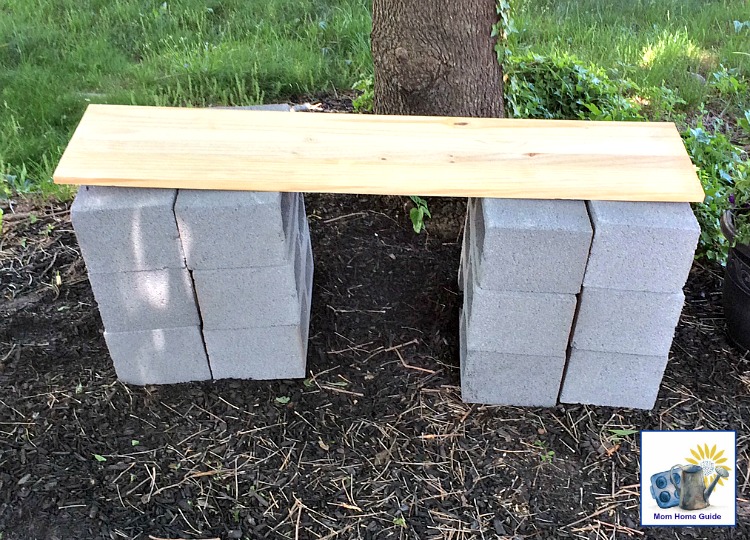
Before I settled on using a rectangular base of concrete blocks for the bench, I was planing to have a column of concrete blocks on either side of the bench. (See below.) But since I had the extra concrete blocks, I figured it made sense to use all of them and make the bench extra sturdy.
DIY Wood and Concrete Block Bench Materials
(12) 16-inch x 12-inch x 12-inch concrete blocks (at approxiately $1.61 each)
(2) 1/4 in. x 3 ft. x 4 ft. oak boards (at about $5.64 each)
1 can of Loctite PL 500 VOC Landscape Block Adhesive (aproximate cost: $4.97)
1 can Thompson’s Waterseal Waterproofing Stain (in Acorn Brown) (cost: about $17.97)
Cault Gun (about $15 if you need to purchase one; free if you borrow a neighbor’s — thanks, Tyson!)
Total Cost: About $69 (I spent less, though, thanks to my post’s sponsors and a helpful neightbor)
DIY BENCH ASSEMBLY
As I mentioned before, I tried standing my concrete blocks upright, as Fab Everyday did. But my ground was too uneven for the concreteblocks to stay balanced! So, I stacked my bench in a study rectangular block instead! I think having the sturdy base of concrete blocks is a plus, since the concrete can support the weight of the bench top (and anyone who sits on it).
I didn’t glue my cinder blocks together with the block adhesive. Those concrete blocks are heavy and won’t go anywhere!
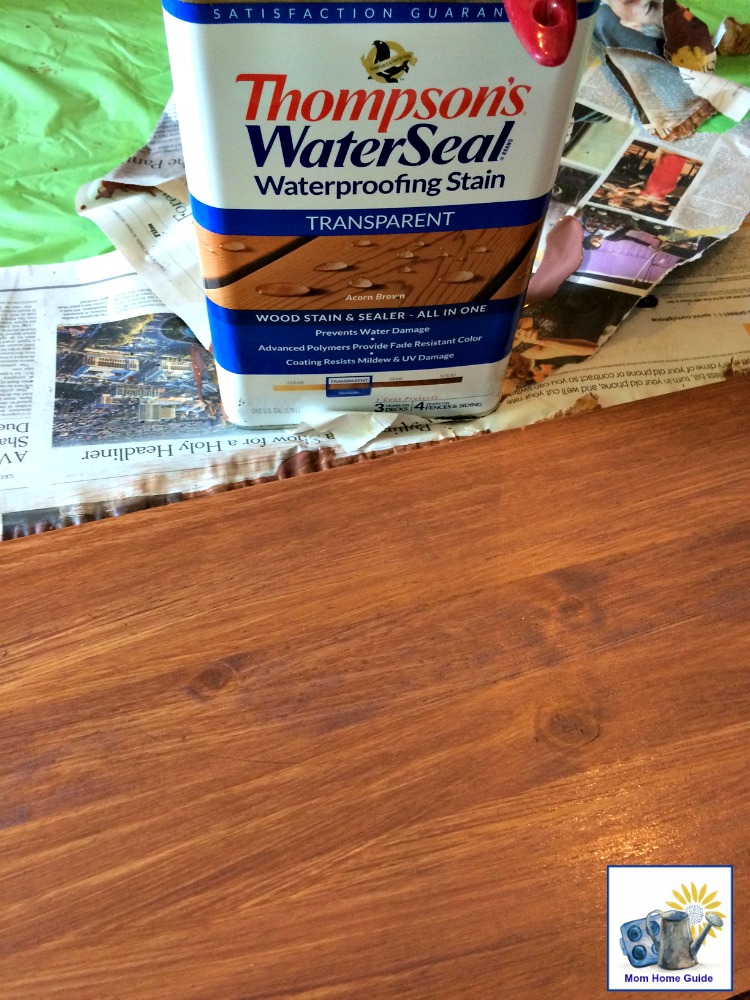
After I stacked my concrete blocks, I stained the oak boards for my bench with Thompson’s Waterseal Waterproofing Stain (in Acorn Brown). I love the rich, beautiful brown of this stain! The stain was easy to apply.
When the stain dried, I used Loctite PL 500 VOC Landscape Block Adhesive to glue the oak boards to the top of the concrete blocks. I was surprised at how well and how quickly the adhesive set!
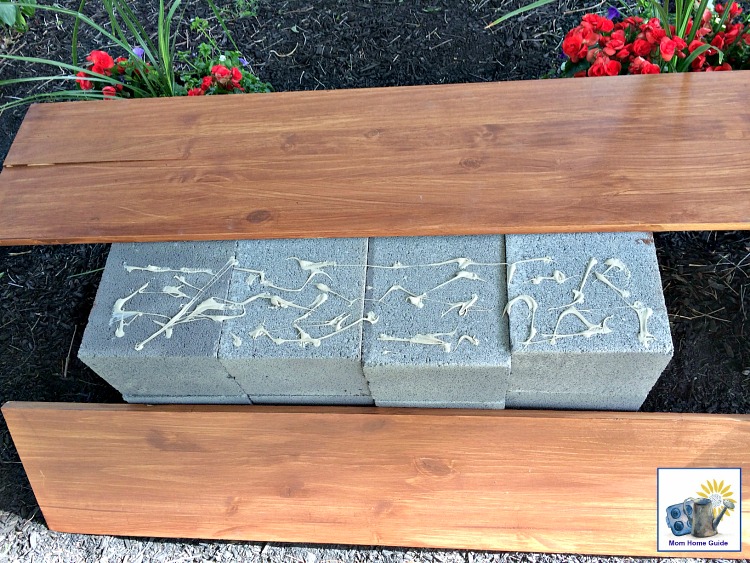
I sat on the bench for a bit while the adhesive was drying to help the boards adhere properly to the cinder/concrete blocks.
I really like how my new bench came out! I think it looks great, and I can enjoy the shade of the tree while on the bench.
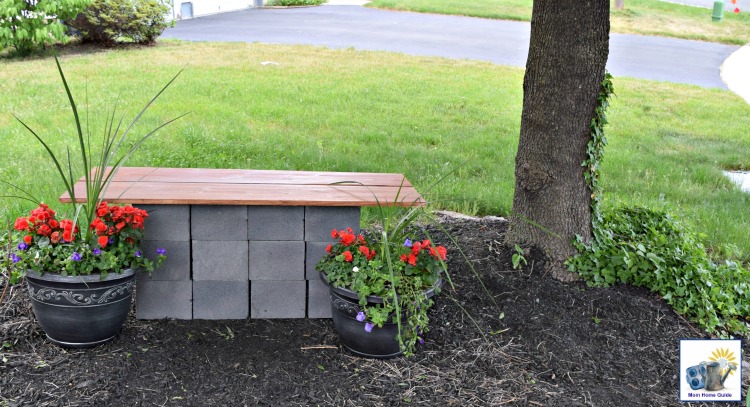
Now I need to add more decorative elements to the seating area. Check back next week to see what I add to this curb appeal project!
Please check out my blogging friends’ Curb Appeal Blog Hop 2016 posts! Also, check back here next Tuesday to see my progress on my front yard seating area! Follow along with the hashtag #curbappealbloghop.
Simple Nature Decor Blog | Seeking Lavender Lane | The Deans List | Curly Crafty Mom | My Life From Home | Lehman Lane | Knock it Off Kim | Paint Yourself A Smile | A Designer at Home | Our House Now a Home
This turned out great, Lauren! I had to laugh when you said everything dies that you plant there… yes, seriously… what is in that soil? Ha! I am sure those pots will do much better and that bench you created is so pretty! I seriously can’t believe you hauled all of those concrete blocks over there… that was a lot of work! But, so worth it!
Carrie
curlycraftymom.com
Carrie @ Curly Crafty Mom recently posted…Thick and Hearty Lasagna Soup Recipe
Thanks, Carrie! I think I am nuts sometimes — moving those cinder blocks (and getting them into the trunk at Home Depot) was a lot of work! But I like how the bench turned out! Thanks for stopping by! I love how your curb appeal project is coming out with your new lamp and newly painted door! (With it’s pretty monogram!)
I love your new bench and your yard is looking so beautiful with the planters! Great job – can’t wait to see the finished result!
Thanks for stopping by, Kim! Your curb appeal project is coming along very well! I love your new hanging basket and house numbers!
Everything looks great with the new bench! its amazing what a beautiful flowers and a new bench creates such a happy atmosphere to relax in. Maria
Thanks, Maria! The new bench area is a happy place! 🙂
Your bench looks amazing! Love how easy it is to make!
Jill
Doused In Pink
Thanks so much, Jill! This bench is super easy to make!
That looks like a wonderful place to sit and relax! Thanks so much for linking up with us at The DIY Collective Link Party! Please come back and party with us again next Thursday! xoxo, Cassie @ Little Red Window