Thanks to Thompson’s for providing the Waterseal Waterproofing Stain used in this post.
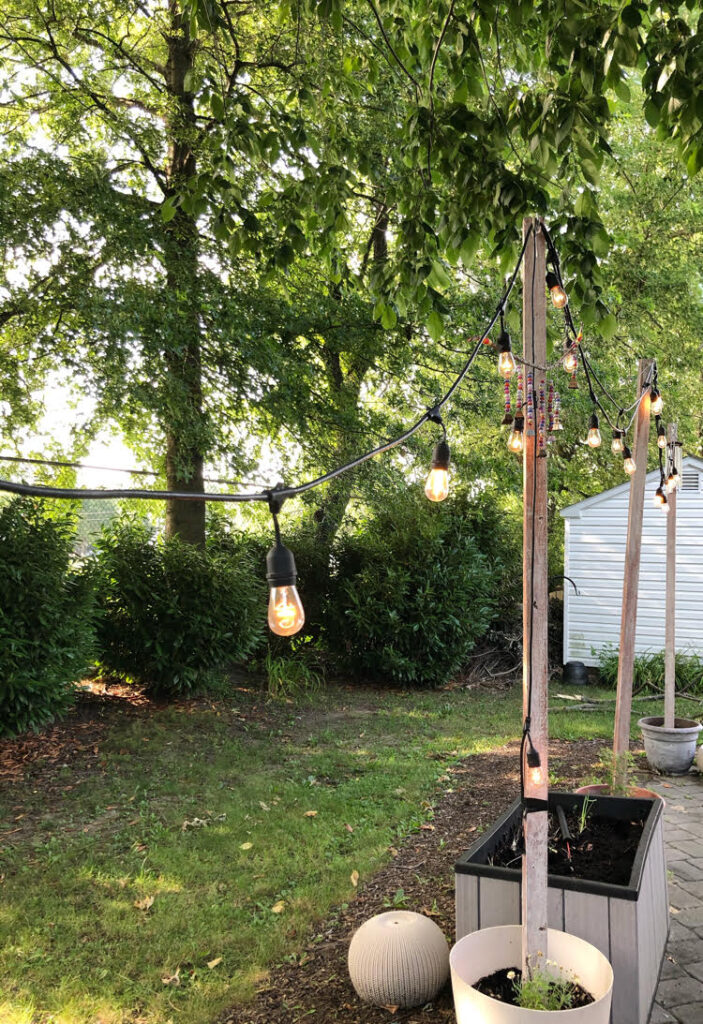
I’ve always wanted to add extra lighting to my home’s patio. When we moved in, our patio only had the one light fixture by the back door, which did little to light up the patio. Last summer I put up simple patio planter string light posts that I secured with Sakrete (quick setting concrete) in planters and hung string lights from. Last week I decided to add a few more DIY patio planter posts and an extra length of string lights.
I chose Edison-style outdoor string lights for my DIY string light patio posts. The Edison bulbs are shatterproof plastic and add a lot of light to my home’s backyard paver patio!
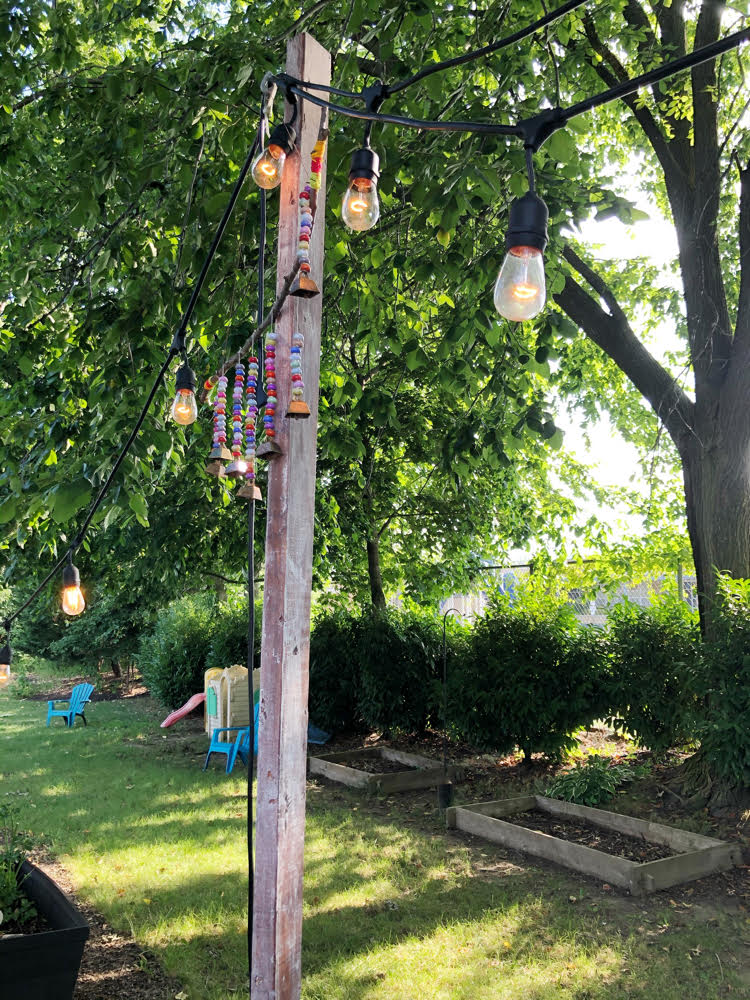
I am sharing my project as part of the monthly Pinterest Challenge Blog Hop. Every month my blogging friends and I get together to tackle projects that we’ve pinned on Pinterest. There are lots of great DIY planter posts for string lights projects on Pinterest that inspired my project. One pin that inspired me was the string lights project by Sugar Maple Notes.
I was also inspired by the easy patio planter posts for string lights by Fox Hollow Cottage.

My Pinterventures • Cookies Coffee and Crafts
Farm Girl Reformed • Slices of Life • Domestic Deadline
Decorate and More with Tip • Purple Hues and Me
Life Beyond Kitchen • My Wee Abode
Mom Home Guide • My Family Thyme
Sew Crafty Crochet • Once Upon a Time & Happily Ever After
Sum of Their Stories
DIY Planter Posts for String Lights
String lights are an inexpensive way to add lighting to an outdoor patio. The only problem is that you need something to hang the string lights from! We have trees in our backyard, but I’d need several extra lengths of string lights to reach the trees. So I decided to make easy DIY patio planter posts for hanging the string lights.
String Light Planter Pole Supplies
(This is the supply list for all 6 string light planter posts. I put 4 together last summer and two together this summer. I have included the price for the items I purchase for this project. I already had several of the items on hand.)
6 8-foot-high 2×4’s (mine were ground contact pressure treated and cost $21 total)
Outdoor String Lights (I used 72 feet of string lights -mine cost about $100 total.) Note: The string lights I purchased on Amazon are no longer available, Amazon has many similar sets of string lights available.
6 Large Plastic Planters (total cost: approximately $72)
6 bags Fast-Set Concrete mix (I used 4 50 lb bags of Sakrete for a total cost of $22)
6 screw-in vinyl-coated steel Plant Hooks (Cost: $3.00)
Thompson’s Waterseal Waterproofing Stain
White Paint (I used chalk paint the first time and leftover latex paint the second time)
Potting Soil
Cordless Drill
Paint Brush (I used a cheap one from the dollar store.)
Water
Small plastic container for holding stain and paint
Shovel
Frog Tape (For the last two posts I used Duck Tape.)
Sandpaper
Work Gloves
Zip Ties
Vinyl Electrical Tape
Level
Disposable Respirator Mask
Rubbermaid Molded Step Plastic Stool
Garden Hose or Watering Can
How to Hang String Lights
I got most of the materials I needed for my project from Home Depot. To make my life easier, I ordered everything through the Home Depot app on my phone and picked up the supplies at my local Home Depot. My Home Depot filled my order in about an hour!
I actually ordered the supplies for my two extra posts, string lights and planters several months ago, so I didn’t have to do any shopping this go around. (This is one of those projects I’ve been meaning to get to for a while now.)
Preparing & Setting String Light Posts
The first thing I did was stain the 4x4s. I already had some Thompson’s Waterseal Waterproofing Stain on hand for this.
I bought a cheap dollar store brush to apply the stain and poured small amounts of stain into a clean plastic container as I worked.
After staining the wood, I decided to add a whitewash to the stained wood. I watered down some white chalk paint that I had from a past project and painted over the stain. For the last two posts, I used some leftover latex paint (from painting a bathroom) to create the whitewash. I just added water to the paint to give it a watery consistency.
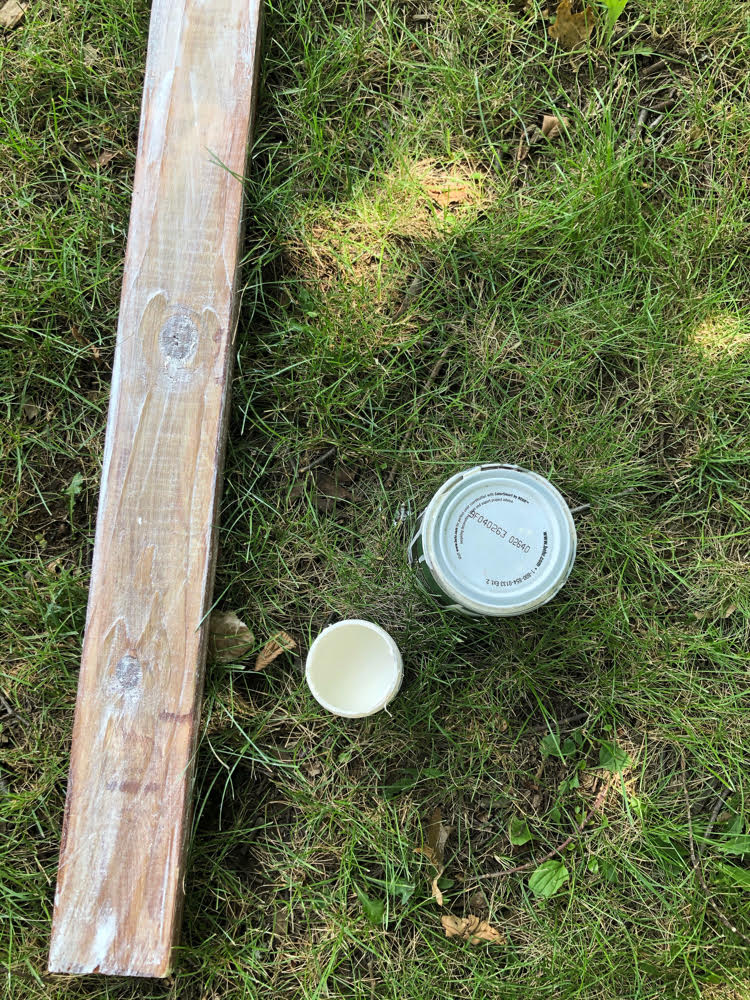
I put on some work gloves and a face mask and completely sanded the poles with some sandpaper while the paint was still drying. The sanding gave my whitewash effect an even look and got rid of some of the rough, splintery edges on the poles.
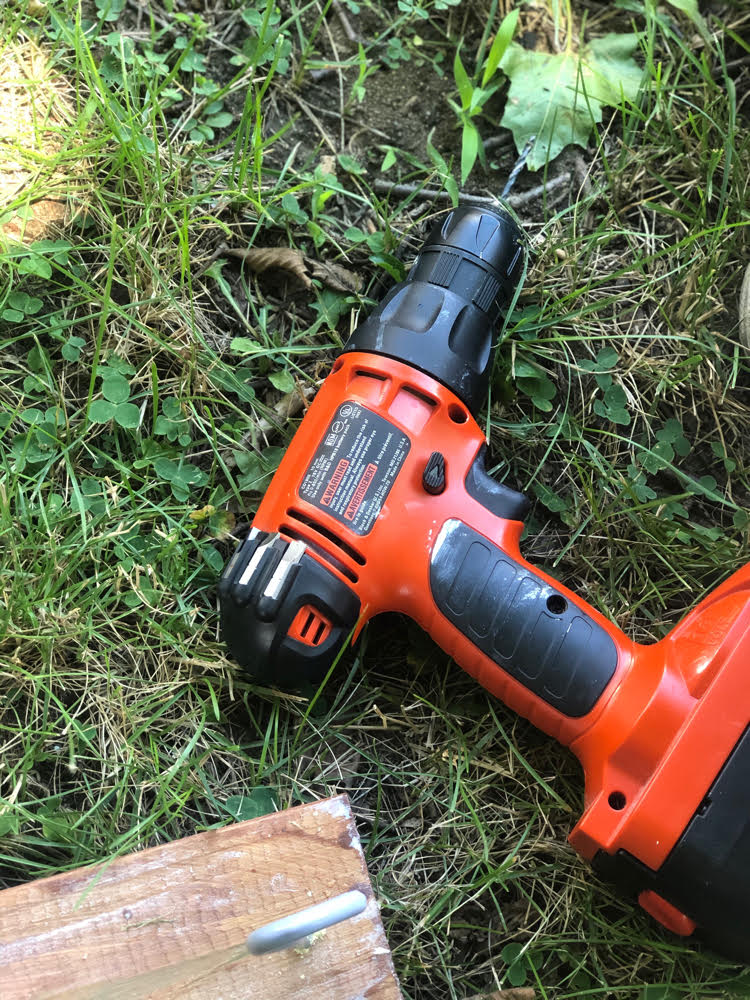
I used my drill to make starter holes near the tops of my poles for the hooks. (These hooks now hold the string lights.) I screwed the hooks in by hand. (If you don’t have a drill, you can probably get the screws in by making a small hole in the post with an awl.)
Then it was time to set the poles in the planters with the cement! I first set my large planters where I wanted them on my patio. (The planters are heavy once they are filled with the cement.)
I worked on one planter at a time. It would be best to have a helper for this project. But since I was working on my own, I had to be creative!
Important tip: If you do this project on your own, be sure to have everything you need to set the poles — quick-setting cement, Frogtape, shovel and water — within arms’ reach before setting the poles.
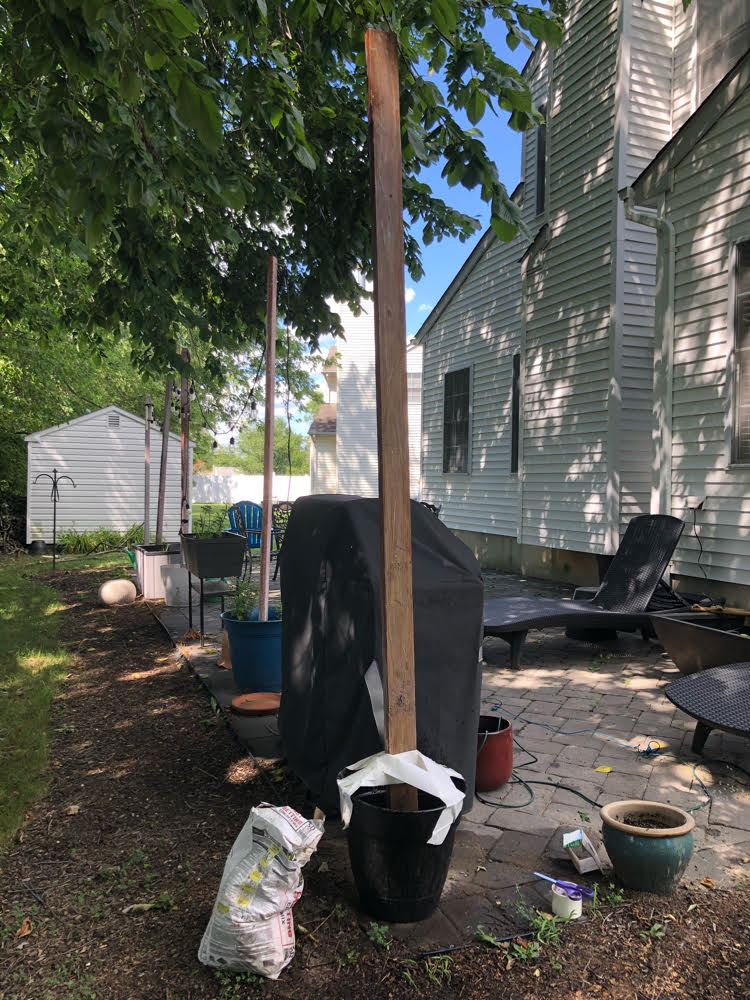
To set each pole, I started out with a big roll of Frogtape (for the last two posts, I used Duck Tape) on my arm. I placed the pole in the center of the planter and secured it with lots of heavy-duty tape. Wearing a disposable face mask, I dumped an entire bag of fast-set concrete into a planter, added water and mixed the concrete mix with a shovel until it started to set. For the last two posts, I also put a few bricks around the base of the posts to help the posts stand up straight. I then moved on to the next planter. The fast-set concrete hardened a lot quicker than I expected it to!
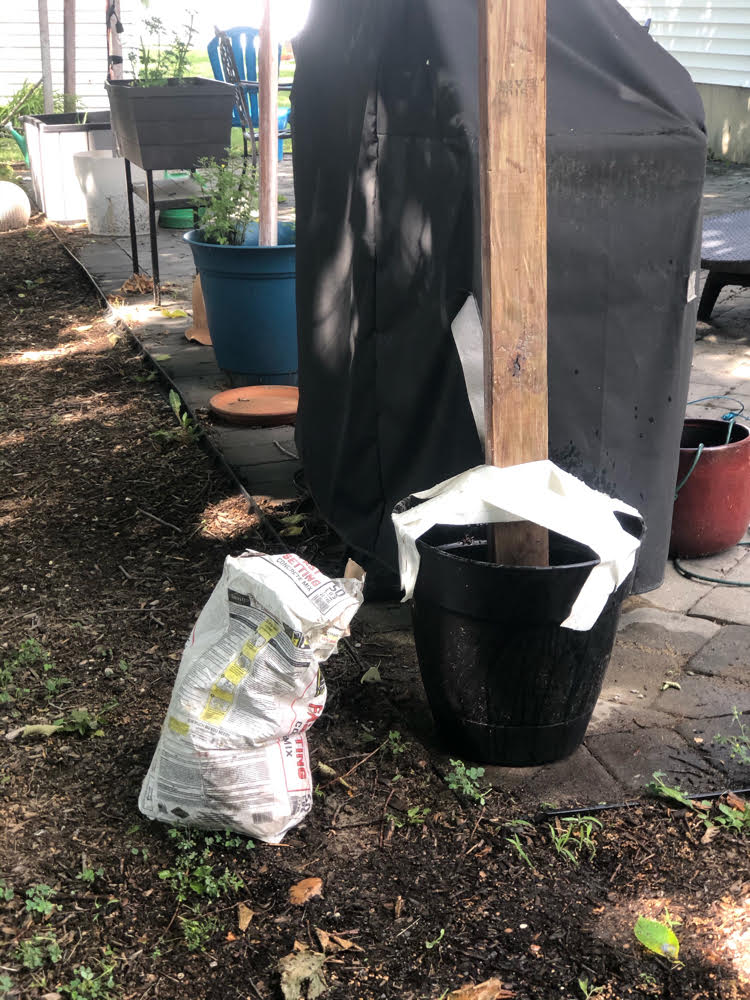
After the concrete in my planters had dried, I added potting soil on top of the concrete in each planter. I just need to go buy some pretty flowers for my new string light planters!
Hanging String Lights
Important tip: To reduce the risk of breaking the bulbs for your string lights, screw them in after the string lights have been hung from your light poles.
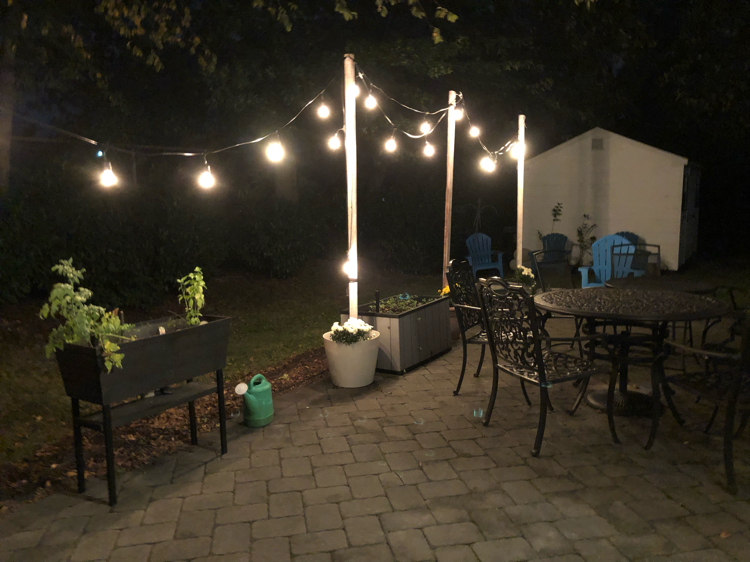
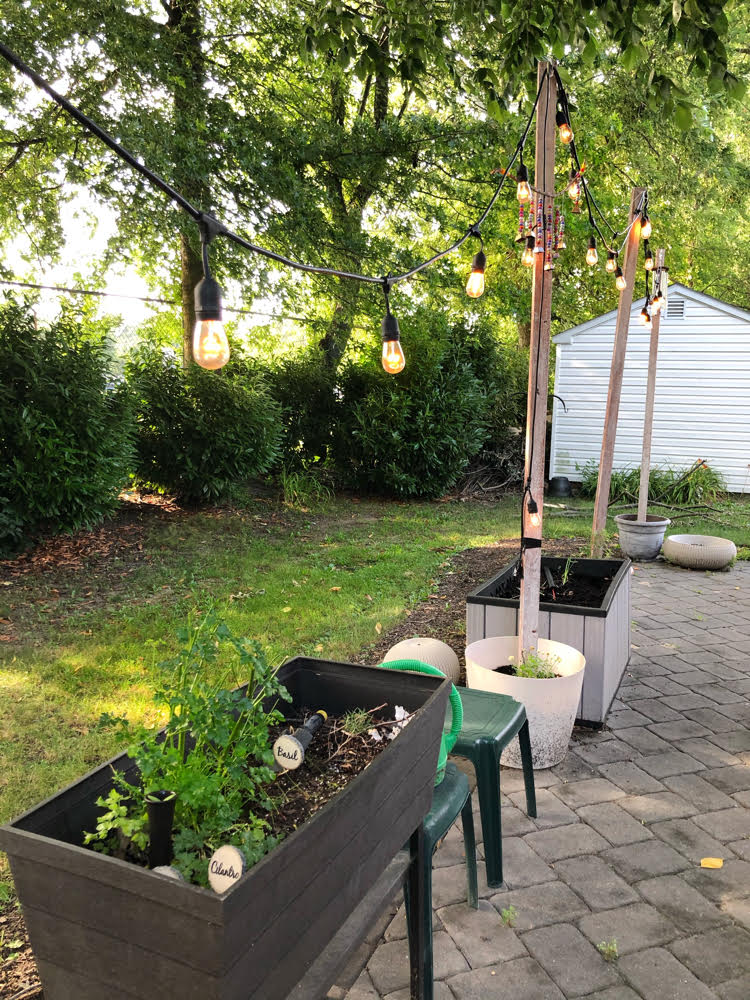
I looped the string lights over the hooks at the tops of my DIY light poles and secured them with zip ties. Hanging the string lights only took a few minutes!
Now, let’s see what the other hosts have created ??
More Backyard DIY Projects You Might Like
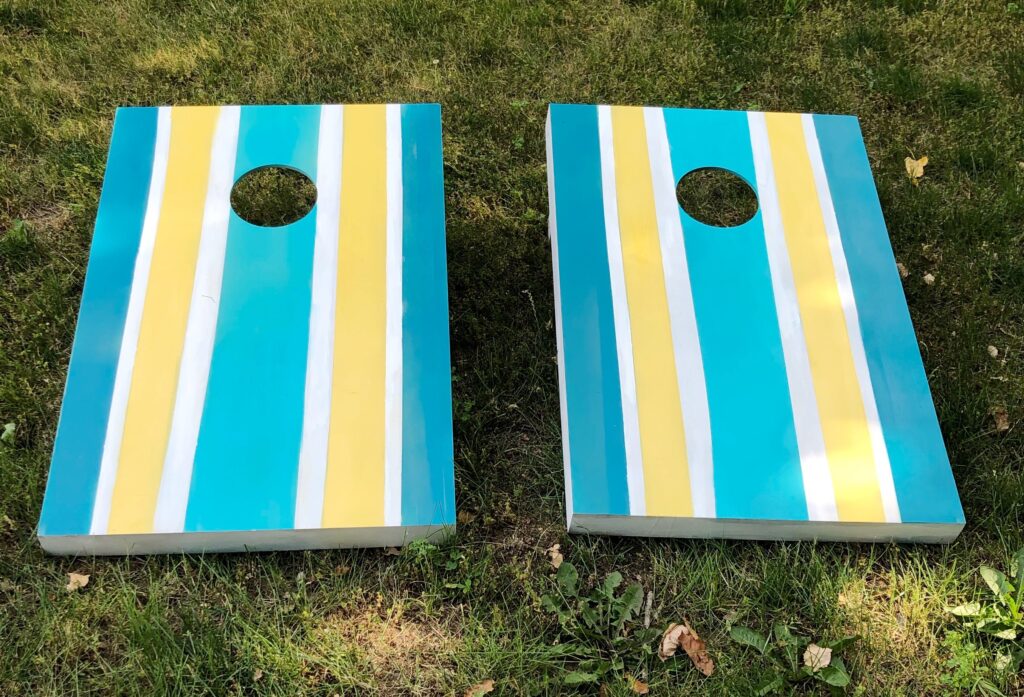
DIY Spray Painted Striped Corn Hole Boards
I think I have this pin idea saved too. Such a great idea and inexpensive way to add lots of lights to a big backyard.
Erlene recently posted…Seashell Christmas Tree Craft – Christmas in July
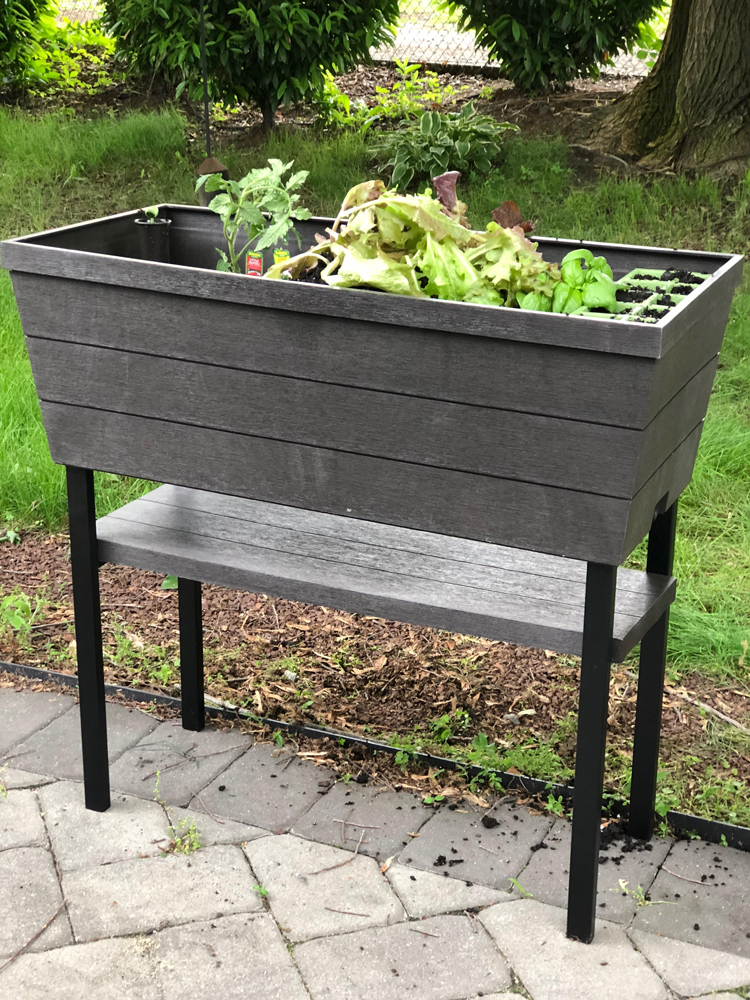
Next year come Covid or high water, I am going to have a raised bed. I would love to grow just a few veggies to use in our smoothies and meals. Love your lights. Great idea to “plant” the posts in the planters. We have some crazy winds out of the southwest so I might have to plant ours in cement in a planter but I love this idea.