Happy November, everyone! I can’t believe how quickly fall has been flying by! I thought I’d take a little time to share what I’ve been up to!
Rocking Chair Rehab with My Multitool
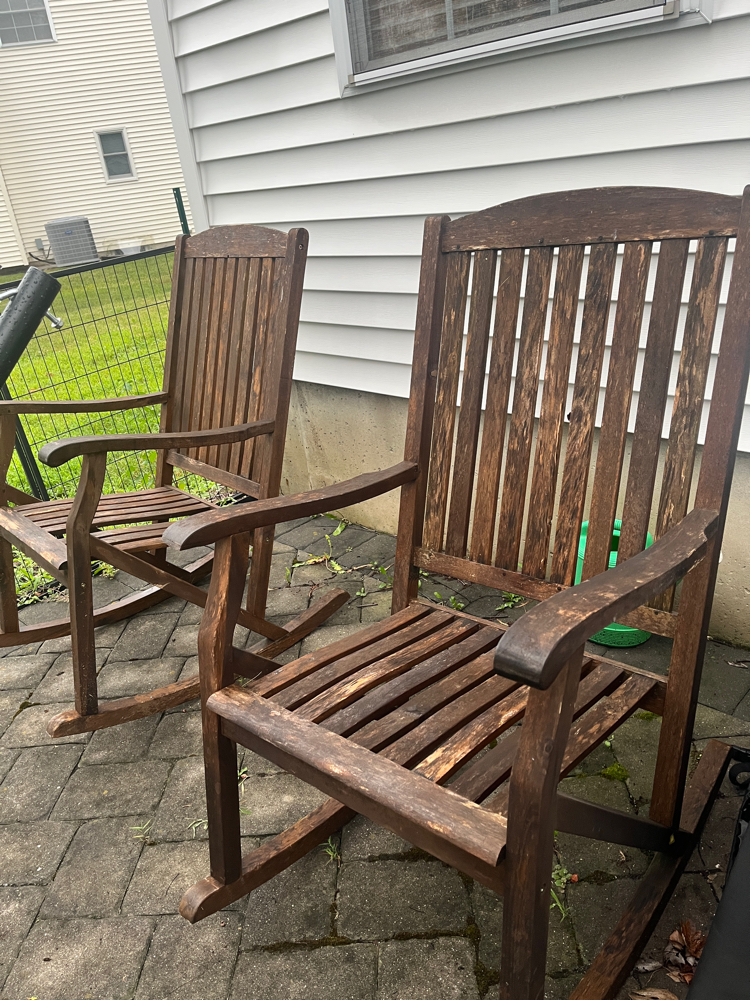
In July, my daughter picked up for me two rocking chairs that she had spotted for free on Facebook Marketplace — that was so sweet of her! The chairs were in pretty good shape, except that they on is missing a slat, and they needed some refinishing.
For the missing slat, I think it will be fine after I add custom cushions I plan to make for them. It looks like the slat broke off and I don’t have any experience with power tools or woodworking so I am not sure what to do about that. I have been working on the chairs little by little since my daughter brought them home for me. (My kids are so sweet!) This is what they originally looked like.
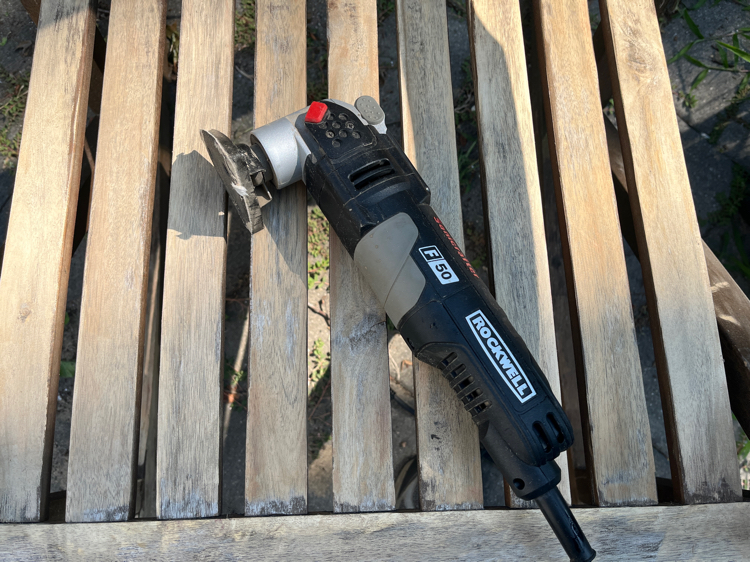
Using my Rockwell Sonicrafter multitool (which I understand is the same thing as the Worx Sonicrafter), I sanded down both of the rocking chairs working a few hours over a period of a few weekends. The Sonicrafter makes a quick job of sanding and can also perform other functions like sawing and polishing.
This is what one of the chairs looked like when it was completely sanded down.

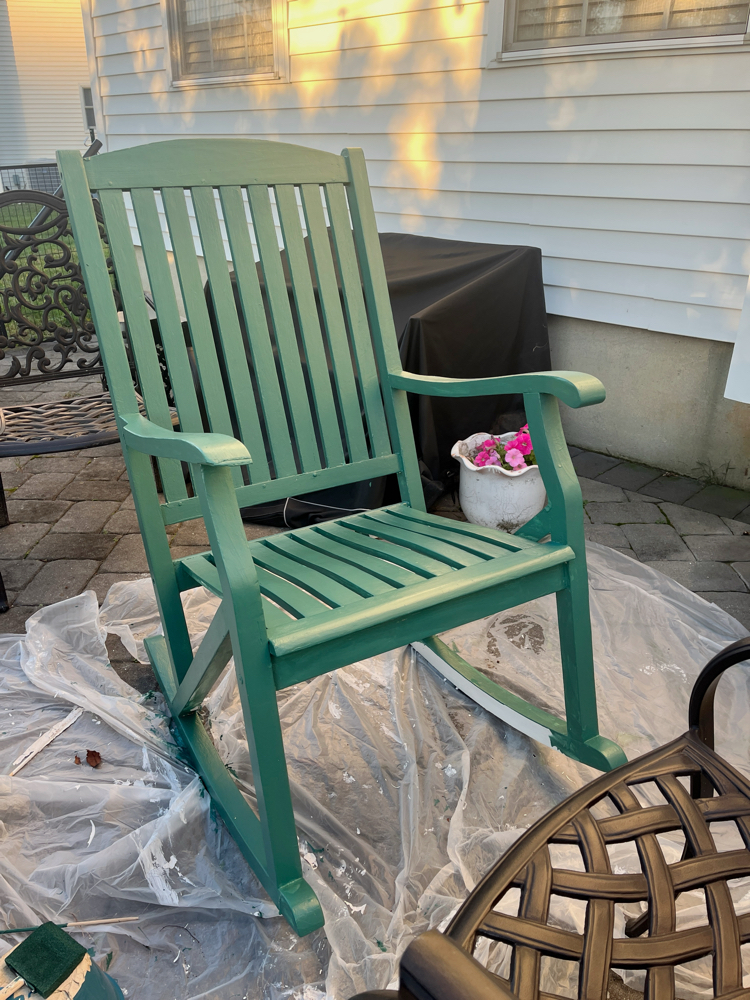
After I had sanded down the chairs, I primed them with an outdoor-appropriate primer and then painted them in the Sherwin Willians color “Raging Sea,” a blue-green. (I love blue greens!) I really like how the color turned out! This weekend, I got the second chair painted, and I am hoping to do the final touches this week; perhaps on a lunch break or two. This is what the first chair looked like with the first coat of the blue/green paint nearly completed.
I got waterproof seat cushions from Amazon on sale—I accidentally left them out in the rain and they repelled water very well! I was so relieved. They are also very comfortable. I got two cushions for just over $30, which I think is a really good deal.
But the cushions are just navy blue, so I am going to make envelope cushion covers with a Premier Prints outdoor fabric I really love, Faxon Oxford. It’s a mix of blues, greens, and browns that will look great on the chairs. I am looking forward to getting started on the envelope cushion covers! I’ve made envelope cushion covers before — they are really simple to sew. They are great because they don’t require adding a zipper because of the envelope enclosure on the back. I made envelope cushion covers a few years ago when I made the cushions for the chairs for my patio table set.
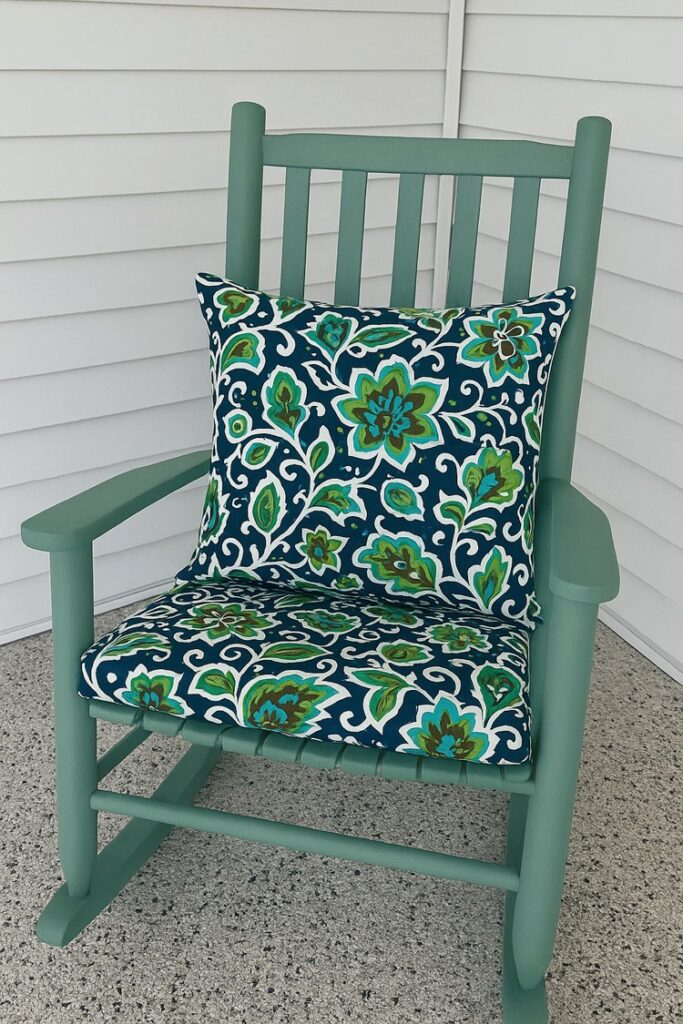
I asked AI to give me an idea of what my cushions will look like when complete on the chairs. Chatgpt did a pretty good job, except that it added a back cushion, which I don’t plant to make — at least for now! (Note: The pillows in the AI photo are a little offer — they are prettier on the actual fabric.)
Hand-Sewn Pumpkin
Saturday, I took the opportunity to watch a mini series on Netflix and complete the Sew a Pumpkin Kit from Busy Bee Fashion & Art Studio in East Brunswick, NJ. The studio is a creative space where parents and kids can participate in art or craft workshops and classes. Fun! My kit came complete with instructions, fabric, a template for cutting the fabric, a needle and a spool of thread, and some embroidery floss. I really love the autumn-leaf print on the fabric!
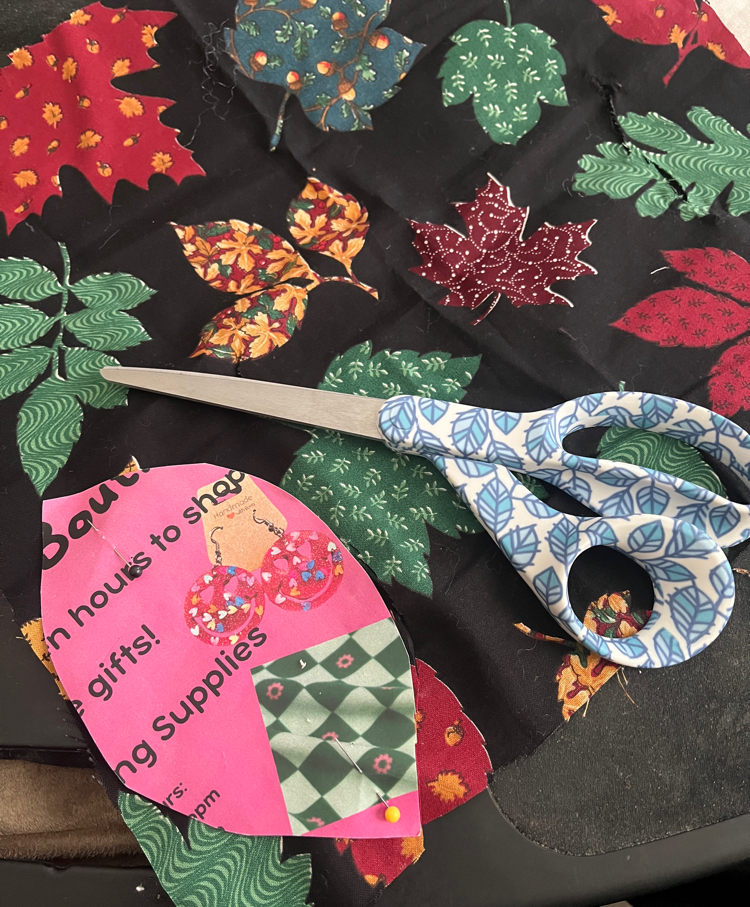
To construct the pumpkin, I simply cut 5 foot-foot-ball shapes out of my fabric and sewed the sections on, one side at a time, right sides together. It didn’t take too long to cut the fabric and stitch the project together. I am not the best hand sewer, so I suspect that perhaps a more expert crafter would have done a better job. But I like how it turned out. I had a tiny bit of fabric left over, so I used it to create a few ties that I tied on to my fabric stem. I think the ties look cute on the pumpkin!
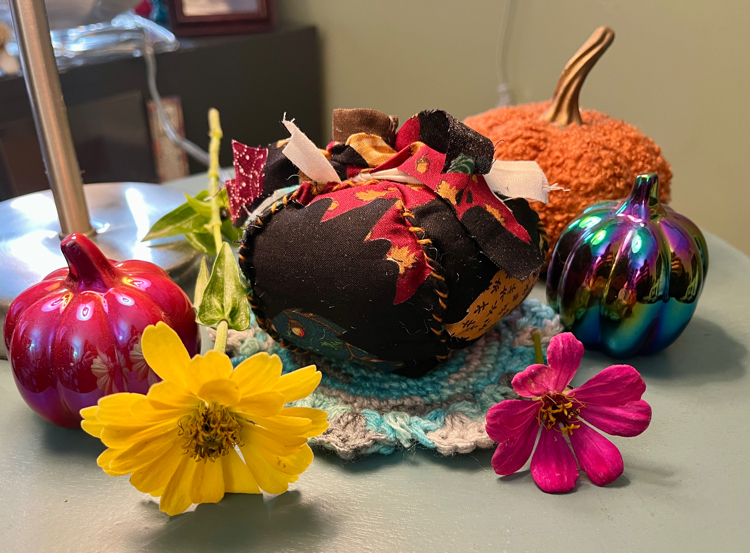
I added the pumpkin to a mini seasonal display I created in my home office — I like having something pretty to look at while I work! This was a fun project. I might use my template to make more pumpkins — I think it would be fun to use various scrap fabrics for a patchwork effect!
Discover more from momhomeguide.com
Subscribe to get the latest posts sent to your email.