*This post contains Amazon affilate links.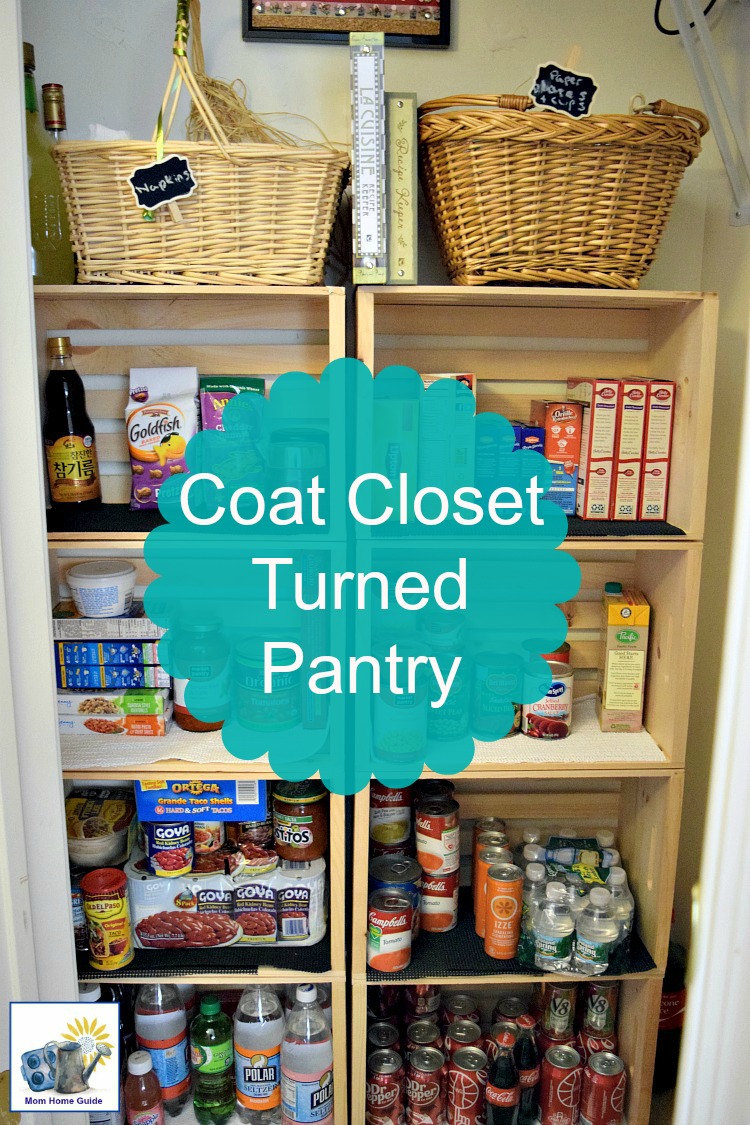
Earlier on Mom Home Guide, I shared my goal of converting my home’s coat closet, which is just off the kitchen, into a pantry. My kitchen doesn’t have a pantry, and it really needed one! As soon as my blog post pubbed I got to work on making my dream of having a kitchen pantry a reality!
Making a Coat Closet Pantry
I am a night owl, so late one night, I started searching for easy ways to convert a coat closet into a pantry. I was hesitant to drill into the walls and put up shelving, because my coat closet shares a wall with my home’s laundry room. My stud finder was showing that there are electrical wires running throughout my closet’s walls. I didn’t want to chance drilling into one of those!
I decided to use our home’s coat closet for a pantry, since my family already has a really functional mini mud room area that we set up by our home’s front door.
Get free inspiration in your inbox – recipes, DIY projects, crafts and more.
Inspiration struck when I spotted a bookshelf made out of wooden crates on Pinterest. (The pin is from The Calm Cradle blog.) I realized that I could easily create pantry shelving in my home’s closet using wooden crates! Once I realized that there was an easy way to create pantry shelving in what was my home’s coat closet, I got to work!
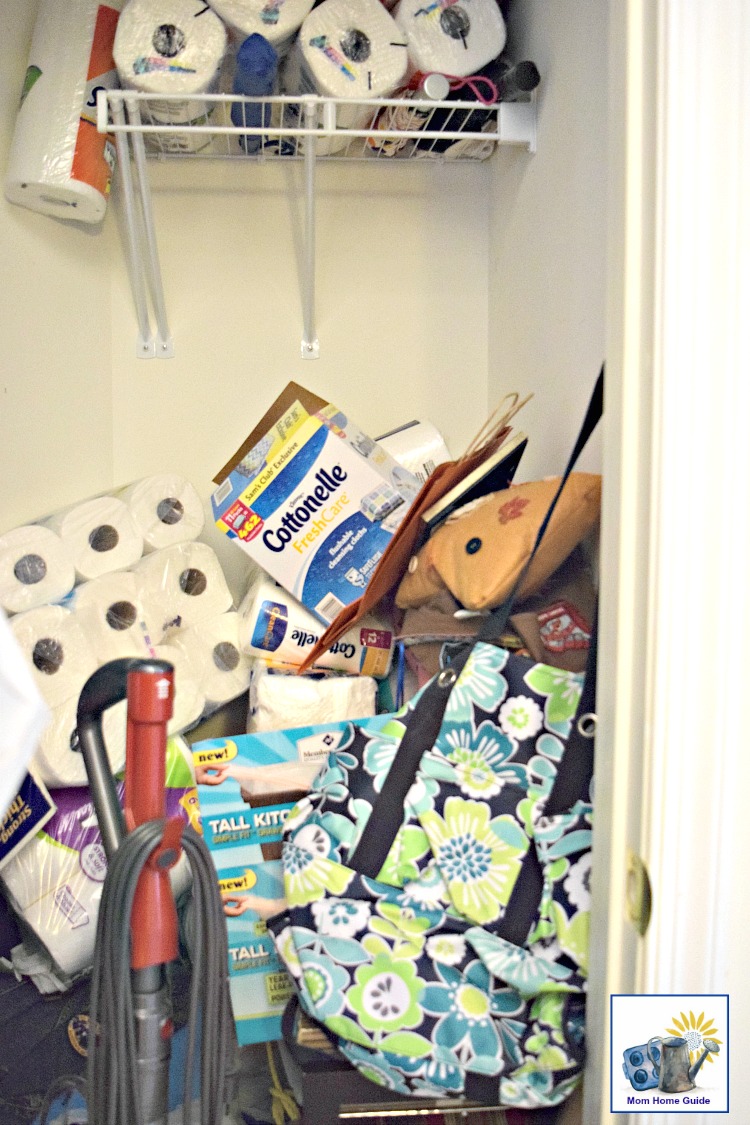
I started out by relocating what was in the coat closet to other parts of the house. It turns out that the closet was like a junk closet and had everything in there from craft supplies to yoga mats! Much of what was in the coat closet was relocated to some shelving that my husband put up for me a while ago in our home’s basement. The things my family no longer needs were donated to a charity thrift shop. This is what the closet looked like before I cleared it out!
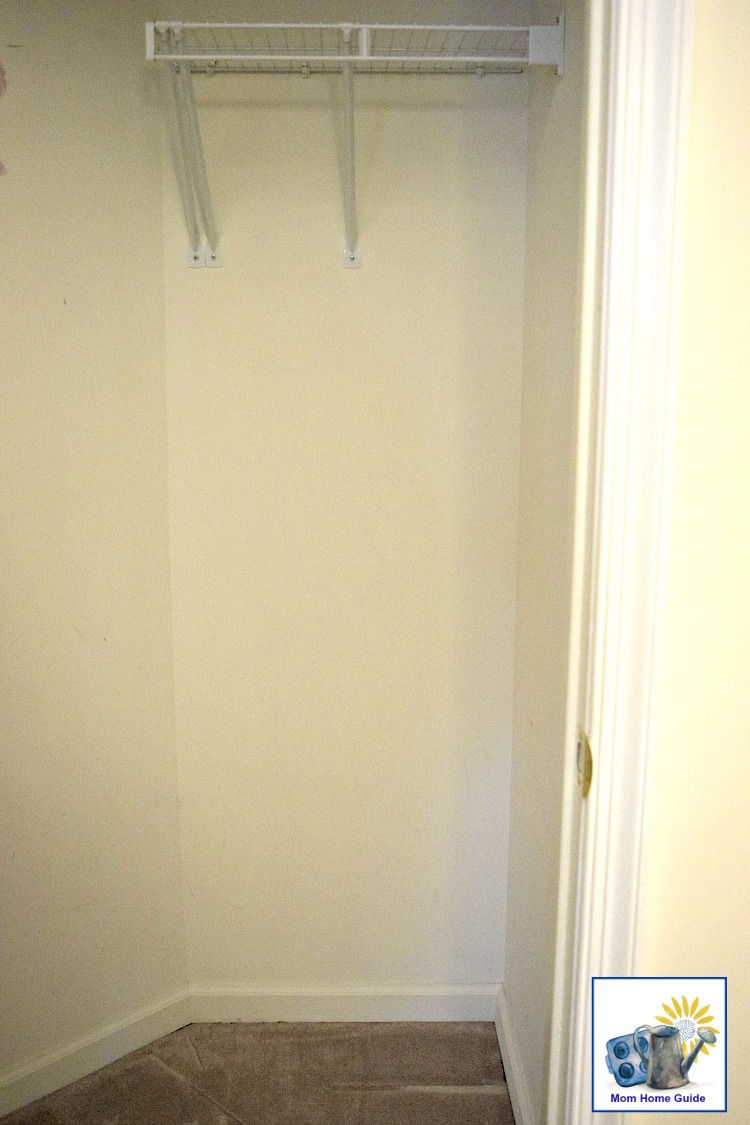
It took much less time to clear out the closet than I thought it would! This is what the closet looked like after I emptied it out.
Crate Shelving for a Pantry
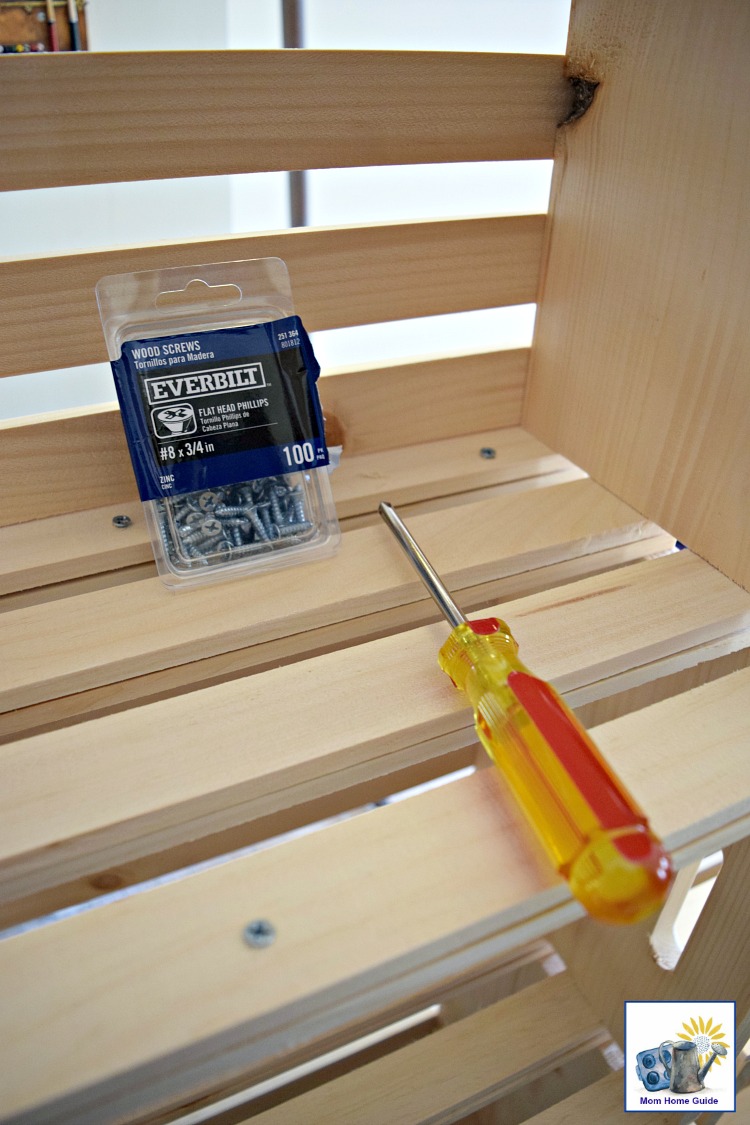
It just so happens that Home Depot is having a sale on wooden crates this week — the crates are less than $10 each! When I found out that the crates were on sale yesterday, I hopped in my car and dashed off to Home Depot! I picked up 8 crates. (I cleared out my local store’s inventory!) I also picked up a box of 3/4″, flat-head Phillips wood screws. Once I got home, I used a regular Phillips head screwdriver to screw the crates together for added stability. I screwed the bottom of each crate to the crate below it using three screws across the front of the floor of the crate, and three screws across the back. (You can see how I screwed the crates together below.) I made two stacks of four crates for my pantry shelves. Screwing the crates together was pretty quick work and kind of fun!
Once I had created my two stacks of crates, I placed the two stacks of crates in my closet side by side to get an idea of what the shelving would look like. I was originally going to spray paint the crate shelving white, but my daughters and I liked the look of the unpainted wood so much that I kept the crates as is! Another plus is that the unfinished pine wood adds a lovely scent to the closet!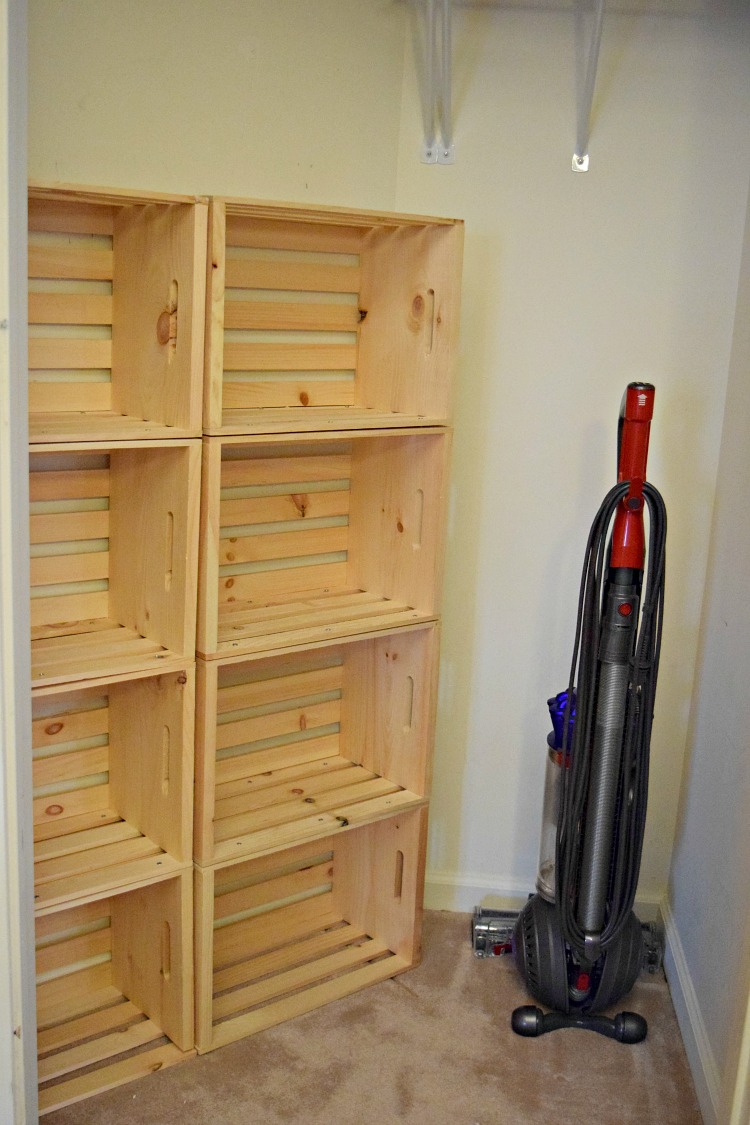
I decided to keep my Dyson DC50 Ball Compact Allergy Upright Vacuum in the closet because I don’t really have any other place to store it!
To protect the crates, I used some non-adhesive shelf liner that I already had one hand.
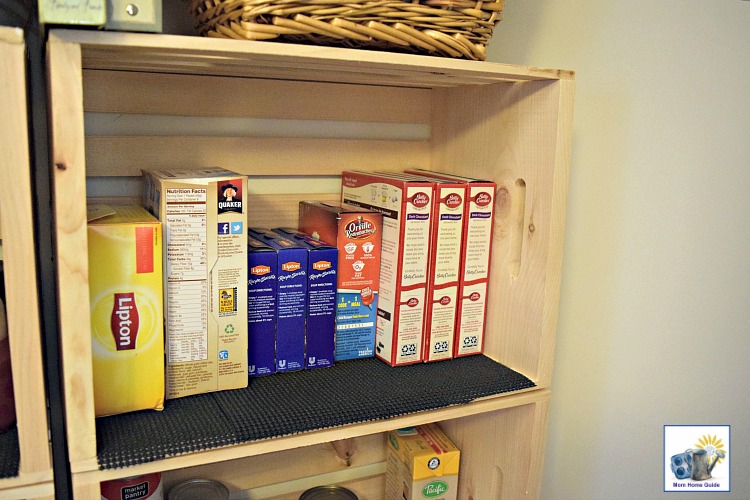
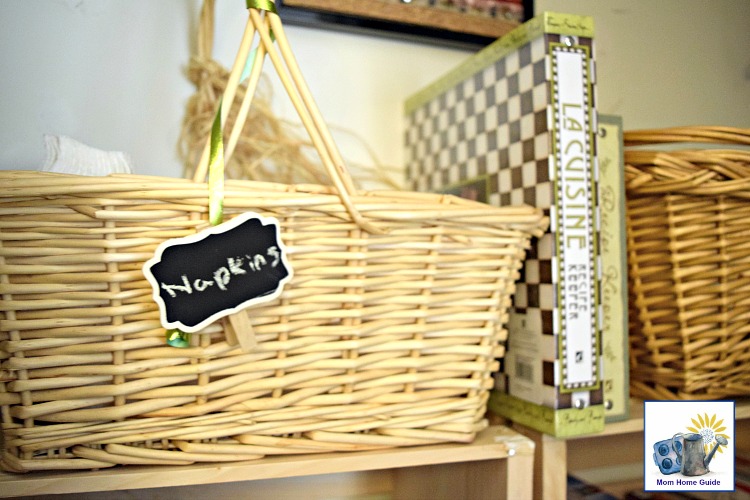
For extra organization, I used a basket to store paper napkins, and another basket to store paper plates and cups. I used cute clothes pin chalkboard labels that a friend had given me to label the baskets. (It was a little difficult to write on the labels because I only have really thick chalk at home!)
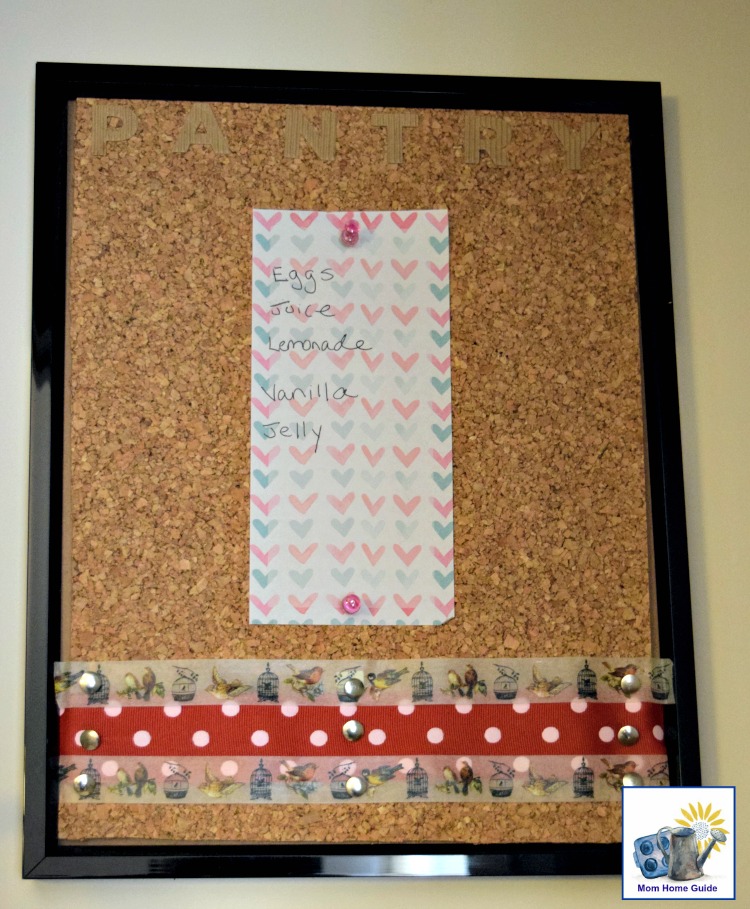
Above my shelving, a hung a cork board that I had decorated with the word, “pantry,” on it. To the list I pinned a shopping list of some needed grocery items. I plan to add to that list as I notice food items that need to be replenished!
It’s funny, but my daughters and I are kind of in love with our new pantry! We keep opening the door to sneak a peek at it! I can’t believe how simple it was to convert our home’s coat closet into a much-needed pantry!
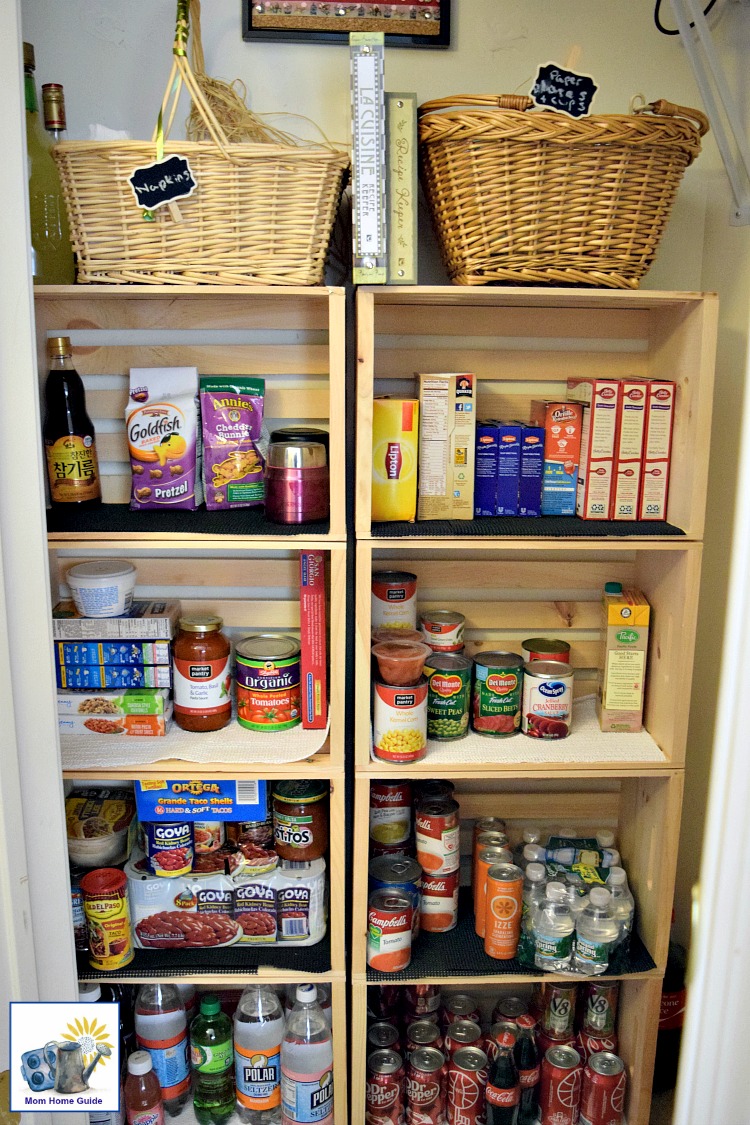
This is another look at our new pantry!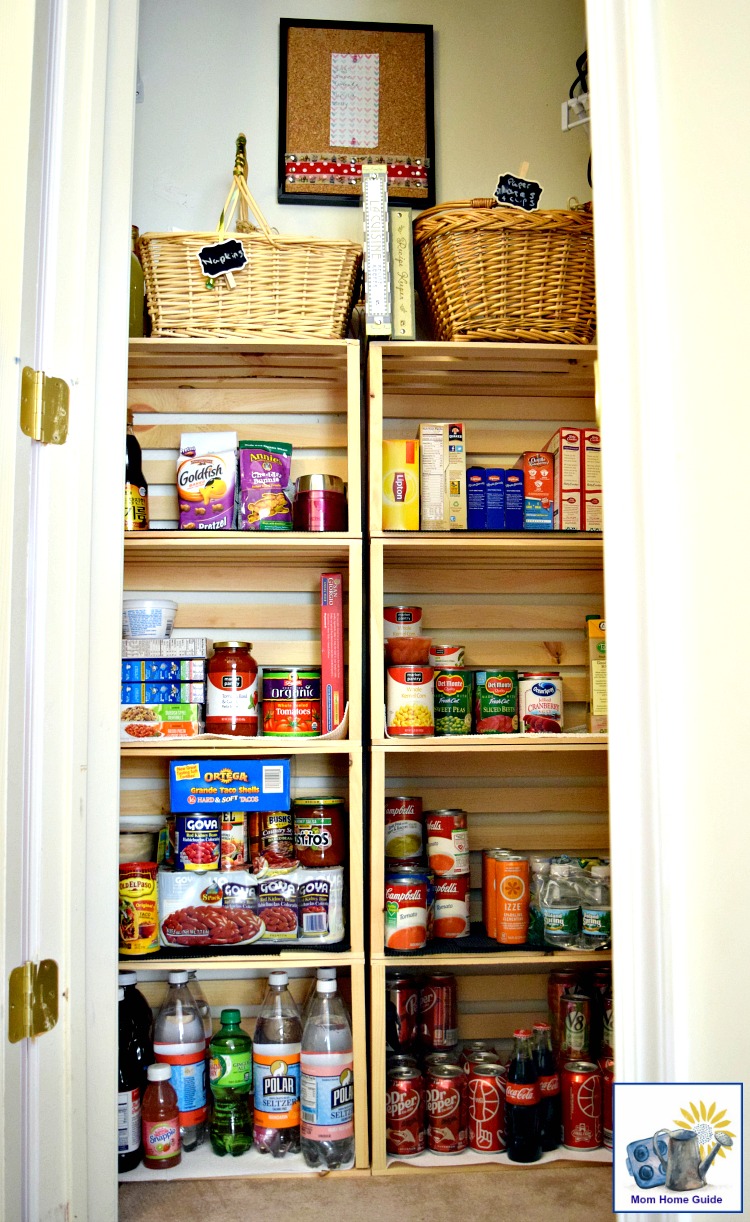
You Might Also Like:

What a fantastic ideaa!! Thank you!
Thanks for stopping by, Kathleen! We are really excited about our new pantry!
Looks great, Lauren!
Thanks, Meredith! And thanks for visiting my site! I hope you are doing well!
This turned out nicely! And, I recognize that heart notepad paper 🙂 And, I do see all your brownie boxes! I had to buy a box of brownies today at the grocery store, thanks to you! ha! I am thinking about getting some crates and doing something similar in my laundry room!
Carrie
curlycraftymom.com
Carrie @ Curly Crafty Mom recently posted…Thursday Fashion Files Link Up #56: Spring Colors Galore
Thanks, Carrie! Yeah … my daughters and I are a bit obsessed with brownies! Hope you can get your laundry room project done. I would love to see it when it’s complete! Thanks, too, for the notepad paper! I love it! Hope you enjoy your brownies!