This post contains Amazon affiliate links. These links cost you nothing, but they may earn a small commission to help fund this blog. Thanks!
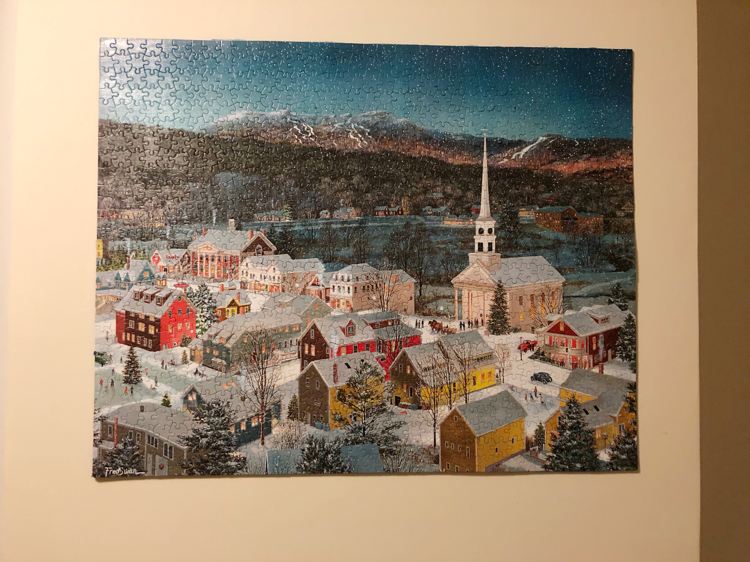
My kids love completing jigsaw puzzles. They also like to save and hang them. I have glued and framed jigsaw puzzles together for them before, but I didn’t have a frame this time. So I devised a super easy and inexpensive way to preserve and display them on a wall without a frame.
Preserving a Jigsaw Puzzle
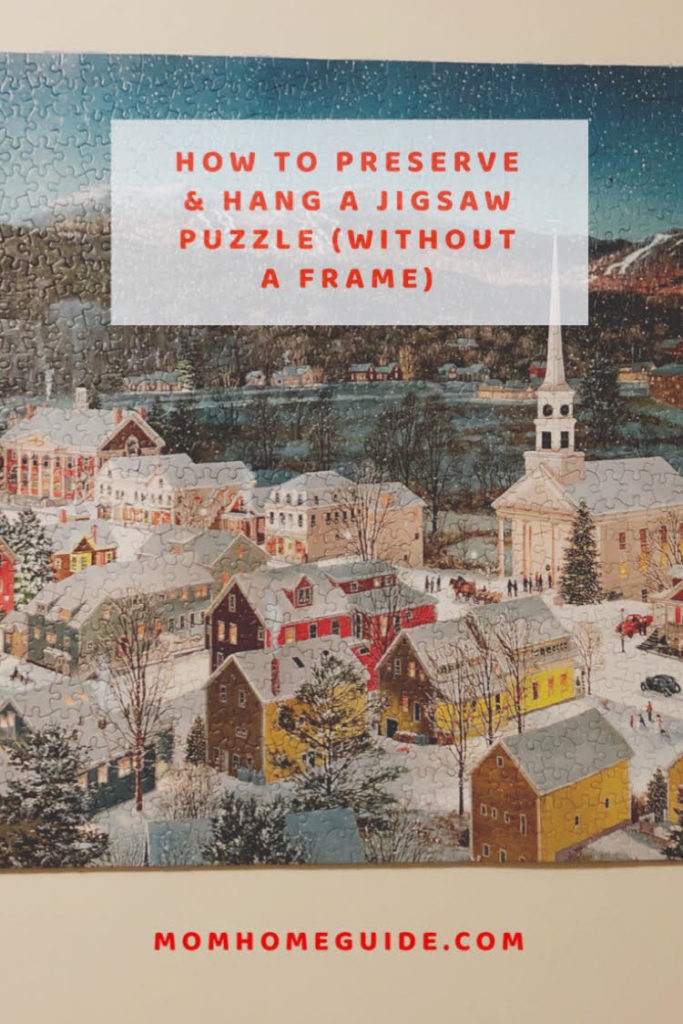
One of my all-time favorite jigsaw puzzles that my kids completed is of Stowe, Vermont, where my family and I have visited on two summer vacations. The mountain town is so beautiful and offers many fun things to do, including shopping, dining, and exploring the beautiful countryside. (Read my latest blog post about our most recent trip to Stowe.)
For my kids to be able to work on their Stowe jigsaw puzzle, however, I had to get their first jigsaw puzzle off the table they had it on. Since they wanted to save their completed 1,000 piece jigsaw puzzle, I had to find a way to glue and hang the jigsaw puzzle. The only problem is that I had very little Mod Podge glue left and no picture frame to display it in like I had done the previous time. (Check out my tutorial on how to glue and frame a jigsaw puzzle.)
How to Save and Hang a Jigsaw Puzzle
Since I had only a little Mod Podge left this time and no picture frame, I wasn’t sure how I was going to preserve and hang the jigsaw puzzle. But then I came across this awesome YouTube jigsaw tutorial by Karen of Karen Puzzles on how to temporarily hang a jigsaw puzzle. (I’ve embedded her jigsaw puzzle video at the bottom of this post.)
I was inspired by her video on how to hang a jigsaw puzzle with only a little glue and no frame! In her tutorial, Karen tapes the back of three puzzles in three different ways: with washi tape, painter’s tape and contact paper. She doesn’t use any glue—so if you don’t have any Mod Podge or glue on hand, you can probably skip it! I didn’t have any washi or painter’s tape or contact paper, so I tried using duct tape instead, and found that it’s great for preserving a jigsaw puzzle. And I think that duct tape might actually be the best way to go since it’s extra strong – there is likely no way a puzzle taped with duct tape will ever come apart! Update: Several years later, my family’s duct-taped jigsaw puzzle still looks as perfectly as the day I hung it on the wall!
Materials Needed
Mod Podge (I only used a little, so you might be able to omit the Mod Podge; but gluing the puzzle together before you flip it over will help ensure that it stays together)
Foam Craft Brush (if you use the Mod Podge)
Command Picture Hanging Strips (I used 4 medium sets)
Instructions
Before I glued the puzzle together, I slipped some sheets of wax paper underneath it. (Parchment paper works well too.) The paper will help prevent the jigsaw puzzle from getting glued to the surface beneath it.
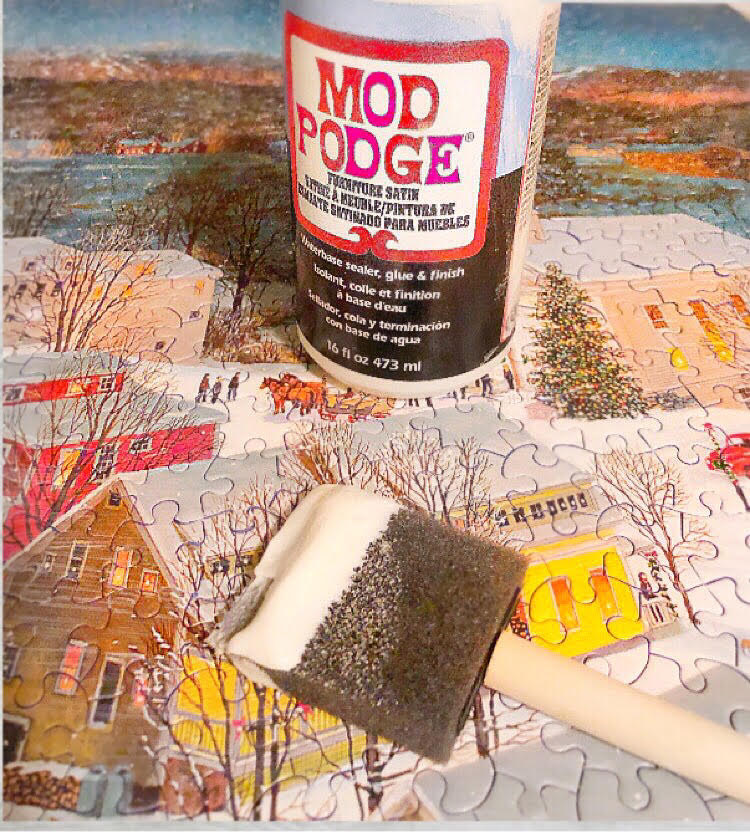
I started out by brushing Mod Podge over the front of the jigsaw puzzle. (I used the amount that was left in my jar of Mod Podge – maybe about 1/6 of the jar or less.) I had just enough to cover the entire front surface of the puzzle. Don’t worry—you won’t see the glue at all once it has dried! I let the puzzle dry for at least 2 hours before I proceeded to the next step.
Once the glue was completely dry, I carefully flipped the puzzle over by sliding a flattened cardboard packing box under it and placed another one on top so the puzzle was sandwiched in between. Be very careful when you do this step so you don’t dislodge any of the puzzle pieces.
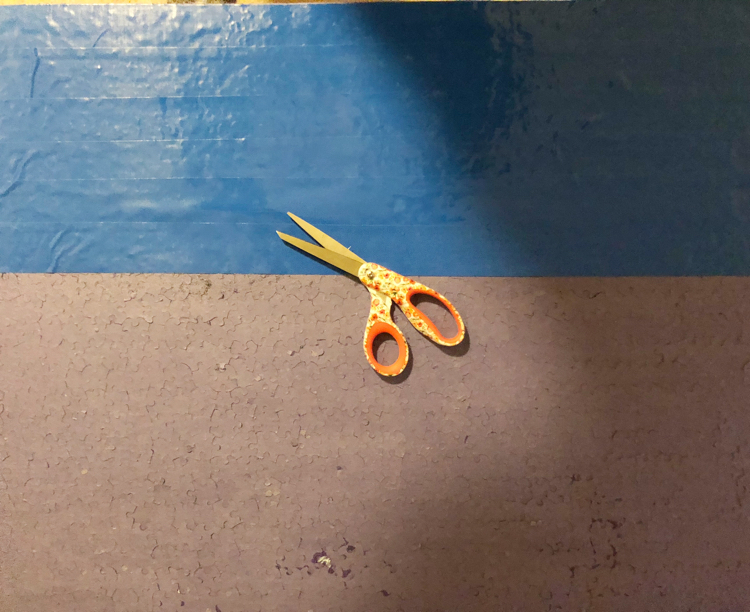
Once I flipped the puzzle over, I taped its back with Duct Tape. I started at the bottom of the puzzle and laid strips of tape across it horizontally until the back of it was entirely covered with duct tape.
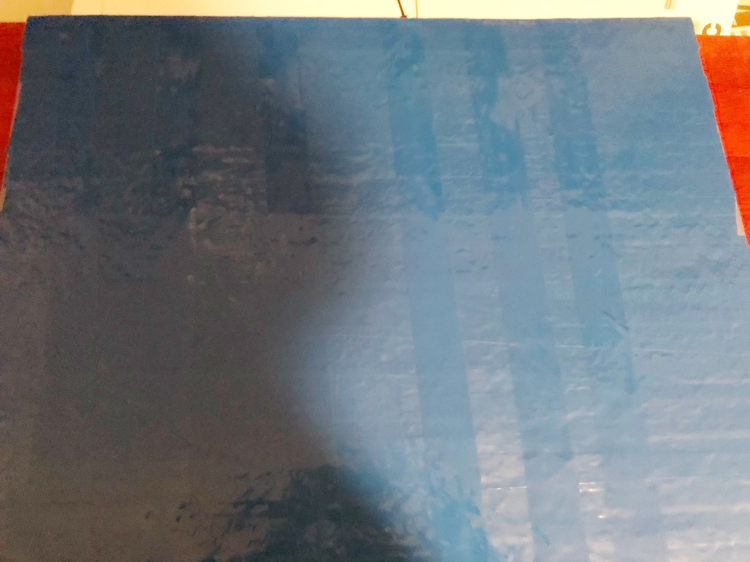
For extra reinforcement, I laid a few strips of duct tape on the back vertically. I made sure to firmly press down on the duct tape so it would adhere extra well to the puzzle pieces. If you look closely enough at the below photo, you can see the vertical strips of duct tape that I added to reinforce the puzzle.
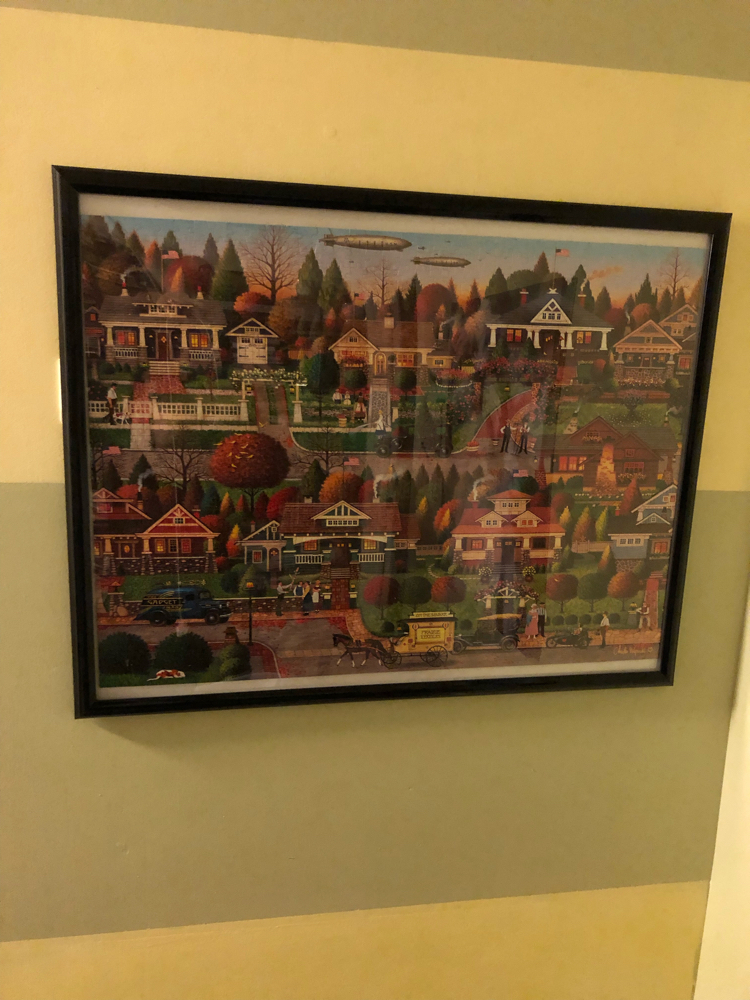
Once the puzzle was securely taped on the back, all that was left to do was to hang it! Hanging the puzzle was simple—I simply used 4 medium sets of Command Picture Hanging Strips. (Two sets would probably suffice, but I used 4 sets for extra hanging power.) You can follow these directions from Command.com; you’ll need to place your strips on the taped-up back of the jigsaw puzzle much in the way they were placed on the back of the framed photo in the Command Strips tutorial.
I think the puzzle looks so nice hanging in my home’s upstairs hallway! It’s a wonderful souvenir of fun times my family has spent together in Stowe.
You Might Also Like
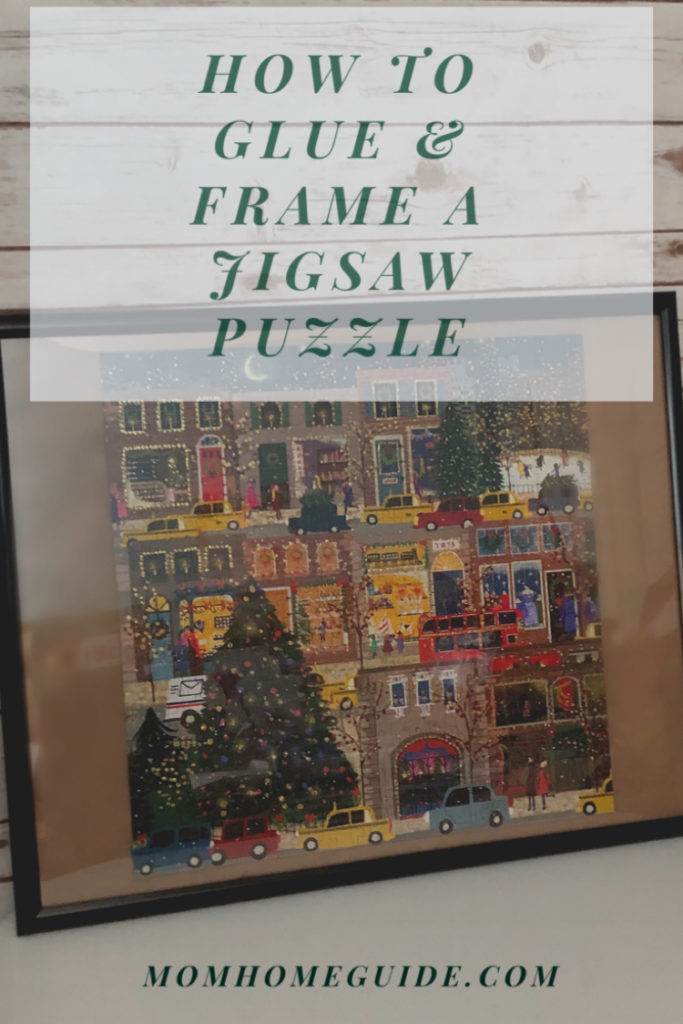
Gluing and Framing a Jigsaw Puzzle
I love this post! I would love to incorporate some of this into my own quarantine life right now! Love puzzles!
I hope you’re staying safe during this quarantine!
Amy x
Thanks for stopping by, Amy! I hope you are staying safe and can enjoy some puzzles!
What a great idea! This sounds easier than I thought it would be! Hope you and your family are doing okay and staying healthy and safe!
Jill – Doused in Pink
I really love these, Thanks for the ideas.
I really love to try this.