Thanks to DecoArt and BurlapFabric.com for sponsoring this post. I was provided with burlap ribbon and acrylic paint in exchange for my review. This post contains Amazon affiliate links. These affiliate links cost you nothing but may earn a small commission to help fund this blog. Thanks!
 Welcome to the 7th day of the 5th annual 12 Days of Holiday Ideas event, hosted by Shirley of Intelligent Domestications and Erlene of My Pinterventures
Between Nov. 11th and December 6th there will be hundreds of new ideas shared by over 55 Co-host bloggers! Go here to see our kick-off collection of Holiday ideas as well as all of this year’s talented participating DIY and Foodie Blogs. Download this years November and December calendars with all of the topics and dates so you can make plans to watch for ideas!
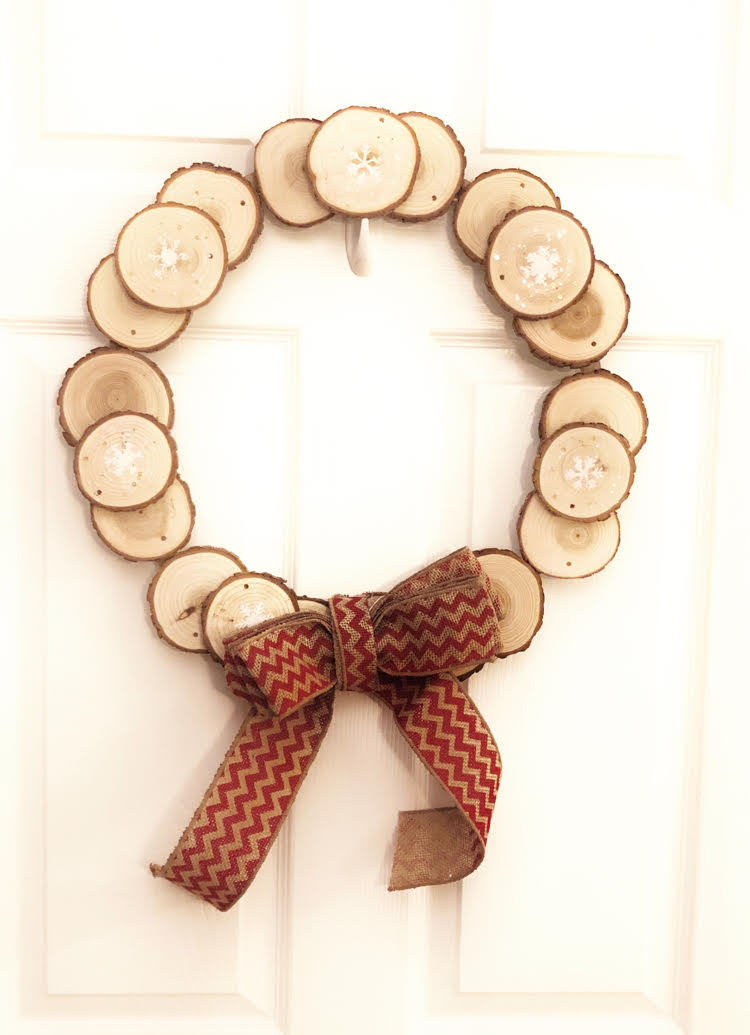
Today we are featuring holiday wreaths! I will be sharing how to make a wood slice wreath with stenciled snowflakes and a burlap ribbon bow! Be sure to scroll down to the bottom of this post to see my friends’ DIY holiday wreaths. We are also hosting a BIG GIVEAWAY with lots of great gifts for the holidays! Scroll down to the bottom of this post to enter!
Easy DIY Wood Slice Wreath
Supplies
I have made a lot of wreaths in my life — I love adorning my front door with season decor! (Check out my collection of DIY seasonal wreaths.) For today’s blog hop, I decided to make a wreath out of something new to me — wood slices! I love their rustic look and how easy they are to work with. I made a simple wood slice ornament earlier this month, and I love the results!


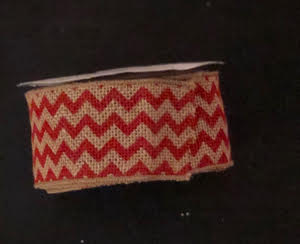
Red Chevron Wired Burlap Ribbon


Large Wood Embroidery Hoop

Wood Slice Wreath How To
This wood slice wreath was quite easy to make and only took me about 30 minutes or so.
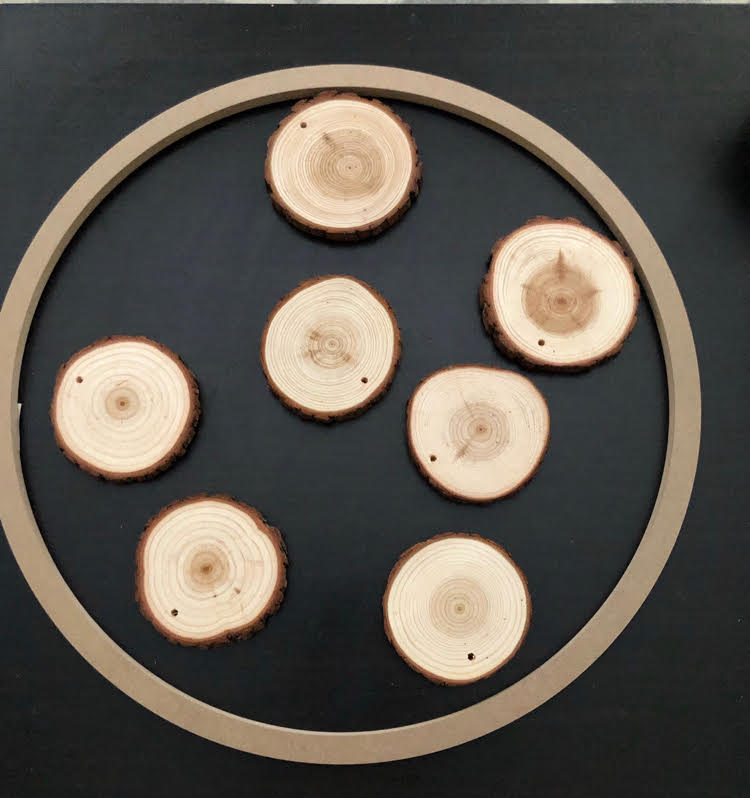
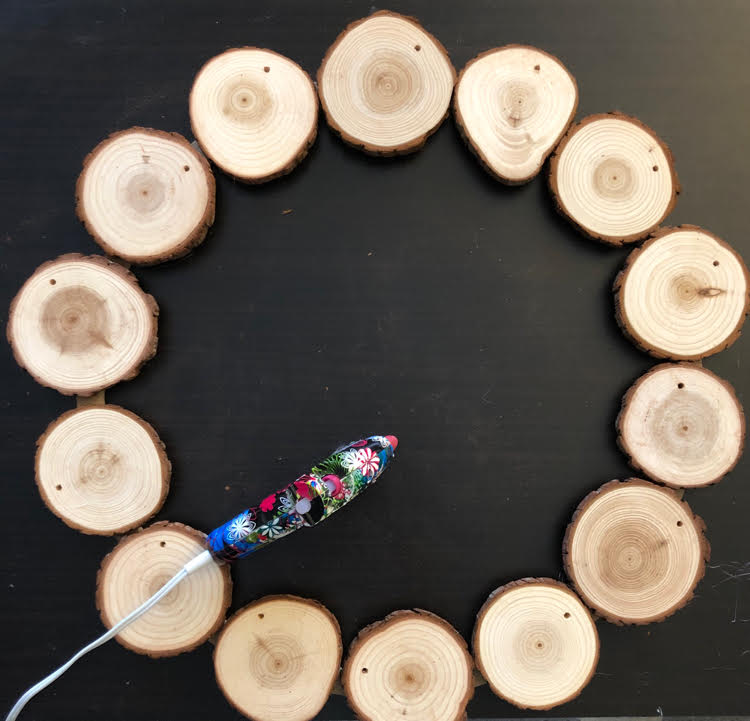
To make the wreath, I first laid my wood slices on top of the embroidery hoop. I discovered that the slices didn’t completely fill the hoop. There was a gap (smaller than a wood slice) after I fitted all the wood slices I could on the hoop.
You might notice that my wood slices have holes drilled into them — that’s because I previously used wood slices to make DIY wood slice ornaments and had many left!
I decided to lay the slices out on the embroidery hoop so that the gap would be on the bottom, where I could place the bow.
Once the wood slices were on the embroidery hoop, I used the glue gun to glue the bottoms of the wood slices to the top of the embroidery hoop.
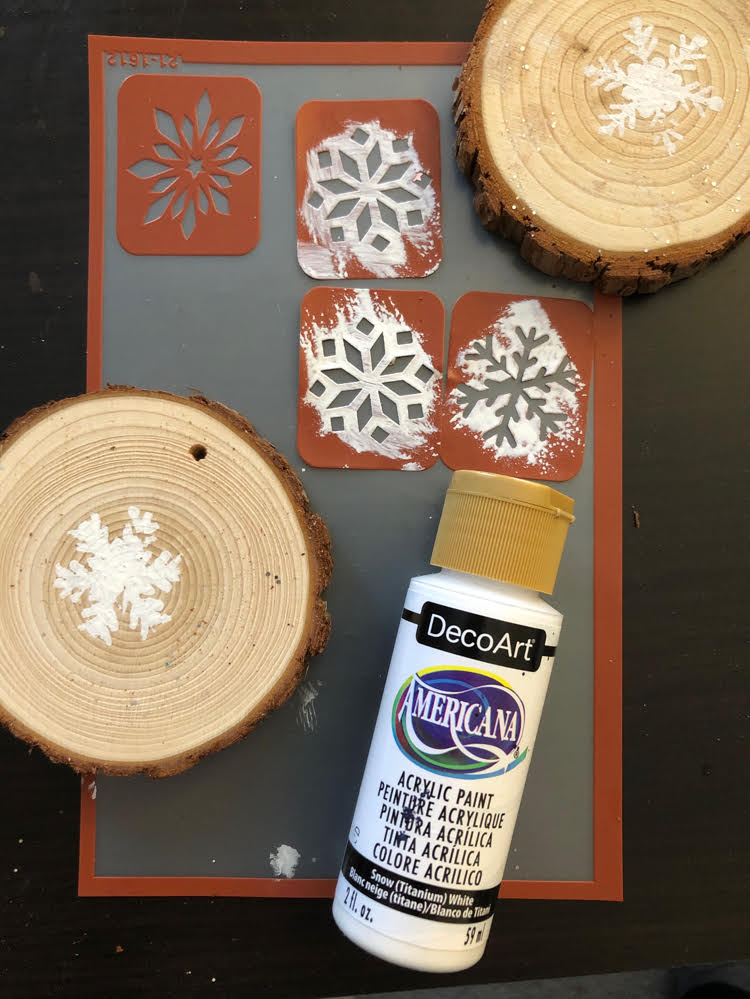
I used my stencils, foam brush and my white acrylic paint from DecoArt to stencil snowflakes onto my remaining wood slices. I have completed many projects with DecoArt paint (both acrylic and chalk paint). I find DecoArt’s products to be reliable and of high quality.
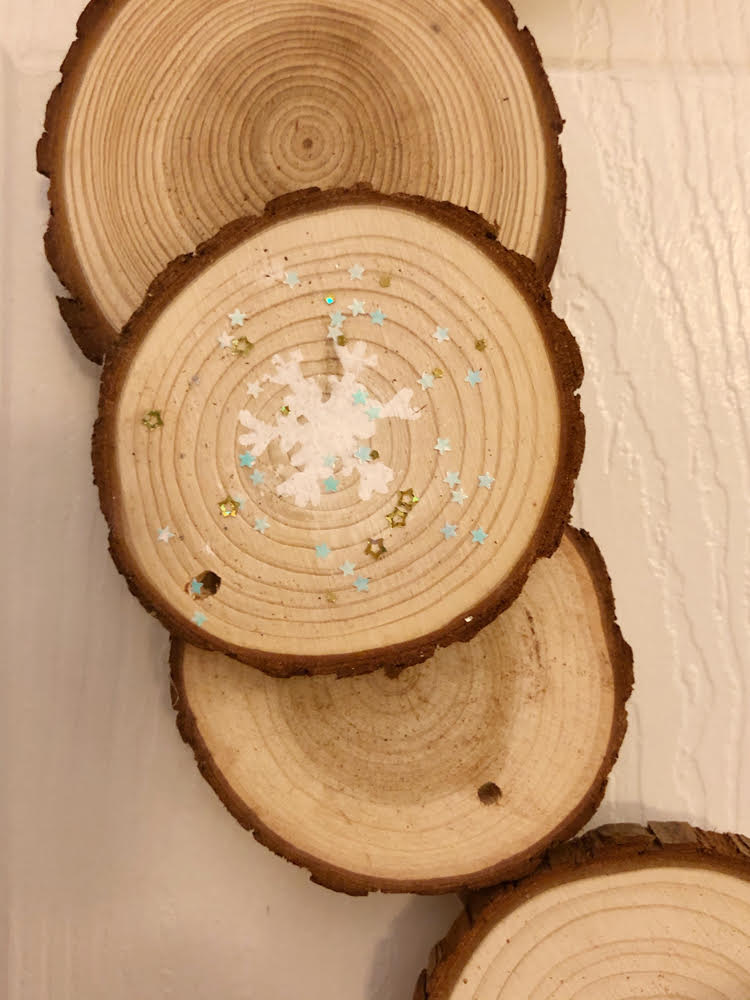
After I stenciled on the snowflakes, I used a glue stick to rub glue on the top surface of the stenciled wood slices. I then sprinkled tiny stars glitter confetti on the top wood slices.
I glued those wood slices onto the top of my wreath.
Wired Burlap Bow Tutorial
Then, all that was left to do was make a DIY burlap bow for my wreath! I followed the tutorial on how to make a simple bow by my friend, Carrie at CurlyCraftyMom.com! I used a wired chevron ribbon from BurlapFabric.com. I’ve used their burlap before (like for my burlap bubble wreath), and really like their products!
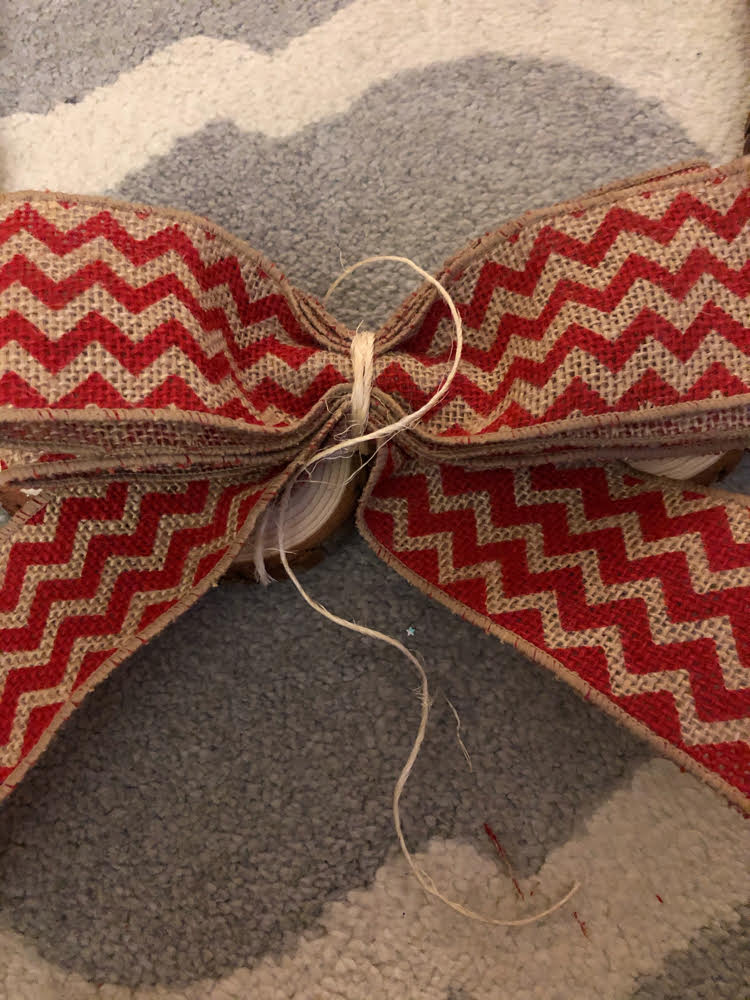
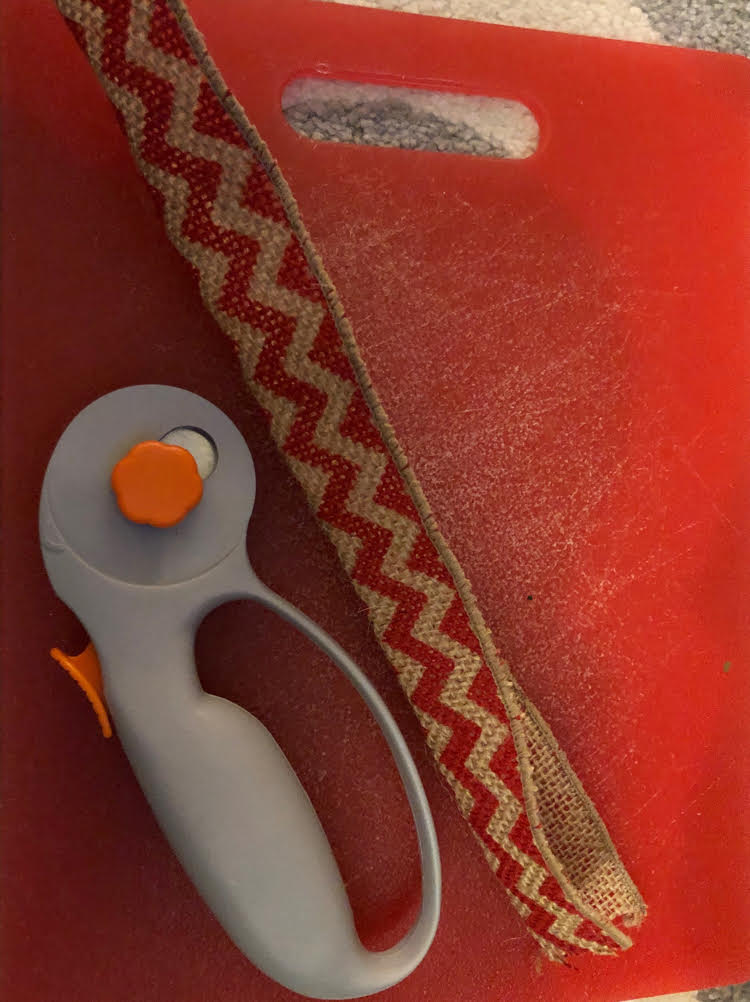
First I took my ribbon and folded it back and forth so I had four folded sections of ribbon. I used my rotary cutter to cut my ribbon. (I found the rotary cutter to be quite useful, since it can be difficult to cut through wired ribbon with regular scissors.)
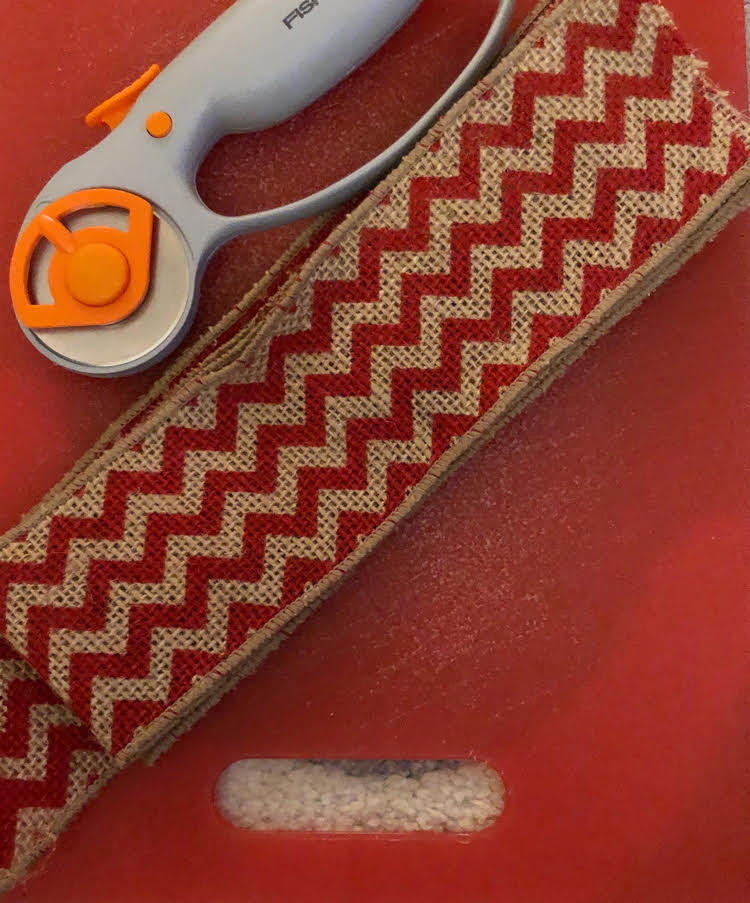
I then used my rotary cutter to cut two equal lengths of ribbon to create the “tails” of the bow. I used the rotary cutter to angle the edges of the ribbon for a prettier look.
I placed the tails behind the folded sections of the bow. I tied the twine around the center of the folded part of the bow, making sure to secure the tails to the bow.
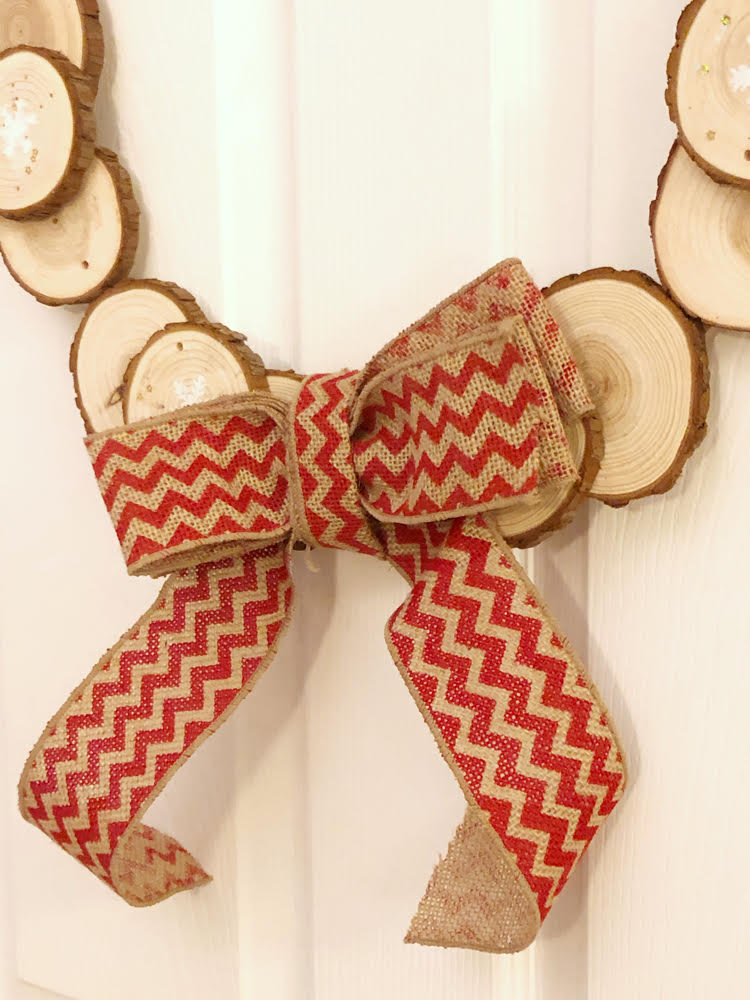
I then cut a length of ribbon long enough to wrap around the middle section of the bow (where I tied it with the twine).
I folded this length of ribbon in half, wrapped it around the middle of the bow, and glued it to the back of the wreath. I then fluffed out my bow, and my wreath was complete!
Other posts in the 12 Days of Holiday Ideas series:
Gift Guide for Busy Moms

Christmas Survival Guide for Busy Moms

25 Fun Christmas Traditions to Share with Your Teen

Christmas Trivia for Family Game Nights & Holiday Parties

DIY Gift Box Advent Calendar
MEET OUR GIVEAWAY SPONSORS WHO HAVE GENEROUSLY DONATED FABULOUS PRIZES FOR THE BIG CHRISTMAS GIVEAWAY!
DecoArt winner will receive a prize package valued at $100! Dixie Crystals/Imperial Sugar winner will receive a Keurig Coffee Maker valued at $100! Oriental Trading winner will receive an OrientalTrading.com gift card valued at $200! Cabot Cheese winner will receive a gift basket of Cabot products valued at $75! Burlap Fabric winner will receive a prize pack of products valued at $50! Zulay Kitchen winner will receive one Milk Frother and a Lemon Squeezer valued at $21 It’s Home To You winner will receive one wooden Santa sign valued at $65

Discover more from momhomeguide.com
Subscribe to get the latest posts sent to your email.
There’s that pretty red chevron ribbon again that I’ve been admiring. It looks so pretty with the wood slices. Nice touch stenciling the snowflakes on them too. Pinned 🙂
Look at those cute wood slices!! My favorite is the snowflakes you stenciled on them!! Wood slices are my jam! I love any crafts with them!
Carrie
curlycraftymom.com
I love the addition of the stars glitter confetti! What a fun wreath!
Such a nice rustic look! I love the addition of the snowflake stencils!
The wood slices are so pretty on the wreath. I love it!
It turned out great! I especially love the snowflakes!
What a perfect wreath that would be for a country farmhouse! I love that you added snowflakes to some of the wood slices.