This post contains Amazon affiliate links.
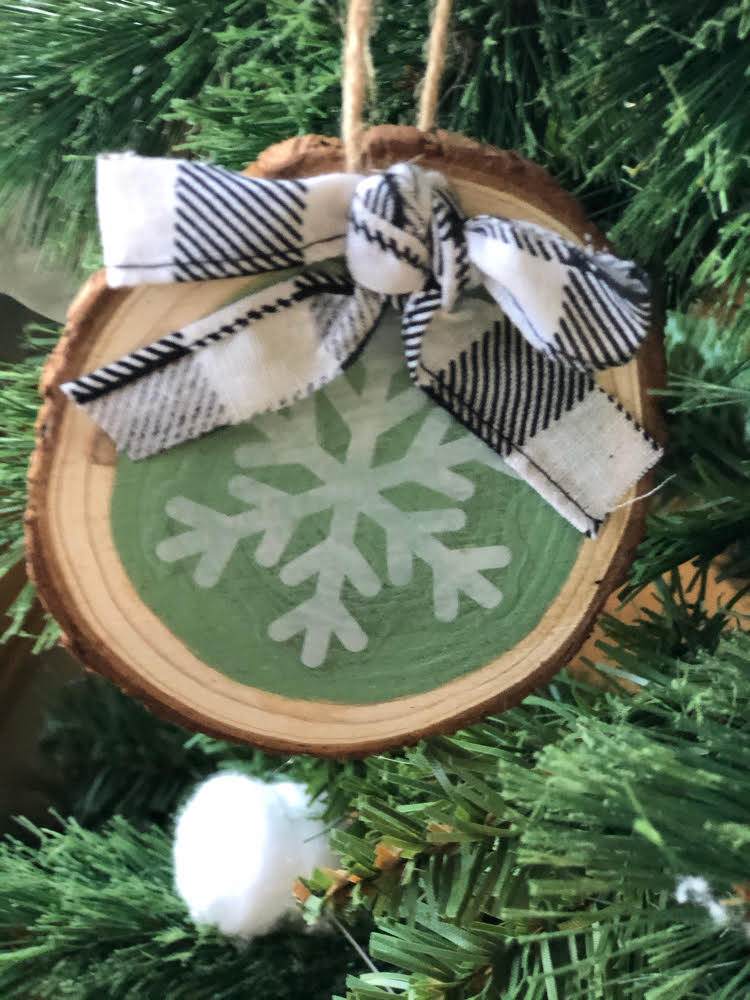
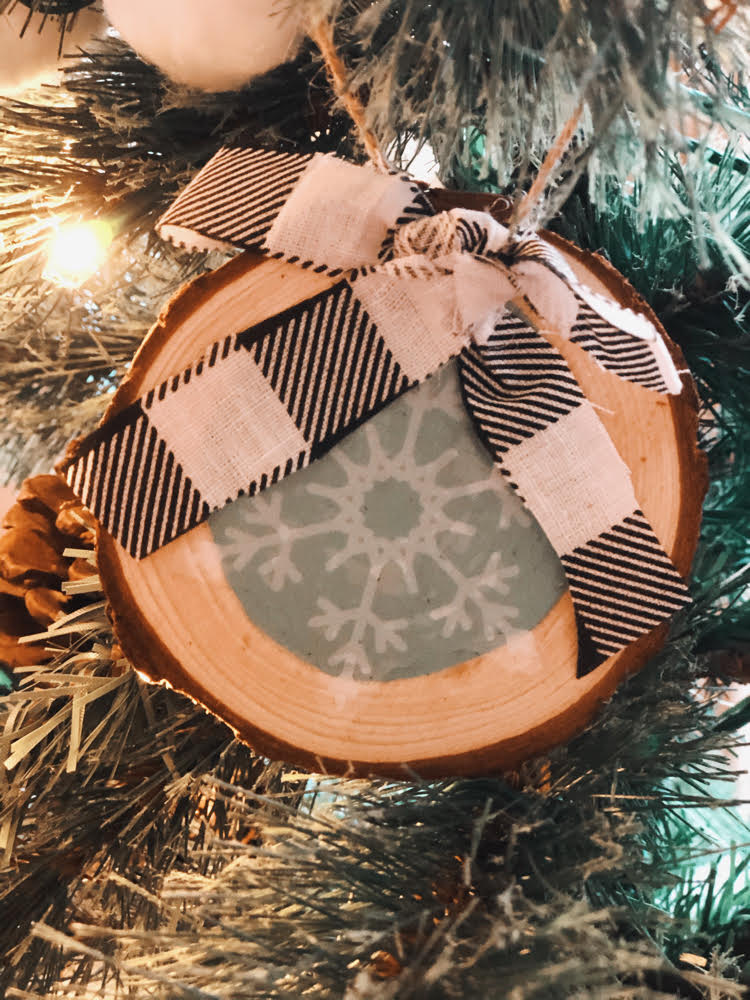
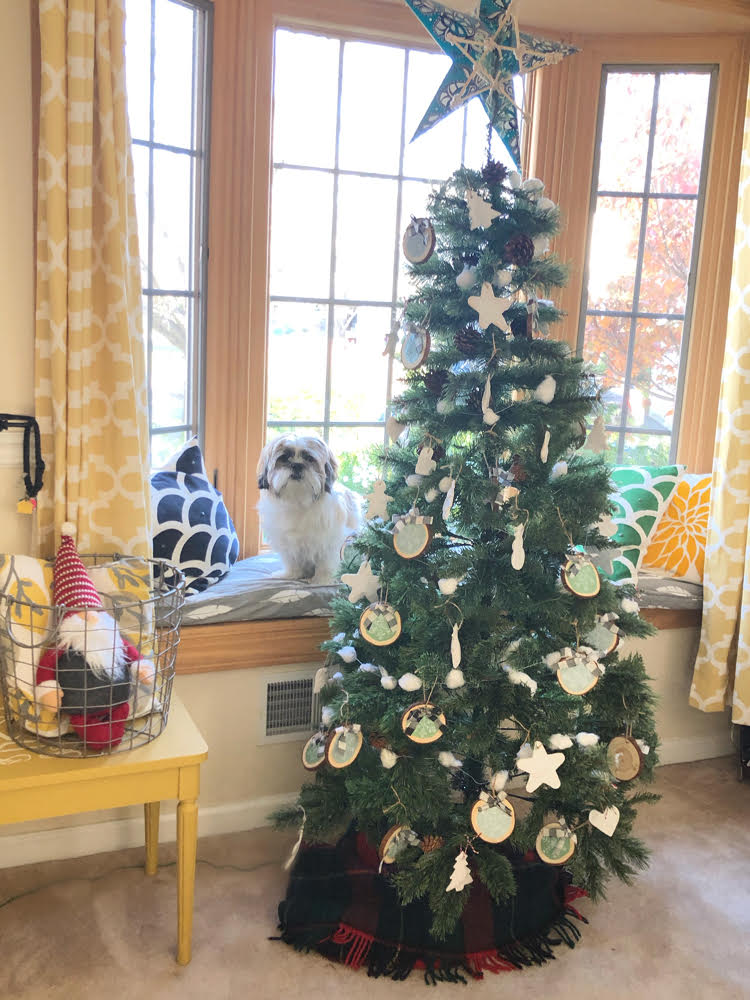
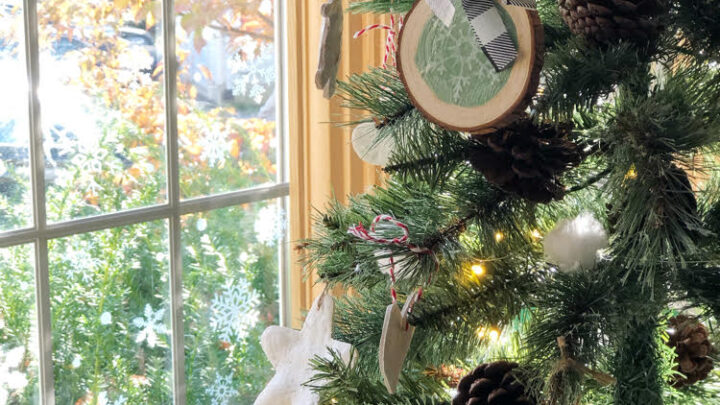
This year, I chose to put up a beautiful rustic minimal Christmas tree. The tree is 6 feet high and just 2 feet wide, so it is the perfect size for displaying in my living room’s bay window. I thought it would be sweet to have a simpler rustic/homespun vibe this year, so I made all the trimmings (on a tight budget) for the tree myself. In all, I think I only spent about $20 decorating the tree. (That’s a small budget!) One of the elements I made for the tree are inexpensive wood slice snowflake ornaments painted with a muted green and blue.
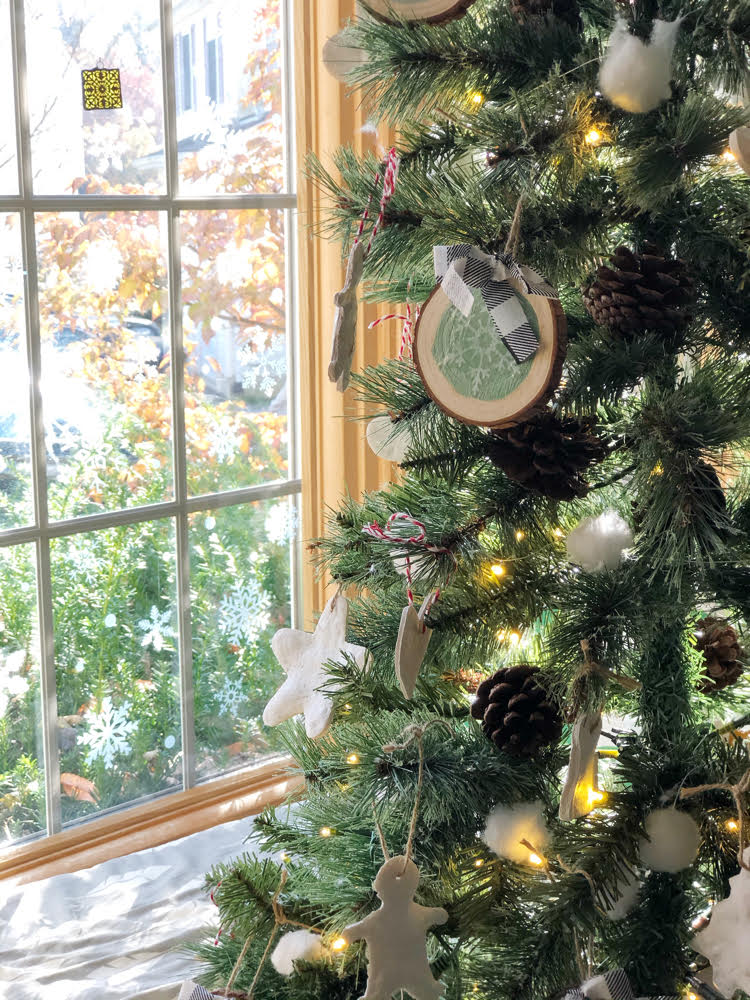
I really adore my sweet real-looking faux tree with DIY rustic ornaments!

I am sharing this post as part of the monthly Pinterest Challenge, hosted by Erlene of My Pinterventures. Today we are all sharing Christmas and holiday season ideas! The purpose of the challenge is to encourage us to complete the recipes and projects we see on Pinterest – to not just pin them. My pretty and inexpensive snowflake wood slice ornaments were inspired by this wood slice snowflake ornament pin.

My Pinterventures • Cookies Coffee and Crafts
Slices of Life • Sew Crafty Crochet • Our Sutton Place
Purple Hues and Me • Sum of their Stories
Life Beyond Kitchen • Mom Home Guide • Cloches and Lavender
Our Good Life • Love My Little Cottage
Decorate & More with Tip • Modern on Monticello
Rustic Christmas Tree with Snowflake Wood Slice Ornaments
My new rustic faux Christmas tree is the 6′ White Mountain Pine Artificial Christmas Tree with 300 Clear LED Lights and Pine Cones from Nearly Natural ($138.99).
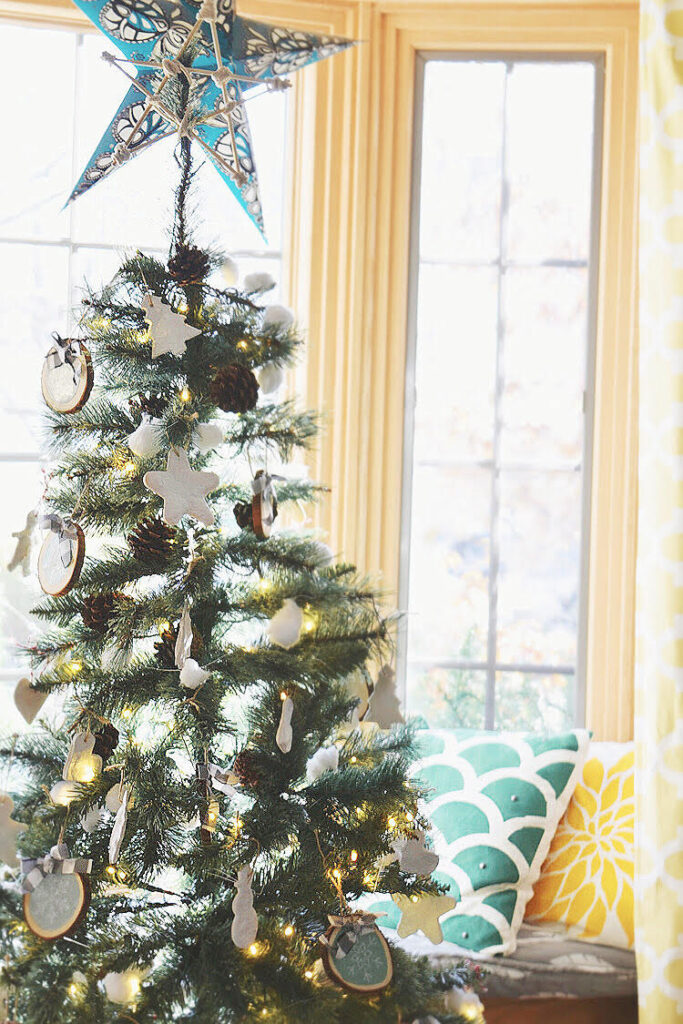
My beautiful new tree comes pre-lit with dainty and clear fairy lights, and has realistic looking pinecones. I thought natural, home-decorated wood slice ornaments would go well with this tree. (I also made DIY salt dough ornaments for the tree – check out this tutorial to see how I made them.)
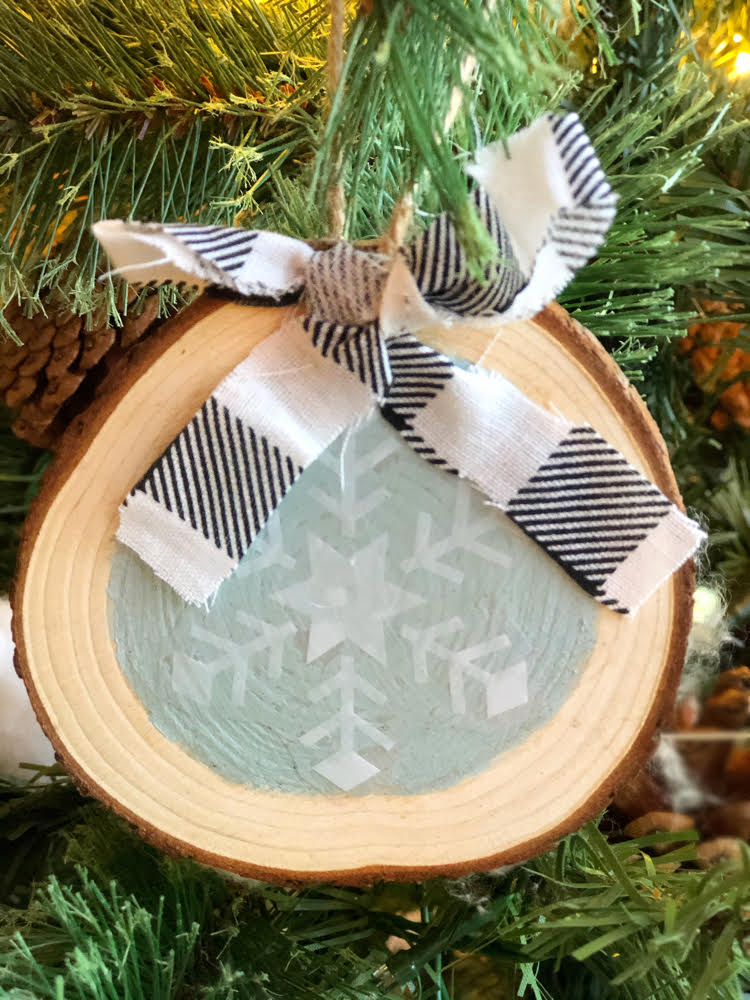
How to Make DIY Snowflake Wood Slice Ornaments
It was quite easy and fun to make my DIY homemade snowflake wood slice ornaments. I only needed a handful of a few inexpensive supplies to make a whole Christmas tree full of sweet and beautiful ornaments!
DIY Snowflake Wood Slice Ornaments
Wood Slices (These are the pre-drilled wood slices I used.)
Deco Art Americana Chalky Finish Paint, Vintage
DecoArt Americana Decor Chalky Finish Paint (I used Moss Green, but this color, Revive, might be similar. You can see DecoArt’s full line of paints here.)
Craft paint brushes (You may want different sizes for applying the paint and Mod Podge. I used a finer brush for painting the edge of my circle of paint on the ornament.)
White Snowflake Window Clings (These are the ones I ordered. I received more than 200 vinyl stickers. I will be looking for more crafts to do with these!)
Twine My wood slices came with twine for hanging.
Buffalo Plaid fabric or Buffalo plaid ribbon (I just cut some fabric into strips, but ribbon would be best)
Snowflake Wood Slice Ornament Instructions
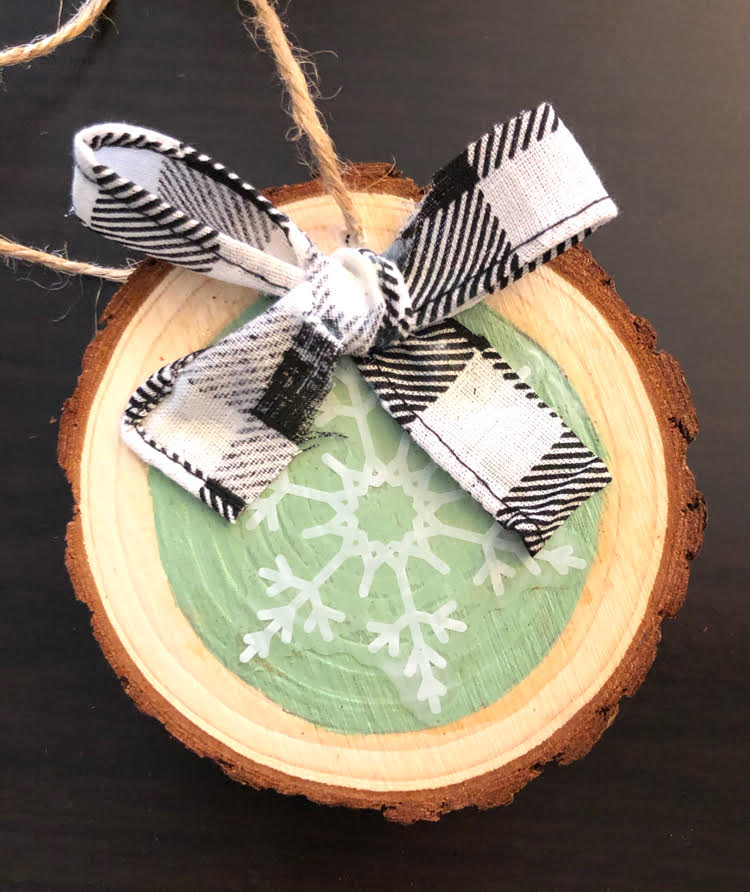
Paint the ornaments – Making these rustic snowflake wood slice ornaments was easy and fun! To start the process, I first painted circles of paint onto the wood slices. I thought I would have to trace a circle onto all my wood slices. But I didn’t realize that the natural rings on the wood slices already provided me circular outlines to fill in with paint!
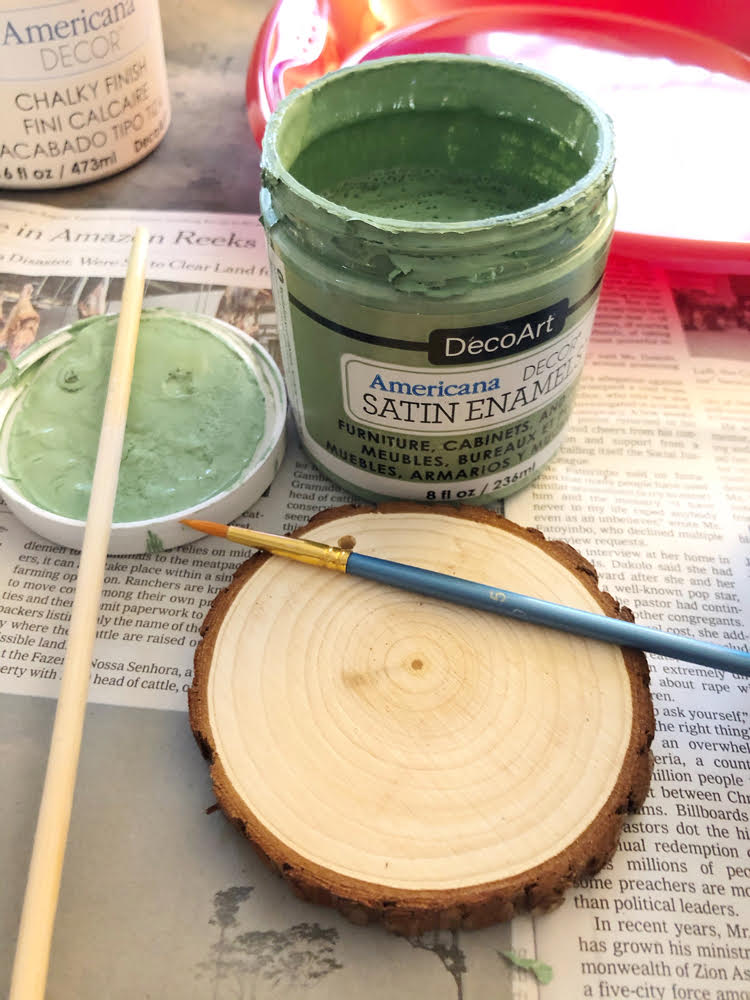
Staying within in one of the furthest wood ring lines, I painted a circle of paint in the center of each wood slice ornament.
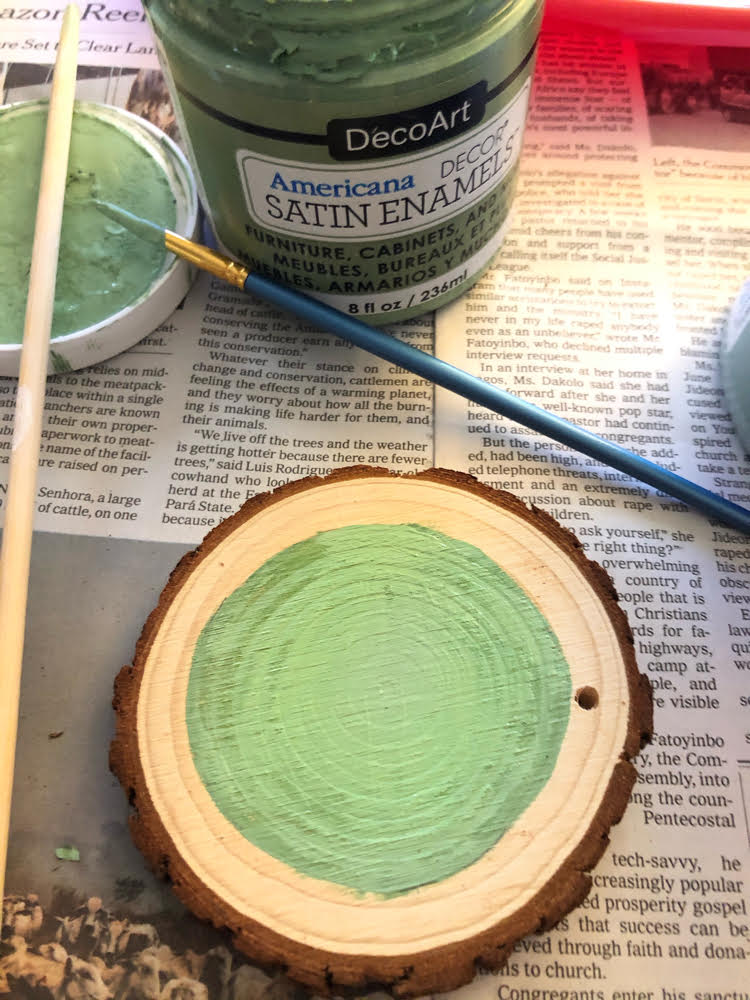
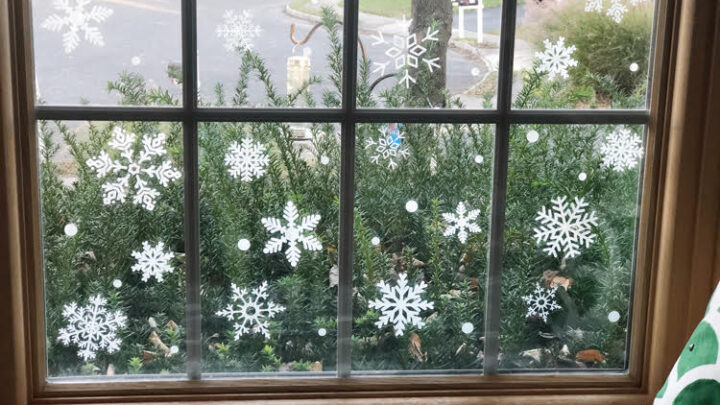
Affix a Vinyl Snowflake on Each Ornament – After each painted circle dried, I chose a snowflake decal for each of my ornaments. I love the White Snowflake Window Clings I used. My set of snowflake clings came with 200 snowflakes of various styles – some are more traditional looking, while others have a chunkier, modern look.
My clings stick perfectly to my snowy Christmas window, but of course, they don’t stick to wood. So once you have chosen a snowflake for your ornament and have it in place, all you need to do is add a light layer of Mod Podge over the snowflake to keep it in place. I basically painted a layer of Mod Podge over the entire ornament to give it a uniform look.
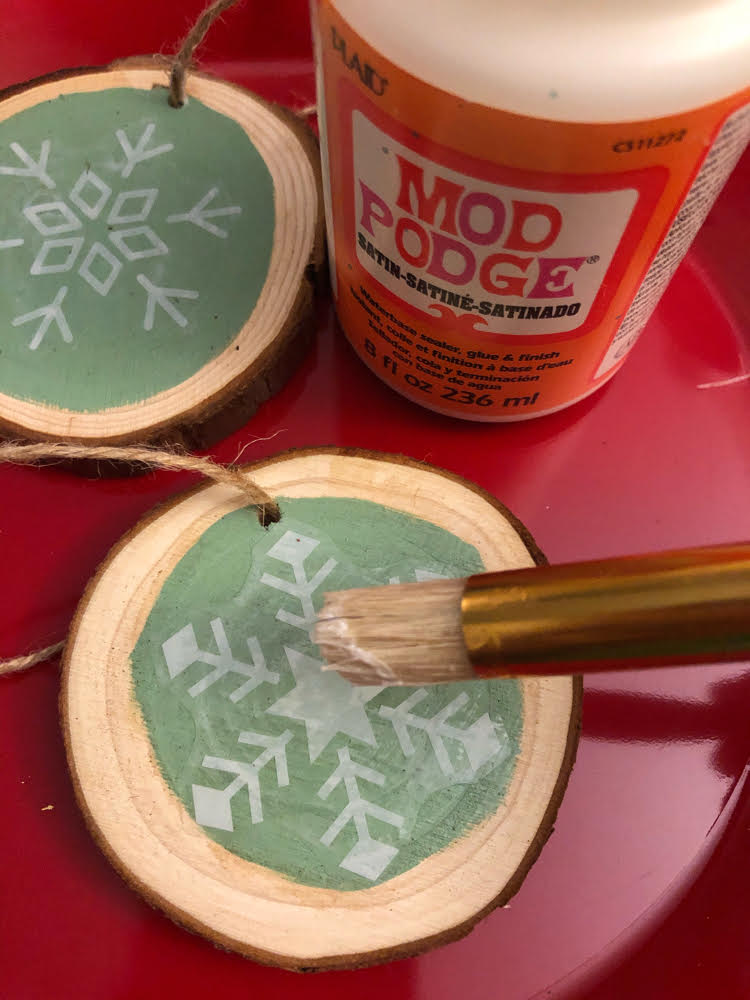
Add Twine – After I had each ornament painted and the snowflakes Mod Podged on, I slipped a short length of twine through the hole in each wood slice ornament and knotted it at the top.
Make and Glue on Bows – I cut strips of “ribbon” out of my black and white buffalo plaid fabric. I tied a simple bow with a strip of fabric for each ornament. I used a hot glue gun to glue each handmade bow on.
Once a bow was glued on each homemade snowflake wood slice ornament, all that was left to do was hang them!
Now let’s see what the other hosts have created!








[…] my home, I already have a rustic Christmas tree up with homemade ornaments, tree topper and garland. Now that’s taken care of, it’s time to think about what to serve my family on […]